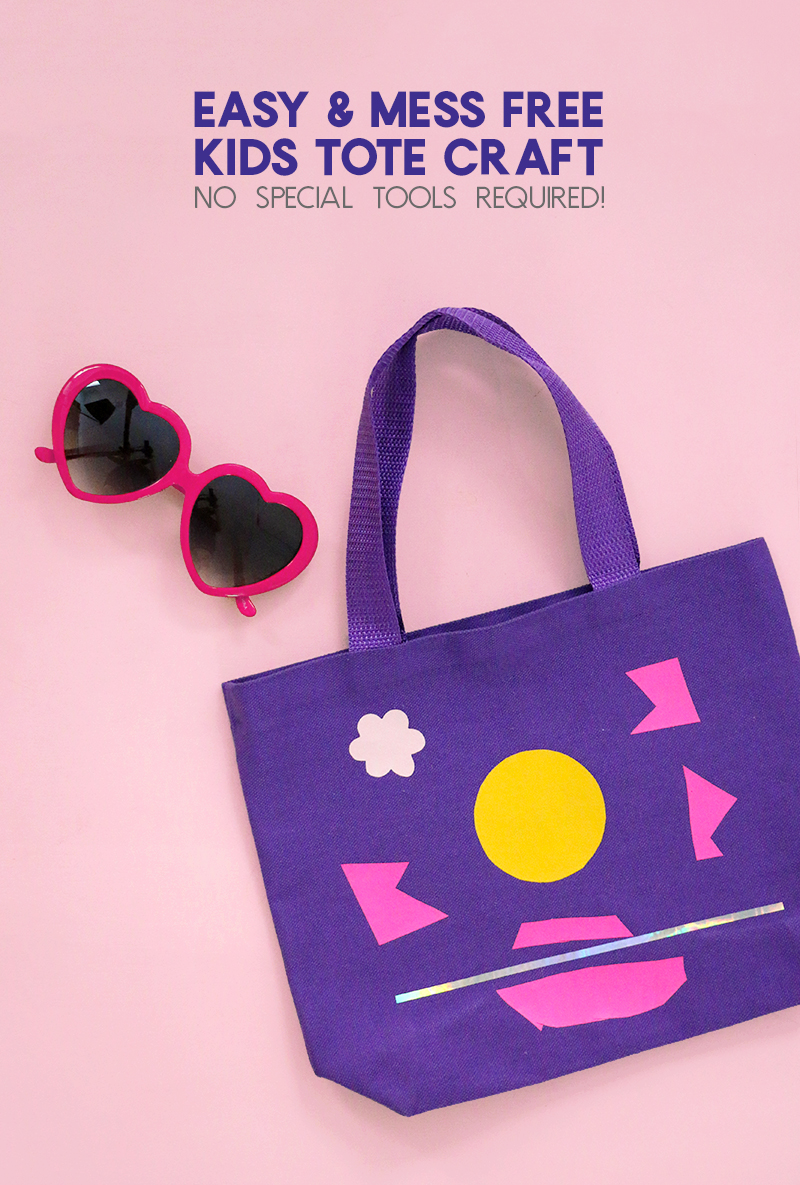
This fun and easy tote bag craft is perfect for kids and grown ups alike! This kids craft idea is mess-free and requires no fancy tools – seriously! A big thanks to Expressions Vinyl for sponsoring this post.
The kids are out of school for summer, and that means lots of crafting time at our house. I like to have a bunch of kits and supplies on hand so the kids can create on their own, but I also like to occasionally get involved and make it a family affair. The other day we made these cute little bags together and had so much fun!
Tote Bag Craft – Kids Craft Idea
I am really excited to share this little tote bag craft with you all because there are a couple of things that make it extra awesome:
- It’s not messy. You don’t need to worry about little hands spilling paint on your carpet or finding glitter everywhere for weeks after. Other than little scraps that need to be thrown away there is literally no mess.
- It requires no special tools. For reals – nothing fancy needed. If you have scissors and an iron you are good!
Okay – have I sold you on it yet?! Ready for the secret to this fun tote bag craft? Here it is: Heat Transfer Vinyl + Scissors! That’s it! It’s so easy. I’m hoping that if you have never tried out heat transfer vinyl I can convince you to give it a try. And don’t worry – I will walk you through every step!
First things first, you will need to gather up some supplies. This project doesn’t require too many things, but you may need to do just a little shopping.

Kids Tote Bag Craft Supplies:
- Cotton Canvas Tote Bags – These are the ones we used
- Heat Transfer Vinyl in lots of colors – We mostly used smooth Easyweed, but the kids also really liked the holographic and glitter vinyls.
- Scissors – kids scissors work just fine
- Multi-Use Paper or Parchment Paper
- Iron
Step One – Cut
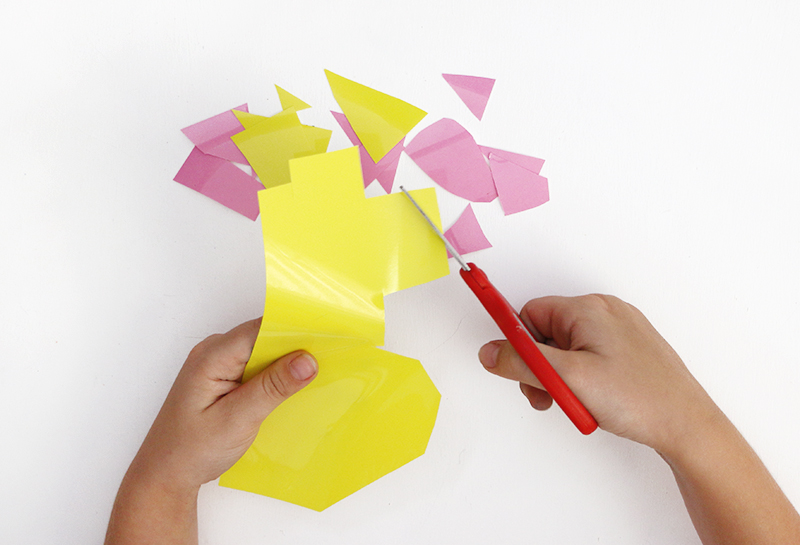
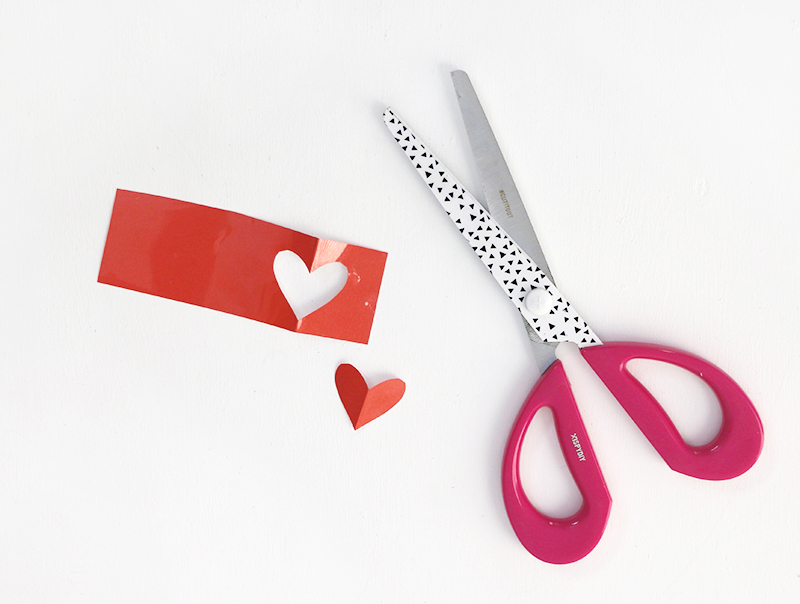
The first thing to do is cut a bunch of shapes out of your heat transfer vinyl. This is a great project for using up HTV scraps from other projects if you have them. If not, you might want to check out one of Expressions Vinyls HTV packs to get you started.
At first I tried to use craft punches to cut shapes out of the HTV, but unfortunately, it’s just not a technique I can recommend. I have used punches with adhesive vinyl before, but the plastic backing on the heat transfer vinyl is tougher for the punches to get through. I did have some success with a few of my punches, but most of the time it just jammed the punch and didn’t work. Sad face.
I did punch a few shapes out of cardstock and then used those as templates to cut out the HTV. If you have a Cricut, Silhouette, or other electronic cutting machine, you could totally cut shapes using that, but I liked the idea of doing all of our cutting by hand.
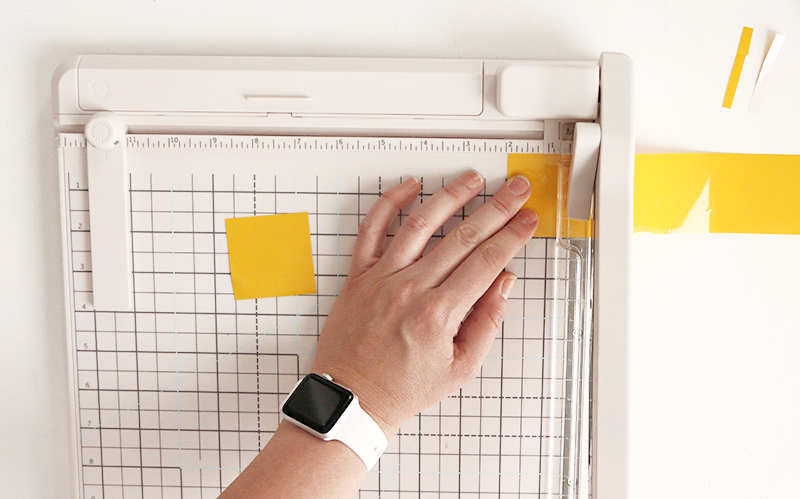
Don’t be afraid to fold the HTV, it will flatten out when you iron it on to your bag. I also used my paper trimmer to cut strips, squares, rectangles, and triangles easily.
But mostly, I just let the kids grab their scissors and go to town. I was really impressed with how creative they were in combining shapes to create their designs.
Step Two – Design and Place
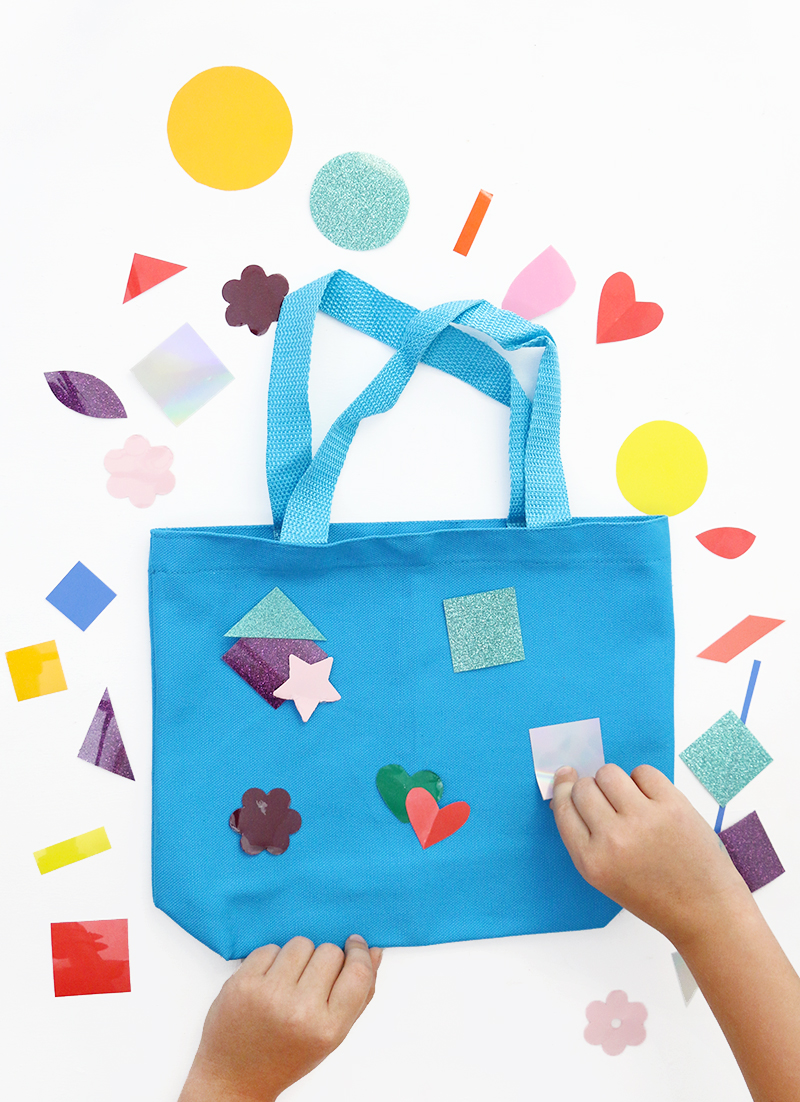
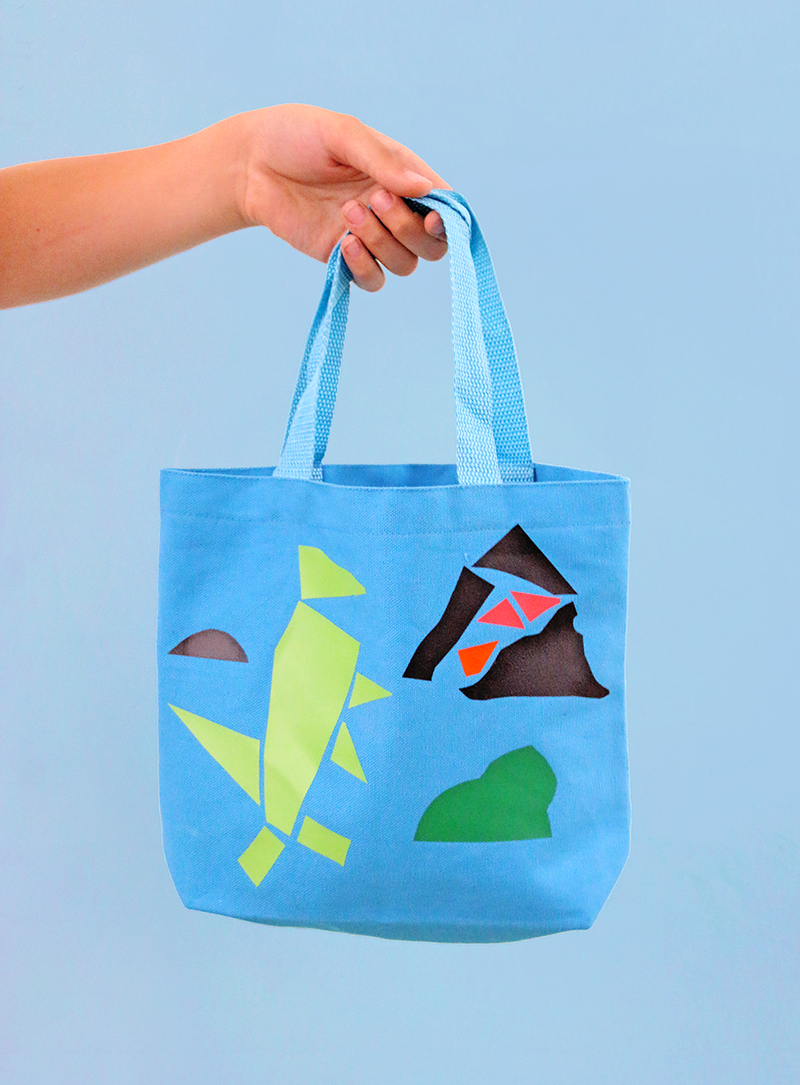
After you have some shapes cut out, let the kids place them onto the bag to create their design. There are so many different types of designs you could create! When I came up with this idea, I was kind of imagining patterns and more random designs, but my kids liked creating more representative pieces. My son came up with the idea of using the shapes to make faces, and the face designs ended up being my favorites!
A few things to keep in mind while creating your designs:
- The shiny side of the HTV (the side with the clear plastic backing) needs to be face up when you iron the vinyl in place, so make sure you place all the pieces shiny side up as you create your design.
- Applying layers of HTV takes a few more steps (although it’s not difficult), so you may want to suggest the kids not layer their designs.
Step Three – How to Iron Heat Transfer Vinyl
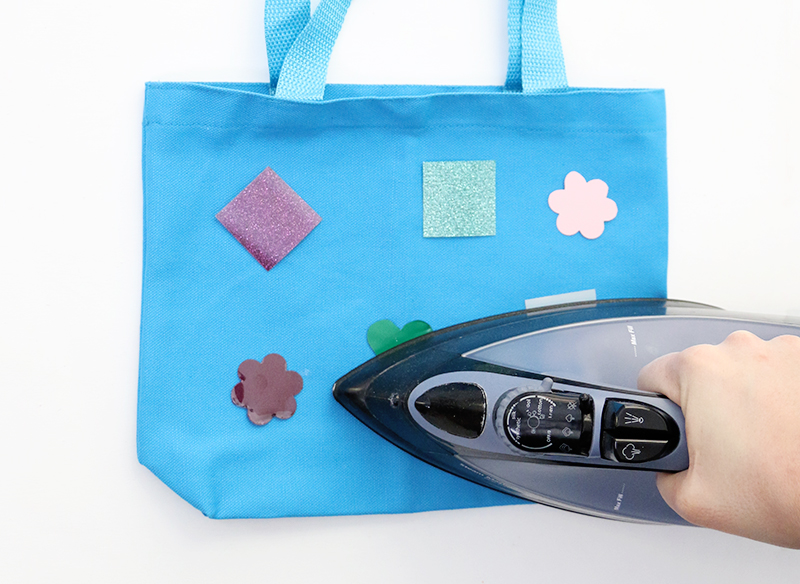
When your design is finished, you are ready to iron the vinyl onto your bag! Woot! This is definitely a job for a grown up, so it’s time for the kiddos to hand over their projects to an adult.
If you have never used heat transfer vinyl before, don’t worry! It’s not too difficult. I will walk you through everything you need to know.
Heat Transfer Basics
It’s important to know that heat transfer vinyl has a clear plastic carrier sheet on one side (this is the more shiny side) and the other side is the adhesive side of the vinyl. It isn’t sticky at all as the adhesive isn’t activated until you apply heat and pressure (with your iron). This is why it is important that you place your pieces shiny side up. If the plastic backing is facing the bag, then your piece will just stick to your iron or your cover sheet. Boooo. We don’t want that.
If the shiny plastic backing is still on your pieces, then you can place your iron directly on top of the plastic sheet. However, I do recommend using a cover sheet to protect your iron. I love the multi-use paper, or a piece of parchment paper or a piece of cotton fabric works well too.
How to Apply HTV
Set your iron to the cotton setting with the steam turned off, and press down using firm pressure for 10-15 seconds (for the smooth HTV) making sure to apply heat and pressure to each part of the design. I prefer to iron on a sturdy table with an ironing mat to protect my table. Ironing on a table gives me the ability to apply more pressure than a collapsible ironing board. Different types of heat transfer vinyl might take more or less time, so be sure to check out the instructions for the vinyl you are using. After the vinyl has adhered to the bag, you can peel off the clear plastic backing.

Some types of HTV (like metallic, holographic, and flocked) are cold peel vinyls, which means they need to cool down before you can peel off the plastic carrier sheet.
Layering Heat Transfer Vinyl
If you are doing layered designs, you need to iron the bottom layer first, and then be sure to remove the clear plastic before applying the next layer. When applying the next layer be sure to use a cover sheet to prevent damaging the vinyl in the first layer. If you apply your iron directly to vinyl, it will definitely melt. Wah wah wah.
When your HTV is fully adhered you should be able to see the texture of the fabric coming through the vinyl. Like so:
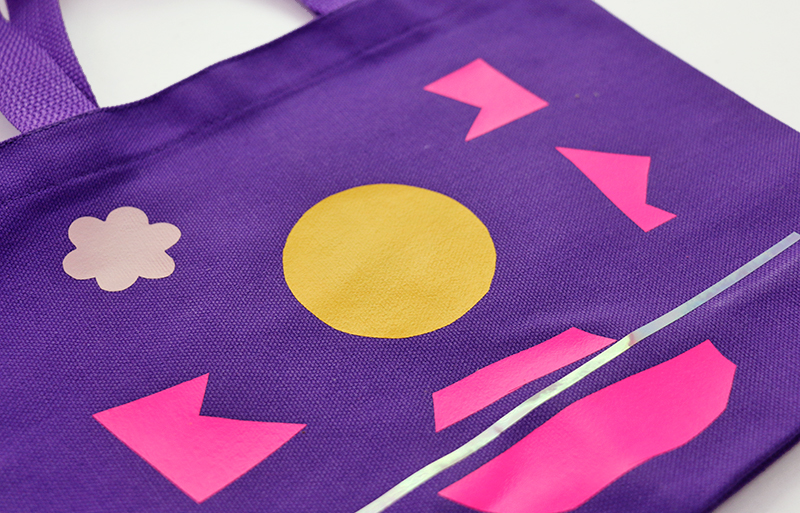
Annnnd – that’s pretty much it for our tote bag craft! How cute are these bags the kids made?


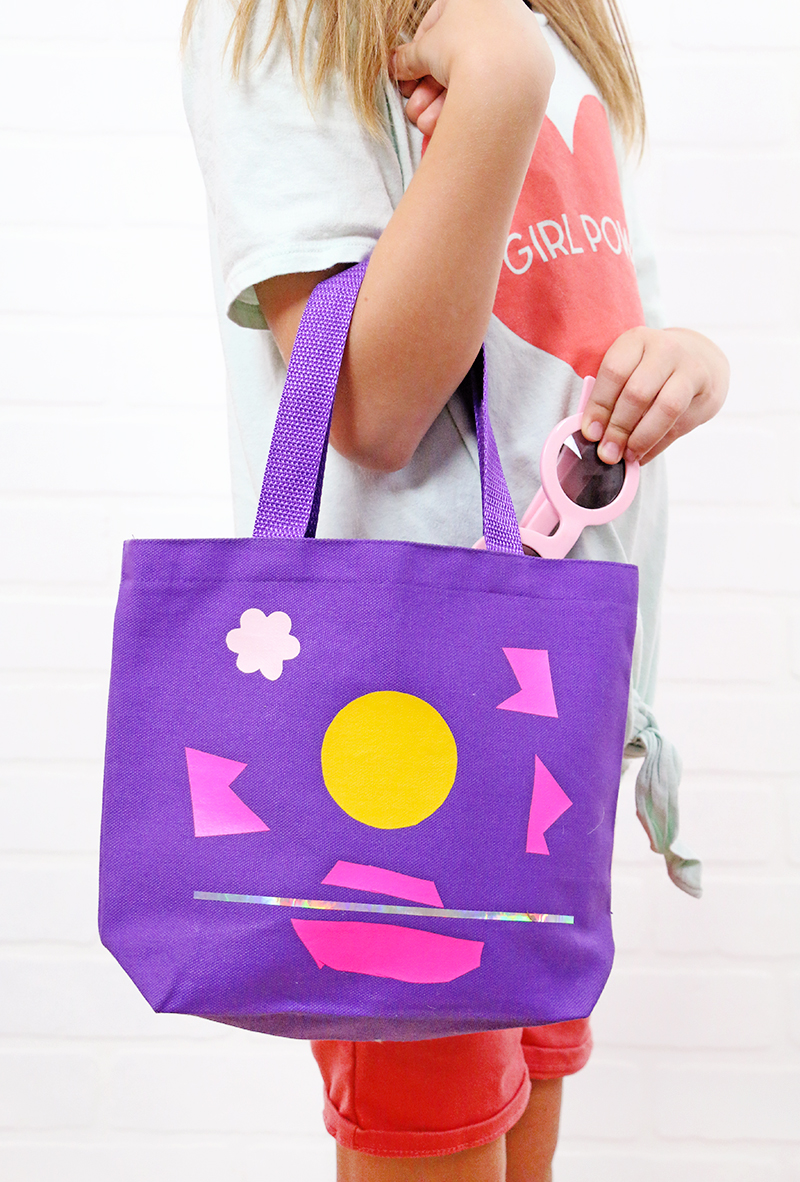
I couldn’t help but get in on the fun too! Here’s the little pretty lady face bag I made:

I had a lot of fun cutting the vinyl by hand for my little tote bag craft, and we will totally be using this technique again in the future!
Until next time, Happy Making!

More Heat Transfer Vinyl Projects

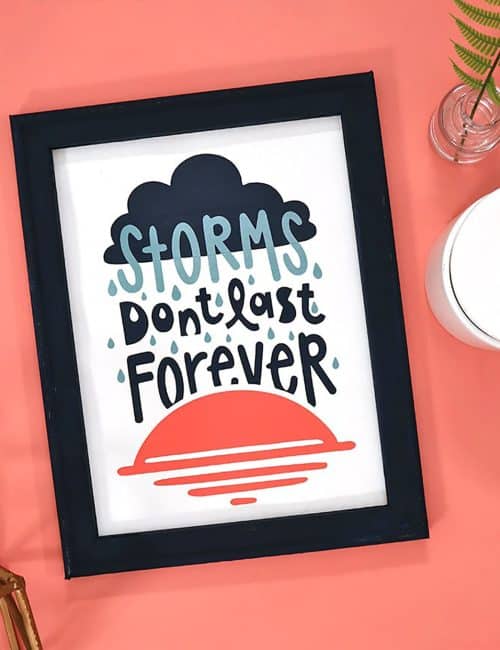
Storms Don’t Last Forever Free Cut File + More Inspirational SVG Cut Files
Download this free “Storms Don’t Last Forever” cut file and make your own inspiring home decor, apparel, and more. Plus, find 11
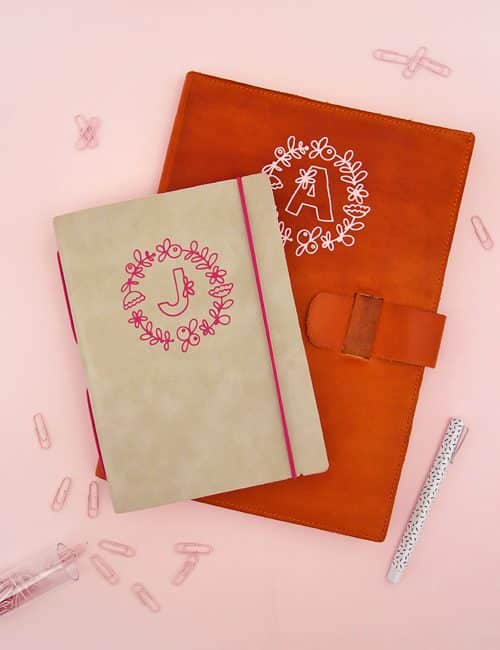
How to Apply Heat Transfer Vinyl to Leather
Did you know you can apply heat transfer vinyl to leather? It’s true! This simple technique is a fun way to customize
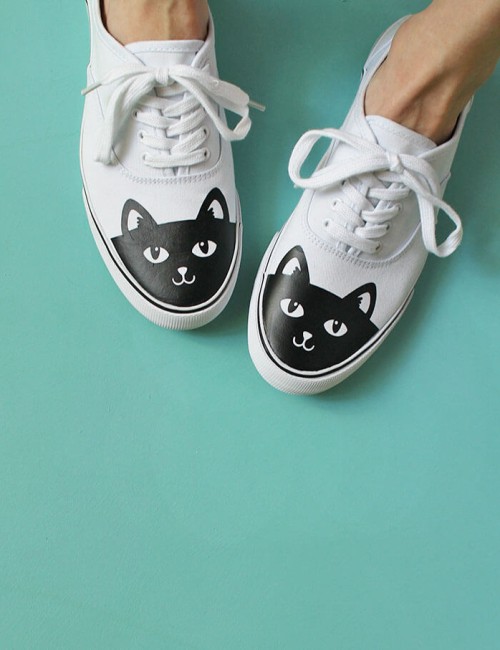
DIY Cat Shoes: How to Add Heat Transfer Vinyl to Shoes
Make your own adorable DIY cat shoes easily with heat transfer vinyl. It’s easy to personalize your sneakers with this simple DIY
How to Cut by Color with the Silhouette: DIY Mermaid Bag
Learn how to cut by color with your Silhouette and make this cute multi-colored DIY mermaid bag even easier to make! I


Comments + Project Love
Evelyn Jenny says
Damn interesting craft ideas.
Thank you Alexis, keep sharing with us! ?
Granico says
Where can i buy the ỉon on heat transfer i live in durban
Jane says
This looks really fun. Never used this before Can’t wait to try it. Thanks for explaining it so well.
DIANNE JENKINS says
I loved the design on the handbag but do you have one on for a initial