Loving the terrazzo trend? You can easily add some modern style to your home with this simple DIY clay terrazzo planter! This simple project is a lot of fun to make and has a beautiful, luxe look. My video tutorial will walk you through each step to make your own clay terrazzo planter. A big thank you to Sculpey for sponsoring this post!

You guys. I am so excited with the way this little project turned out, and I can’t wait to share it with you all! Are you guys on board with the terrazzo trend? I’m still not sure if I’m sold on it for flooring yet (it still kind of makes me think of institutional buildings from the 80’s), but I love it in smaller doses like on a coffee table or on my awesome new little planters. Aren’t they cute??

It is actually really easy to get the look of terrazzo in any color you like using an oven bake clay like Sculpey III. If you guys haven’t worked with oven bake clay before, you are going to love it. It just makes it so easy to create awesome jewelry (like these clay and crochet necklaces I made with Sculpey III a couple years ago), gifts, and home decor.
My dad was actually visiting me while I was working on this project, and when he saw me working with clay, he asked, “Wait – where do you bake those? Do you have a kiln?” And I said, “Oh, no. I just bake them in the oven here.” He was definitely impressed. Haha! But, honestly, it is pretty awesome.
If you are ready to make your own fun terrazzo home decor, then I have you covered! You will find everything you need right here.
DIY Clay Terrazzo Planter Supplies:
- Empty Cans (Wash and Remove Labels)
- Hammer and Nail
- Sculpey III Oven Bake Clay (Through 9/30, you can get 20% off site wide with the code “persialou”!!)
- Rolling Pin
- Craft Knife
- Slicer (optional, but useful)
- Ruler/Measuring Tape
- Sculpey Glaze (optional, but looks great)
How to Make a Clay Terrazzo Planter
Ready to get making? The video tutorial below will walk you through all of the steps for making your own awesome terrazzo planter, but if you are more of a reader, just keep scrolling for the written instructions.
1. Prepare Can.
First start off by prepping your cans. This is a great time to check out what you have rolling around the recycling bin! Remove any labels and wash the cans. Next, you will need to measure both the height and diameter of the can.
If you are planning on using your terrazzo planter only for faux plants or more as a vase, then you can skip the next step. For living plants, you will need to make some drainage holes first. To do this, very carefully use a hammer and nail to punch holes in the bottom of your can.
2. Slice Off Small Pieces.
Start off by choosing your color palette for your terrazzo design. Sculpey III comes in lots of vibrant colors so there are a lot of good ones to choose from plus you can always mix your own colors as well. For this planter, I used Sky Blue, Sweet Potato, Gentle Plum, Beige, Black, and White.
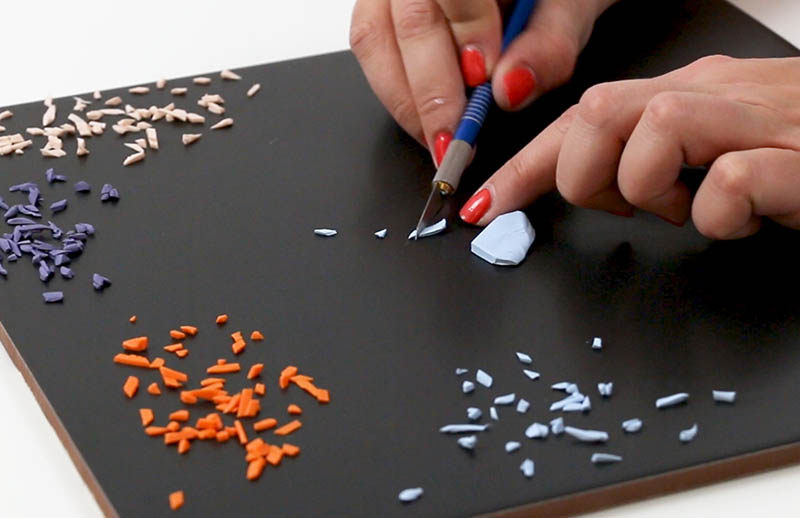
Use your craft knife to slice off a thin slice of clay, and then cut that piece into smaller pieces. Remember that these pieces will expand a bit when you roll them out later on.
3. Roll Out Main Color.
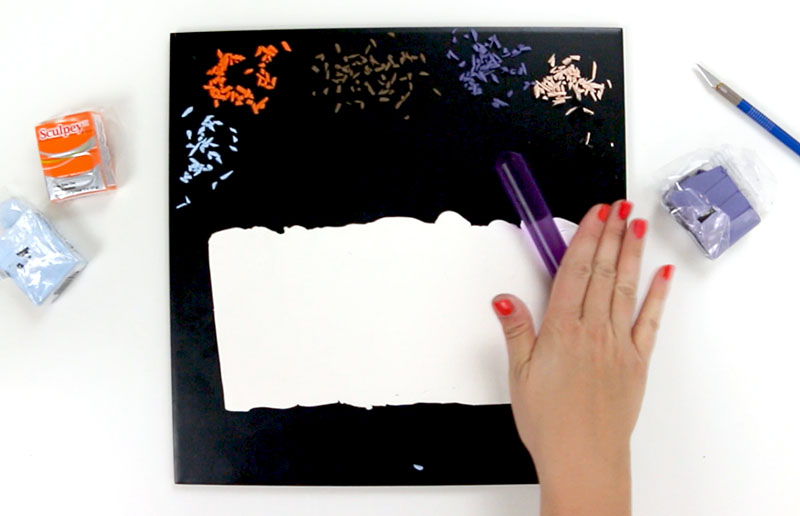
For the main color of the planter, you will need a large chunk of clay. I used about 4 oz. of white clay for my larger planter. Start by kneading the clay to soften it up. Then roll it out to about 1/8″ – 1/4″ thickness. You will need to roll it out to be a little be taller than the height of your can and a little wider than the diameter of your can.
4. Add Small Pieces.
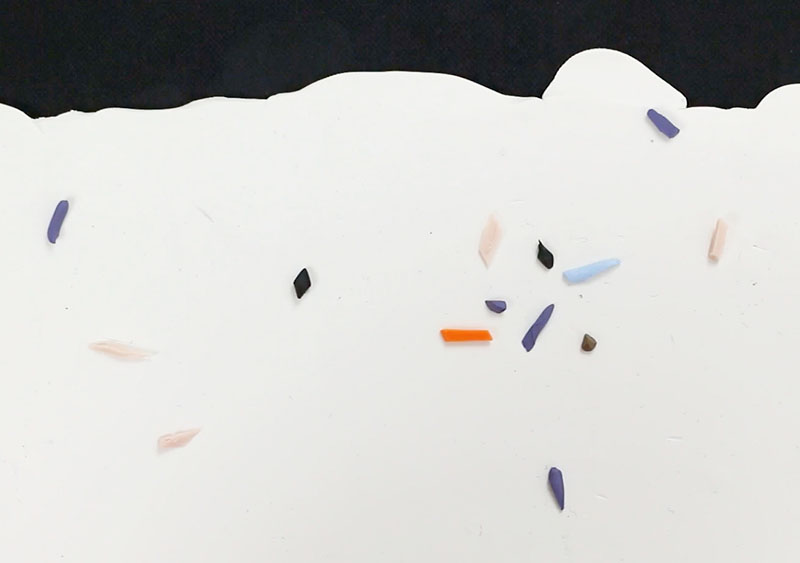
Next, you will simply place all those little pieces you cut up on top of the rolled out main color of clay. This process can take a bit of time, but it will depend a bit on how big your pieces are and how far apart you space them. Next gently press them down onto the clay with your hands. This will help them to stay put during the next step.
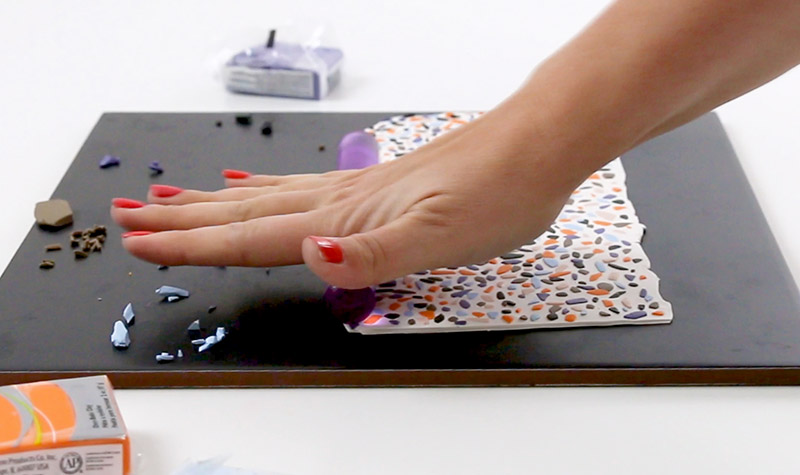
Then, using your roller, roll over the small pieces until they have been pressed down into the main color and the top of your clay is flat.
5. Cut to Size and Wrap around Can.
Now that your terrazzo clay is all done, it’s time to move it over to cover the can. Start off by cutting the clay down to size. I added about 1/2 inch to the diameter to get my length, and 3/4 inch to the height of the can. The Sculpey Super Slicer tool makes it really easy to get long, straight cuts, but you can also use a straight edge and your craft knife.
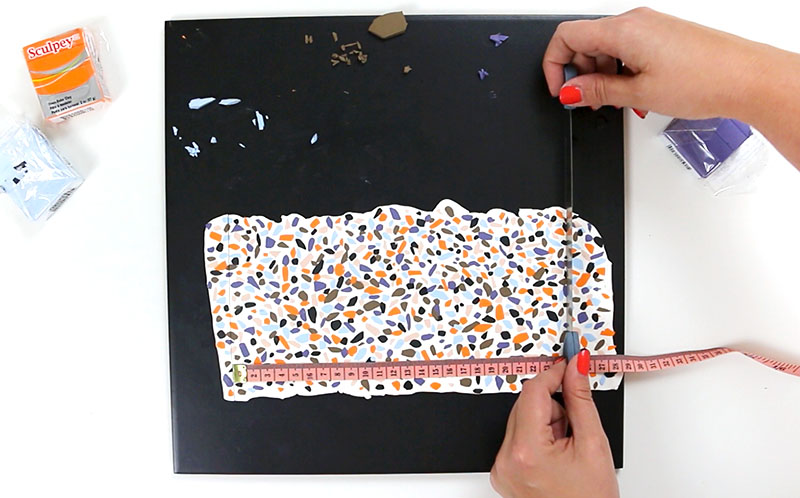
Peel off the edge scrap pieces and set those to the side. We will use them later.
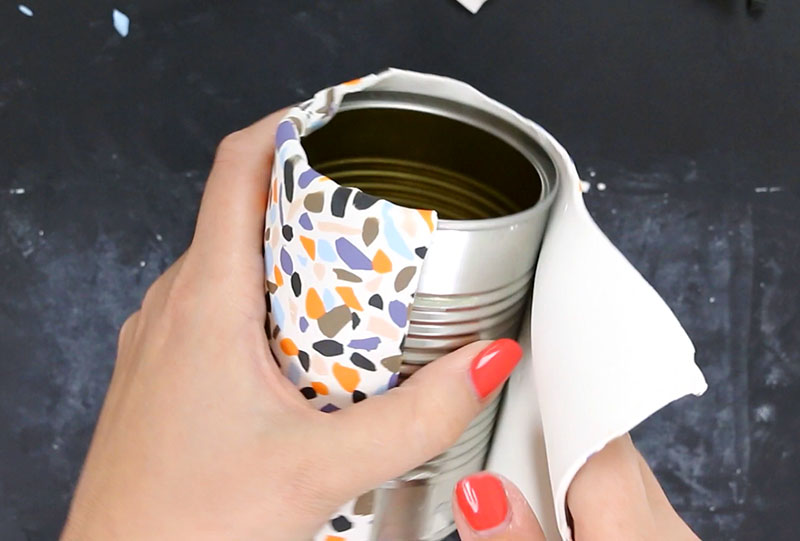
Next, carefully peel your large terrazzo clay piece up off of your work space and wrap it around the can. Use your fingers to press the seam together and wrap the clay around the edge and bottom of the can.
6. Cover Bottom of Can.
At this point, your can should be covered with your terrazzo clay except for the bottom of the can. To cover the bottom, start by piecing together the scrap edges that you trimmed from the edge of your main rectangle of terrazzo clay.
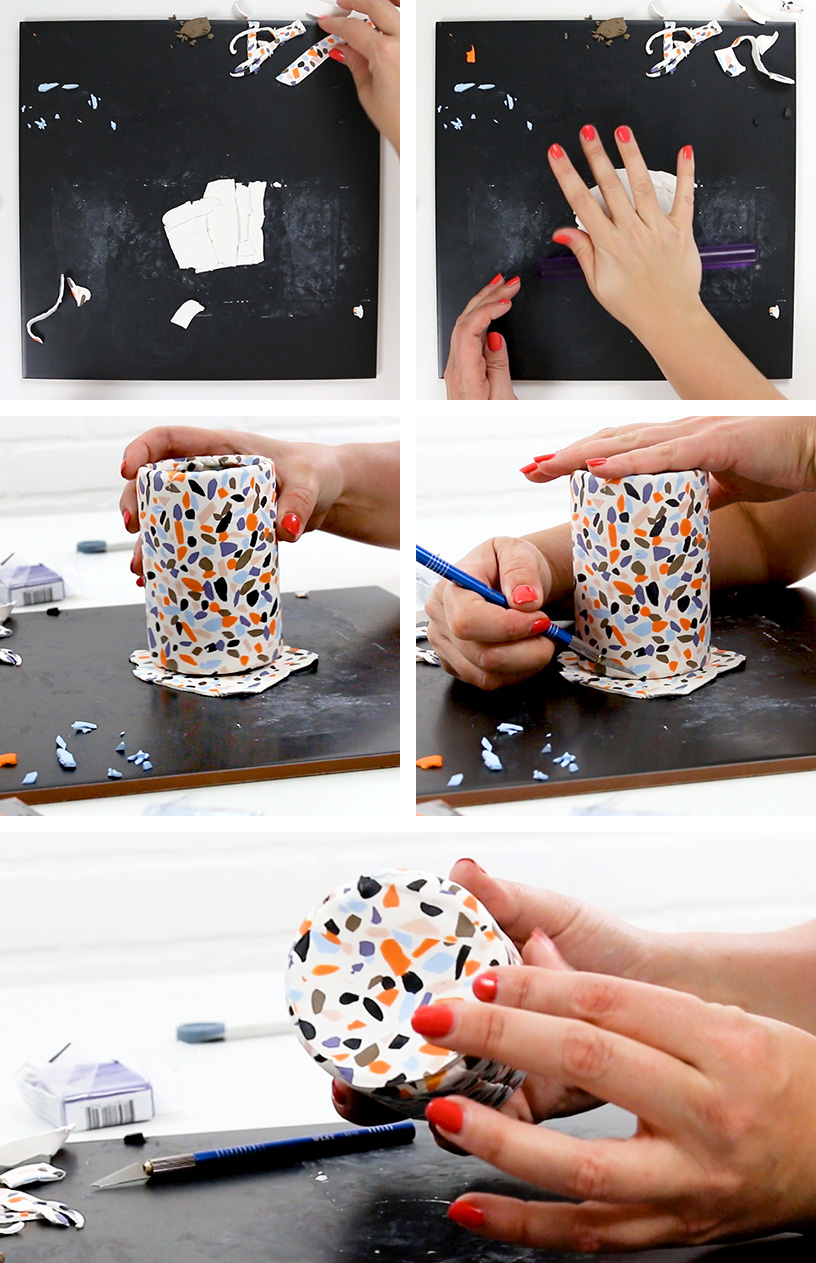
Use your roller to join the scrap pieces. Place the can on top of this new piece of terrazzo clay, and carefully trace around the bottom of the can with your craft knife. Apply this round piece of clay to the bottom of the can and use your fingers to press it into the clay wrapped around the can. Finally, use a skewer, pencil, or something similar to punch the clay through the holes you punched in the bottom of your can.
7. Bake Terrazzo Planter.
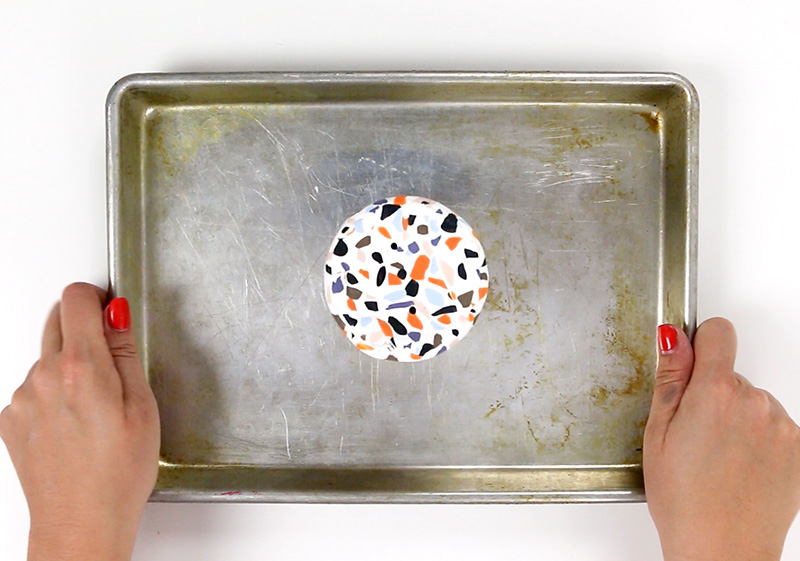
Finally, place your planter on a baking sheet and bake in a 275° oven (your regular home oven will work great) for 15 minutes per 1/4 inch of thickness.
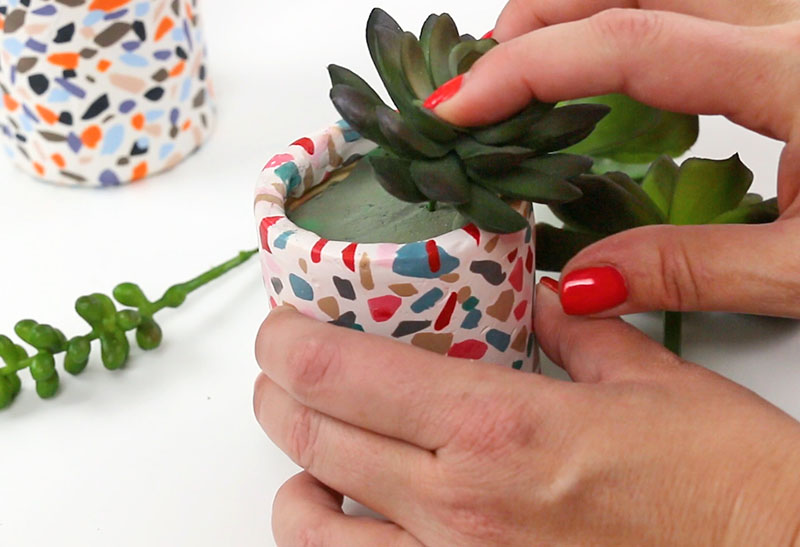
And once it has baked and cooled, your planter is all done! If you like, you can finish it off with a little glaze, which gives it a nice finished look. I did add a satin glaze to my smaller pink and teal planter, and I like the way it turned out.
At this point all that is left to do is add some plants to your cute little planters!
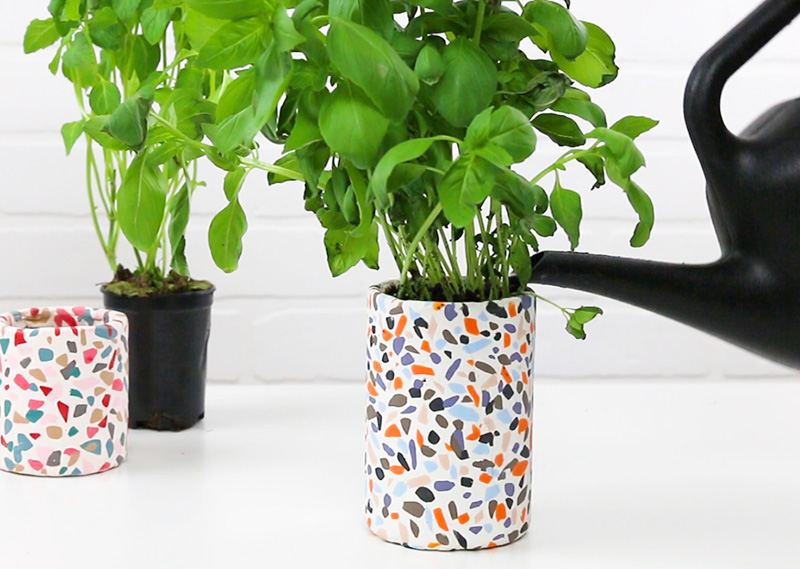
I am currently using my planters to hold some small herb plants in my kitchen. They make me smile every time I see them.

What do you think? Would you give this project a try? You can get everything you need to make your own terrazzo clay planter over at sculpey.com, AND, you guys are in luck because Sculpey is giving a special discount to all Persia Lou readers. Now through 9/30/18 you can get 20% off everything on the site with the code persialou. So go get yourself some clay and get crafting!
Happy Making!

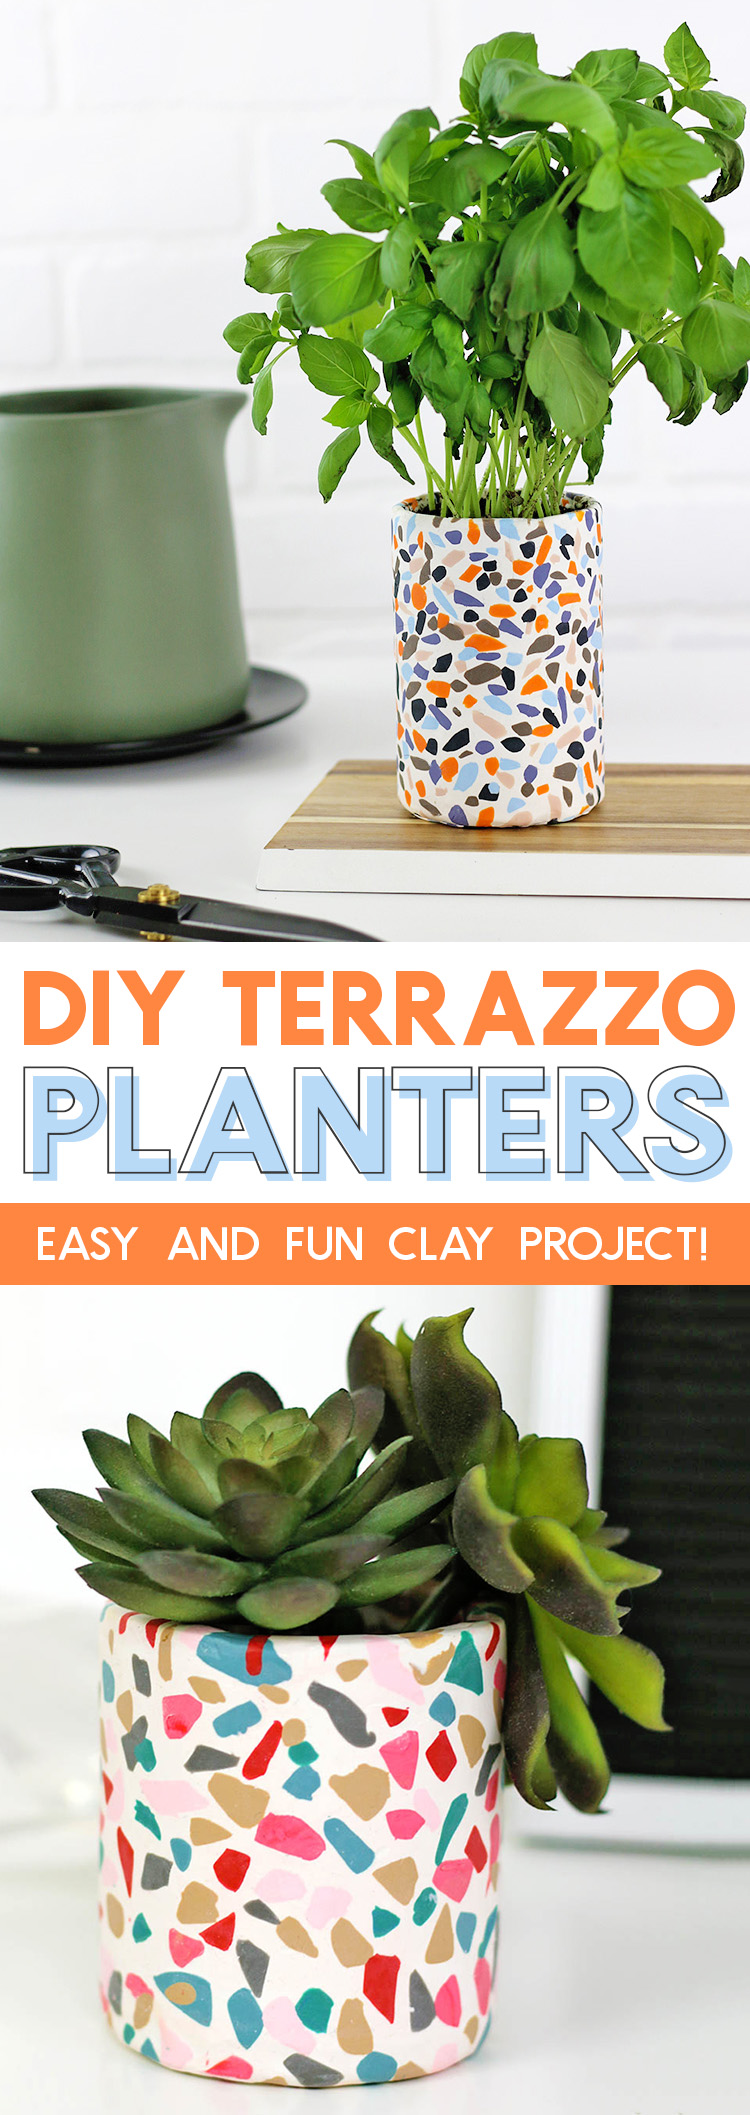
If you liked this post, I would love if you pinned the image below:


Comments + Project Love
Cindy says
Can we use others things? I know tin cans rust after awhile.
Alexis says
Yes! You can use anything that can stand up to the heat of your oven. 🙂
Alexis says
Yes! You can use anything that can stand up to the heat of your oven. 🙂
Kjersti says
hei, is this a solid state if you take away the tincan after? i was thinking about using a bowl, but then removing the bowl after oven procedure.. would it remain in shape and is it water proof? :p just curious
Lauryn Tacker says
What glaze do you use on your fished products?
Chasedie Woody says
? If I don’t want to leave can in pot can I not overlap and take it out and Seal it so water doesn’t absorb and moisture stays in dirt? Or whatever plant mediums I use??
Never done this before! also if I wanted to use glass pieces pressed into clay will it work or would I need to bake or air dry depending on which clay I have. or would I need to dry or bake and then glue glad or beads to it?!
Thanks for any help!! If I can seal it, what seal is recommended?! Can’t waste money so I need to know all I can!!