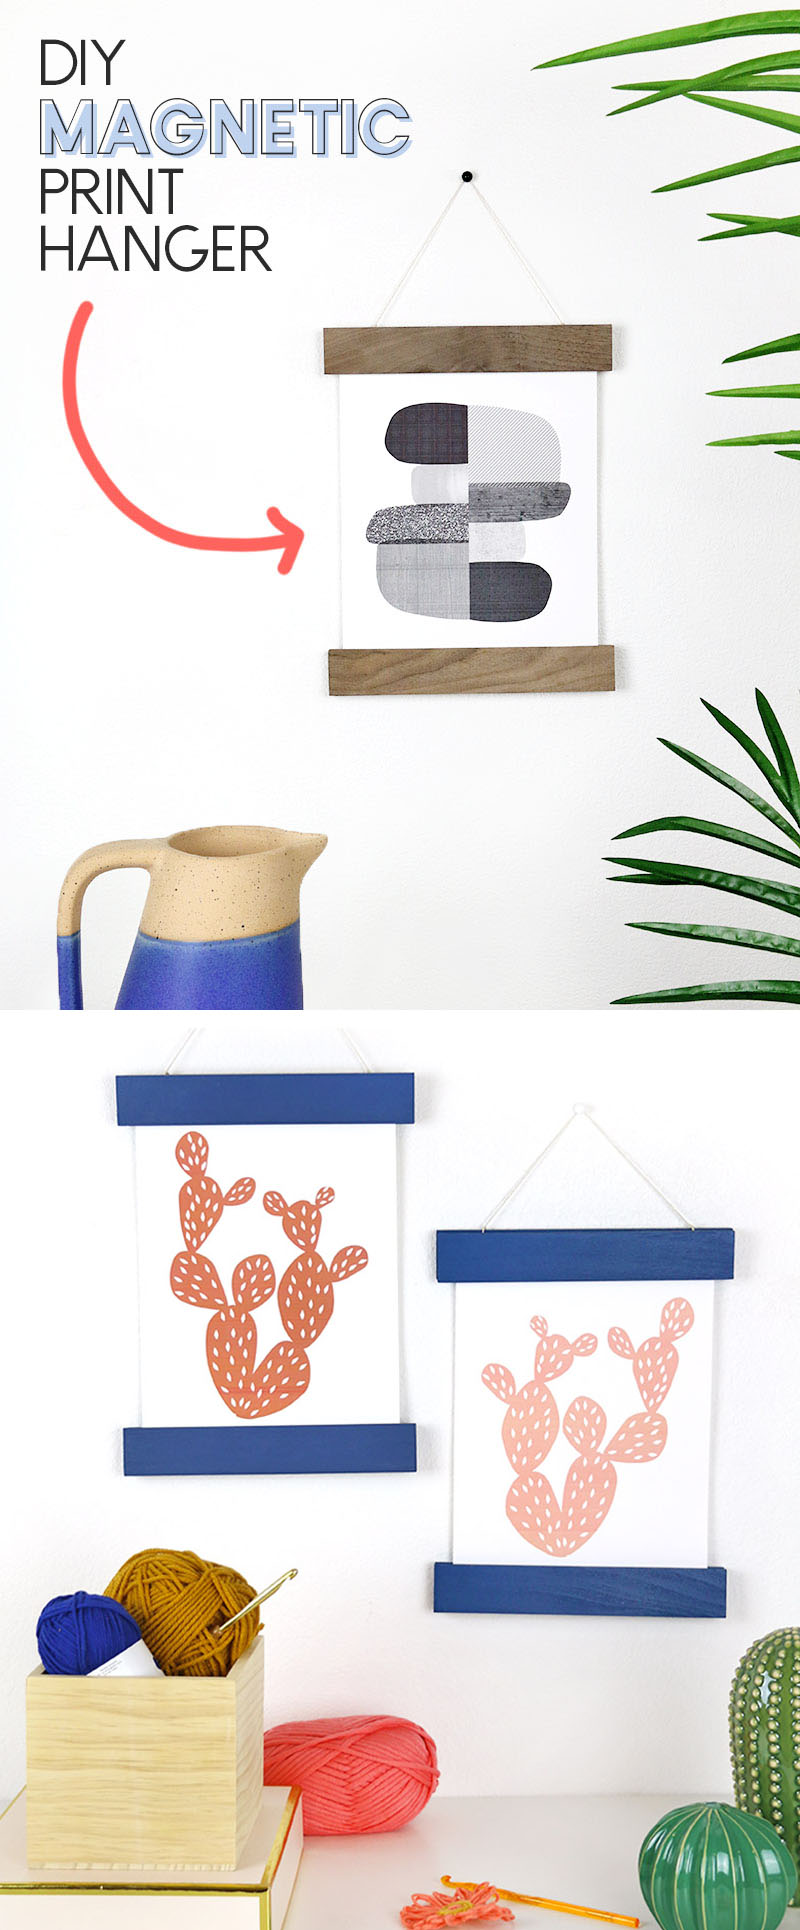
Learn how to make your own DIY Magnetic Print Hangers! These simple art hangers are a fun and effortless way to display your favorite art and posters. You can easily customize them to fit the style of your home and the size of your art. This is a sponsored post written by me on behalf of The Gorilla Glue Company. All opinions are 100% mine.
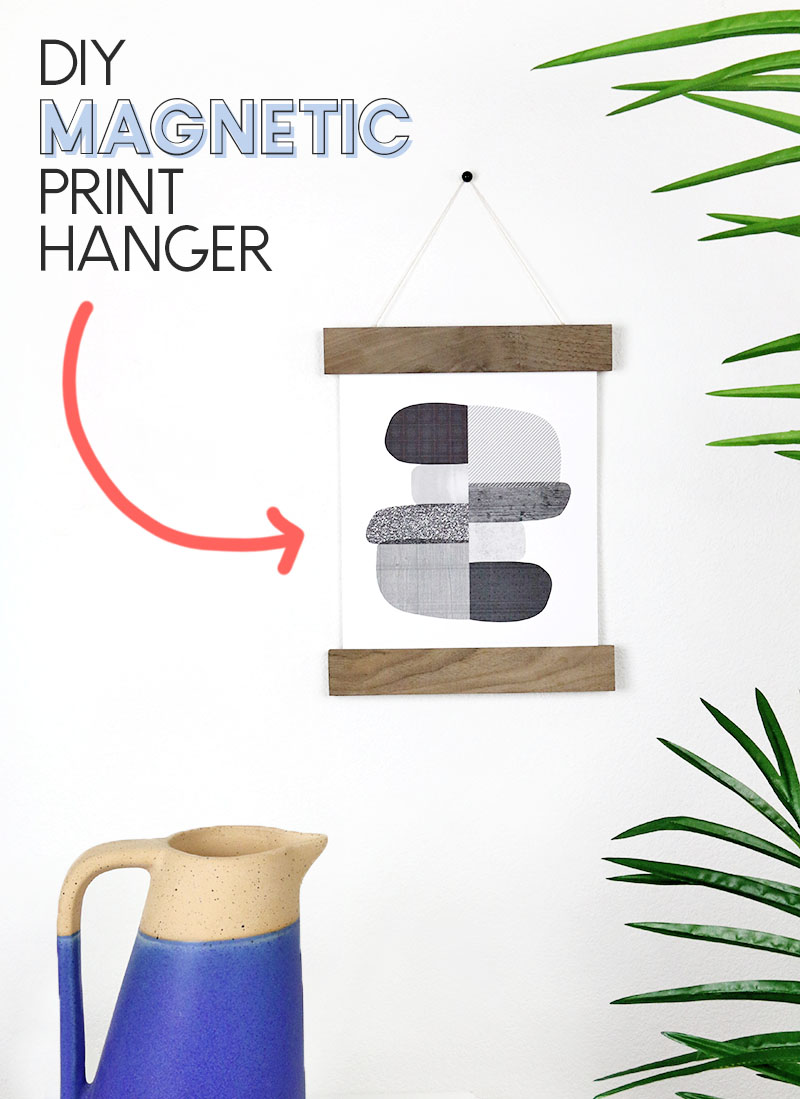
I’m really excited to share this fun little project with you all today! I don’t know about you guys, but I feel like I can always use more frames for my art and more art on my walls. These DIY magnetic print hangers are a great solution that make it super easy to get more art up on your walls!
I really love this project because you can make the hangers in any size you need and stain or paint them to be any color to match your art and decor!

Plus! Besides this fun DIY, there is an awesome giveaway going on sponsored by my friends at Gorilla Glue! Keep on reading to enter the giveaway to win a $250 gift card at the end of this post (woot!)
Ready to make a fun and simple print hanger to hang all of your photos, printables, posters, kids’ art projects, etc.? Let’s get making!
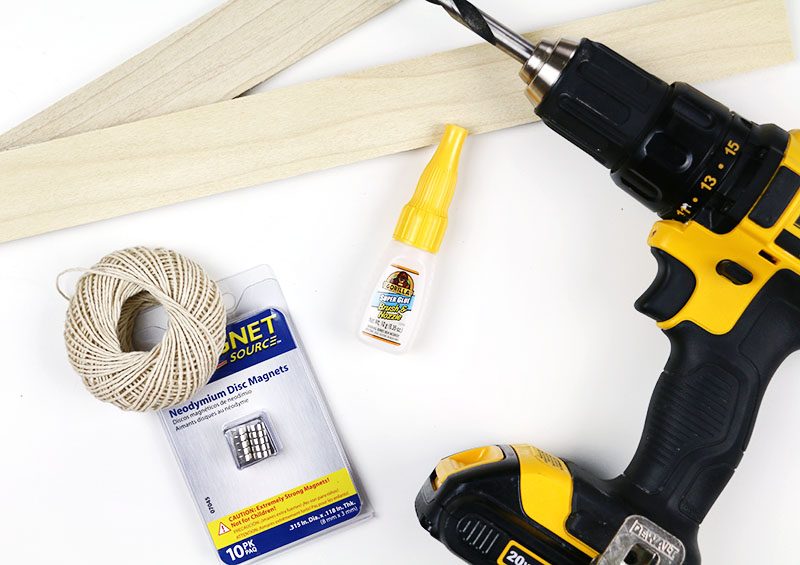
DIY Magnetic Print Hanger Supplies:
You should be able to find everything you need at your local hardware store.
- 1.5″ x .25″ Hobby Boards (I used both Walnut and Poplar)
- Saw
- Small Disc Magnets (I used 8 mm Neodymium magnets, which are super strong and worked great. You will need 12 magnets per print hanger.)
- Gorilla Super Glue Brush & Nozzle
- Drill and 3/8″ Drill Bit
- String
- Paint and Brush (optional)
How to Make DIY Magnetic Print Hangers
1. Trim Boards to Size.
Start off by cutting your boards down to your desired width. Since I was planning on using my hangers for 8″ x 10″ prints, I decided to cut my boards down to 9″ wide. You will need 4 boards of the same length for each print hanger.
2. Drill Holes for Magnets.
When your boards are cut to the proper size, then it’s time to mark off where you will place your magnets.
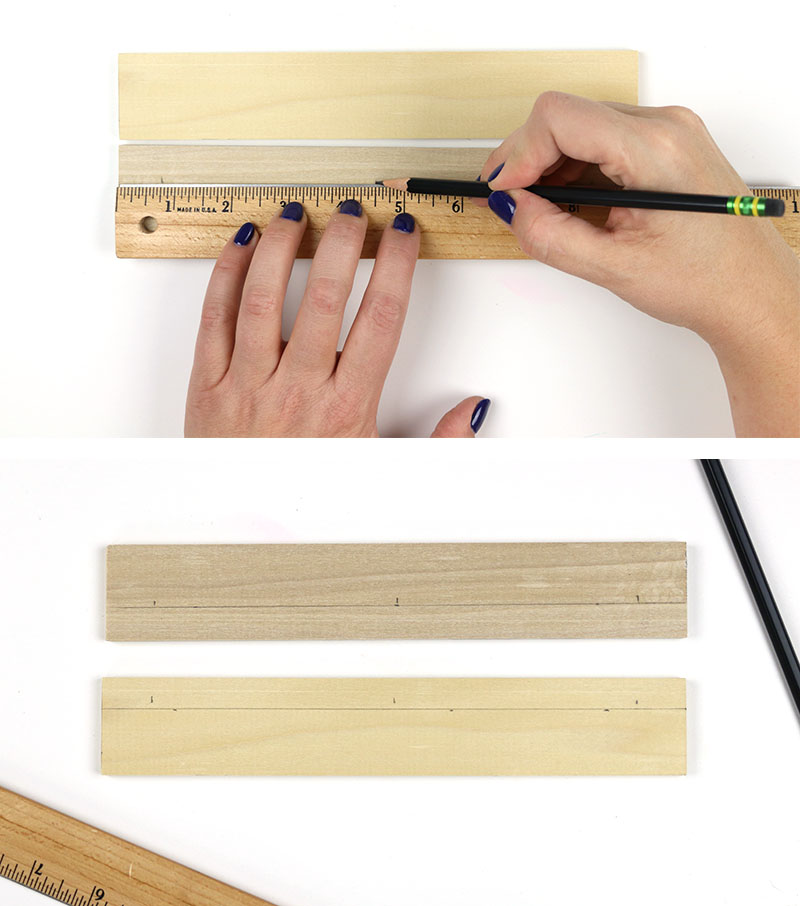
I marked three evenly spaced places for magnets 1/2″ from the edge of each board.

Next, I used a drill bit slightly larger than my magnets to drill shallow holes to place the magnets in at each spot I marked. Drill carefully to make sure you don’t drill all the way through the board. You want all the holes on each board to be approximately the same depth.
3. Glue Magnets in Place.
Next, glue one magnet into each hole on one of your boards.
For this project, I used Gorilla Super Glue Brush & Nozzle, which is officially my new favorite super glue. I have seriously been using this stuff for everything since I got it a couple of weeks ago.
The brush nozzle is such a cool feature! I love the control the brush gives me over the application, and plus it makes edge to edge coverage super easy.
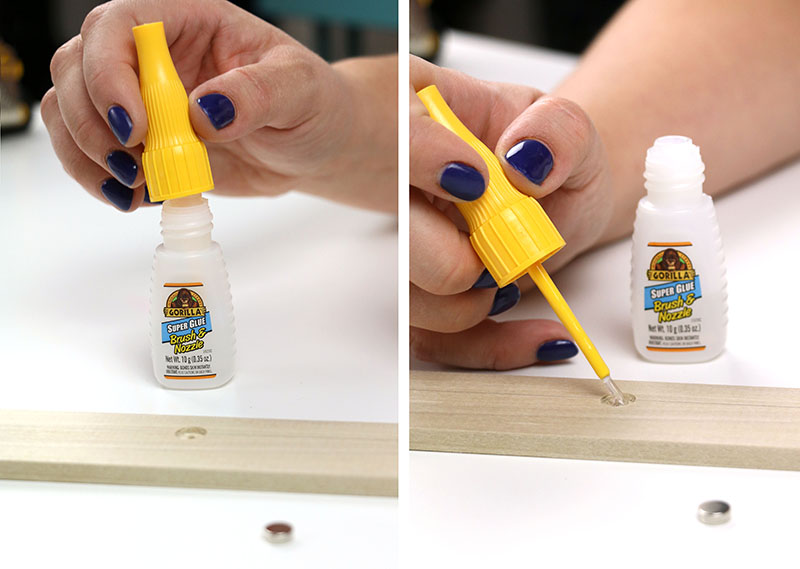
But if you want a regular nozzle tip, you can just unscrew the top of the cap and you have that option too! Cool, right?

To make sure magnets get lined up properly, I found it worked best to first place a second magnet on top of each of the magnets attached to the first board. Then, apply glue to the backside of those second magnets and place the second board on top.

4. Paint Boards. (Optional)
One of the cool things about making your own print hangers is that you can customize them in any way that you like. Paint is a great way to add more color to your project. You can even match the paint color to your piece of art.

5. Tie On String and Hang Art.
When your paint has dried, it’s time to finish off your hangers. To do this, simply tie a piece of string around one of the wooden boards with a double knot. That’s it!
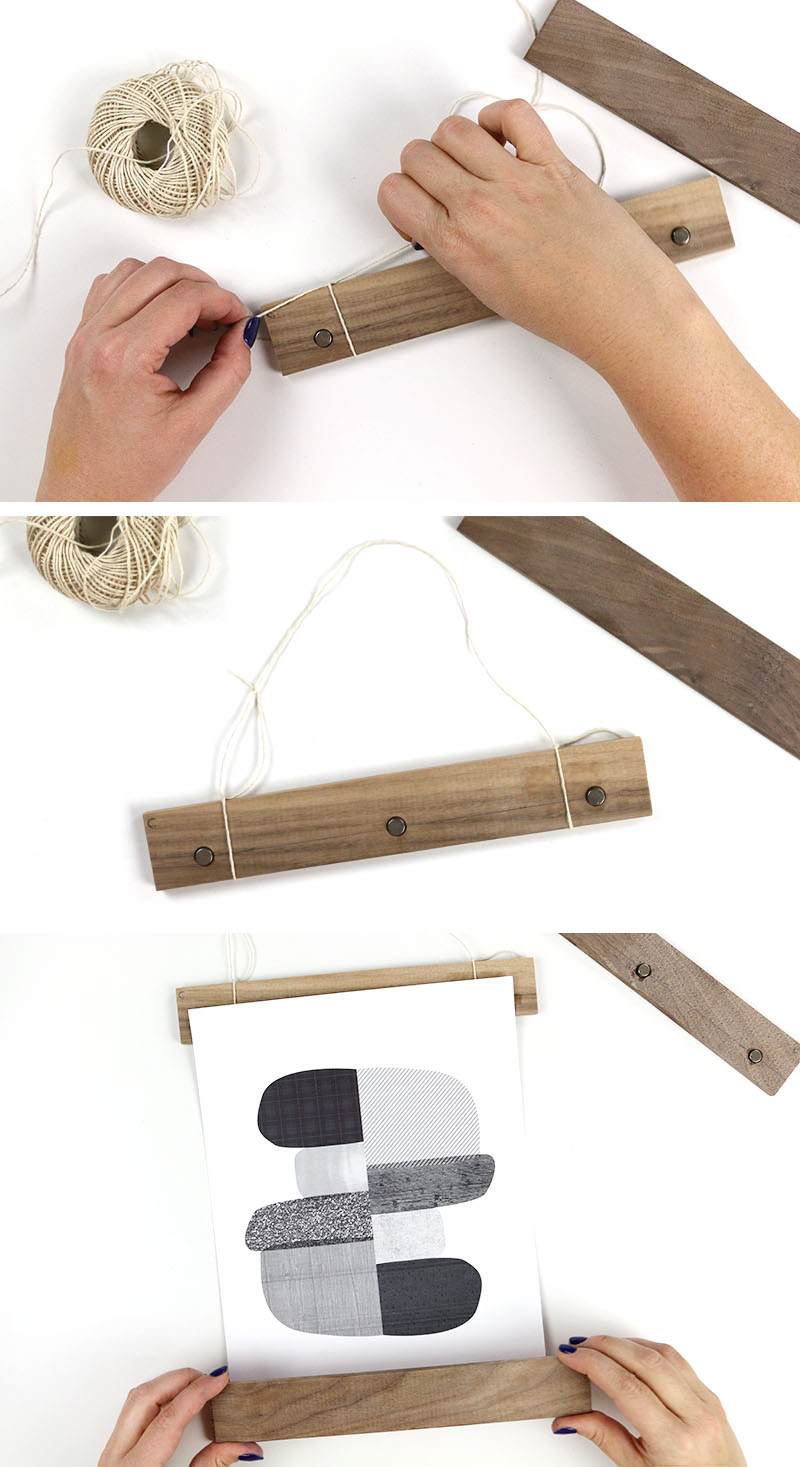
After that, simply place your print in between the two magnetic boards, and hang it up! I love how these turned out.
I hung this awesome Midcentury Modern abstract printable from Little Gold Pixel in my walnut hanger, and I hung a couple of cute cactus printables from Hawthorne and Main in my blue hangers.

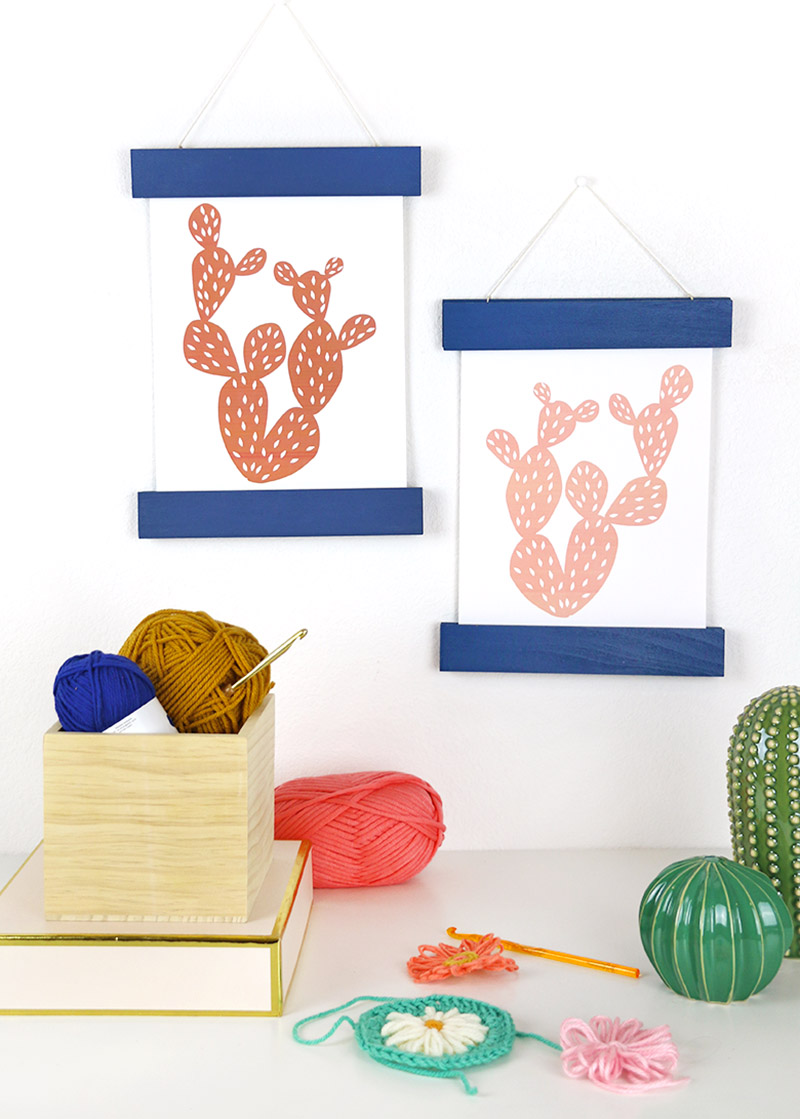
I just love them! These magnetic print hangers are also a great option for displaying kids artwork because they can hold a variety of print sizes and it is so easy to switch out the artwork to show off the latest masterpiece.
Now for that giveaway I promised! If you want to make your own DIY print hangers, you are in luck! One of you lucky people is going to win a $250 Home Depot Gift Card! Enter to win in the widget below.
Gorilla Glue $250 Home Depot Gift Card Giveaway
Until next time, Happy Making!

![]()


Comments + Project Love
melbows says
Love it!
Samantha christensen says
Your always so creative.
Kelly says
What an easy, affordable, adorable project!!
Deb Cohen says
Really enjoy these abstracts, great crafts
meghan says
Super cute idea, thanks for sharing!
Theresa J says
It looks so easy