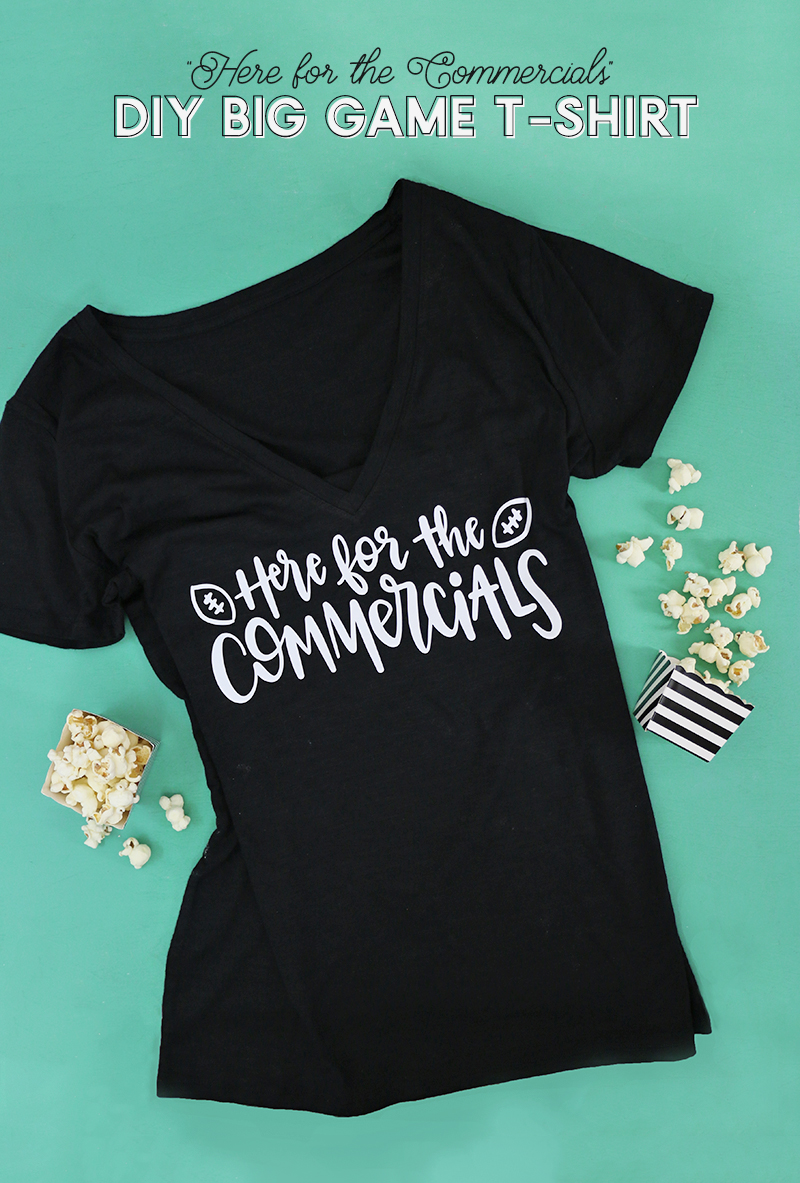
Make your own cute “Here for the Commericals” shirt with this free Super Bowl SVG cut file. If you are going to a football watch party you aren’t that interested in, then this is the perfect thing to wear! I originally shared this post at Crafts Unleashed, and this post contains affiliate links, which help to support this site at no extra cost to you.
Just this past Sunday, I was flying home after a conference (which I will be sharing more about later this week and next!), and as I walked through the airport, I vaguely noticed groups of people crowding around TVs, but didn’t think too much about it.
Then, after boarding, the man who sat next to me on the plane asked me if I knew the score immediately after he sat down. I’m not really sure how I responded, but I’m sure I looked very confused. A few minutes later, he was pleased to tell me, “It’s 20 to 17.” To which I responded, “I don’t even know who is playing.” (I did not say, but could have added, “Or what sport we are talking about.”) When he told me it was the Rams and the Saints, I knew enough to understand that this was football and to remember that the BIG GAME must be just around the corner.
All of this is to say that I am not the biggest NFL fan. However, like most Americans, I will probably watch the Super Bowl whenever it is on (in a couple weeks I think?), and when I do, I will be wearing my DIY “Here for the Commercials” shirt. If you follow football as well as I do, then you might also need one of these shirts. If that is the case, good news! I have the free Super Bowl cut file for you to make your own. Here’s everything you will need:
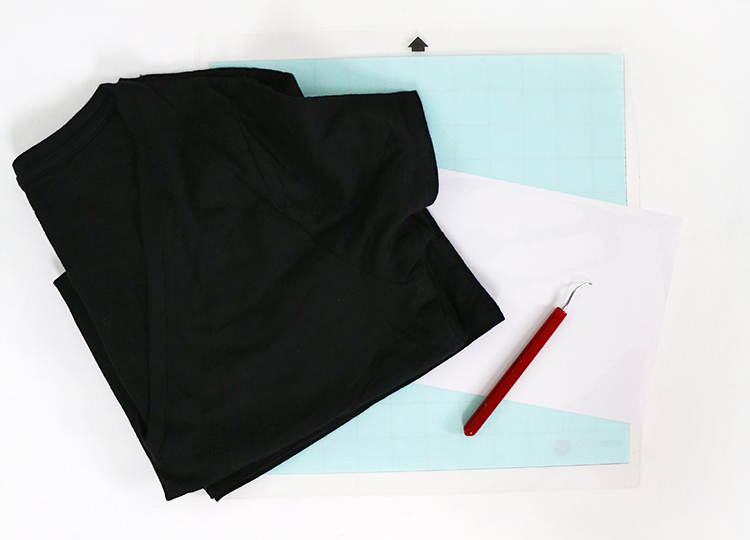
DIY “Here for the Commercials” Shirt Supplies:
- Blank T-Shirt (I picked mine up at Target)
- Heat Transfer Vinyl (I used my go-to, Siser Easyweed)
- Electronic Cutting Machine such as a Silhouette Cameo or Cricut Explore
- Weeding Tool
- Iron, Easy Press, or Heat Press
- Parchment Paper, Scrap Piece of Cotton Fabric, or Multi-Use Paper
- My “Here for the Commercials” Design <- click to download a ZIP file containing the free SVG, PNG, and DXF files (Free for Personal Use Only. You may buy a commercial use license HERE.)
How to Make your own DIY Here for the Commercials Shirt with my Free Big Game Cut File
It is seriously so easy to make this cute big game t-shirt! If you are brand new to working with iron on or heat transfer vinyl, then please start by reading through my beginner’s guide to working with heat transfer vinyl right HERE.

Step One. Cut the Big Game SVG from Heat Transfer Vinyl.
Start out by clicking the cut file link in the supply list above. It should download a ZIP file containing a SVG, PNG, and DXF version of the cut file. You will need to unzip the file first to be able to upload the design to your cutting machine software. You can read more about using different file types with your Silhouette HERE.
I am using a Silhouette Cameo, so I will provide instructions for working with that machine, but the basic steps will be the same with a Cricut machine.
Because we are cutting the design from heat transfer vinyl, you will need to mirror the design before cutting so it will read properly when ironed onto your shirt. In the Silhouette Studio software, select the design, then click Object > Mirror > Flip Horizontally to mirror the design. In Cricut Design Space, click Flip > Flip Horizontal.

Next, select the proper cut settings for your heat transfer vinyl. For Siser Easyweed and a Silhouette Cameo 3, select “Heat Transfer Vinyl” from the materials settings under the “Send” tab. Load your vinyl into your machine (shiny side facing down) and send it to your machine to cut.
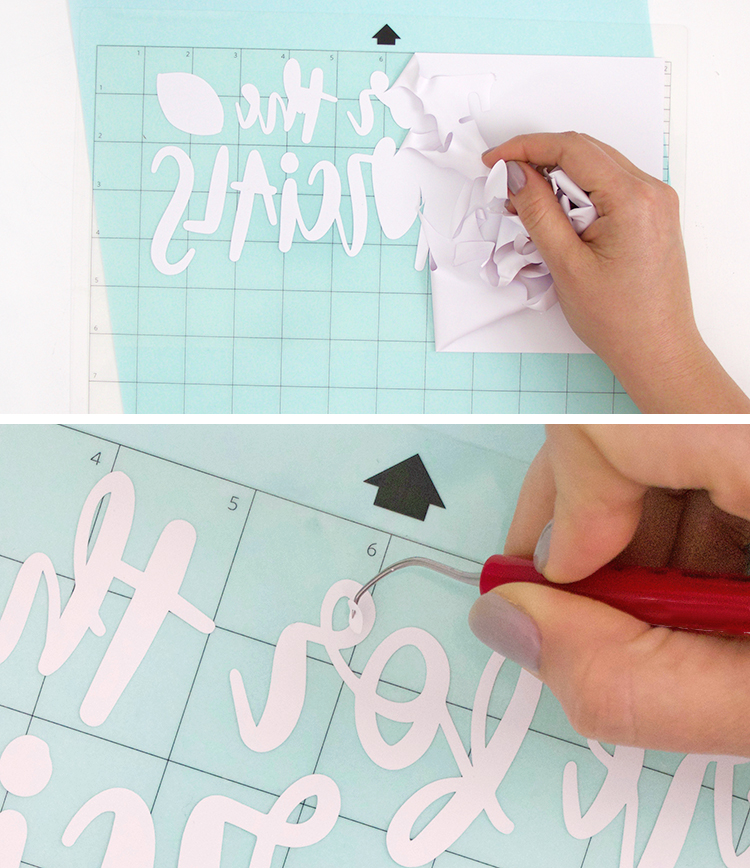
Step Two. Weed out or Remove Excess Vinyl.
Use your weeding hook to remove the excess vinyl from around your design. (THIS is my favorite weeding hook, and I highly recommend it). Tweezers and a straight pin are another good option for getting out those small pieces.
Step Three. Iron on the Super Bowl Design to your Shirt.
Start off by flipping over your design so the shiny clear plastic is on top of the design and your words read correctly. Then, position your design on your t-shirt and cover with a piece of parchment paper or thin cotton fabric.
With your iron set to the cotton setting and the steam turned off, apply heat and pressure to each part of the design for 10-15 seconds. Slowly peel off the clear plastic backing. If the vinyl is not fully adhered to the shirt and starts to come up with the plastic sheet, then apply more heat and pressure (But be sure to cover with your parchment paper or fabric first! Never apply your iron directly to the heat transfer material). When the vinyl has fully adhered to the shirt, you should be able to see some of the fabric’s weave or grain through the vinyl.

Finally, you can flip the shirt over and iron on the backside for a few seconds to help get a great application. And, that’s it! Your cute shirt is all ready for the big game!

If you use this design to make your own shirt, I want to see it! Tag me on instagram or share to my facebook page. It’s seriously my favorite thing to see you guys out there in the wild using my designs. 🙂
Until next time, Happy Commercial Watching and Happy Making!

Get more free cut files:
[the_grid name=”Free Cut Files Footer”]

