This simple rubber cement resist technique is a fun way to make easy watercolor art. Create beautiful pieces with just a few supplies. It’s simple, fun, and gives great results. Let’s paint!

If you have been around here much before, you probably know that I really love playing around with watercolors and I love me a good easy watercolor art project.
Watercolors are so fun because of the way they interact with and react to other media. I have already put watercolors with plastic wrap and salt, but today we are bringing in a whole new element. This guy:

Look familiar? That’s right! It’s humble rubber cement, that fun goopy, sticky stuff with the brush in the lid you probably remember using as a kid.
Today, we are going to use rubber cement to make a resist painting, which is when you use two mediums that don’t get along well to create designs, patterns, and texture.
To make a resist painting with watercolors, you start by laying down a design onto your paper using a resist medium (something that watercolor doesn’t play well with) and then painting over that with your watercolors. The paint won’t adhere to the paper where the medium is, and then when you remove it, you have a beautiful watercolor design!

Rubber cement makes a great resist because it is inexpensive, easy to find, and easily removable. Plus, you will feel like a kid again when you are using it! So, it’s pretty much the best.
Ready to make some beautiful and easy watercolor art paintings? Let’s do this!
Easy Watercolor Art Supplies:
- Watercolor Paper
- Watercolors – Tube or Pan
- Watercolor Brushes (round brushes are my favorites)
- Small, Inexpensive Round Brush (for the rubber cement)
- Rubber Cement
- Pencil (optional)
- Quality Eraser
Step One – Paint Resist Design
Start off by painting your design onto the watercolor paper with rubber cement and a small round brush. It can be a little bit difficult to see where you have painted, but the rubber cement has a sheen to it, so picking up the paper and holding it at different angles can help you to see it.

To get the best result, you really need to use quite a bit of rubber cement. If you apply it too thinly there will be holes that will let the watercolor through to the paper. Just load up that brush with rubber cement and reload often.
I freehanded my designs, and I really like the painterly look they have, but if you don’t feel comfortable doing that, you can trace a design lightly onto your paper with pencil and fill it in with rubber cement.
When you are done with your resist design, set it aside to dry.
Step Two – Prepare your Palette
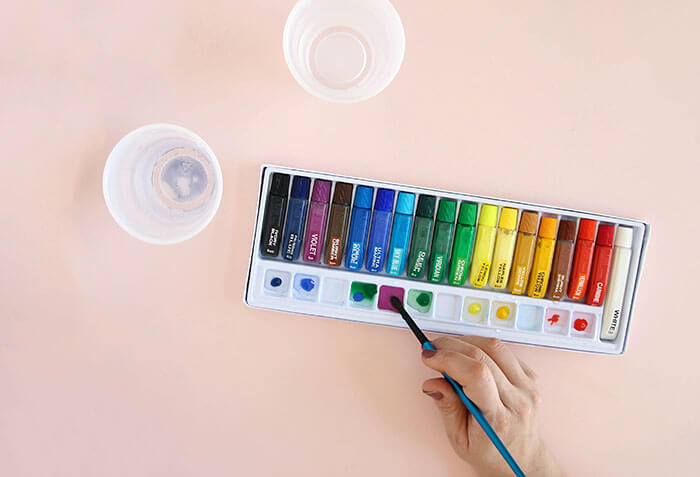
While your rubber cement is drying, it’s time to prep your palette. If you are using tube colors like I used, just squirt a little drop of paint onto your palette and use your brush to mix in some water to get the color and opaqueness you want. Feel free to mix and create your own custom colors. Once your palette is ready and your rubber cement design is dry, you are ready to paint.
Step Three – Paint!
This is the fun part! Start by loading your brush with watercolor and painting over your entire design. Add water to lighten the color or more pigment to darken it. Try adding in areas or drops of analogous or contrasting colors.

It’s so much fun to see your design revealed as you paint! I painted this floral design with reds, yellows, and purples. Here’s how it turned out:
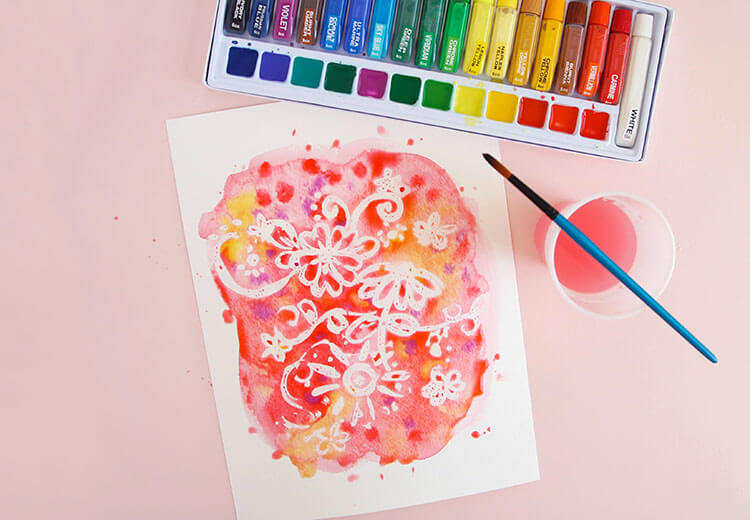
I really love the look of some watercolor splatter around the edge of this kind of loose painting. It is super easy to add this splatter look. Just load your brush with color and then tap it gently onto your other hand (see image below). This will fling splatters of paint around the painting (and around your workspace, so be warned, this is messy!).

When you are happy with your watercolor art paintings, set them aside to dry.
Step Four – Remove Rubber Cement
Once your painting is completely dry (I mean completely dry! This is important to avoid smearing and smudging your work.), you are ready to remove the rubber cement.
I found the best way to remove the rubber cement is with a clean, quality eraser. Just rub the eraser over the rubber cement and reveal your beautiful, finished design.

Guys. That’s it! Your pretty watercolors are all done.


This easy watercolor art technique is seriously a lot of fun to play with. I hope you will give it a try!
Happy Painting!

More DIY Art Projects

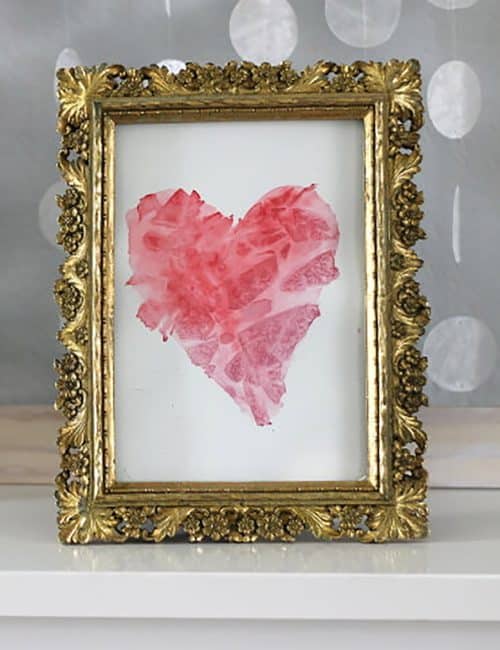
Simple Faceted Watercolor Hearts Anyone Can Make
This post was originally posted over at the fabulous Eighteen25 where I am part of the new creative team. (Still so excited
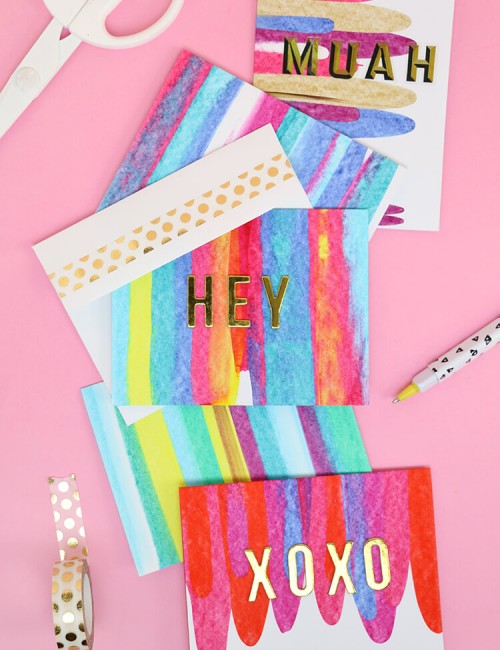
Paint Scrape Notecards – DIY Art Project Idea
This DIY art project idea is really easy, so much fun, and makes beautifully colored notecards for every occasion. You just need
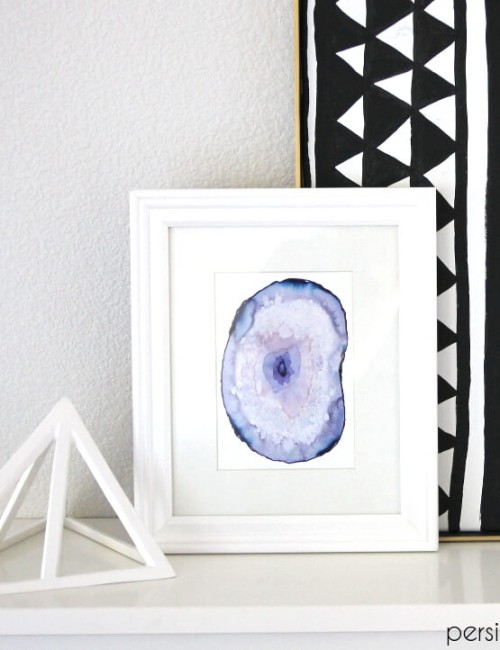
How to Paint Watercolor Agate Slices + Free Printables!
Looking for a fun and easy watercolor project with gorgeous results? In this post, I will show you, step-by-step how to paint
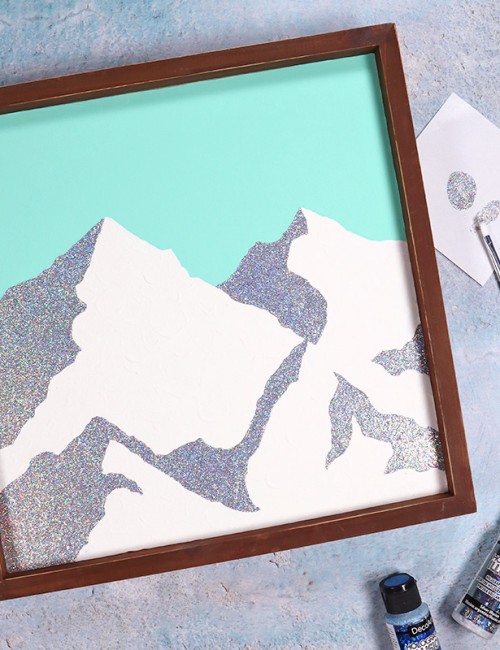
DIY Holographic Minimal Mountain Art with DecoArt
Make your own minimal mountain art with a pop of holographic sparkle with this simple DIY art tutorial! This project was made


Comments + Project Love
Elizabeth Garat says
Hi !
Do you have a trick for getting rubber cement out of brushes ?