This is a sponsored post written by me on behalf of FrogTape®. All opinions are 100% mine.
What a difference a can of paint can make! Come get a little peek at our kitchen remodel plus a few tips for getting perfect paint lines every time. 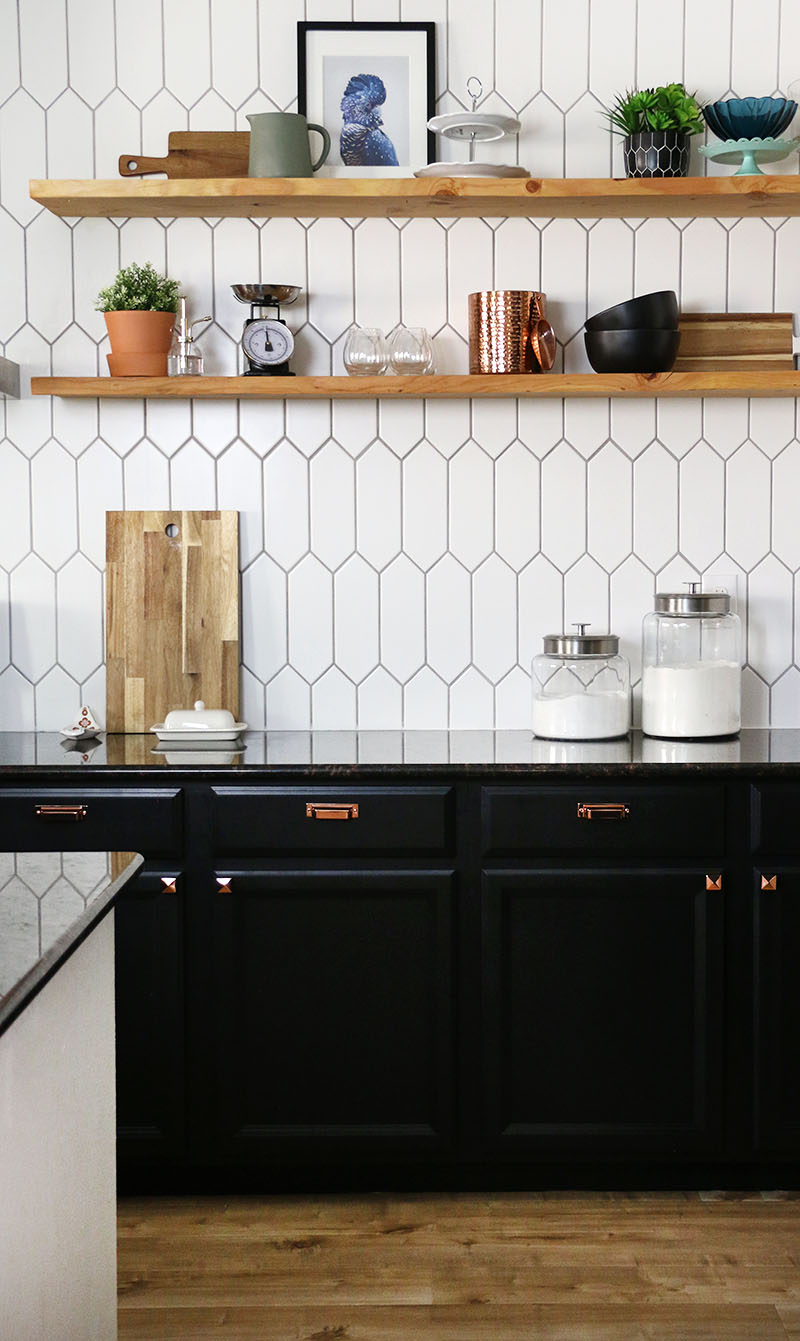 If you have been following my recent sporadic instagram stories, then you may have seen some updates and questions and general mulling over things in our little kitchen remodel. We have been in our home for about a year and a half now. We have been sloooooowly remodeling the kitchen over that past year or so, and it is finally starting to come together. Today, I wanted to share a quick update on the space and show off what we have been working on in there.
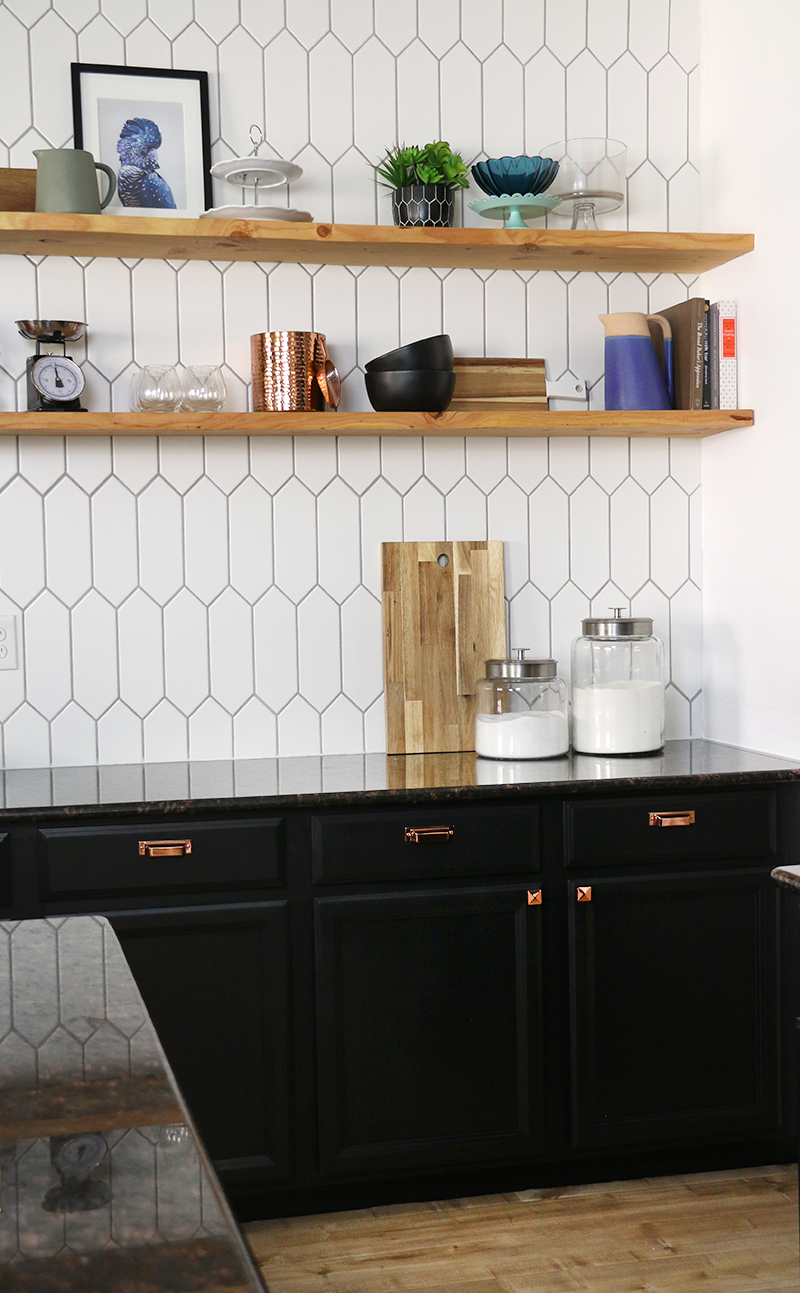
If you want to go back and look at the “Before” Home Tour I posted last year, you can check that out here. When I wrote that post, we had already installed new flooring and ripped out the upper cabinets. Since then, we have installed a new hood, tile wall, and heavy duty floating shelves. And just recently, we have added a whole bunch of black and white paint. That’s what I wanted to talk about today.
As a little reminder, here is what the kitchen looked like when we bought the house: 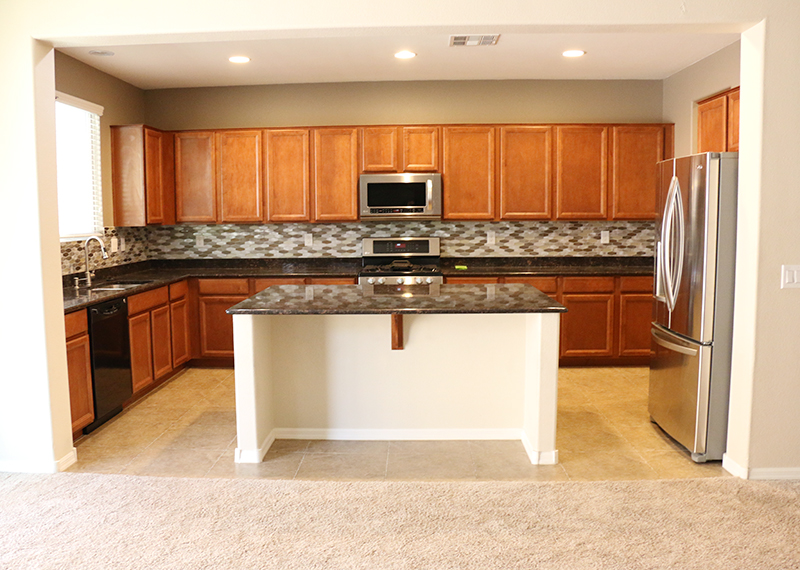 The before always makes me think of the kitchen in a generic office building. Anyone else get that vibe??
When I pulled that picture out last week, it was a little bit of a shock. I had kind of forgotten what it looked like before because we have been living in the process for so long, but the contrast with where we are now is really just amazing. I’m so happy with it!
One of the benefits of doing a slow remodel is that it gives you time live in the space and figure out what will work best there and adjust plans as necessary. As I wrote in my before home tour, I originally wanted white countertops and navy blue cabinets, but the more research I did on countertops, the more I realized how expensive it was going to be to get what I wanted. I started wondering if I could make the existing countertops work.
After swatching out some different cabinet paint colors, I decided that black would be the way to go. I wanted to downplay the browns in the granite and I ultimately decided black would be the best way to accomplish that. Paint time!
Tips for Getting Crisp Paint Lines in the Kitchen
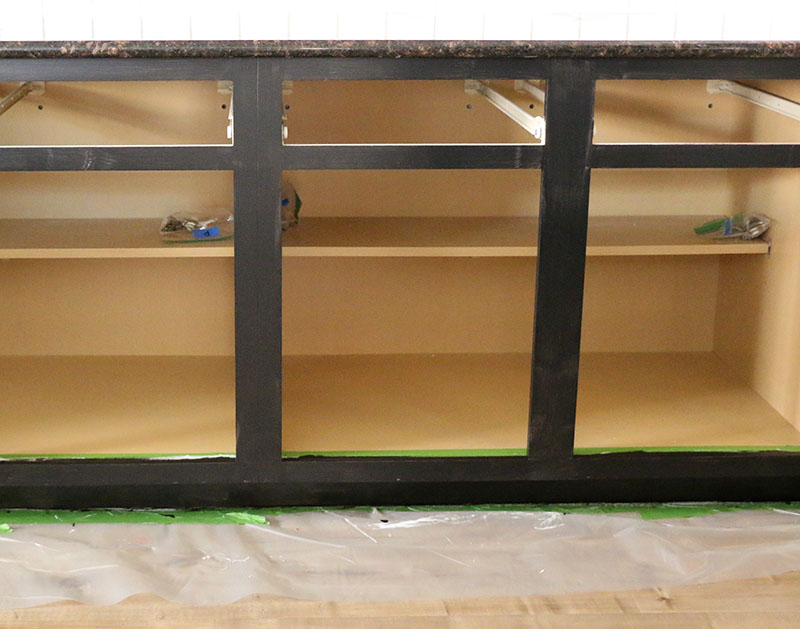
I will have a detailed post soon on how we painted all the cabinet doors and drawer faces, but basically we used a paint sprayer for those and decided to use a brush for the cabinet frames. This worked well for us and made for less prep and mess inside the kitchen. We didn’t need to drape the entire kitchen in plastic, but we still needed a few key items to protect our surfaces and make sure we got clean edges.
The first thing in my cart when we got to the home improvement store wasFrogTape®. 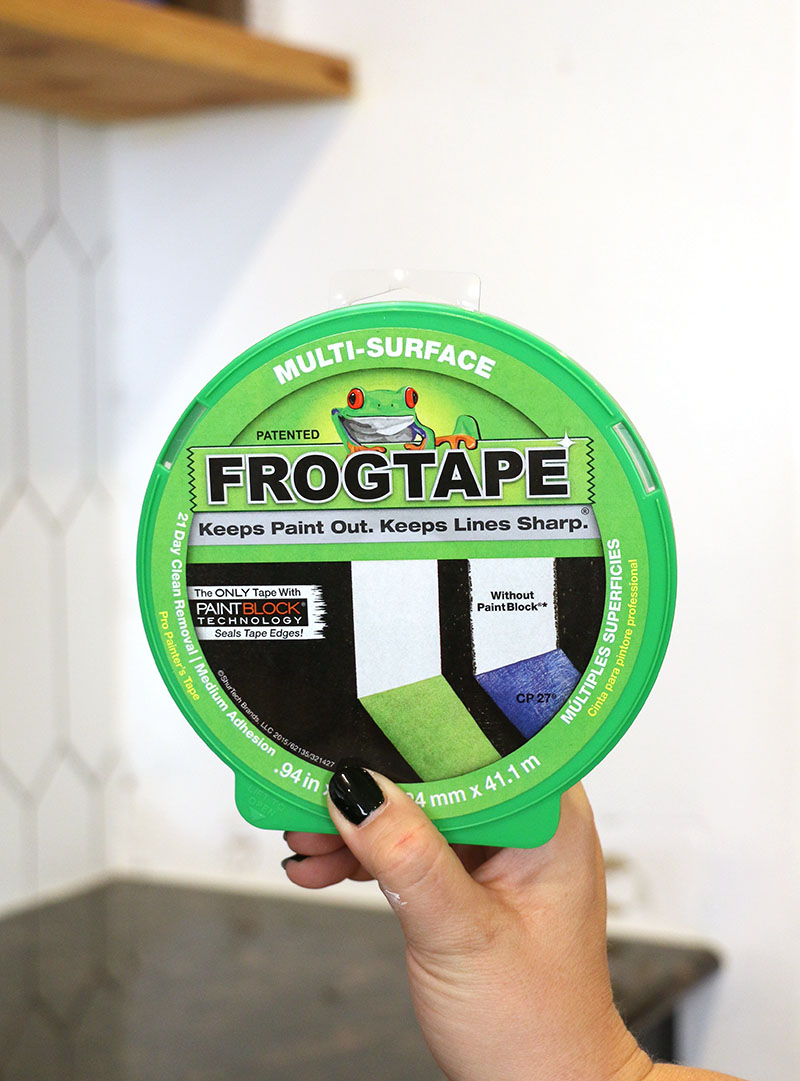 My very best tip for getting crisp paint lines is to use quality painters tape, and I specifically love and recommend FrogTape. The thing that makes FrogTape special is its patented PaintBlock® Technology, which reacts with the water in latex paint to instantly gel and form a barrier to protect against paint bleed. All of that means you get super clean, crisp paint lines the first time.
First we used it to tape around the edges of our cabinets. We applied it where the cabinets met the walls, floors, and countertops. We also used it on the inside of the cabinets to protect the shelves. 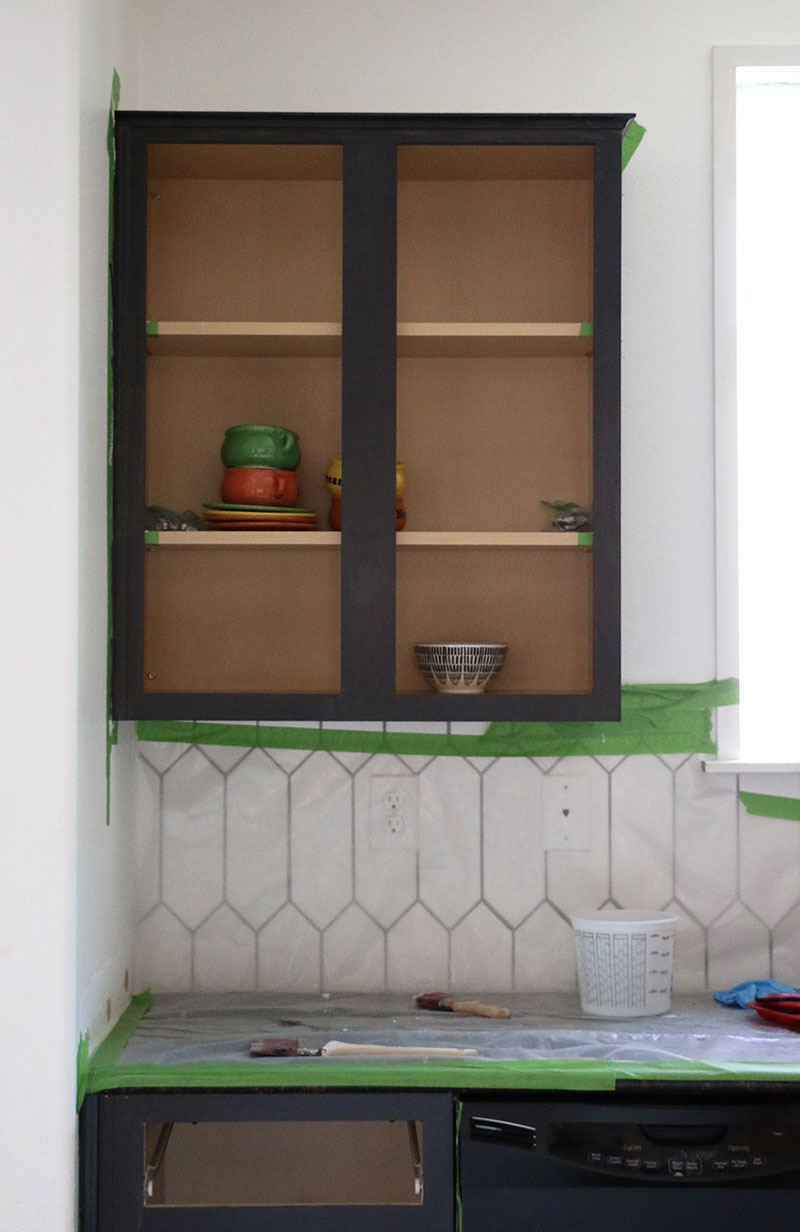
 I use FrogTape all the time when painting at home, but I wrote about it before in the post on our little powder room update. In that post I talked specifically about how FrogTape can help get clean lines on orange peel textured walls, which can make it extra difficult to get those clean lines. Our walls are still textured in our kitchen, so I used some of those same tips when painting the cabinets and around the cabinets in this space.
It was especially important to burnish the tape down into that wall texture around the cabinets. Spending a few extra minutes to press the tape down around the edge will give you the cleanest paint lines possible, so when you peel back that tape, it looks just like this. 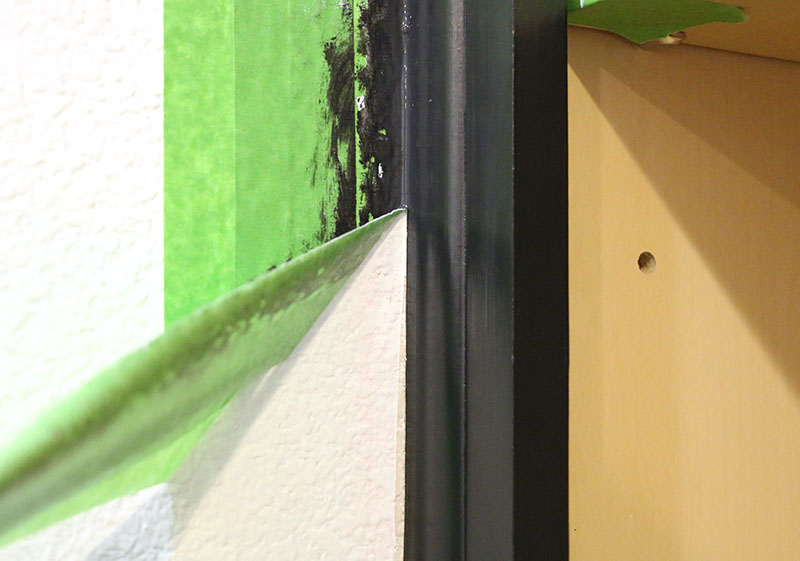 Ahhhhh. Seriously peeling back that tape and seeing that perfect paint line is kind of the best.
I also used FrogTape to touch up the walls around the cabinets. When we took out the countertop side splash pieces, it left us with some patchy looking edges that needed painting. Again, FrogTape helped me keep those lines neat! I simply applied the tape to my countertops, tile, and floating shelves, and rubbed it down with my fingers to get a nice seal. Then, I painted the edges with my brush, and finally, peeled the tape up to reveal that clean edge. 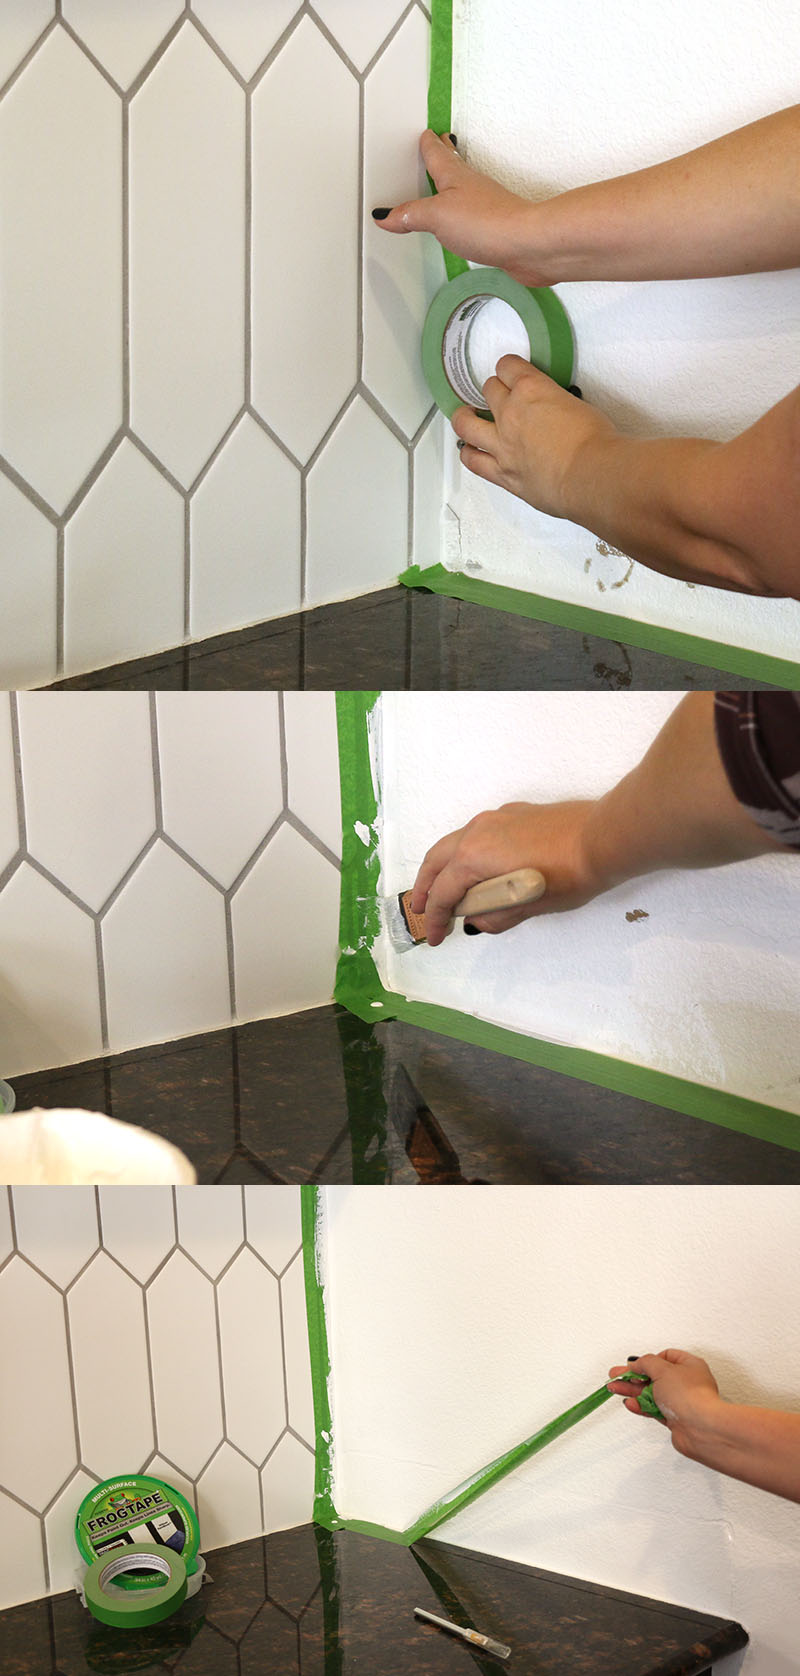 It is seriously amazing what some paint can do to a space. Our kitchen now feels like a completely different place, and I just love to be in there!
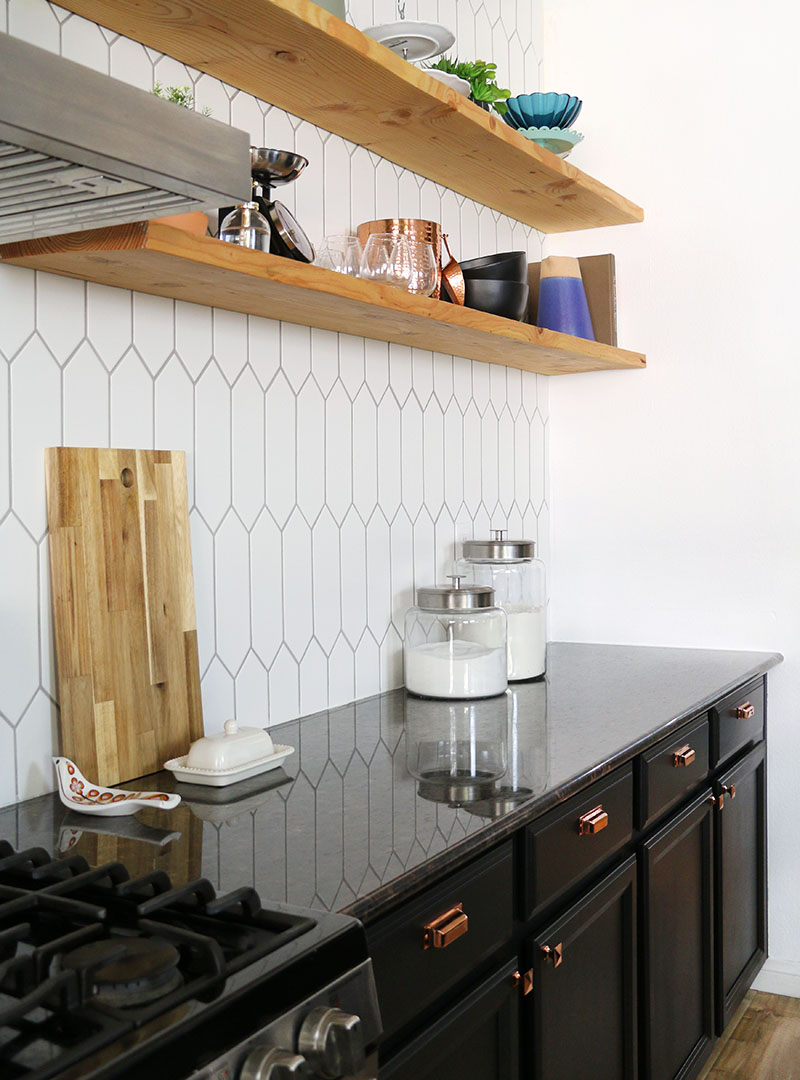
 What do you guys think? I’m still kind of blown away by the transformation. We are just finishing up a few more projects, and then I will share the full kitchen tour with you all soon.
Happy Making!

![]()


Comments + Project Love
Gina Kleinworth says
I swoon for that black & white!
Jill says
I love your backsplash! Can you tell us the brand or design name please? My local tile distributor is trying to track it down. Thank you!
Alexis says
I do not remember the brand name, but we got it from Floor and Decor, if that is helpful. Good luck!
stephanie hamm says
are the backsplash tiles 4×12?
Amy says
Love it!! What color grout did you use on the backsplash?
LACEY says
Hi, your kitchen looks awesome! I just got a tile sample from Lowes that is the same of your backsplash. can you tell me what color grout you used?
thanks!
B says
Love the floating shelves! Can you tell me how you put them over the tile?