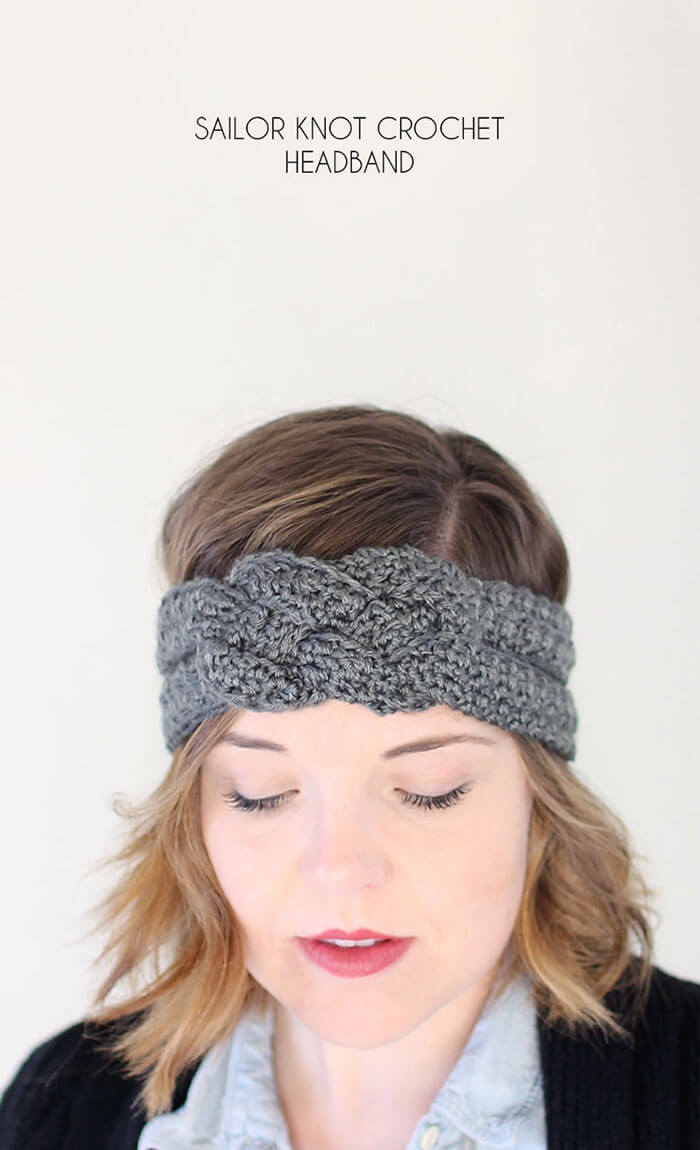
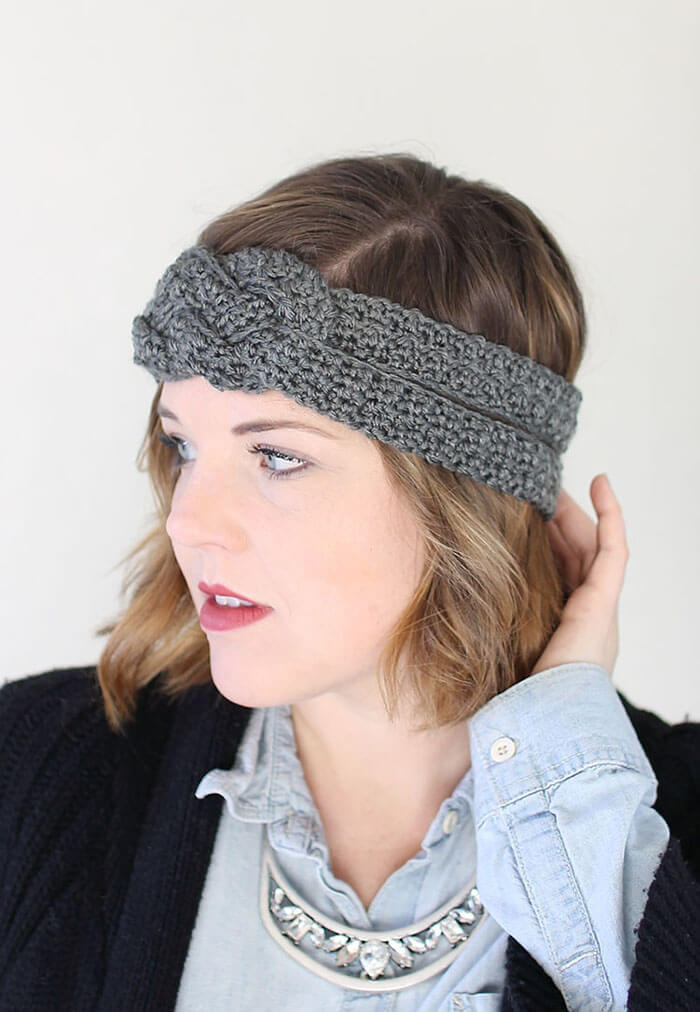
This Sailor Knot Crochet Headband is a simple but stylish pattern that works up quickly, which makes it a great project for holiday gift giving. I originally shared this pattern at Crafts Unleashed, and this post contains affiliate links, which help to support this blog. Thank you!
It’s still pretty warm here, but I have faith that it will cool down eventually. It has to, right?!
In the meantime, we are still rolling into fall and the holiday season no matter what temperature it is outside, and that means that it is time to start thinking about handmade holiday gifts. This little crochet headband is a great project for holiday gifting because it is really cute, uses less than one skein of yarn, and works up quickly.
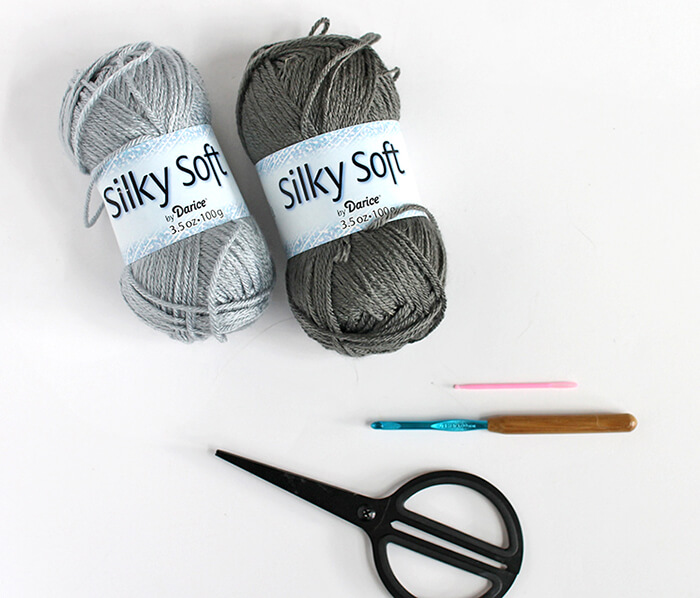
Sailor Knot Crochet Headband Supplies:
- Your favorite worsted weight yarn (I used Darice Silky Soft for my headband. Caron Simply Soft is similar)
- Size H (5.00 mm) Crochet Hook
- Scissors
- Yarn Needle
Sailor Knot Crochet Headband Pattern
This pattern uses American crochet terms.
The first step in this pattern is to crochet two strips. I used the lemon peel stitch for my strips, which is created by alternating single crochet with double crochet and always working single crochet stitches in double crochet and vice versa (you can check out a full tutorial of the lemon peel stitch here). This stitch creates some wonderful texture, which is why I used it here..
Sailor Knot Crochet Headband Strips (Make Two)
Row 1: Start with a chain of 96 ch stitches. Work a sc into the second chain from the hook, dc in the next st, *sc, dc, repeat from * until you reach the end of the chain, ending with a sc stitch (95 stitches total, 48 sc & 47 dc).
Row 2: (This row will continue the lemon peel stitch pattern by alternating sc and dc stitches and by working sc into dc and dc into sc.) Ch 2, dc in the same st, sc in the next st, *dc, sc, repeat from * until you reach the end of the chain, ending with a dc stitch (95 stitches total, 48 dc & 47 sc).
Row 3: Ch 1, sc in the same st, dc in the next st, *sc, dc, repeat from * until you reach the end of the chain, ending with a sc stitch (95 stitches total, 48 sc & 47 dc).
Row 4: Repeat Row 2. Finish off, weave in ends.
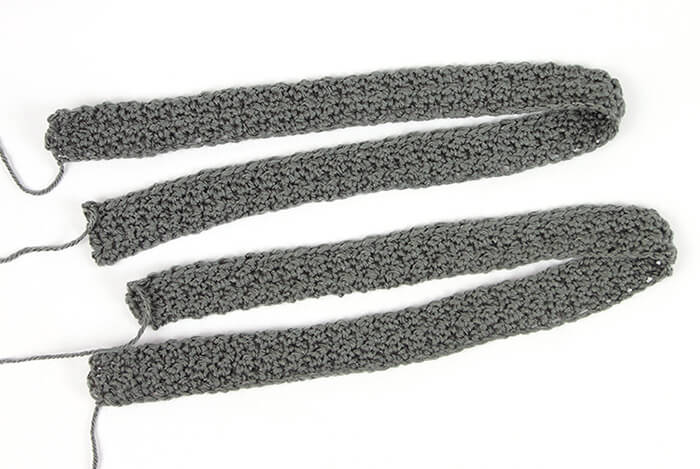
Once your strips are crocheted, it’s time to form the sailor knot. I will walk you through the steps of forming the knot, but be sure to refer to the photos below.
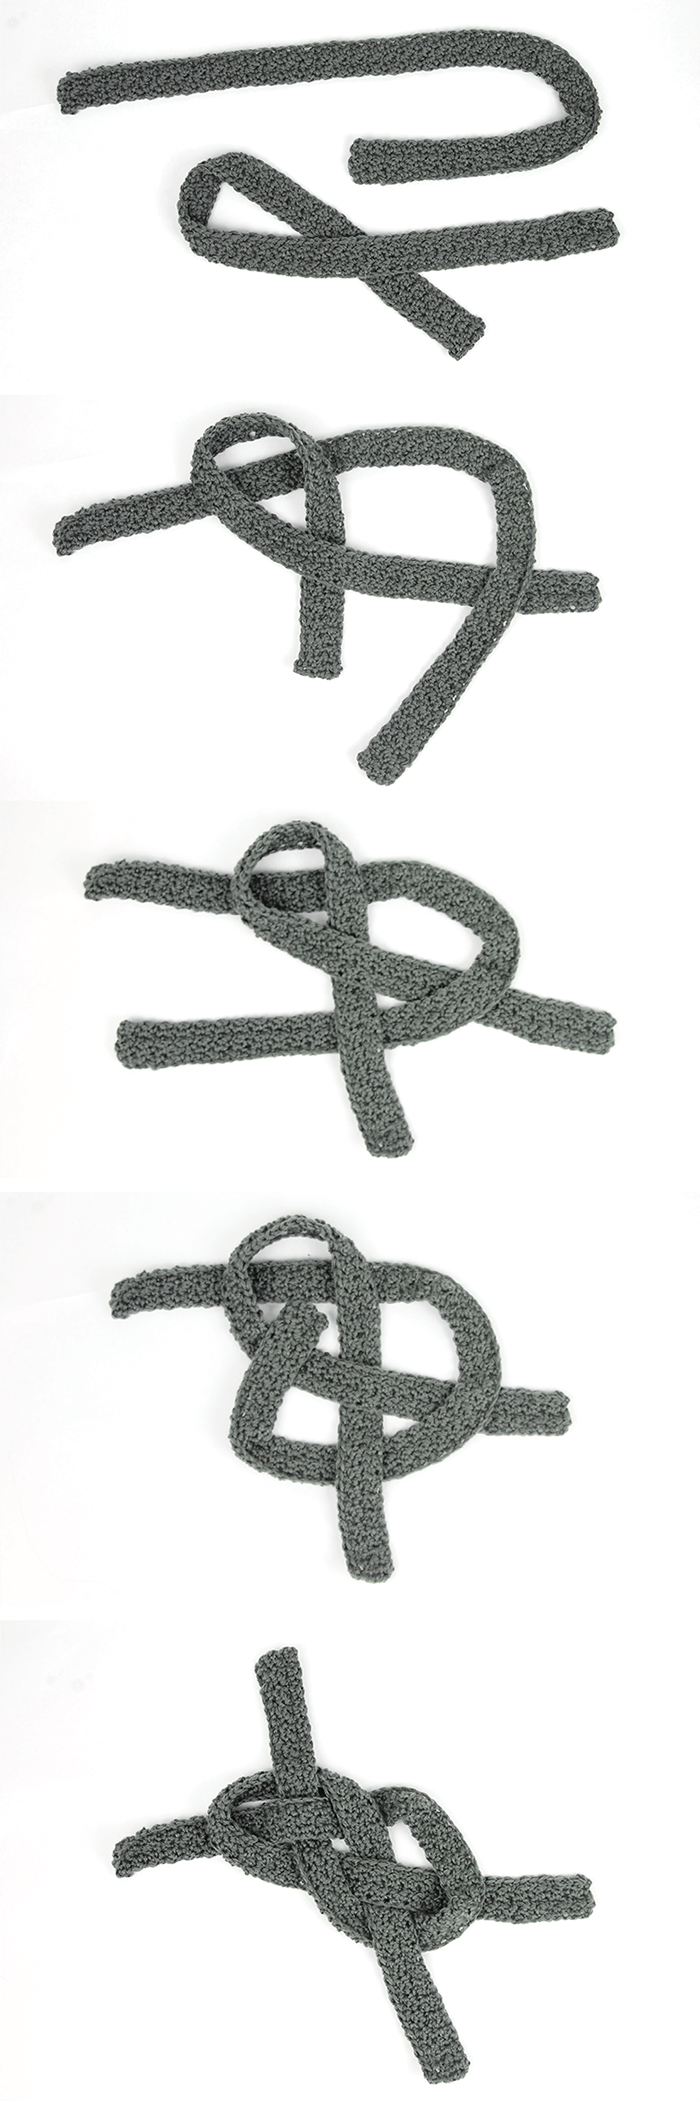
Start by forming a loop in one strip and lay it on top of the second strip. Weave one tail of the second strip over and then under the tails of the looped strip. Then weave that same tail over the front piece of the loop, under that same strip’s other tail, and back over the other side of the loop.
Finally, just pull on the ends of the strips to tighten up the knot. Adjust it until you like the way it looks.
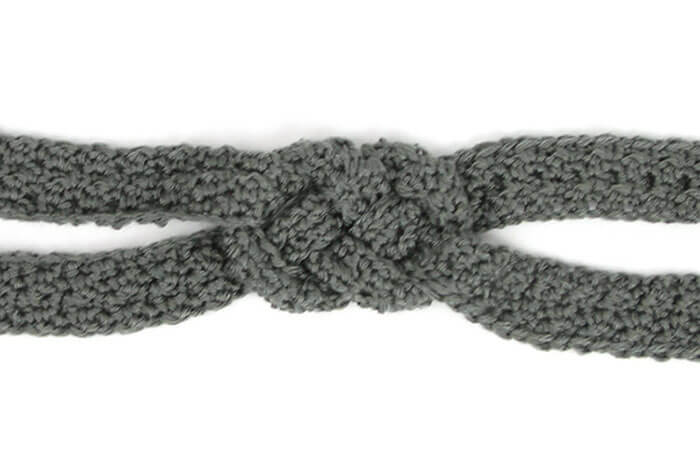
Finally, to finish off your crochet headband, we will sew together the ends of the strips. Start by wrapping the headband around your head to check fit. If it is a bit too loose or tight, try adjusting your knot a bit.
Making sure the strips aren’t twisted, line up the ends of strips.
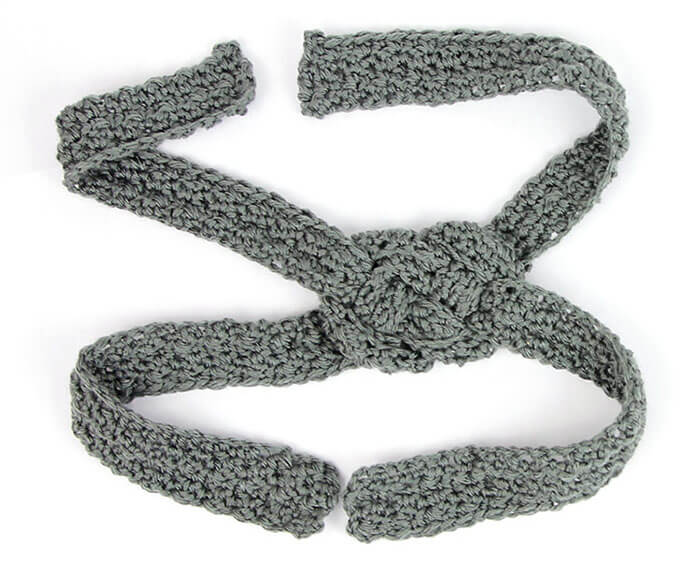
Thread your yarn needle with a length of yarn and and stitch the ends together. Tie off both ends of the yarn with a double knot and then weave in those ends.

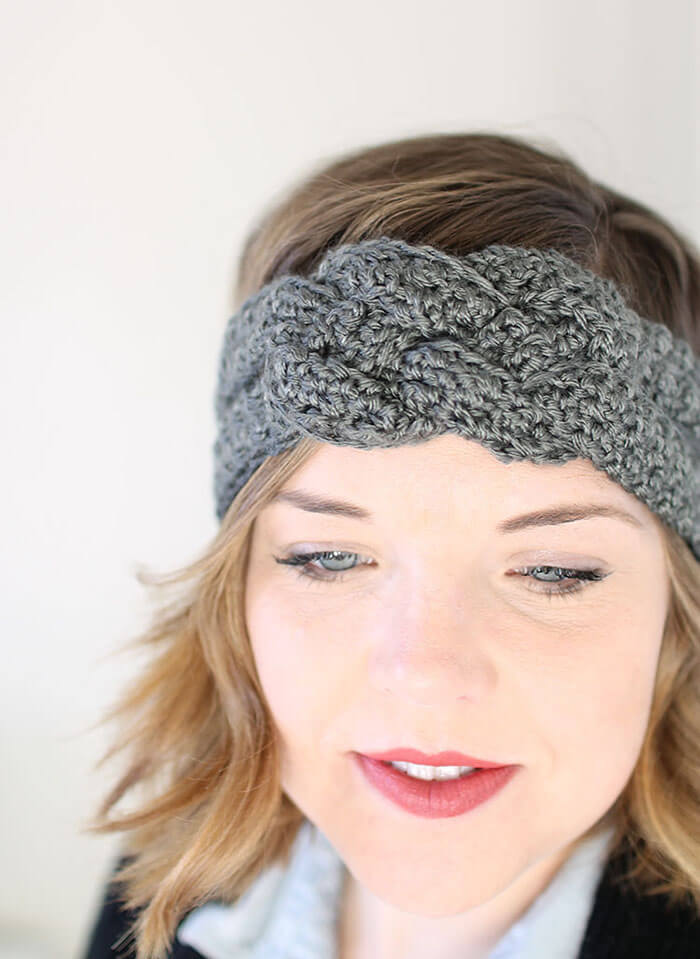
And – Done! You can wear it back on your head like a headband or pull it down over your ears to keep them warm. The strips in the back can be spread apart or pushed together as I have them here.
If you make your own Sailor Knot Crochet Headband, I would love to see it! Share your photos to my facebook page or tag me on instagram or twitter (@persialou), and don’t forget to use the hashtag #persialou for a chance to be featured.
Happy Making!

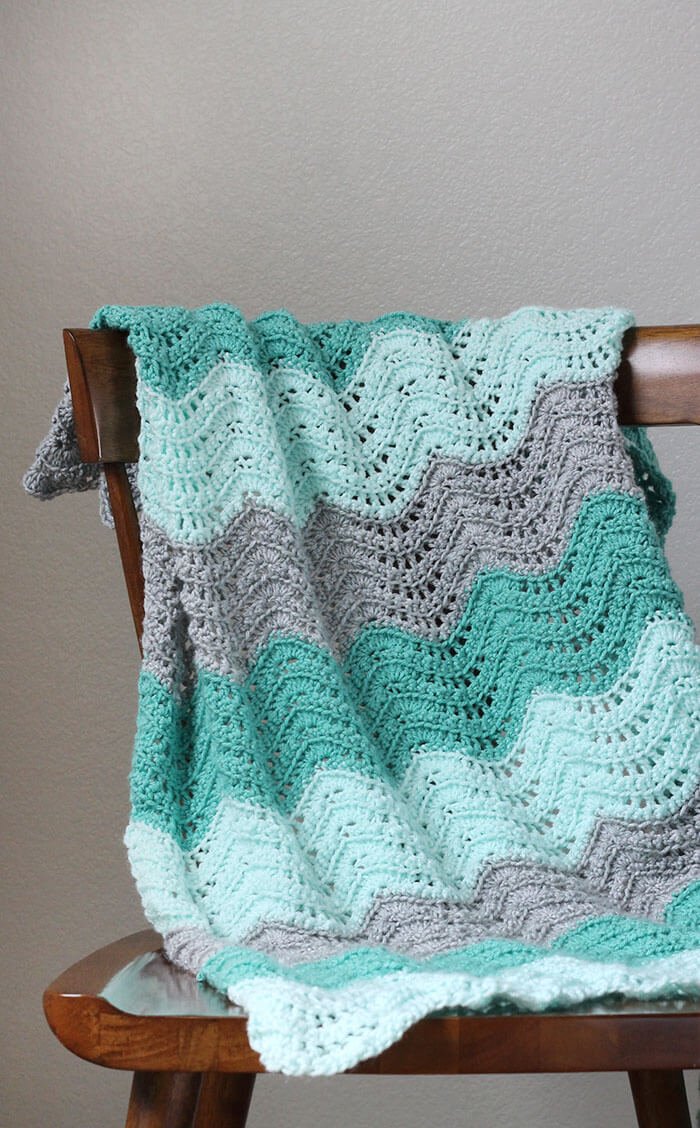
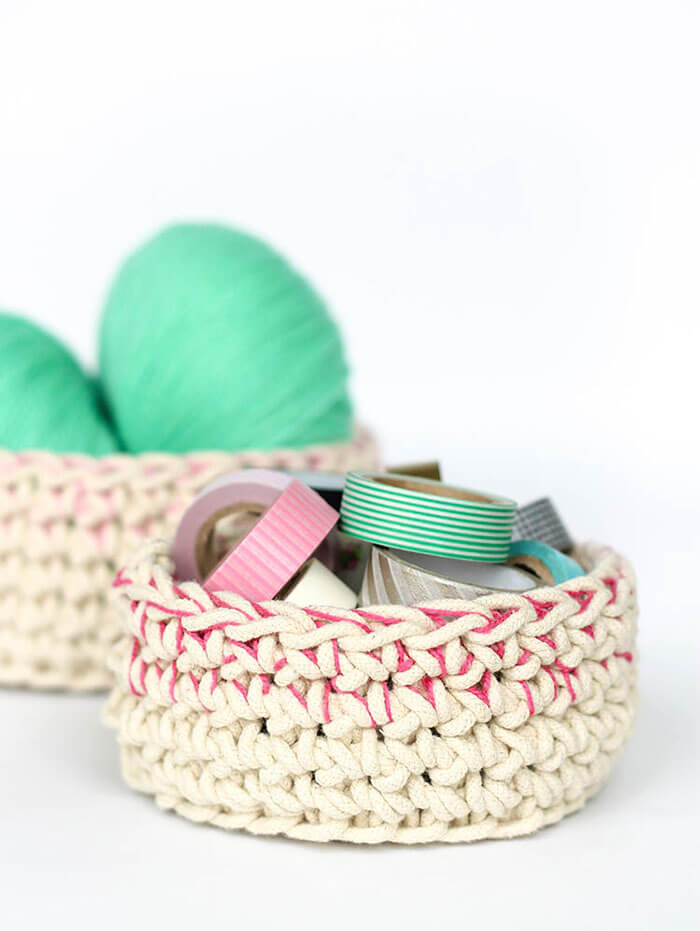
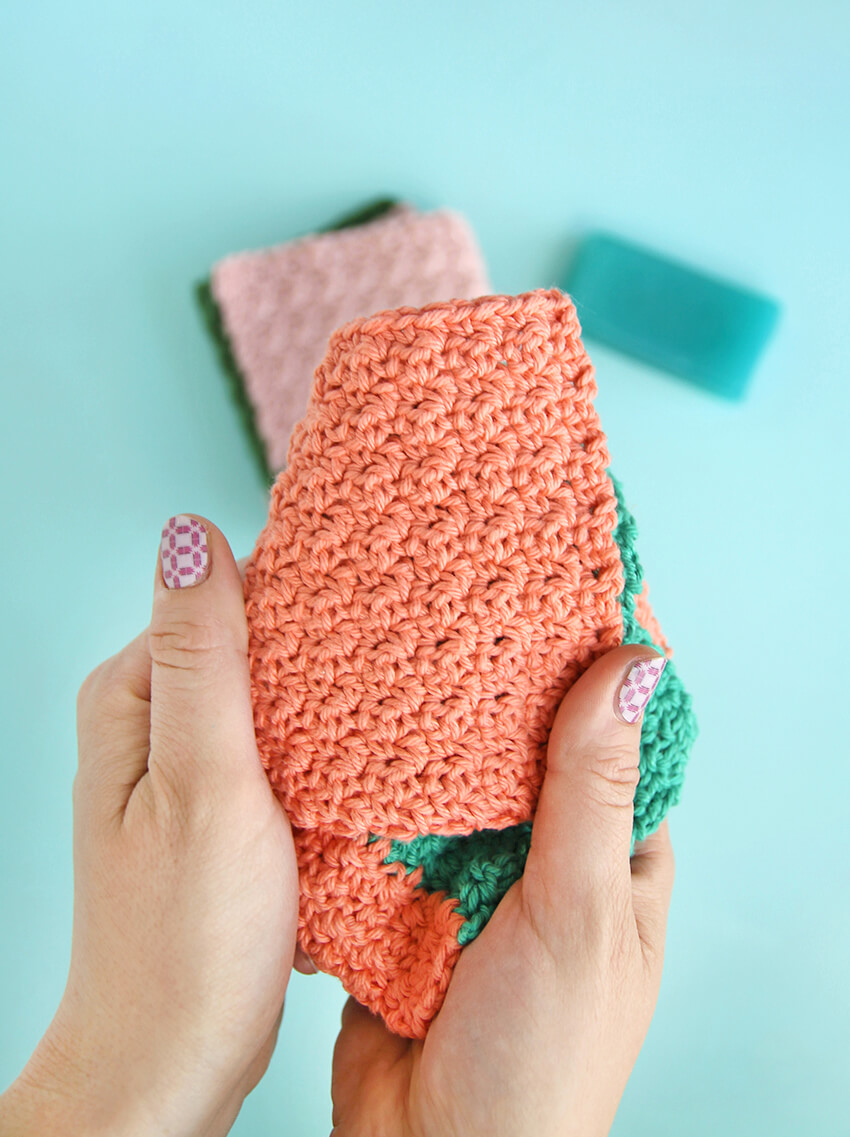
If you like this post, check out some of my other free crochet patterns:


Comments + Project Love
Clarissa says
Super cute! It turned out beautiful 🙂
-Clarissa @ The View From Here
Treasa says
Thank you so much for the wonderful pattern. I LOVE how it turned out! Not sure how to add a picture. 🙂 Thank you again
Alexis says
I am so glad you liked the pattern and that it turned out for you! Yay! Totally makes my day to hear that. 🙂
Kate Ramage says
I love your headband. I’m an old lady, and I see so many patterns that make me think anyone could make them by just looking up a pattern stitch in a book. But you! You’ve given me a simple, interesting technique that has me instantly thinking “what else could I do with strips like that?” You are a crochet genius, Miss Alexis. Thank you, Kate in Oregon
Alexis says
Aw thanks so much, Kate! Your comment absolutely made my night. I know you are going to come up with some beautiful things! Thank you for stopping by!
Kathy says
thank you for sharing your talent – your items are all so beautiful! 🙂
Alexis says
Thanks so much, Kathy! You are so nice. 🙂