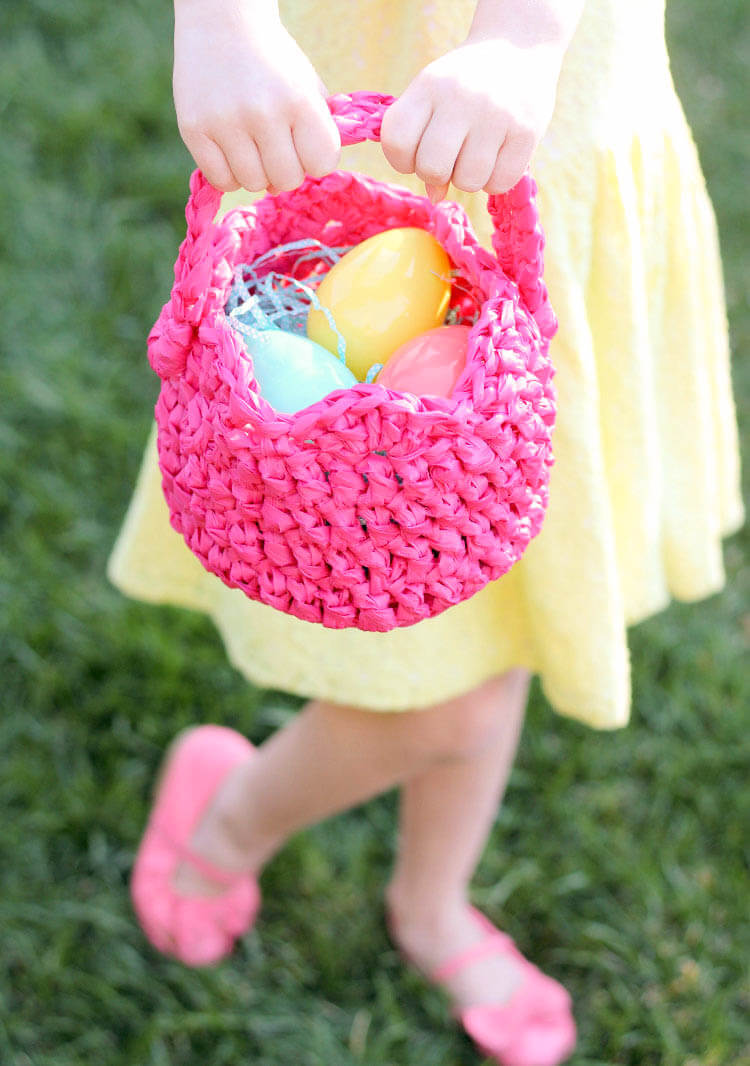
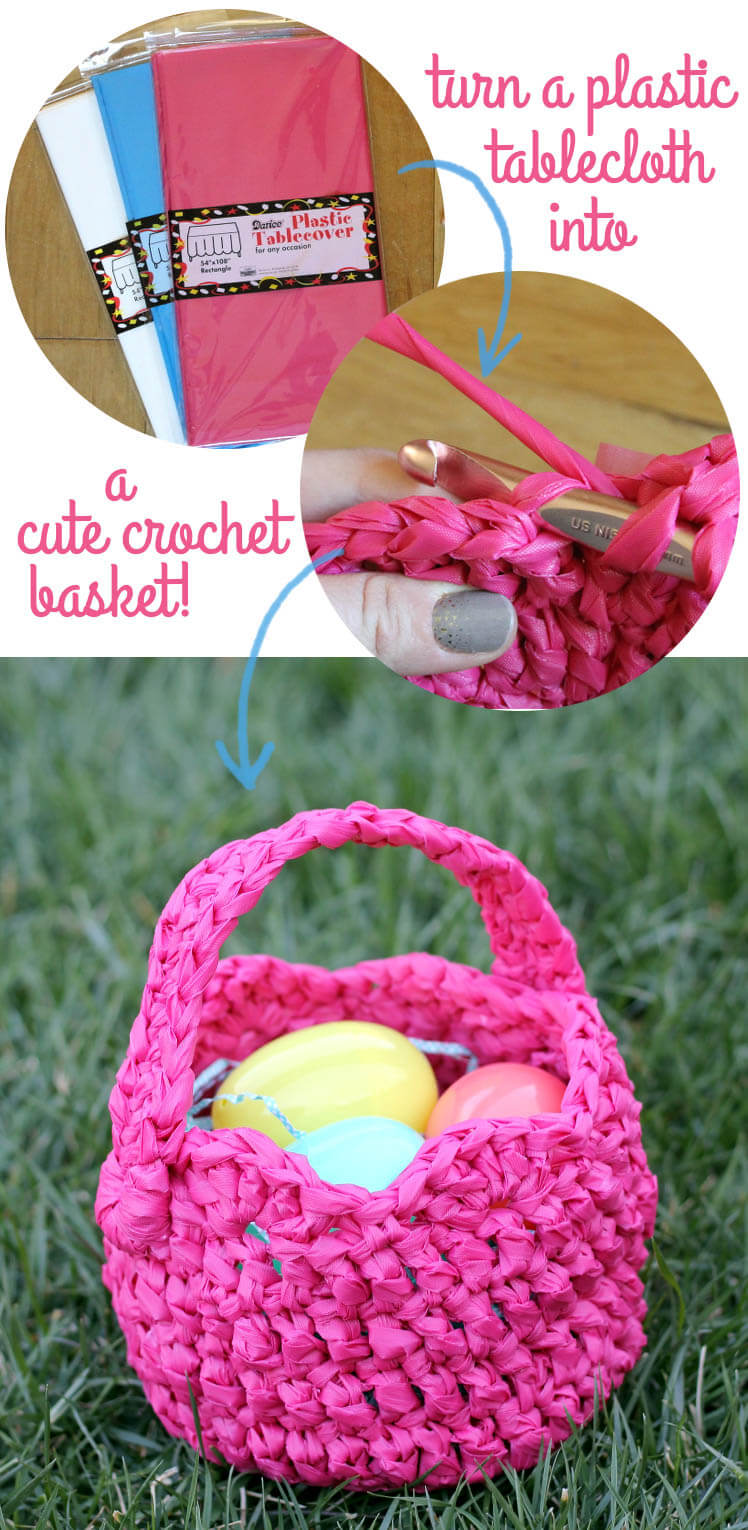
Turn an old plastic tablecloth into a fun new crocheted Easter basket! Full instructions on how to make your own cute basket from brightly colored plarn. This post was originally shared at the Darice blog and may contain affiliate links, which help to support this blog. Thank you!

As much as I love crocheting with yarn, I really love trying to crochet with unusual materials (like leather, jute, and hemp). This cute little Easter crochet basket was made using something called plarn (plastic yarn), which I think is kind of the perfect material for an Easter basket. It is durable, sturdy, flexible, and waterproof – in other words, totally kid-proof.

Usually plarn is made from recycled grocery bags, which are super environmentally friendly but limited in color choices. For this crochet basket, I used a large plastic tablecloth to make my plarn, which gives you lots of color options. To keep things environmentally friendly, instead of throwing away tablecloths after parties, keep them and turn them into plarn!
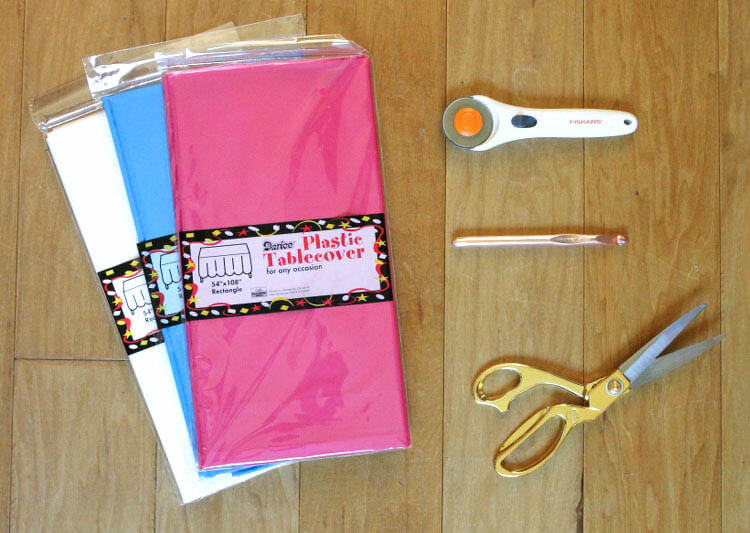
Supplies:
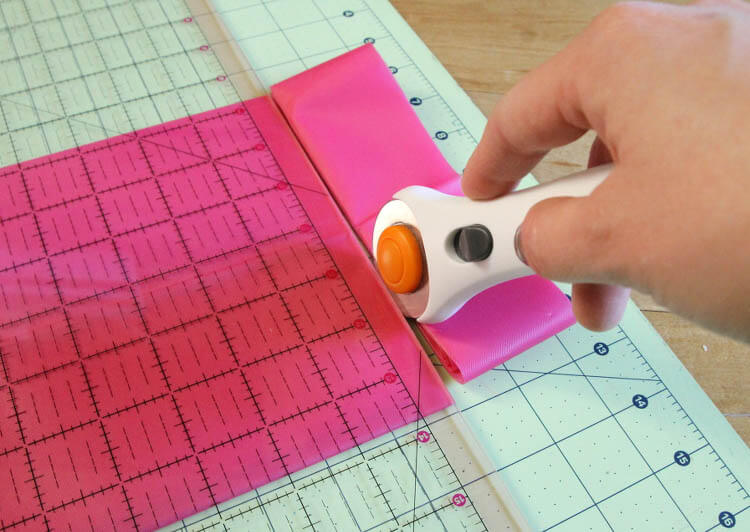
Step One – Make the Plarn
I actually have a whole post on how to make plarn that you can check out right HERE, but here’s the quick version.
Start by folding the tablecloth in half widthwise several times until it is small enough to cut easily on a cutting mat. Using the rotary cutter and cutting mat, cut the table cloth into 2″ wide strips. Each strip will be 108″ long.
To join the strips together to form one big piece of plarn, start by overlapping the ends of two strips. Using your scissors, cut a slit in the end of each strip about an inch or two from the end of the strip.
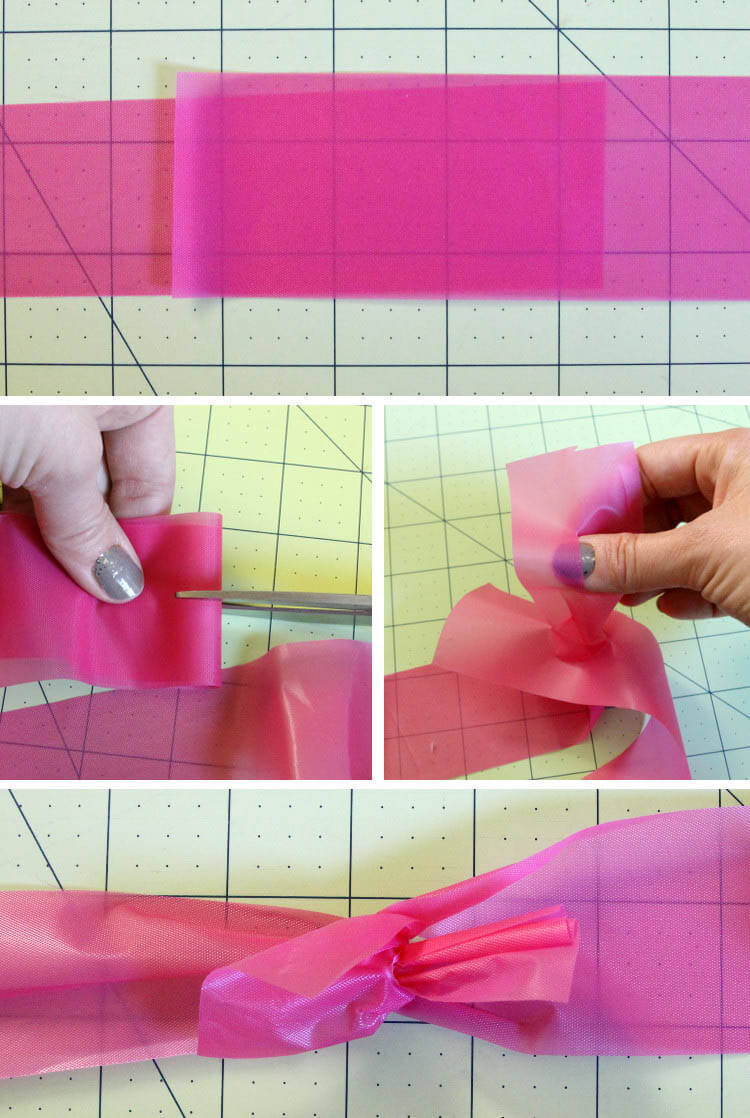
Pull the end of one strip through the hole in the other strip, and then pull the end of the other strip through the hole in that strip, so the ends are looped together. Finally, pull on both strips to tighten the join.
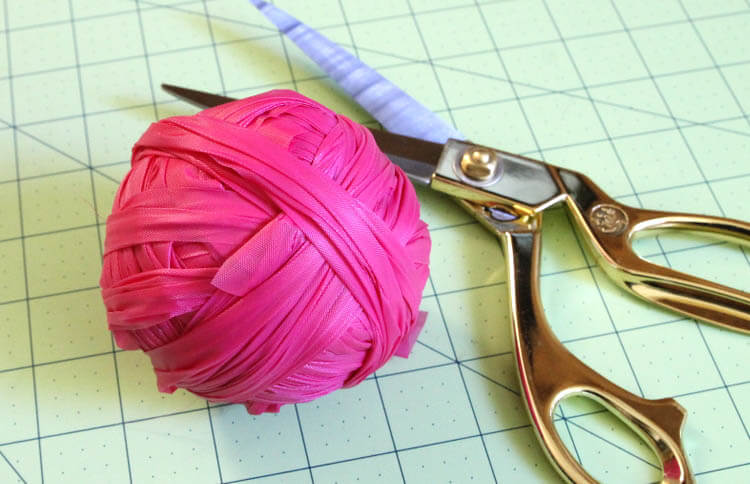
Wrap that plarn up into a ball, and – Voila! – we are ready to crochet.
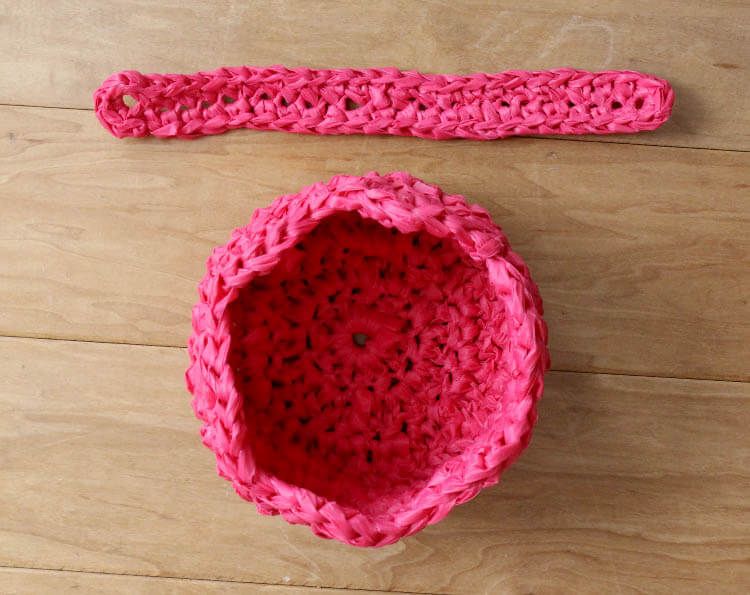
Step Two – Crochet the Basket
Using the Size N (10.00 mm) Hook
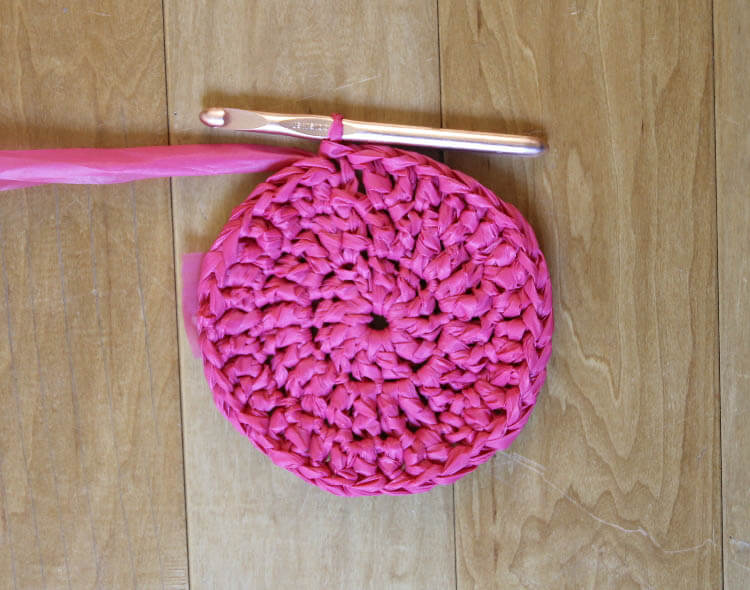
Round 1: Ch 4, sl st to beginning ch to join into a ch 4 loop. Ch 2 (counts as dc), 11 dc in ch 4 loop, sl st to top of beginning ch 2 to join (12 dc).
Round 2: Ch2 (counts as dc), dc in same st, 2 dc in each st around, sl st to top of beginning ch 2 to join (24 dc).
Round 3: Ch 2 (counts as dc), 2 dc in next st, * dc, 2 dc, repeat from * around, sl st to top of beginning ch 2 to join (36 dc).
Round 4: Working stitches in back loops only (see image below), ch 2 (counts as first dc), dc in each st around, sl st to top of beginning ch 2 to join (36 dc).
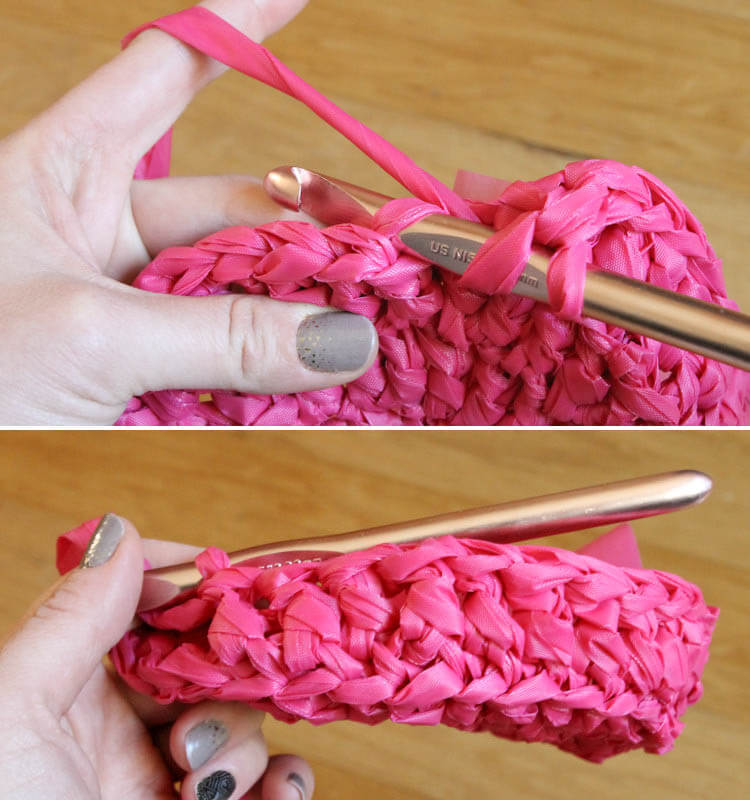
Rounds 5-7: Ch 2 (counts as dc), dc in each st around, sl st to top of beginning ch 2 to join (36 dc).
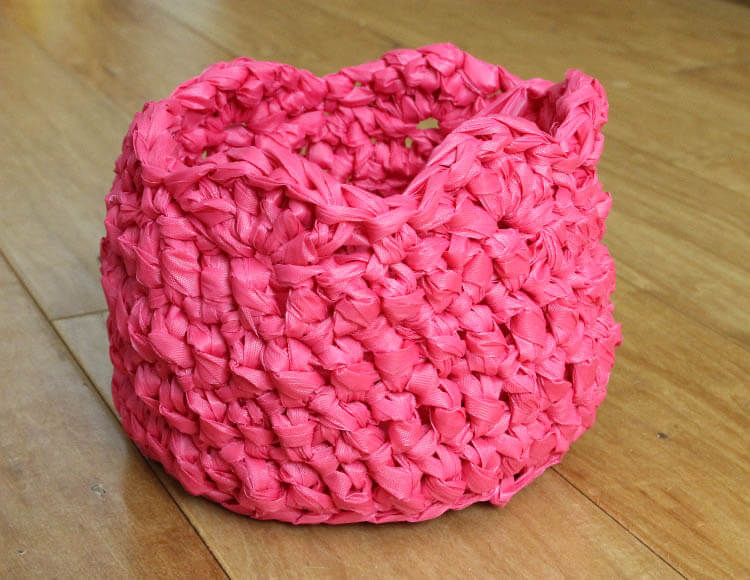
Round 8: Ch 1, sc in same st, * skip 2 dc, 5 dc in next st, skip 2 dc, sc in next st, repeat from * around eliminating last sc and sl st to beginning sc (6 5 dc shells). Finish off. Use yarn needle to weave in ends.
Step Three – Crochet the Handle
Start by making a 25 ch chain. Then, single crochet into the second chain from the hook. Single crochet into every chain stitch. When you get to the end of the chain, work 3 single crochet into the last chain. This gives your handle a nice round end, like so:
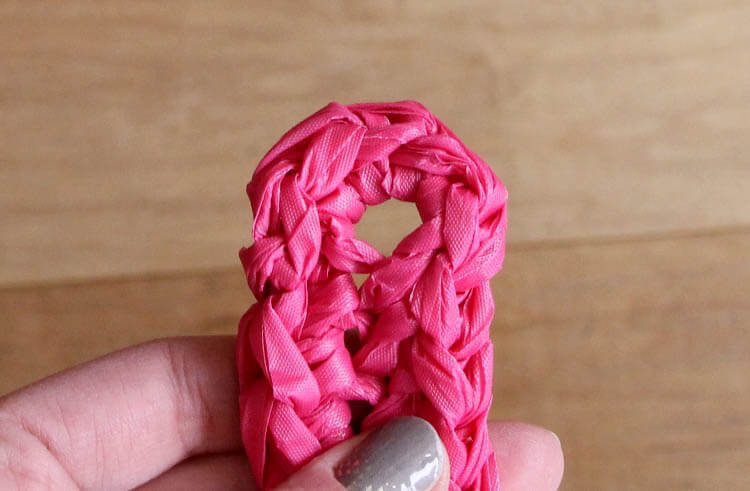
Then go around the back side of the chain and sc in each chain on that side. When you get back to the end where you began with your single crochets, work 3 single crochets into the first chain, and then slip stitch to the first single crochet to join. Use the yarn needle to weave in your ends. Now you have a basket and a handle with nice, rounded edges.
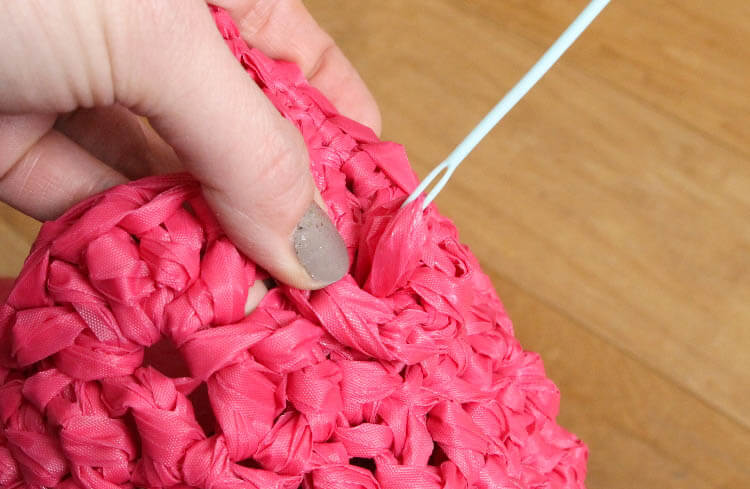
Step Four – Sew the Handle to the Basket
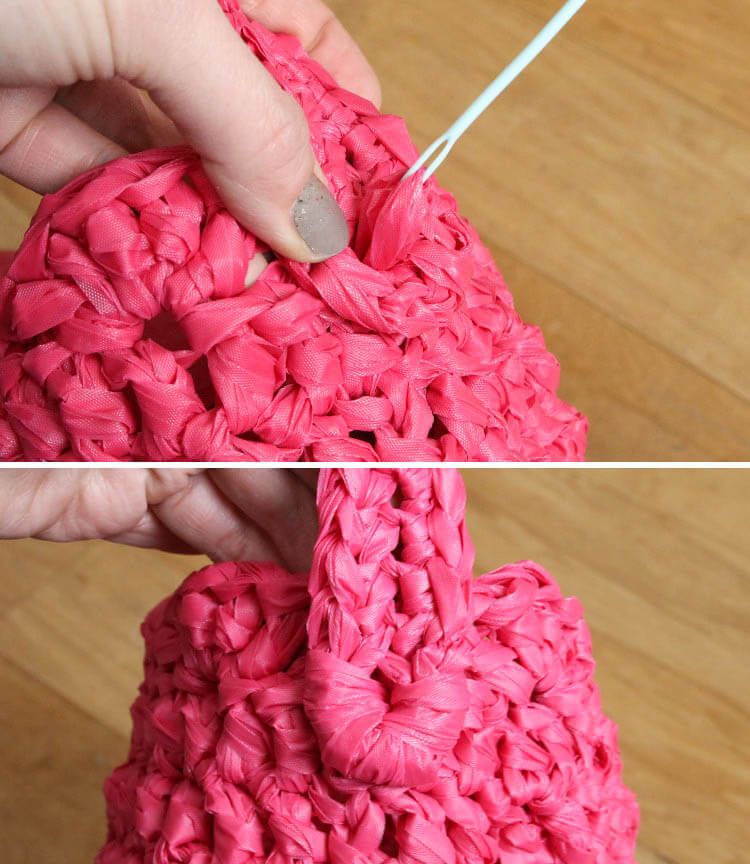
All that’s left to do is attach the handle to the basket, which is easy with a new piece of plarn and a plastic yarn needle. Start by pulling the needle from inside the basket up through the center hole of the handle end leaving a tail about four or five inches long.
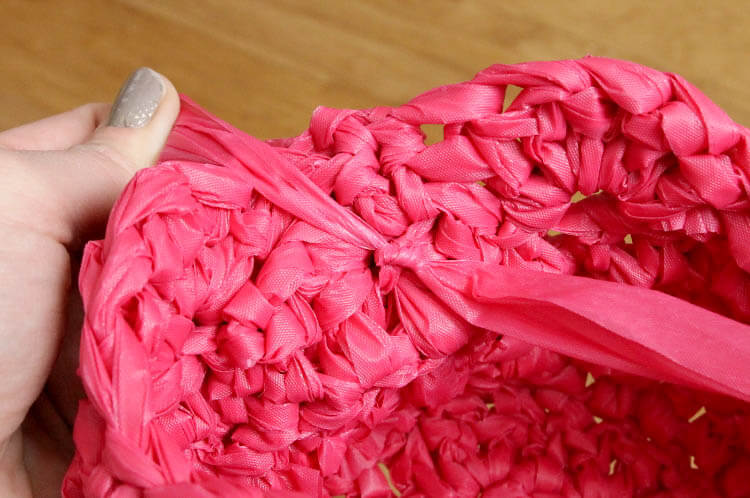
Then, insert the needle back into the basket, wrapping the plarn around the end of the handle. Repeat the process around the end of the handle until it is securely attached. Wrapping the plarn all the way around the end of the handle creates a pretty, finished look.
On the inside of the basket, tie the two ends in a double knot to secure it and clip off the excess.
Finally, just repeat this process to attach the other end of the handle to the other side of the crochet basket. And that’s it! With the handle attached, your crochet basket is all ready to be filled with sweet Easter treats! Yay!
My little girl loves this basket and carries it around all the time. If you make your own, I would love to see it! Share it to my facebook page or tag me on instagram. And don’t forget to tag your photos with #persialou so I can find them and share. 🙂
Happy Making!

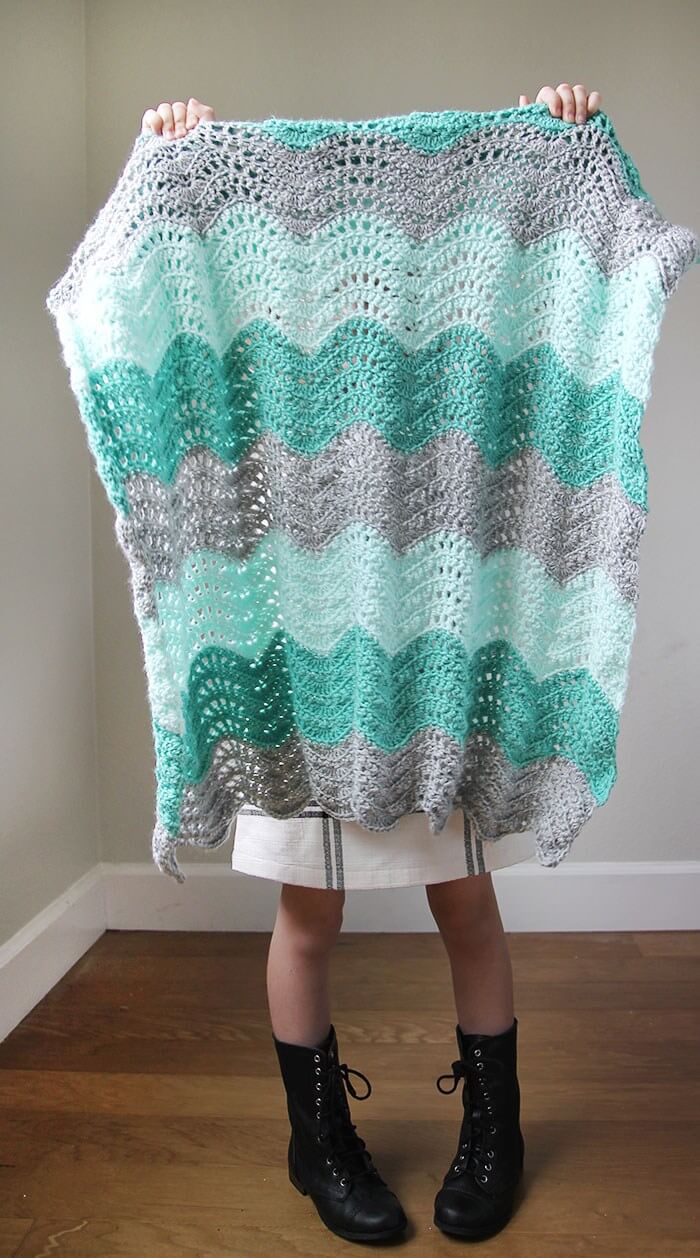
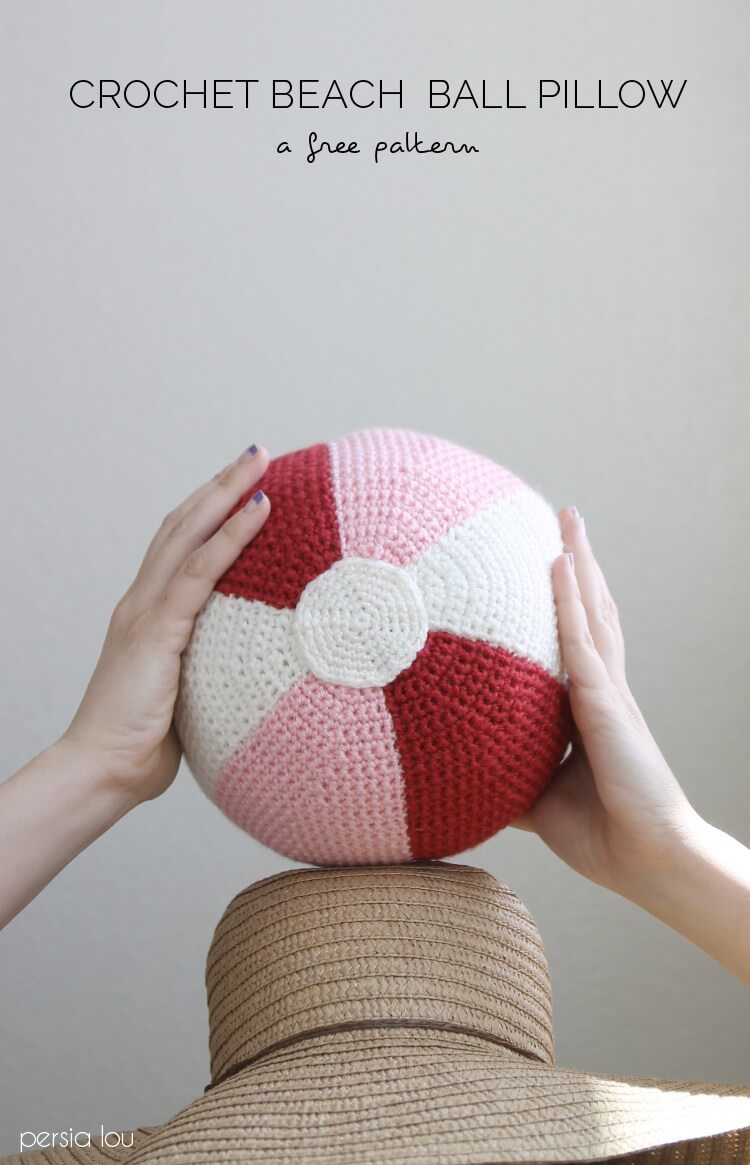
Check out some of my other free crochet patterns:
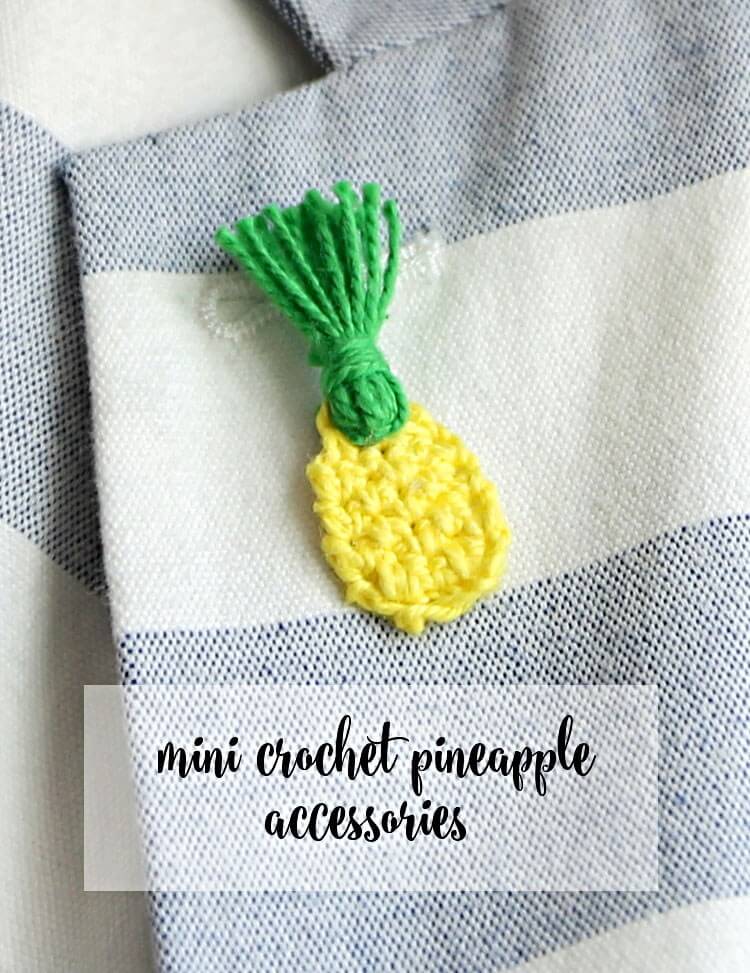
Mini Crochet Pineapple Accessories


Comments + Project Love
Delia says
Girl…this is brilliant! I am pinning it right now!
Amy | Delineate Your Dwelling says
SO smart and clever!
Alexis says
Thanks, friend!
Alicia says
What a great tutorial and such a pretty basket! I wouldn’t mind making one or two larger versions just for storing random stuff. They’re lovely!
I am putting together a sort of Easter arts and crafts compilation blog post, with pictures of creative projects for spring. Would you mind if I shared one of your pictures? I will of course credit it with a link to this post. I did the same thing last year if you would like a reference on how it might look: http://aliciasivert.blogspot.se/2015/03/paskpeppen-2015.html
Thank you for the inspiration!
Have a lovely weekend!
Alicia
Alexis says
Hi Alicia – Thanks so much! 🙂 Yes, you are welcome to use one or two photos with a link back. Thank you!
Alicia says
This year’s spring/Easter arts and crafts compilation post is up on the blog! Thank you so very much for your contribution! If you like, you can find it here: http://aliciasivert.blogspot.se/2016/03/peppiga-paskprojekt-2016.html
May your Easter be filled with fluffy bunnies and happy birds 🙂
Love, Alicia
Sunit says
Your work is so beautiful -Alexis….best wishes from continents away
Alexis says
Thank you so much! 🙂