This modern girl’s bedroom makeover combines a sweet pink DIY scalloped wall treatment with graphic black and white accents for a look that is fresh, girly, and fun. This is a sponsored post written by me on behalf of Devine Color. All opinions are 100% mine.  We have been going full speed ahead on the house renovations and makeovers here, and the latest space to be tackled is my daughter’s room. I am so happy with the way it turned out, and I can’t wait to share her new room with you guys today! Since we haven’t been in the house for too long, her room was pretty untouched although the previous owners had left us with some very bright paint to contend with. Here’s a pic from before we moved in:
 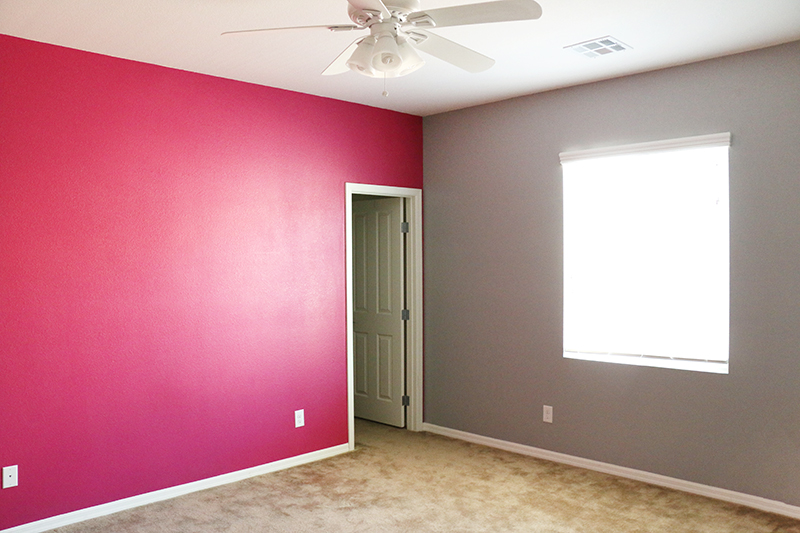 My daughter was perfectly fine with the fuchsia wall color, but I saw an opportunity to try something I have wanted to try for a while now – a pink ceiling! I don’t remember when or why I decided I wanted to paint a ceiling pink, but some where along the line I got it in my head that it would be a fun thing to do. And a little girl’s room felt like a pretty great place to give it a try. I decided to pair the pink ceiling with a pretty scalloped edge that dropped down the wall. Then I thought it would be great to pair this really girly, sweet wall treatment with some more graphic black and white accents for some contrast and to keep it from going too too girly. This whole vision was getting pretty exciting, and I was hoping I could pull it off.
I headed out to Target to grab some things to help me bring this room out of my mind and into reality. I’ve spied Devine Color’s Creamy Wall Coatings while cruising the home improvement aisle at Target (you know, the one with light bulbs and duct tape), and have always wanted to give them a try. I mean how cute is this packaging? 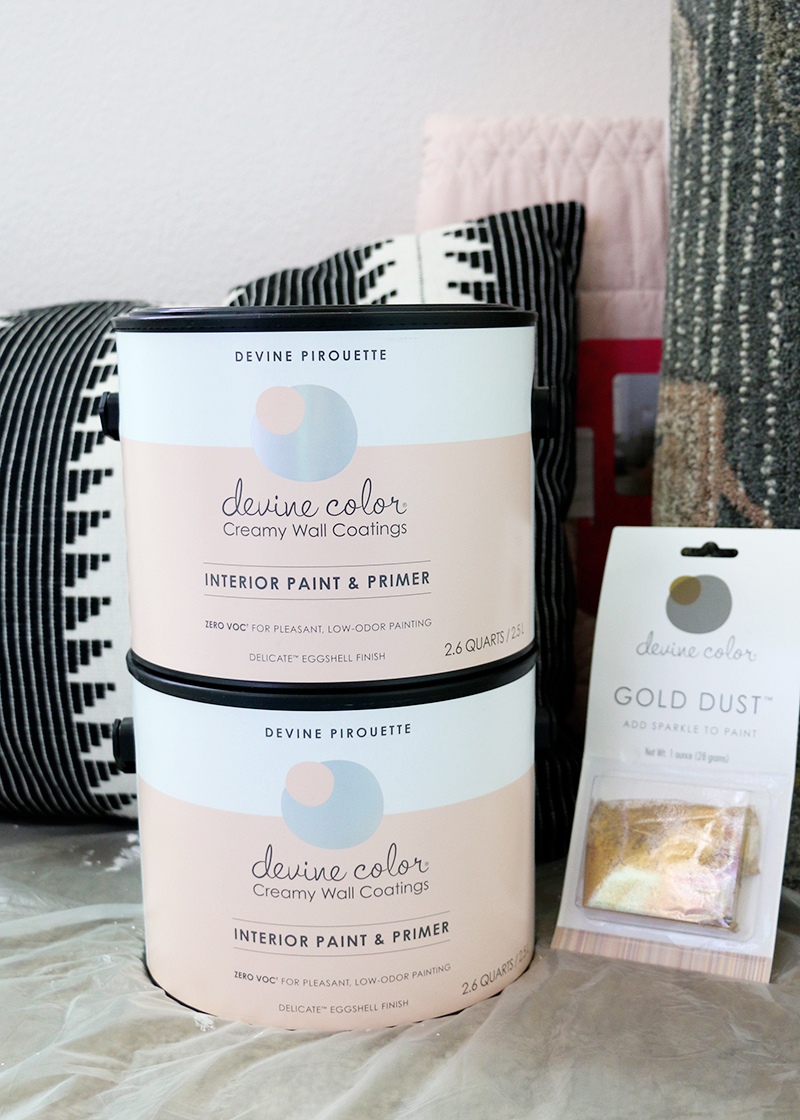 A couple cans of Devine Pirouette pretty much jumped right into my cart. Pirouette is kind of like the perfect “millennial pink” – a little peachy, not too bubblegum – I love it.
I also grabbed a couple cans of Lightning which is a lovely warm white color, and couple of packs of Devine Color Gold Dust. This stuff is pretty cool. You just mix it into the paint before you start painting, and it gives your walls a really subtle but pretty sparkle and glow. This does NOT make it a glitter paint, but it is a pretty subtle sparkle that I especially notice at night when the lights are on. If you are going for a really sparkly look, you will want to use more than one pack per can. 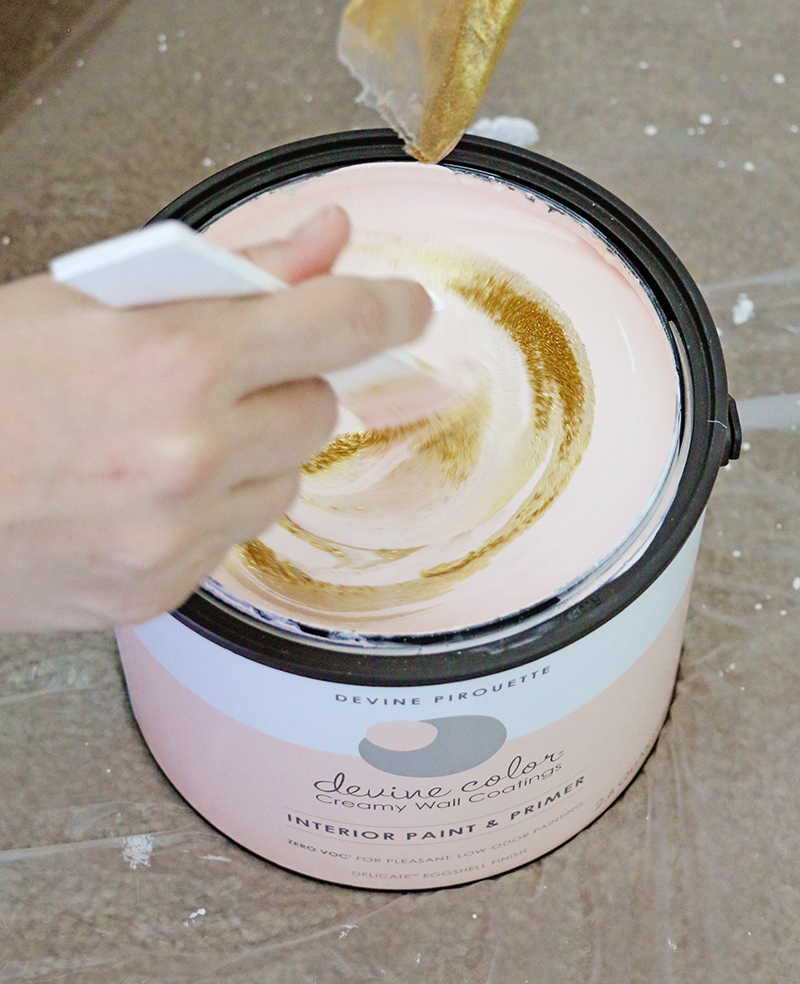 Anyway, after loading my cart up with Devine Color paint, I headed over to the home decor section to pick out some bedding, curtains, and decor accents to help tie the whole room together. One of the cool things about these Devine Color + Target products is that they are created to coordinate with Target decor. I found an awesome quilt that matched Pirouette perfectly and picked out some coordinating sheets, a sham, and throw pillow as well.
 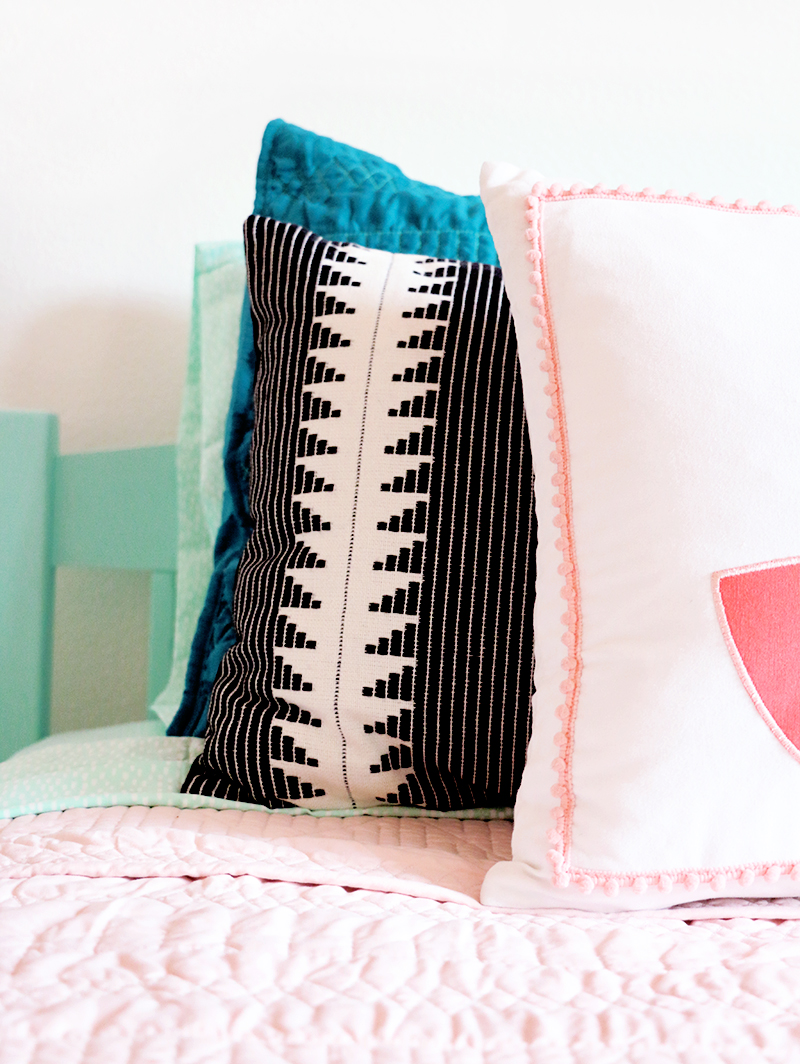 I also grabbed some awesome pink tasseled curtains, a really cool lightbox, and a letterboard, which is my daughter’s favorite thing in the whole room.
 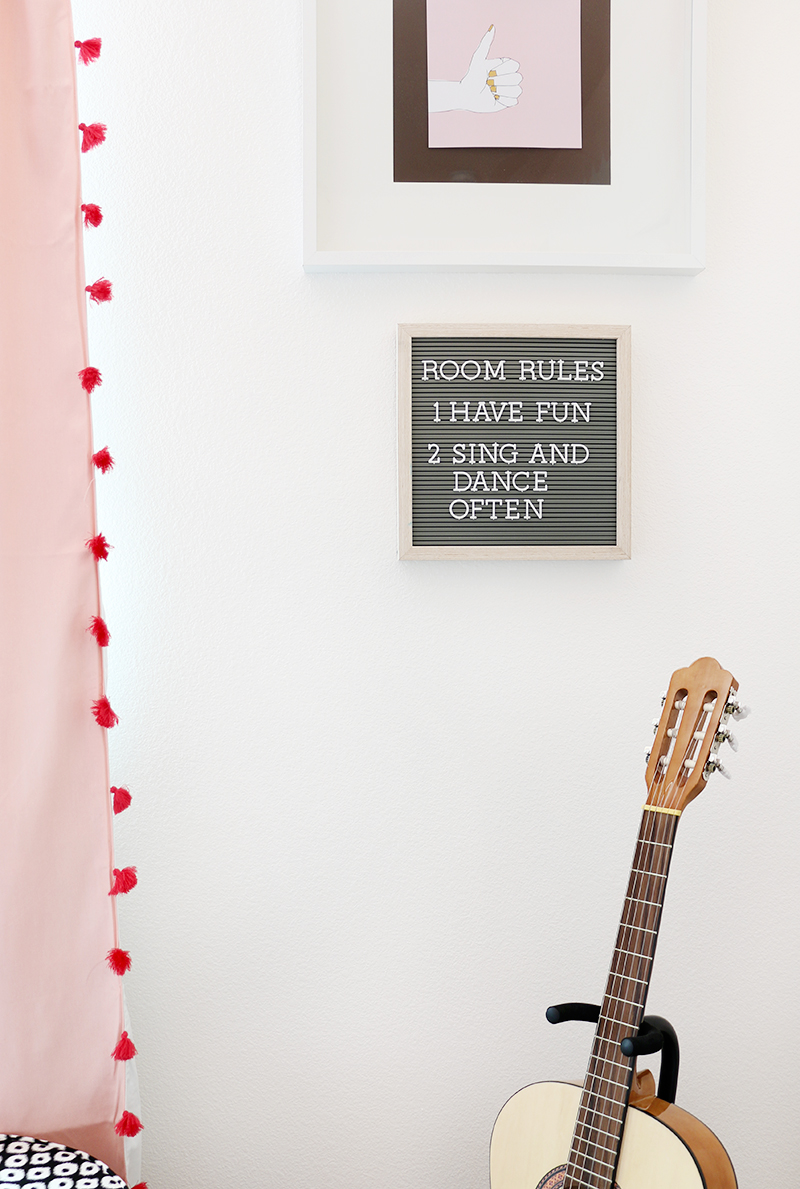 I brought all of these goodies home and put my little girl’s new room together. The biggest part of this room was, of course, that awesome DIY scalloped wall, but it was so worth it. The finished room feels like you are in a sweet little candy box or ice cream shop. I just love the pink glow the ceiling gives the room! But it did take a bit of time to get it there.
The first step was to paint over all that gray and fuchsia paint. We started by painting the walls white (we used Lightning by Devine Color). It took two good coats to get nice coverage over that dark paint. Once we had our walls painted white, it was scallop time! In case you want to paint your own DIY scalloped wall, here’s everything you need to know. 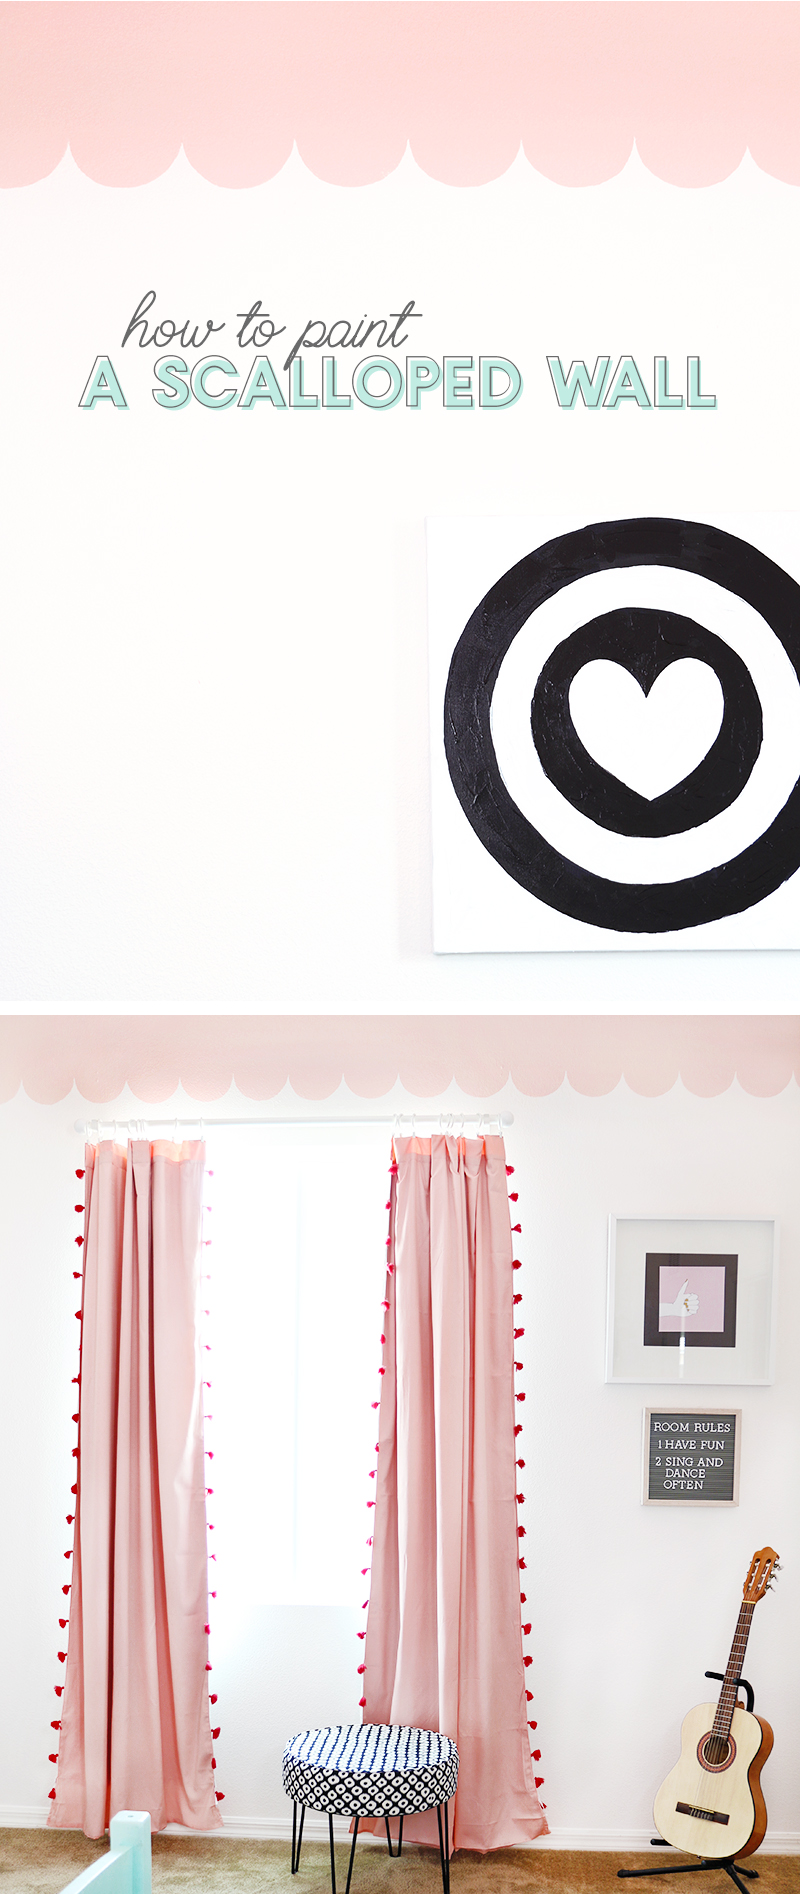
How to Paint a DIY Scalloped Wall
1. Make Template.
 I tried a few different methods for making my stencil or scallop and painting the scallops onto the wall. I tried cutting a stencil from vinyl using my Silhouette and just painting over the stencil, but I found it difficult to get crisp lines. So, after my experimenting, I would recommend the simple method of cutting a template, tracing the template on the wall, and painting your scallops by hand. It is a bit time-consuming, but my husband and I were able to knock it out in about a day, and I love the final look.
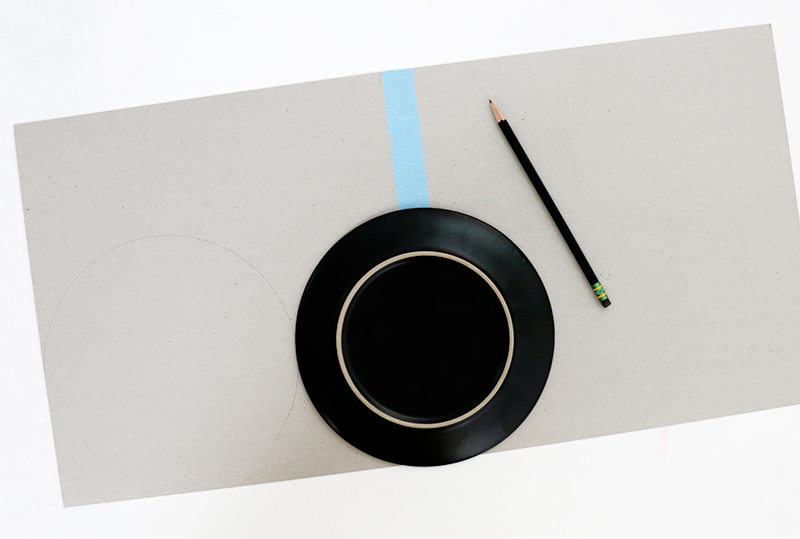
To make the template, you will need a piece of poster board or something similar. I used a couple pieces of chipboard taped together because that’s what I had on hand. Then I used a plate on my board and traced that to make the scalloped edge. Be sure to keep your circles lined up. Finally, cut out along the scalloped edge to create your template.
2. Mark Wall and Trace Template.
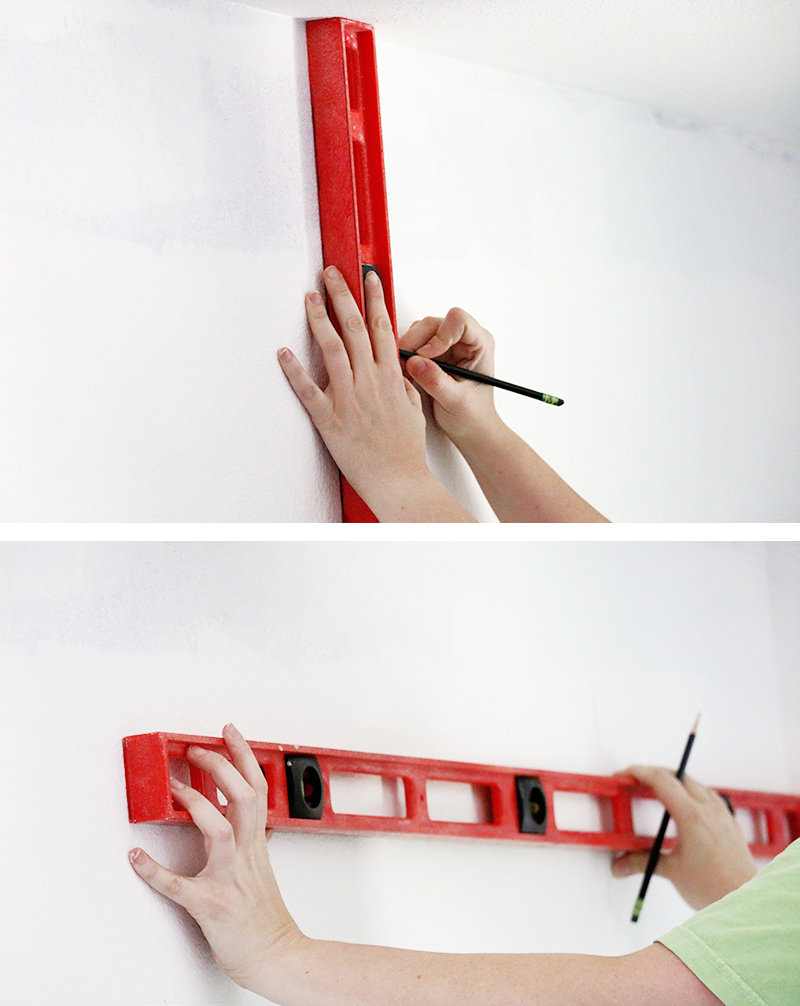 To keep your scalloped edge even, you will want to first lightly mark a level line around the room. Start by measuring a particular distance from the ceiling (we did ten inches) and then use a level to lightly mark a straight line at that distance. Next, trace your template lining up the top edge of your scallops with this line.
 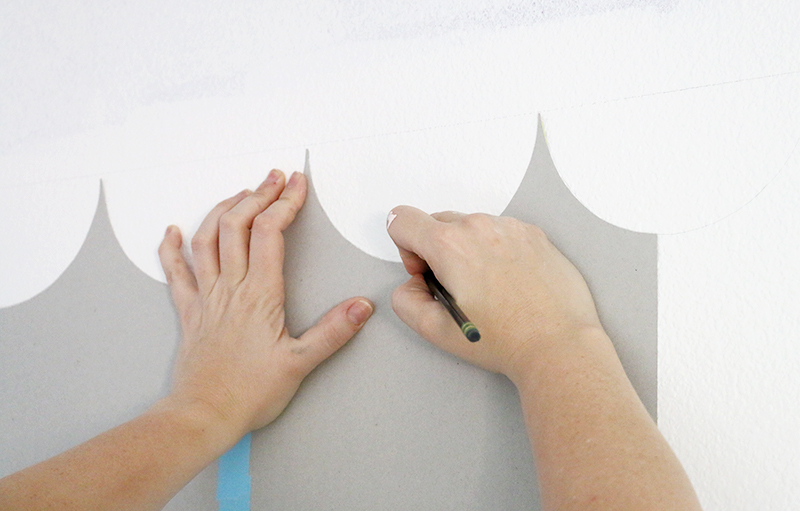 You now have a lightly draw scalloped edge on the wall and are ready to paint!
3. Paint along Markings.
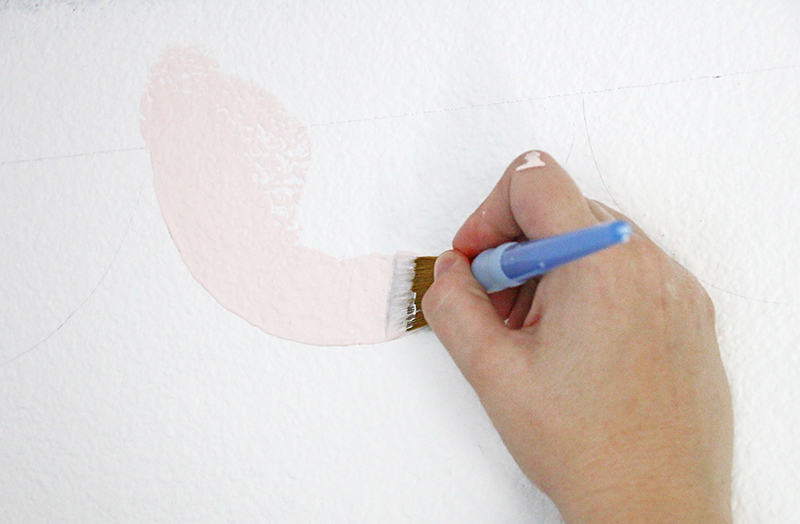 To paint along your markings, I recommend using a smallish flat brush – I used a one inch brush. To get a clean edge, load your brush with paint, and then trace the scallop shape with your brush keeping the edge of the brush lined up with your pencil markings. Using the edge of your brush for the edge of the scallop will help you get that clean line. Don’t worry too much about getting each scallop exactly perfect! I definitely have a few that are a bit wonky, but you can’t tell unless you are staring at them up close.
After you have painting along the edges of the scallop, you can use a roller to paint above the scalloped edge and the ceiling. My husband painted the ceiling and above the scalloped line while focused on the edging, and it worked out pretty well. Here’s my best tip for painting ceilings – cover EVERYTHING. You will drip when you are painting a ceiling no matter how careful you are, so just save yourself the frustration of trying to clean paint off your flooring or furniture and cover it all up before you paint.
Okay, okay, enough talking, right? Ready to come on in and tour the space?! Come on in! 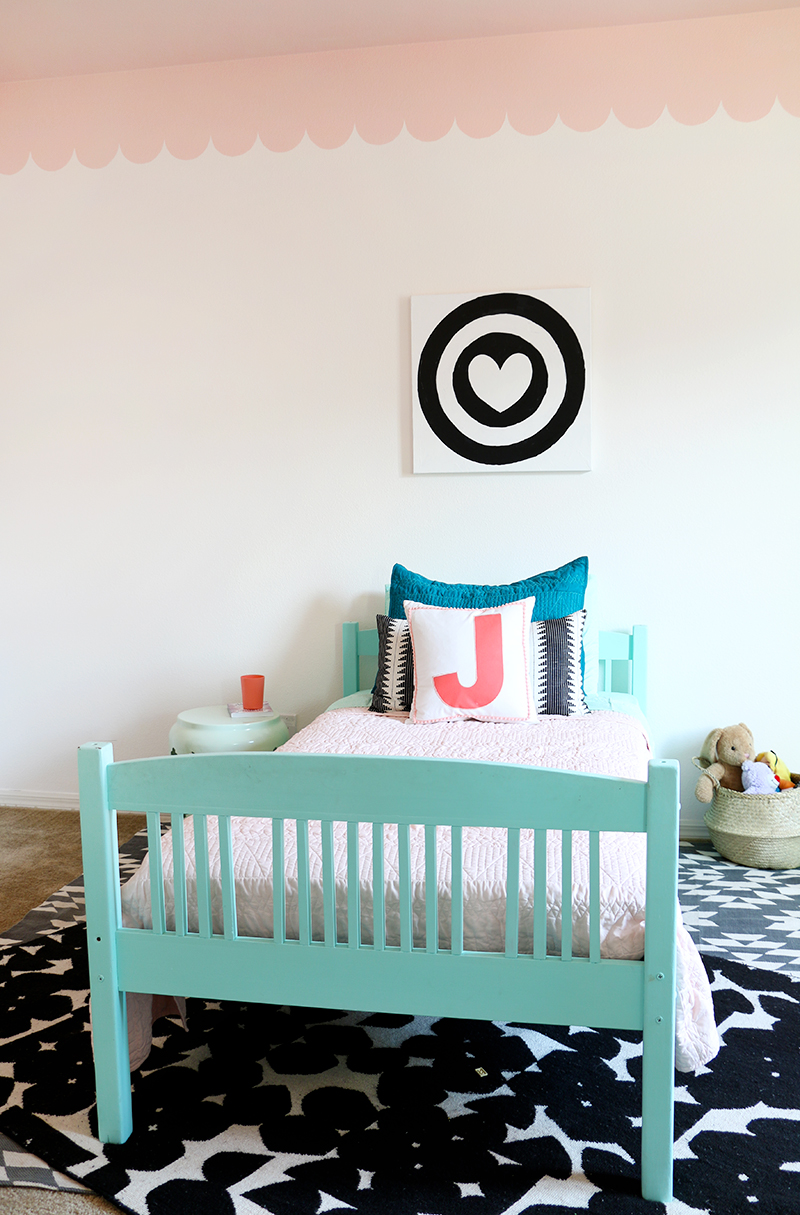
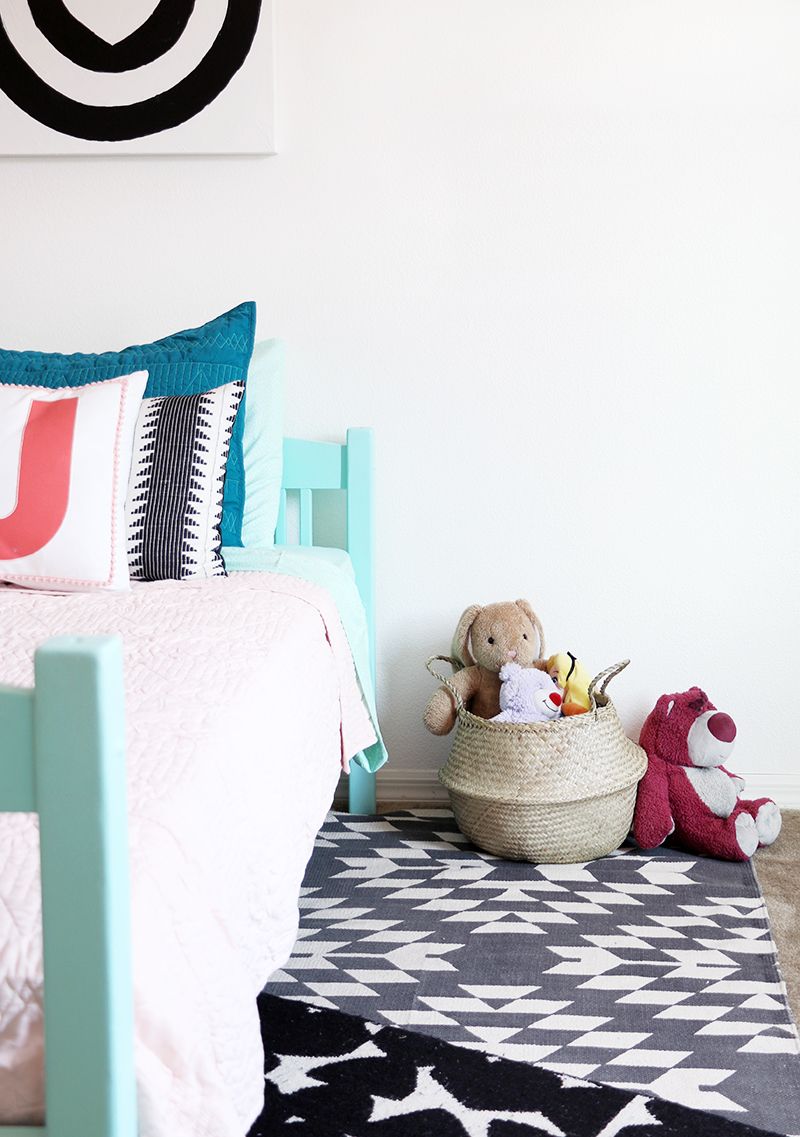 I decided to place the bed on top of a couple of rugs we already had on hand but weren’t currently using in our new place. I didn’t have a really big rug, so I layered a few together to create a grounding space for the bed. I really like the layered look and the graphic contrast the rugs add to the room.
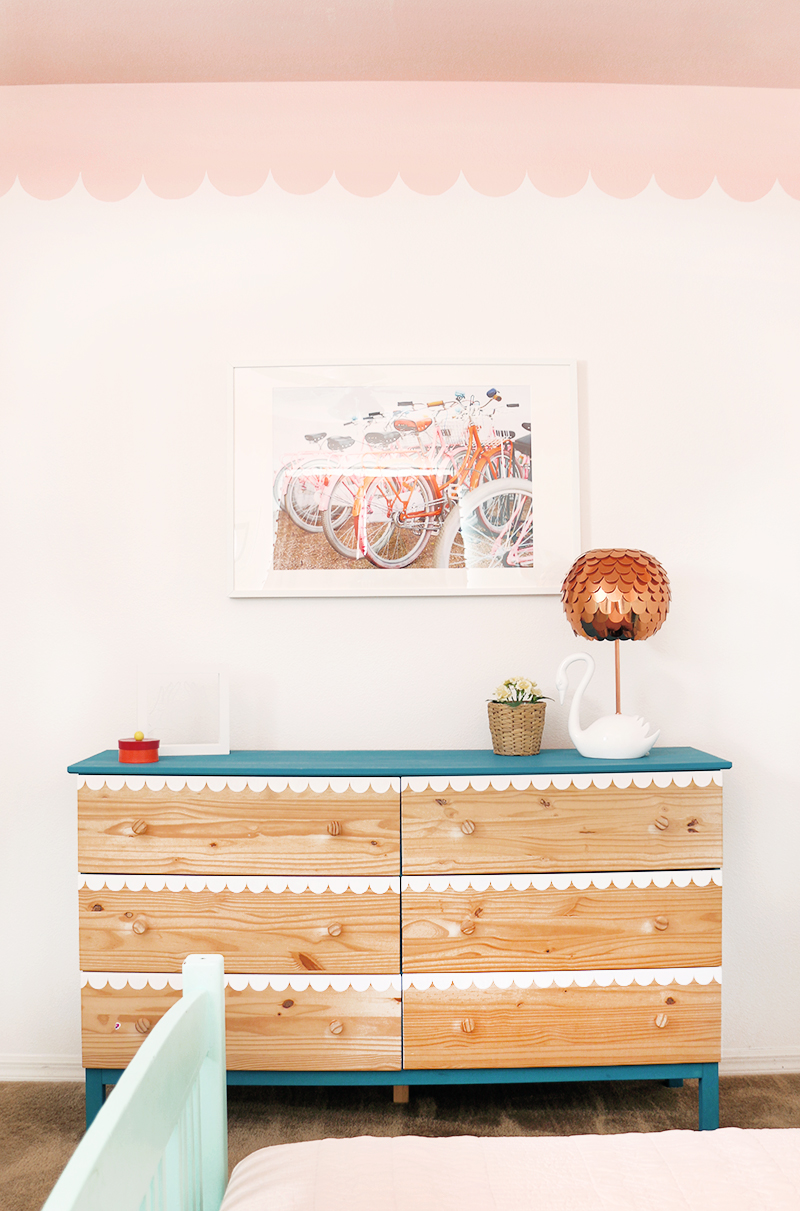
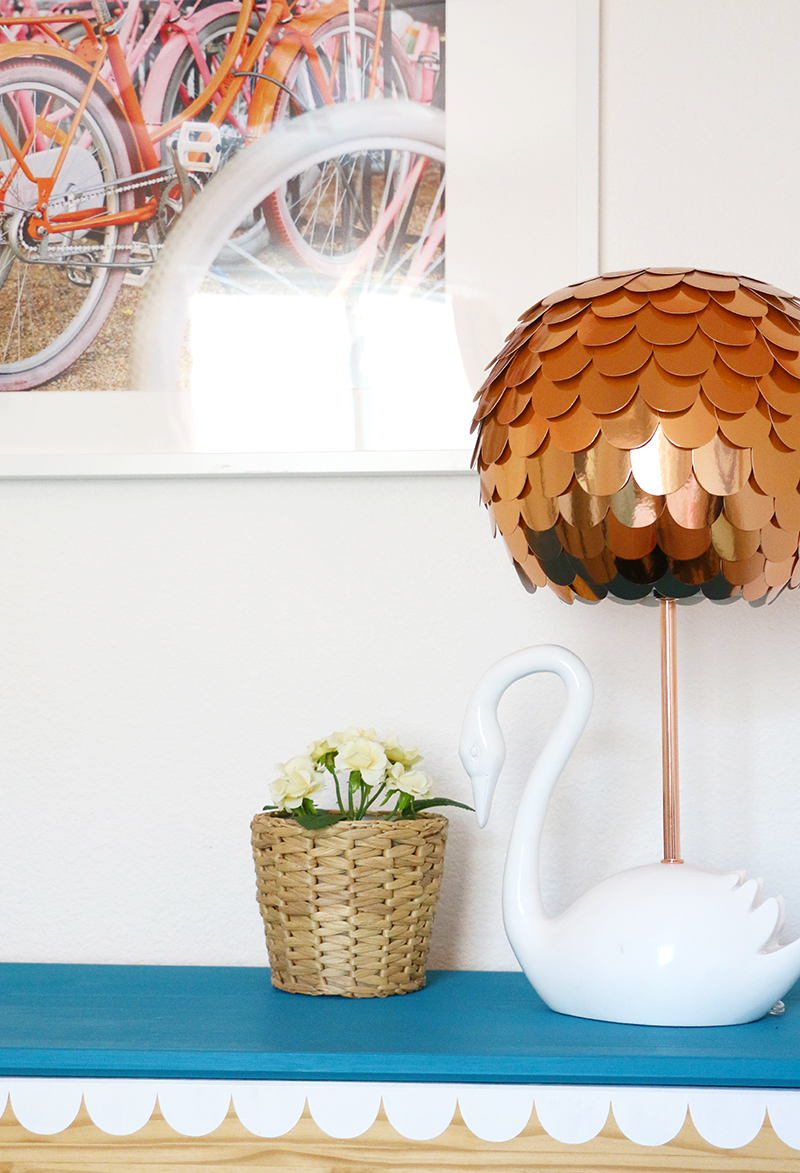
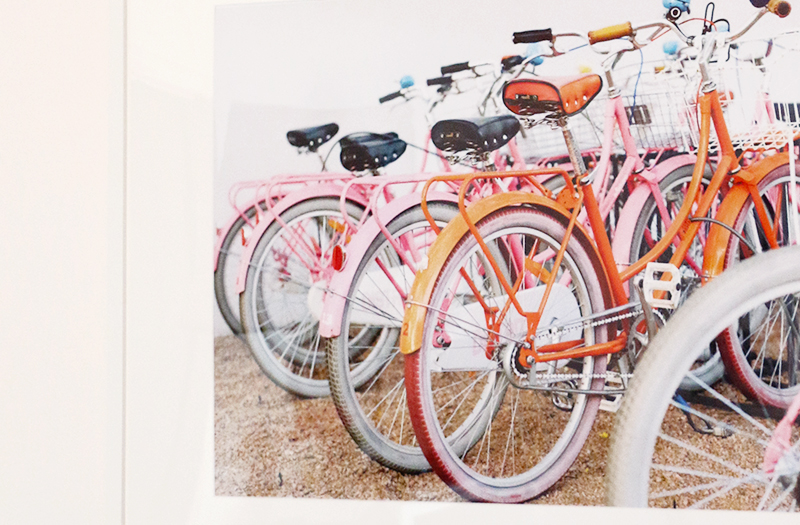
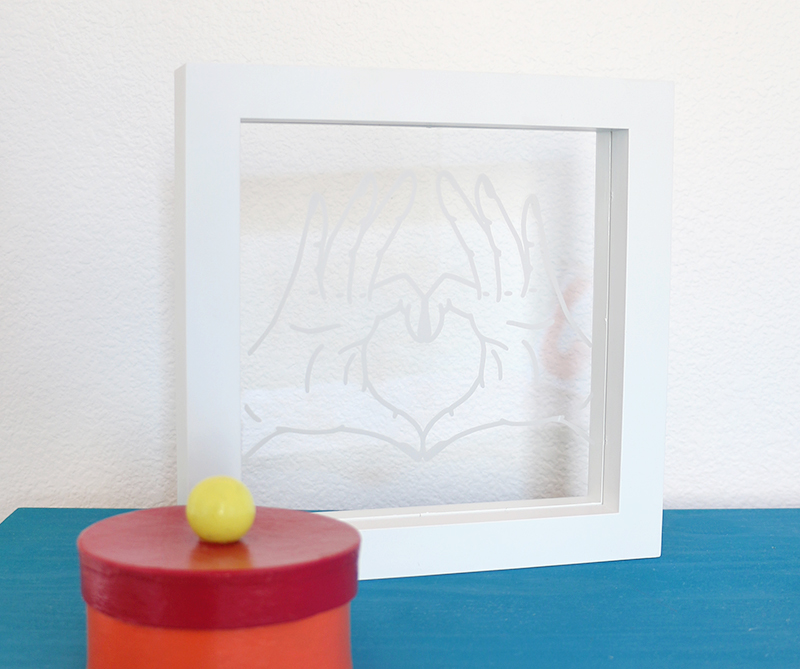 The scalloped dresser I painted for my little girl fits in perfectly in this new room! I added a colorful bicycle print above the dresser and my favorite lamp ever – the adorable copper, scalloped swan number I picked up from Target’s Oh Joy! collection about a year ago. And how fun is that heart hands lightbox?! I just love it lit up.
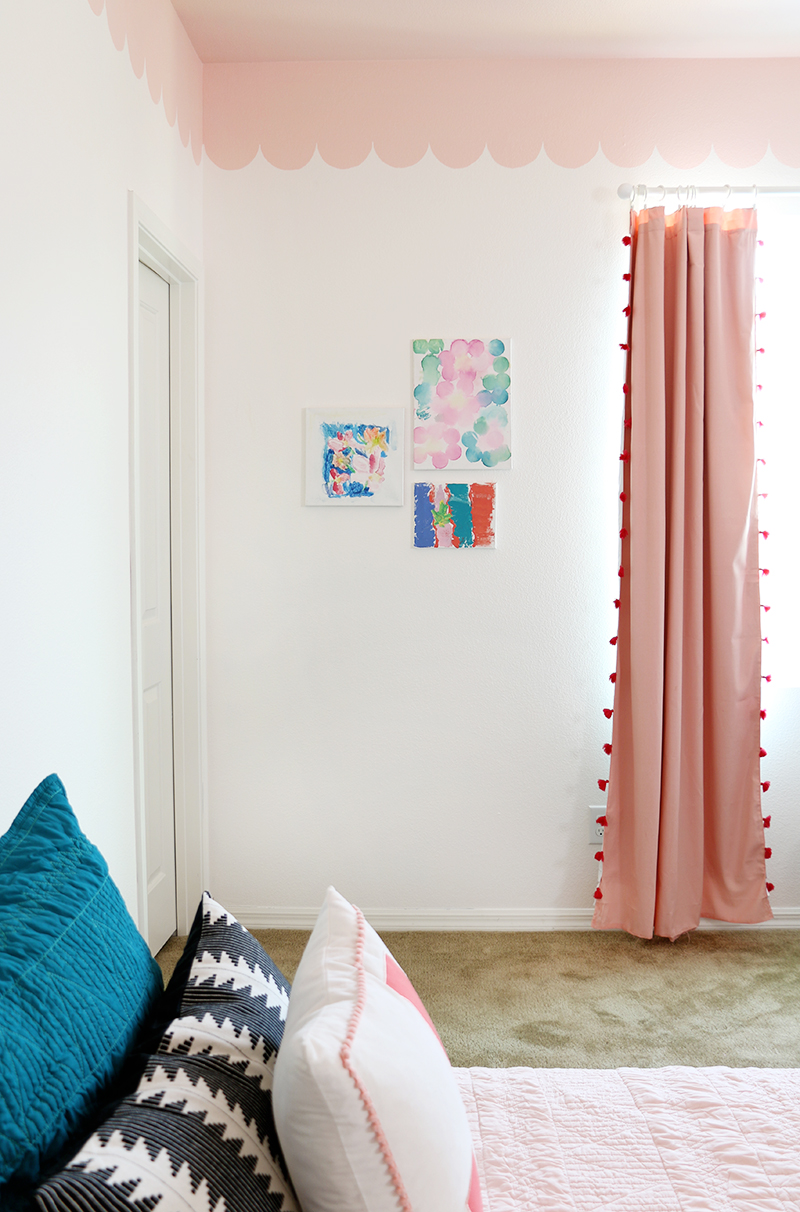
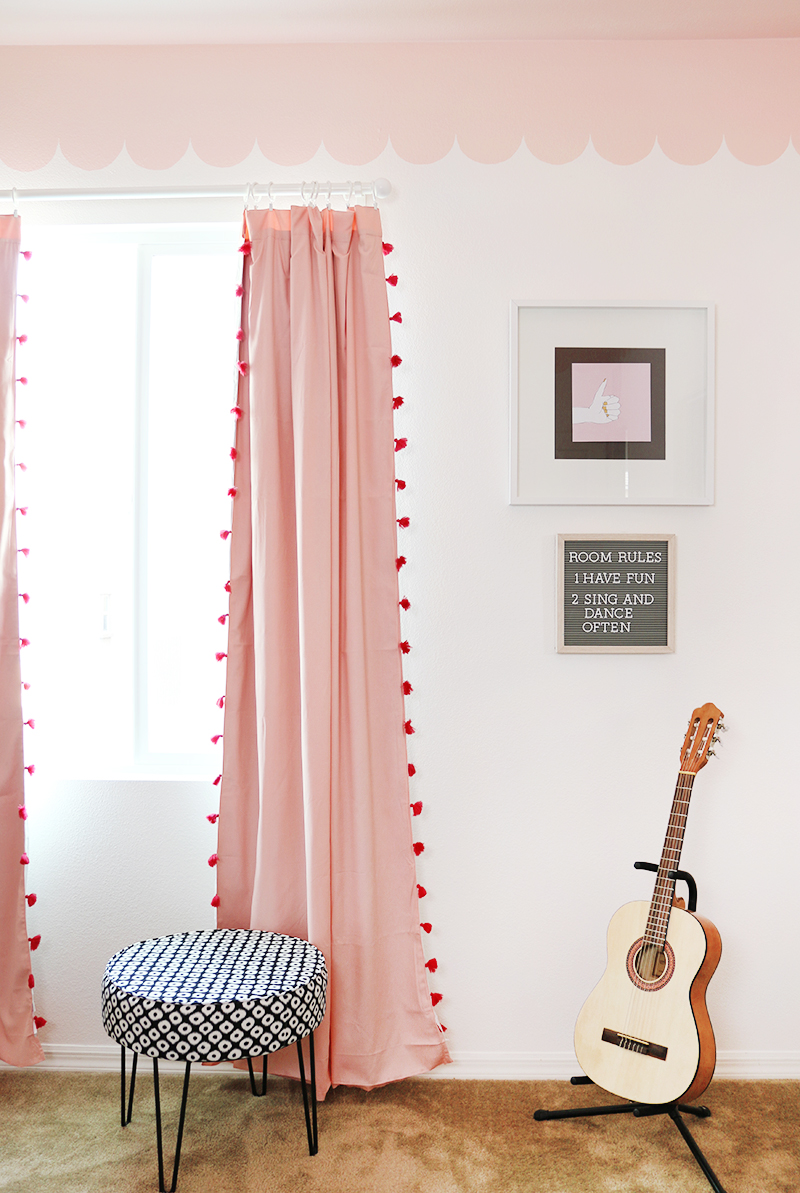
On the other side of the room, those awesome tasseled curtains are really kind of stealing the show, but I have flanked them with some of my daughter’s artwork on one side and a cute thumbs up print (free download!) and that cute letter board. The room rules were totally her idea and just so cute. The black and white ottoman was another Target find.
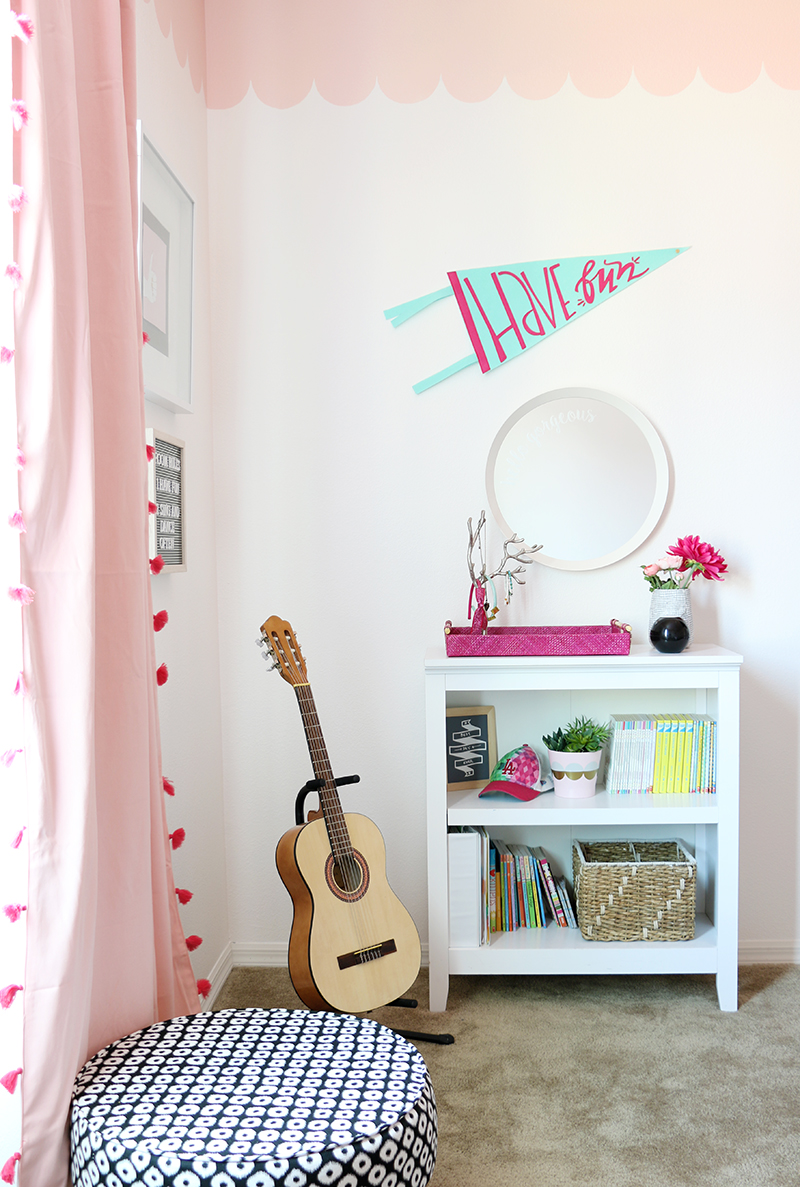
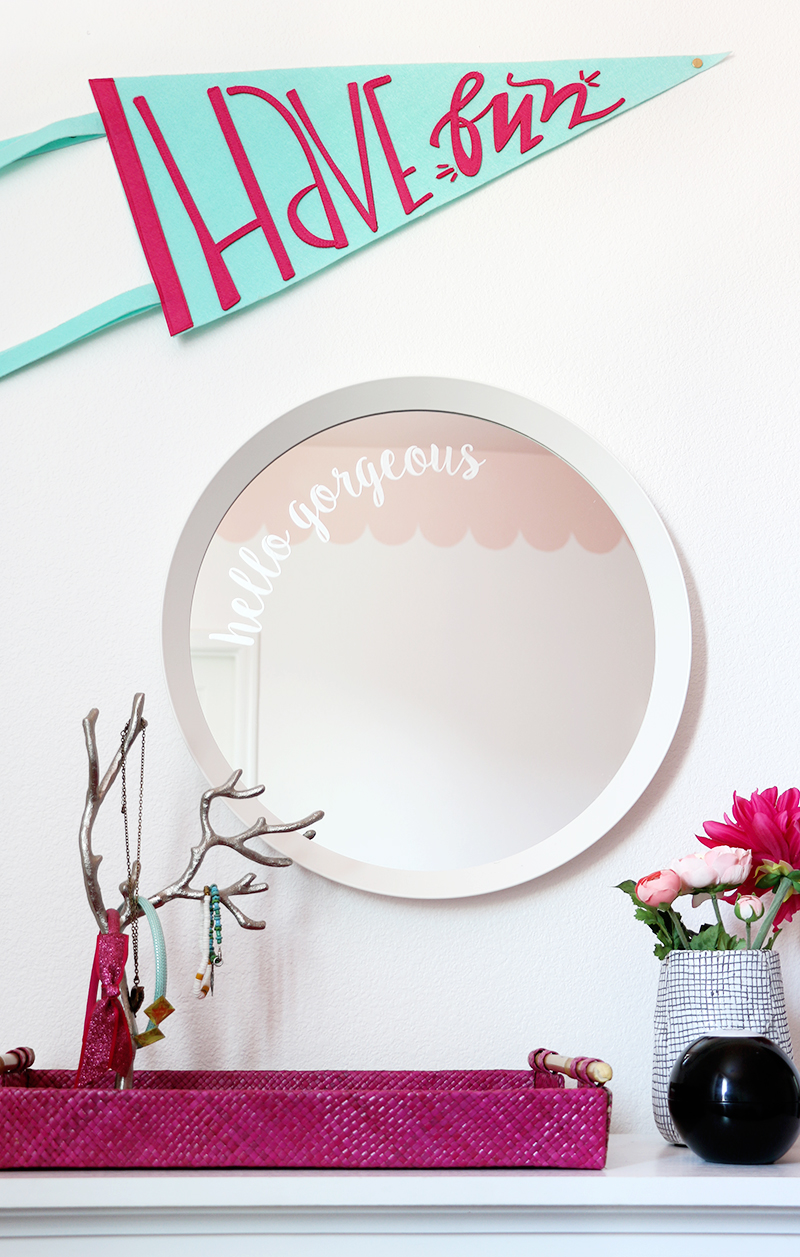
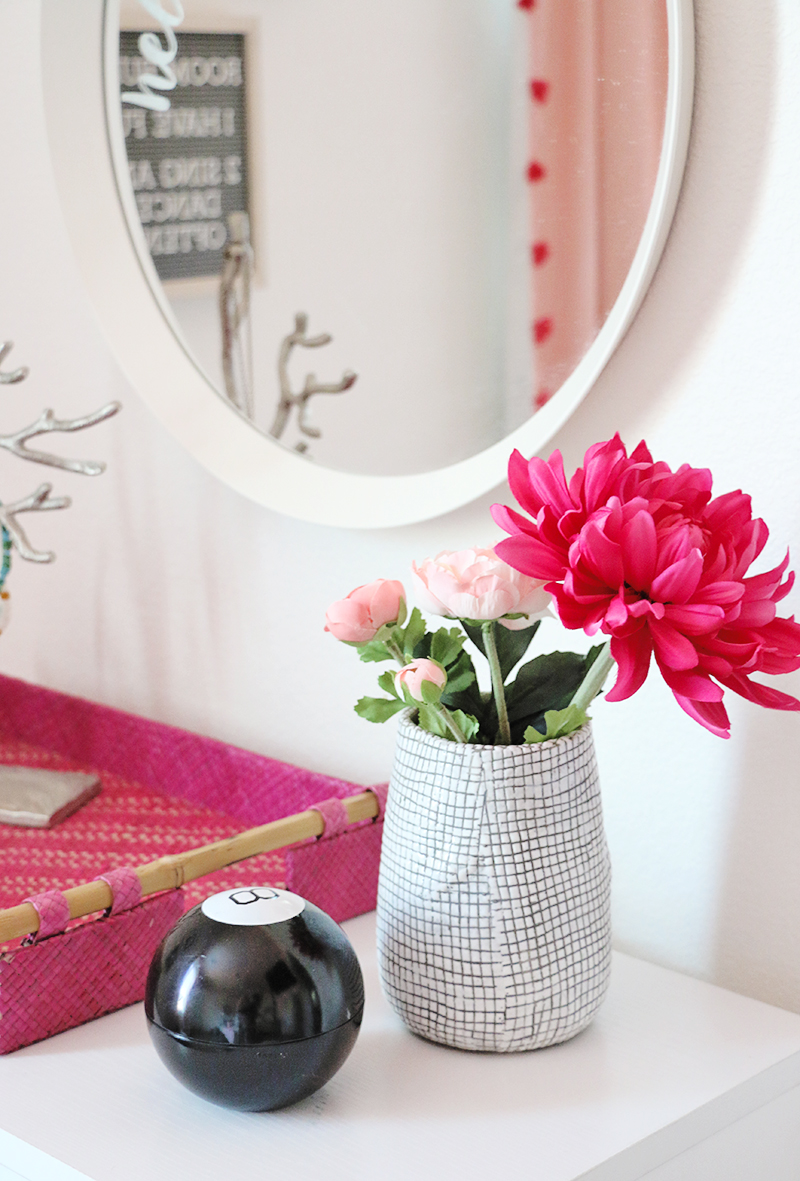
A tray on top of her bookshelf makes a great place for corralling jewelry, headbands, and other accessories. The hello gorgeous mirror was a DIY for my vinyl class that you can read more about here.

So, what do you guys think about our latest room makeover and that DIY scalloped wall?? Is it something you would try in your home? Tell me about it in the comments, and be sure to follow Devine Color on Instagram for some more color and DIY inspiration.
Happy Making!

![]()


Comments + Project Love
Sharon Bryenton says
Hi there! We are creating a reading corner for my Grand daughter. Do you have ideas on making a big round, fluffy floor cushion? Something like a papasan cushion. They are crazy expensive to buy and …how hard can it be to make one, right? Thanks a bunch!
Alexis says
I love that idea! I have seen some nice ones on pinterest, but haven’t made one myself. Do you sew, knit, or crochet?
Lisa M Robel says
Love this! So cute! Can you please share where the curtains are from ?
Alexis says
I got them at target! Right here: http://shopstyle.it/l/DGBt
Michelle says
Hi there,
I know this post is older but is the paint color slightly lighter than your curtains? I have the pillowfort striped curtains with the same pink. I just bought my daughter a Threshold quilt that’s a shade or two ligher in color. I’m hoping the paint is lighter.
Alexis says
I would say that yes, the paint is just a bit lighter than the color of the curtains. Hope that helps!
Kelle says
Love this so much! I think I will be doing this ceiling and scalloped edge for my daughters! What size diameter plate did you use? I really like the way it looks and the scale. Thank you!