Learn how to make your own DIY reverse canvas art with this free tutorial (written instructions and video!). You can completely customize your DIY reverse canvas art to fit any decor or occasion with your Silhouette or Cricut. This post contains affiliate links, which help to support this site at no extra cost to you. Thanks!

I am really excited to share this fun project with you all today! Today we are making reverse canvas art! Have you heard of the reverse canvas technique? It’s a simple craft/DIY project that I am seeing more and more of, especially in Silhouette and Cricut crafting communities.
I have done a few reverse canvas projects, so I figured it was time to do a blog post all about them. Since we are going into the holiday season, we are going to be using one of my latest cut file design to make a super cute Christmas reverse canvas art project.
Of course, you can use this technique with any cut file design to make a cute piece of art for any holiday or home decor style.
What is a Reverse Canvas?
So, what is this reverse canvas thing I’m talking about anyway?? A reverse canvas is a simple project that uses a simple blank stretched canvas to create a beautiful, framed art piece.
How to make a Reverse Canvas
First, you will need to collect your supplies. You only really need a few items for a basic reverse canvas. To add a heat transfer vinyl design, you will need a few more things, but it is a super simple way to get a great looking design.
If you have never worked with heat transfer vinyl before, then I recommend checking out my beginner’s guide to iron on vinyl right HERE.
Reverse Canvas Supplies:
- Blank Stretched Canvas (I used a 12″ x 12″ canvas for this piece)
- Craft Knife
- Hot Glue Gun
- Heat Transfer Vinyl (I used Siser Easyweed in Bright Red)
- Weeding Hook
- Silhouette, Cricut, or other cutting machine
- Iron, Heat Press, or Easy Press
- My Comfy Cozy House Cut File
Once you have your supplies collected, it’s time to get making!
I have a quick little video tutorial here you can watch for the basic steps, or for more details instructions, keep reading. (If you don’t see the video below, it may be because of an ad blocker installed on your browser.)
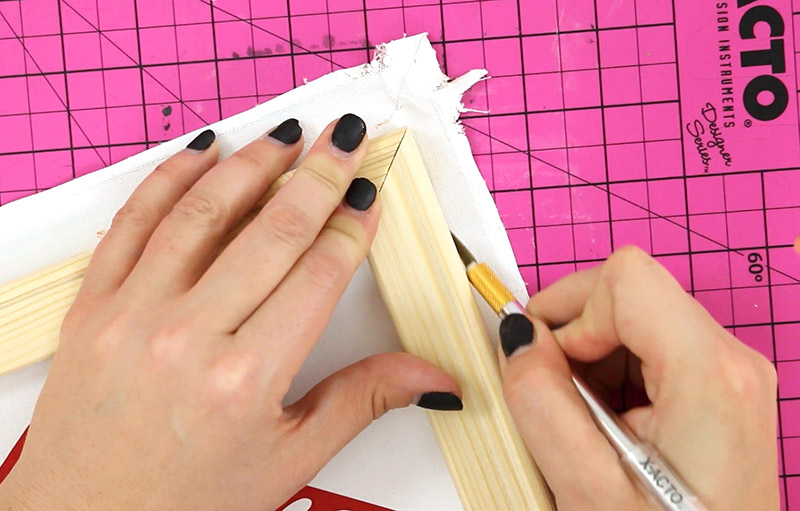
Step 1 – Cut off Canvas
Flip your canvas over and use your craft knife to cut through the canvas around the edge of the frame on the outside of the staples.

I have found the corners to be the most difficult because you need to go through multiple layers of canvas. Just take your time and be careful as you cut through the layers.
When you have cut through the canvas all the way around the frame, pull the canvas off. You do not need to take the staples off the back of the frame as they won’t show in the finished project.
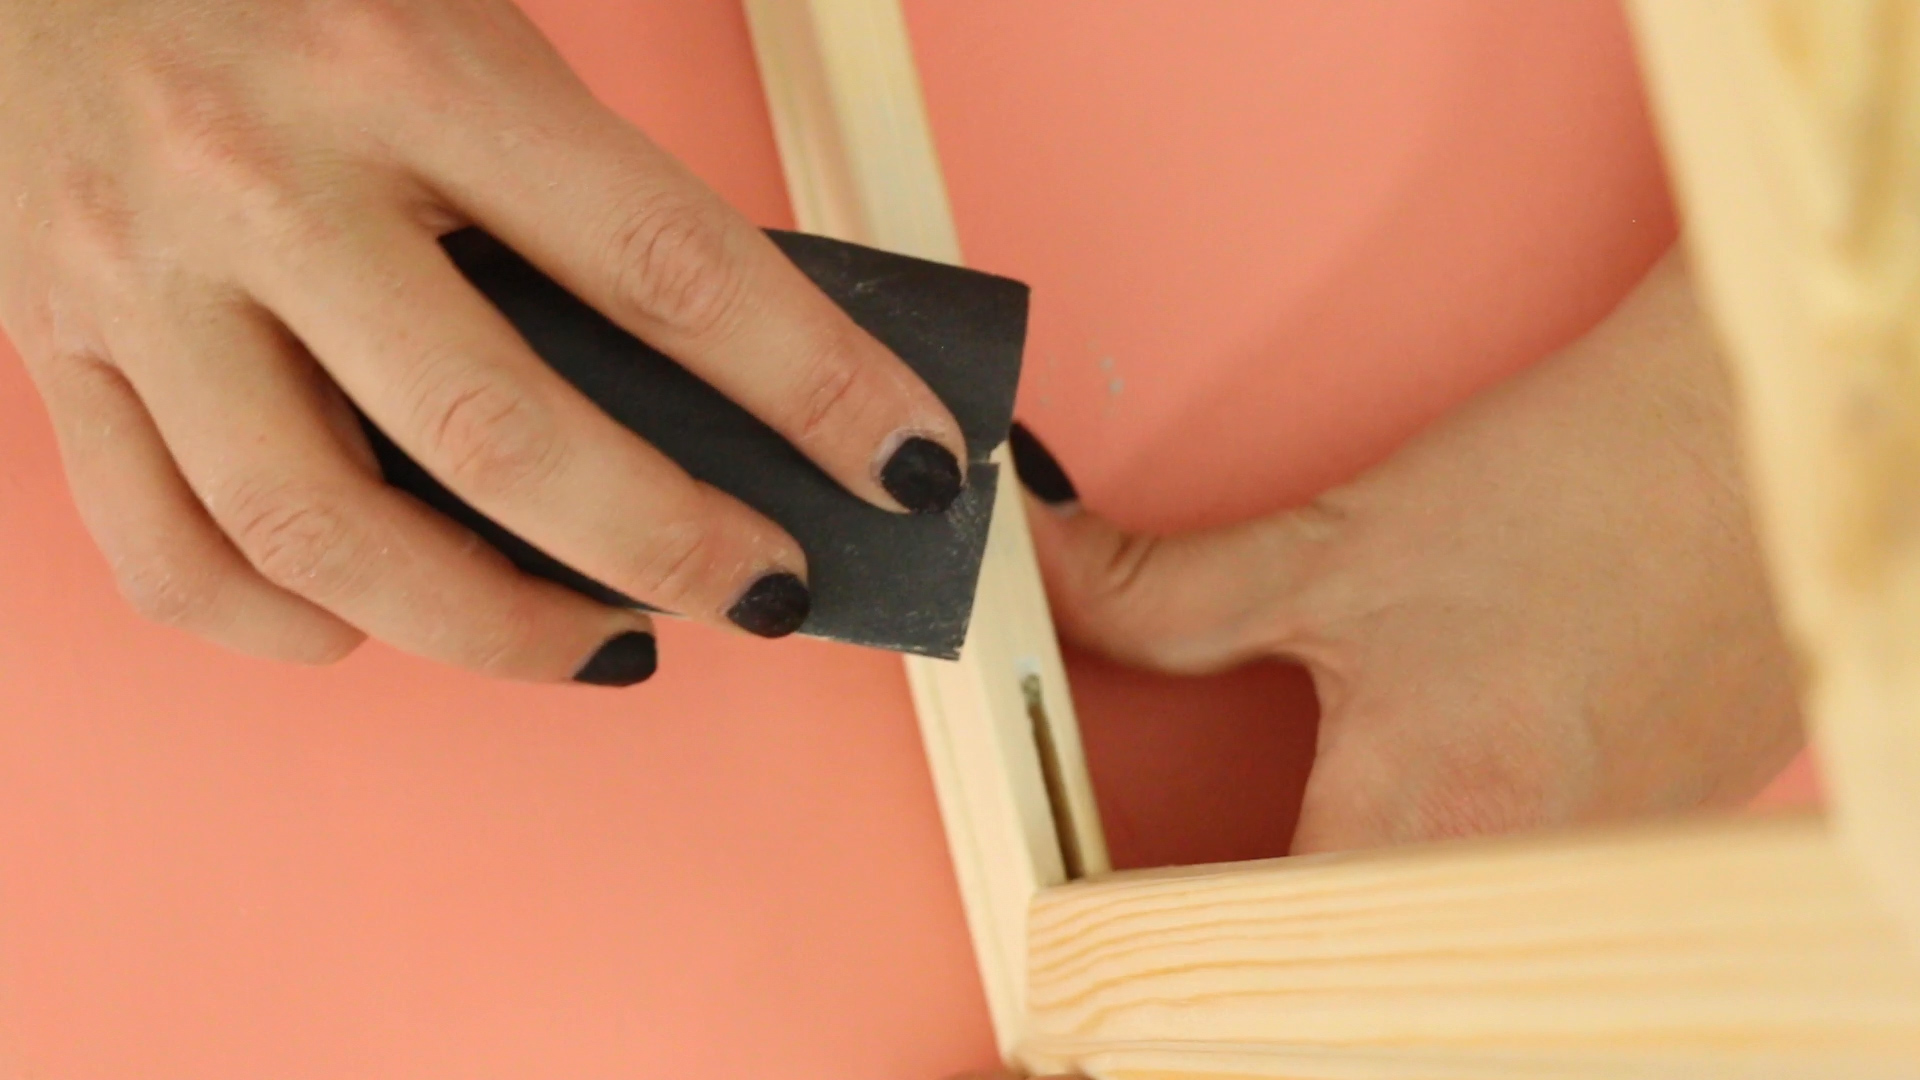
I have found that a lot of the frames have a number stamped on them. If you are painting or staining your frame then that stamp won’t be a problem, but if you want to leave your frame natural wood, you can use sand paper to remove the stamp, which is what I did for this piece.
Step Two – Cut, Weed, and Apply Vinyl
Part of what makes a reverse canvas so great and so easy is heat transfer vinyl! I love working with all kinds of vinyl, but I especially love iron on vinyl. If you need a refresher on (or an introduction to) working with heat transfer vinyl, check out my beginner’s guide here.
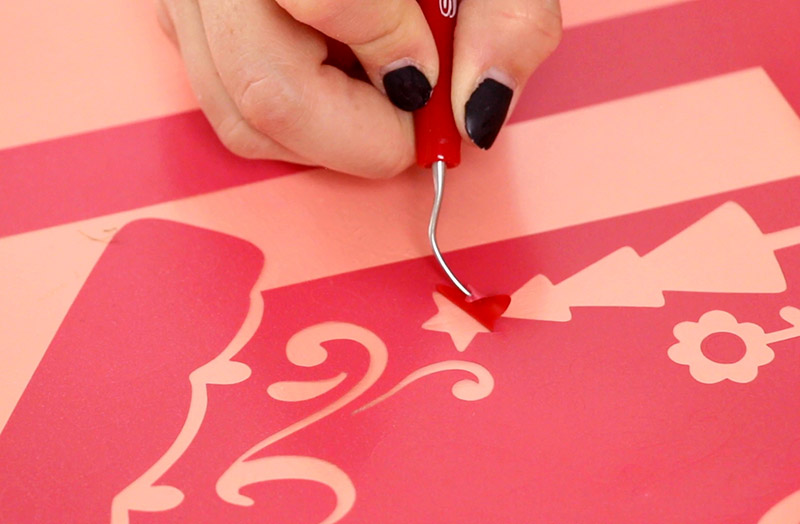
First, start off by scaling your design to fit in the space inside of your frame. Then cut the design from your heat transfer vinyl. (You can get this cute Christmas house design in my shop HERE.) After it has cut, you will need to use your weeding hook to remove the excess vinyl from around your design.
Next, position your design on the canvas using the frame to guide your placement.
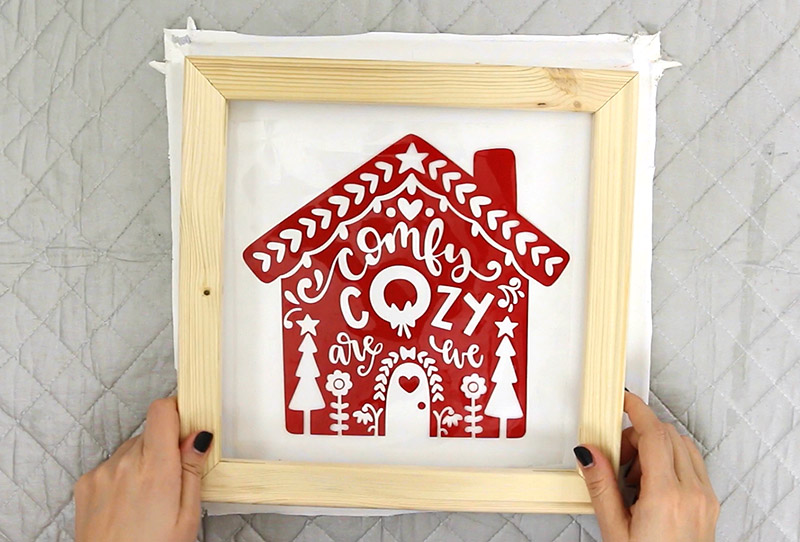
Then, apply the design using your iron, Easy Press, or heat press. Finally, remove the clear plastic carrier sheet from your design.
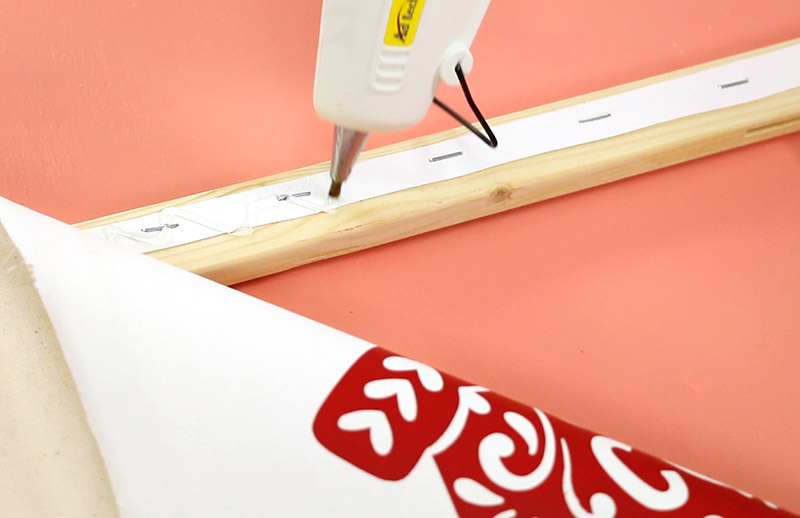
Step Three – Glue Canvas to Frame
Now it’s time to glue the canvas back onto the frame! Place the frame on top of the design, positioning your design in the center of the frame. Then, apply hot glue to each side one at a time, pulling to keep the canvas taut.
Step Four – Trim Off Excess Canvas
The final step in making our DIY reverse canvas art is to trim off the excess canvas. To do this, simply place your piece face up on top of a cutting mat and use your craft knife to trim the extra canvas off along the edge.
And that’s it! Your DIY reverse canvas art is all done at this point! I am so happy with the way this cute Christmas art turned out, and I just love this technique.

What do you think? Have you made a reverse canvas yet? Will you give this technique a try?
Until next time, Happy Making!

Check out more vinyl projects here:
[the_grid name=”Vinyl Projects”]


Comments + Project Love
Heidi Kundin says
I love, love, LOVE this! And I was totally just looking at the new bundle and saying that this design is my favorite, “So it’s probably Alexis’s!” I was totally right! Yours are always my fave! <3
Alexis says
Awww you are so sweet! Thanks so much, friend!
Nicole says
Great tutorial! One quick question, what tempurature do you use for the hot glue?
Alexis says
I used the hot setting on my hot glue gun. 🙂
Victoria says
How do you hang these? Or are they more so intended to be not hung up?