Make your own retro Disneyland notebook and learn how to layer vinyl decals with your Silhouette Cameo – it’s easier than you might think! This post contains affiliate links, which help to support this blog. Thanks for supporting Persia Lou!

I am a huge, giant, mega Disney nerd. Specifically, I am a Disneyland nerd. When I was a little girl growing up in Southern California, we had annual passes for a few years, and ever since then I’ve been hooked.
I especially love Retro Disneyland – the colors, mid-century style, and optimism about the future all really appeal to me. The vintage attraction posters really inspired my kids’ bedroom makeover, that was just one of my favorite projects ever.
Today, I have a fun little project for you that celebrates Retro Disneyland in a much smaller way – a cute retro Disney-inspired notebook. I’m also going to teach you how to layer vinyl to create amazing multi-color designs easily. Plus, there’s a whole collection of awesome Disney-inspired vinyl projects from some of my favorite bloggers at the end of this post. Plus PLUS – there’s an AMAZING Disneyland vacation giveaway from the fab Get Away Today at the end of this post. Whaaaaat?! Did you just read that correctly? Yes, you did dear friend, we are bringing you a Disneyland vacation giveaway. Woot woot! Super exciting things happening here today.
But first things first, let’s talk about my cute new notebook. I’m kind of crazy about it:

The design on the cover was inspired by this original Disneyland Hotel menu that I just super love. I really wanted to recreate it and put it into some project, and I thought making a little multi-color decal to stick on the front of my notebook would be a fun little project.
I will walk you through all of the steps to create your own retro Disneyland notebook and teach you how to layer vinyl decals without pulling your hair out. Sound fun? Let’s do it!

Retro Disneyland Notebook Supplies:
- Blank Notebook (I picked mine up at Ikea.)
- Outdoor Permanent Adhesive Vinyl from my favorite vinyl shop, Expressions Vinyl, I used Pink, Orange, Black, and White)
- Silhouette Cameo or other electronic cutter
- Transfer Tape (Expressions Vinyl’s clear transfer tape makes it really easy to see what you are doing)
- Application Tool
- Masking tape
- My Retro Disneyland design (download the Studio file or the SVG)
How to Layer Vinyl Decals

How to Layer Vinyl Step One – Software Stuff
The first step to making layering vinyl easy is to cut your design by color. The Silhouette Studio software has a great feature that makes this SO easy. Start by selecting all of the shapes in your design that will be cut out of the same color vinyl. Hold down the shift key as you click them to keep them all selected together. Then click on that little paint bucket up on the top – that’s the fill color tab. Select a color for that group of items (I try to pick a color similar to the vinyl I will be using just because it is much easier to visualize the design that way, but it really doesn’t matter what color you select.

Repeat this process until every shape has a color.
The next step is to add registration marks to the top of your design. Use one of the shape tools in the software to draw two little shapes up at the top of your design. Lately I have been using pentagons, but whatever you like works. We will cut these registration marks out of each layer, and they will help us get everything lined up.

Now it is time to cut by color. Love this feature! In the cut settings tab, click on the Advanced bubble to open up your options. The select “Fill Color.” Click on the checkmarks to unselect all of the layers except one color and the no color layer. The no color layer is the registration marks layer, and needs to be cut with every layer.

Check your cut settings, load the appropriate color vinyl into your machine, and cut! Repeat this process for each color until they are all cut.
How to Layer Vinyl Step Two – Layering on the Transfer Tape
Use your fingers/weeding tool to remove the excess vinyl from each layer, and soon you will have this:

Four layers ready to be assembled into one design. You need to start by figuring out what order the layers need to be placed so your design works. I needed the pink and orange to be on top of the black for the little dots on the top to line up correctly, and I also needed the white to be behind the black flags.
You will add each layer to your transfer tape one at a time to get them all lined up perfectly before applying the decal to your notebook. Whatever layer will be on top of your finished design needs to be put on the transfer tape first. I added my layers to my transfer tape in this order – orange, pink, black, and white.
Start by cutting a piece of transfer tape a bit larger than the size of your design, and burnish it onto your first layer. Peel the transfer tape and the vinyl design up off of the backing.

Now, lightly reapply the backing to your design just below the registration marks. This may seem counter-intuitive – didn’t we just pull the design off of the backing? But the reason for doing this is that it prevents the orange layer from prematurely sticking to the next layer before we have it precisely lined up. Don’t skip this step!

Now with the orange layer on the transfer tape, and the backing just below the registration marks, we will line up the registration marks on the orange layer with those of the pink. Go slowly and try to get them as perfectly matched up as you can. When you have them lined up well, smooth the transfer tape and orange layer down onto the pink layer as you slowly pull back and remove the backing.

You will repeat this process for each layer until you have the entire design on the transfer tape.


The last step is to put your decal onto your notebook (or wherever you want to put it). Be sure to cut off your registration marks first!

Position your decal onto your notebook, and slowly pull of the backing as you smooth the decal down onto the notebook with your fingers or application tool. Finish by burnishing it on to the notebook to get it to adhere well.

And that’s it! I am seriously in love with my new little notebook. I’m not sure what I will use it for yet, but maybe I will just look at it a lot. Ha!

And now that you know how to layer vinyl, you can use this same method for any multi-colored decal design you have in mind. So many possibilities!
And now onto more Disney fun! As I mentioned before, the awesome folks at Get Away Today, we are giving away an awesome Disneyland vacation package, so one of your lucky people will be heading to Disneyland, and I will be super jealous.
And even if you don’t win, be sure to check out Get Away Today for any future Southern California trips. They have awesome customer service, a low price guarantee, AND you can get $10 off your vacation package with the code PersiaLou (and save that ten bucks for an extra dole whip! YES please.).
Enter to win in the Rafflecopter widget below:
And finally, don’t miss all these awesome Disney vinyl project ideas. There are some super cute ones in there! Get your pinning fingers ready. 😉
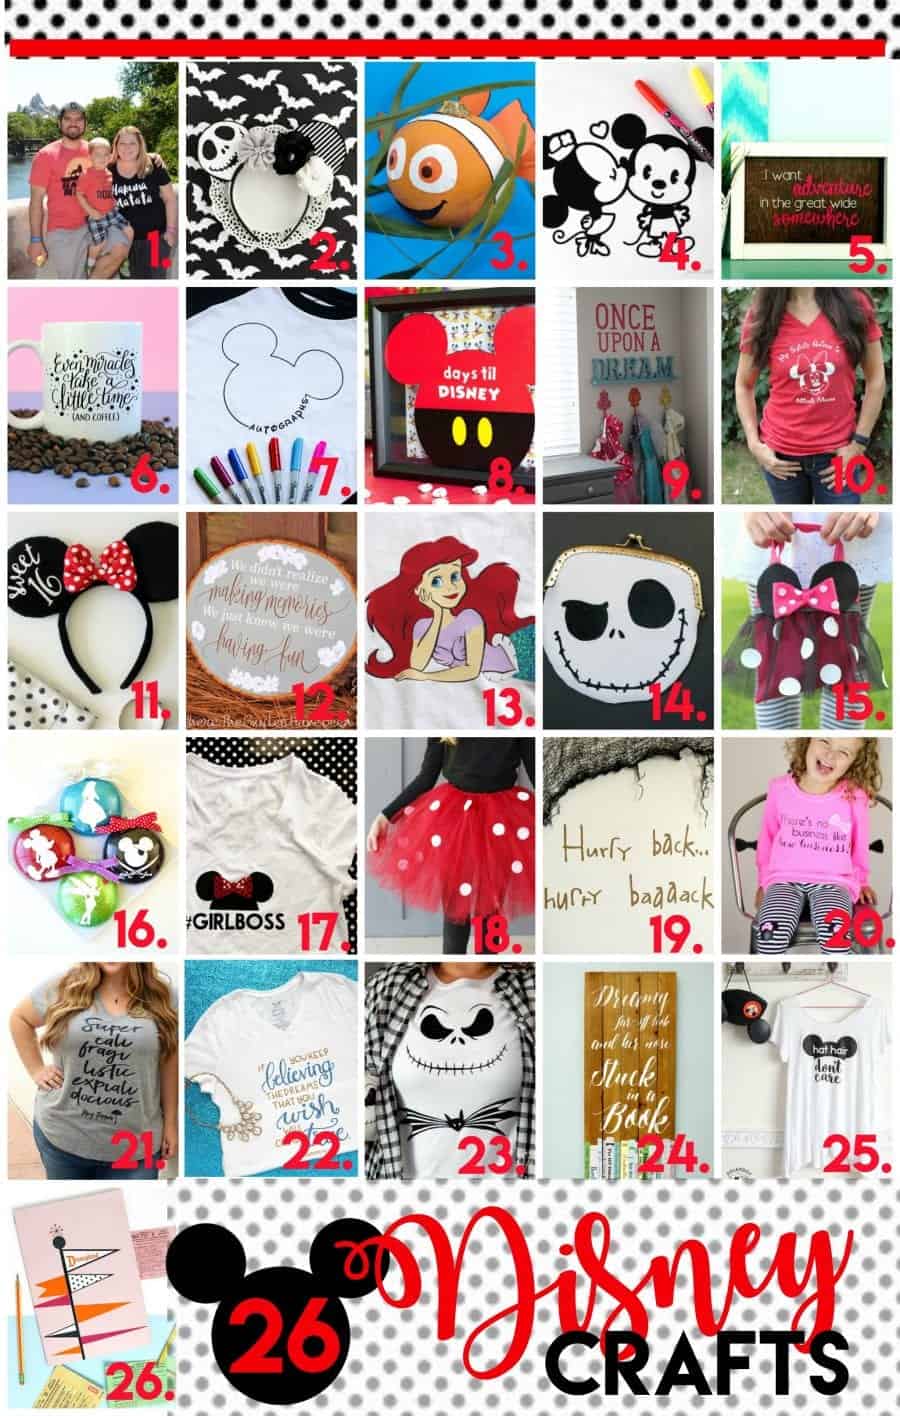
1. Lion King shirts by Play Party Plan
2. Jack Skellington Ears by A Pumpkin and a princess
3. Nemo pumpkin from C.R.A.F.T.
4. Disney coloring shirt by Artsy Fartsy Mama
5. Belle framed art by Crafting in the Rain
6. Miracles free cut file By Dawn Nicole Designs
7. Autograph shirt by the Pinning Mama
8.Disney countdown by Frenchi Wraps
9. Girl dress up by Over the Big Moon
10. Spirit animal shirt by Smashed peas and Carrots
11. Customized Minnie Ears by Inspiration Made Simple
12.Winnie the Pooh quote from Where the Smile Have been!
13. Modest ariel from Kiki & Company
14. Jack Skellington coin purse by Tried and True
15. Minnie Mouse purse by A girl and a glue gun
16. Disney ornaments by Happiness is Homemade
17. Girl Boss shirt by Sweet Rose Studio
18.No Sew Minnie tutu by Sugar Bee Crafts
19. Haunted Mansion door design by Simple simon and Co.
20. Minnie Mouse bow shirt by Girl loves Glam
21. Mary Poppins design by the Crafted Sparrow
22. Cinderella hand lettered shirt by Pitter and Glink
23. Jack Skellington shirt and pumpkin by the Scrap Shoppe
24. Beauty and Beast book sign by Flamingo Toes
25. Hat hair shirt by Polka Dot chair
26. Vintage Disneyland Notebook by Persia Lou
That’s all for today, friends! Happy Making!

Check out more of my Disney-inspired projects below:
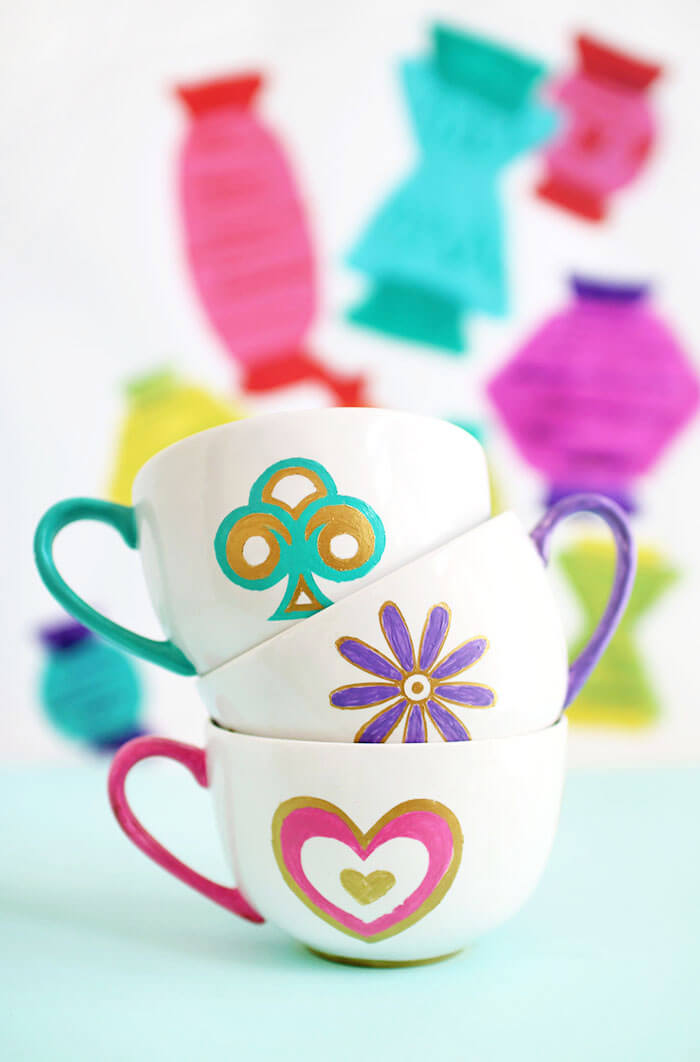
DIY Disneyland Mad Tea Party Tea Cups

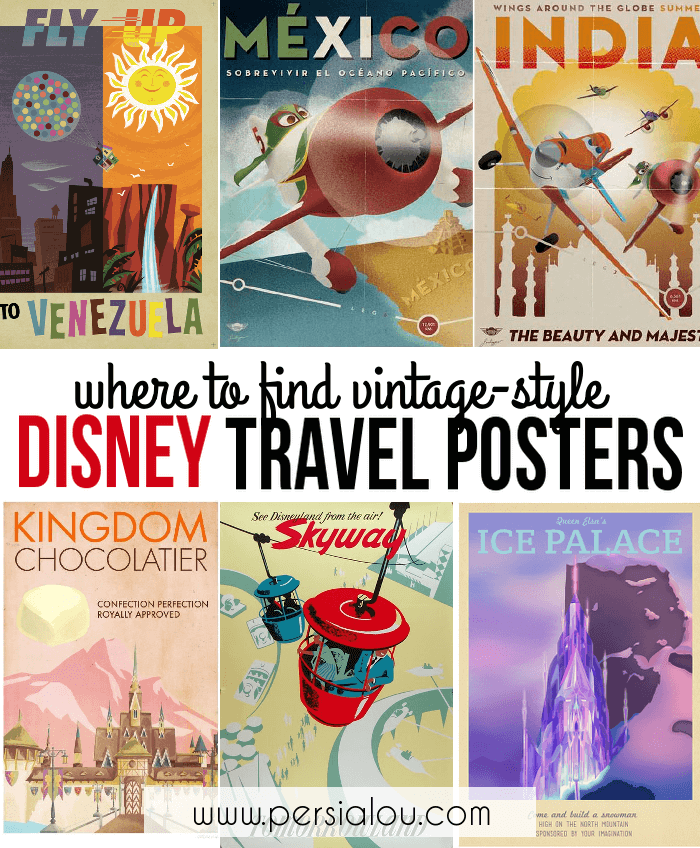
Vintage-Style Disney Travel Posters


Comments + Project Love
kiki comin says
Cutest project ever, Alexis! LOVE it…my girl would love a notebook like this..thanks for the idea.
Alexis says
Thanks so much, Kiki! 🙂
Rebecca Lopez says
Girl! I love vintage Disney and this makes my heart so happy, it’s adorable! I love everything you do!
Alexis says
You are so sweet! Totally made my day. Thanks, Rebecca! I love everything you do too!
Dru sharp says
Hi! -awesome tutorial! Totally makes sense and is so smart! Can I ask a probably dumb question? One of your layers had a blue backing on it… what kind is that?
Thanks!
Alexis says
Hi Dru! Not a dumb question at all! The white vinyl I was using has blue backing paper instead of white (probably so you can see your cut out better). I believe I was working with the Expressions Vinyl brand permanent vinyl (this one here: http://shrsl.com/?eblk – that’s an affiliate link). Hope that helps!
Mathias says
As opposed to proceeding shattered swiftly by enjoying lengthy sessions, you’ll go shattered more slowly
by playing limited sessions.