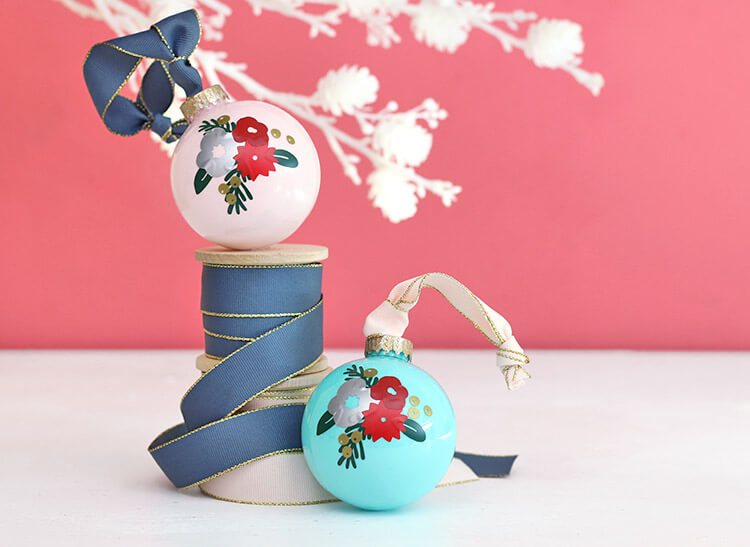
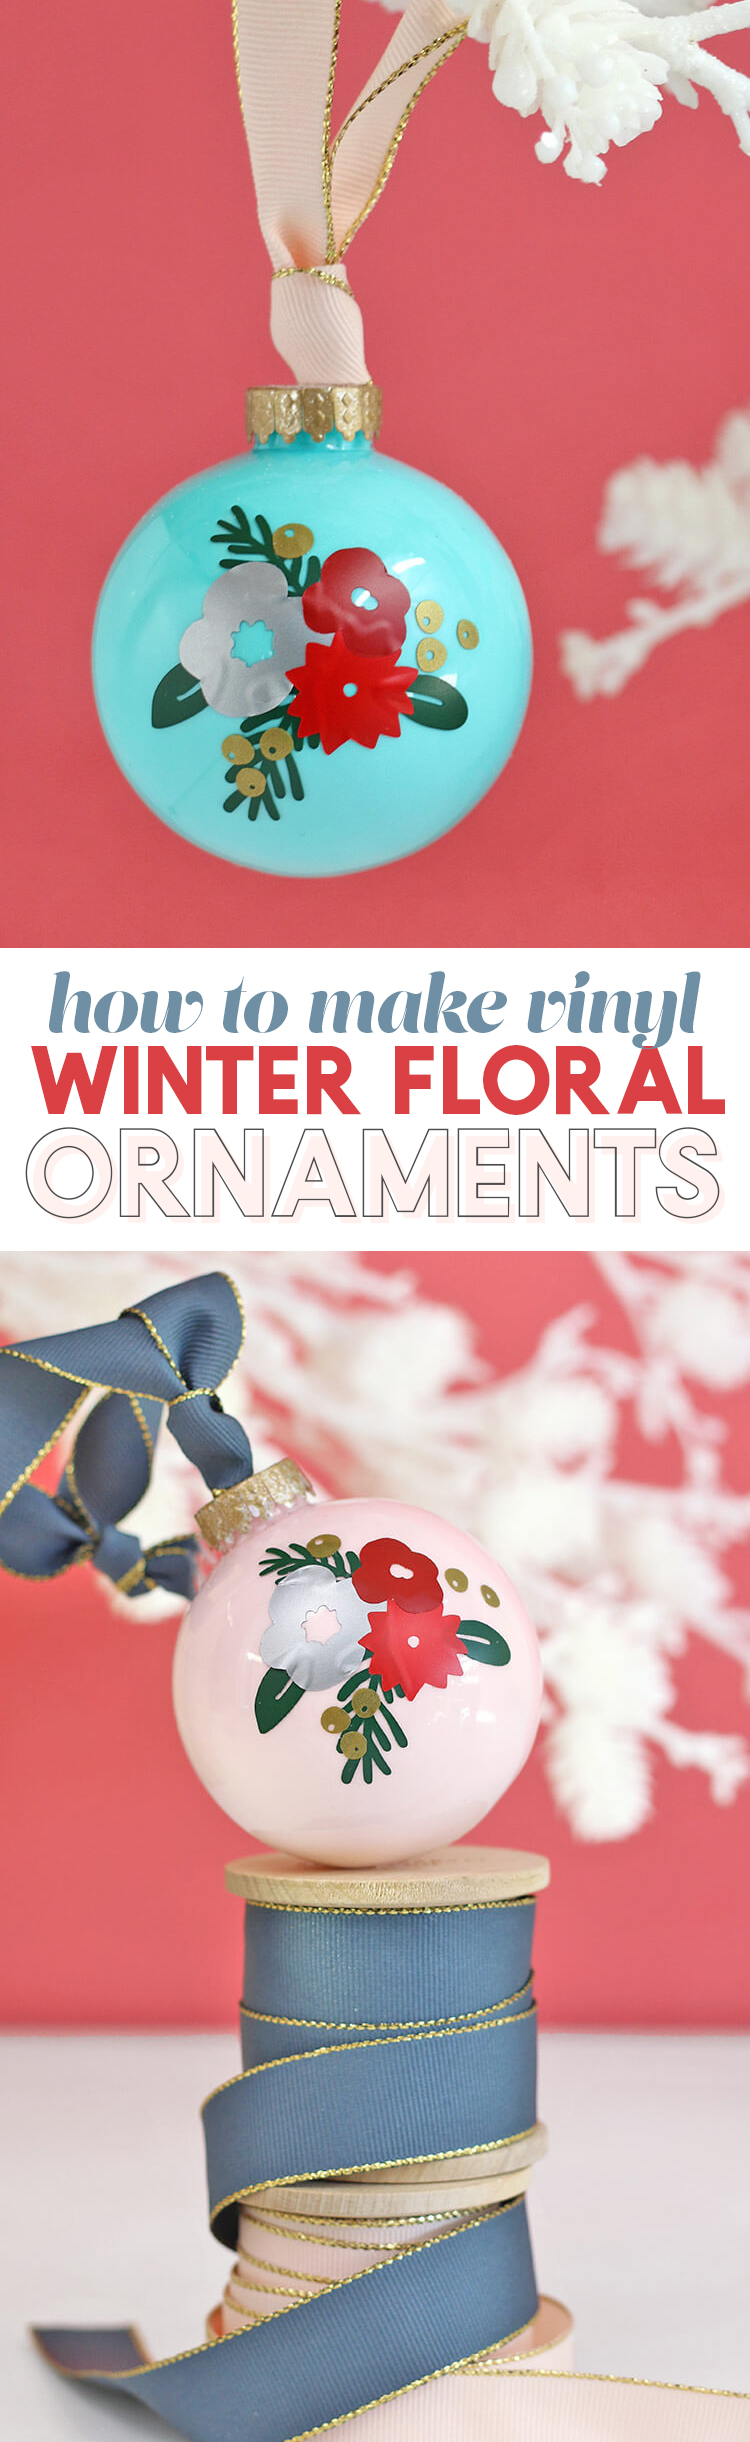
Make a DIY Winter Floral Ornament for your Christmas tree using vinyl and your Silhouette. It’s easy to customize your colors and design, and I will walk you through all the steps! This post contains affiliate links, which help to support Persia Lou. Thank you!

Today I’m excited to be doing a fun Ornament Challenge with Expressions Vinyl and some of my blogging buds. Expressions Vinyl sent all of us their Christmas Vinyl Pack, and challenged us to create some fun new ornaments. You can see all of the inspiring projects at the bottom of this post (plus there’s a contest and giveaway!).
The Christmas Vinyl pack includes six sheets of vinyl in more traditional Christmas colors – two reds, two greens, silver, and gold. Personally, I don’t do tons of red and green in my Christmas decor, but I have been really digging pink and red together lately, and I wanted to try combining the more traditional colors with my favorites. A pretty winter floral design on a brightly colored background seemed like a good way to go.
I’m really happy with the way they turned out, and I hope you all like them too! Here’s everything you need to make your own:
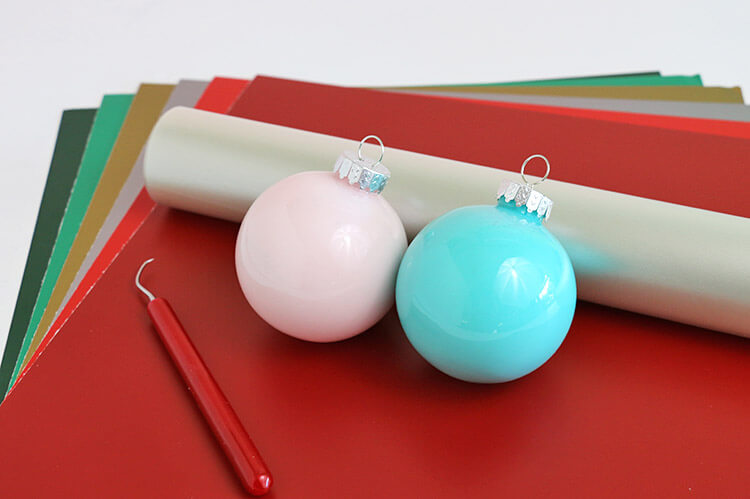
DIY Winter Floral Ornament Supplies:
- Clear Glass Ornaments
- Acrylic Paint
- Expressions Vinyl Adhesive Vinyl Christmas Pack
- Silhouette Cameo
- Transfer Tape
- Weeding Tool
- Ribbon
- My DIY Winter Floral Ornament design (Download the Studio3 file or the SVG file)
I started by filling my clear ornaments with acrylic paint just as I did with my marbled ornaments from a couple weeks ago, but instead of doing multiple colors and swirling them together, I used just one color in each. I used plastic ornaments because I have small kids in the house, but I have found that the paint doesn’t seem to stick well with some of the colors, so I think I would recommend the glass. A reader recommended drying the ornaments on an old egg carton, and that worked perfectly!

When the excess paint has dripped out, and the ornaments have had time to dry, we can add our vinyl design. I created a simple floral design to add to my ornaments. I cut it from multiple sheets of colored vinyl to create a multi-color design. It’s not a difficult process, but there are a few steps, and I will walk you through each one.
Start by opening the file in your Silhouette Studio software. Use the paint bucket tool to fill each part of the design with a color similar to the vinyl color you will use for that portion. Then, in the cut settings menu, click on Advanced and then under Cut Order, click Fill Color. You will see your design has been separated into different layers based on the different colors.
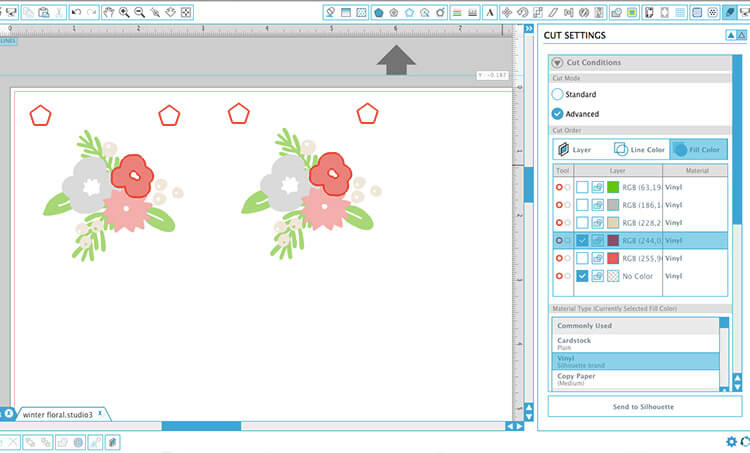
For each color of vinyl, you need to check the checkboxes next to that color and the “No Color” layer, which is the registration mark layer (the little pentagons at the top). You need to cut the registration marks with each layer as they will help you to line up the layers of the design. Make sure the correct material is selected for each layer (vinyl), and send it to the Silhouette to cut.
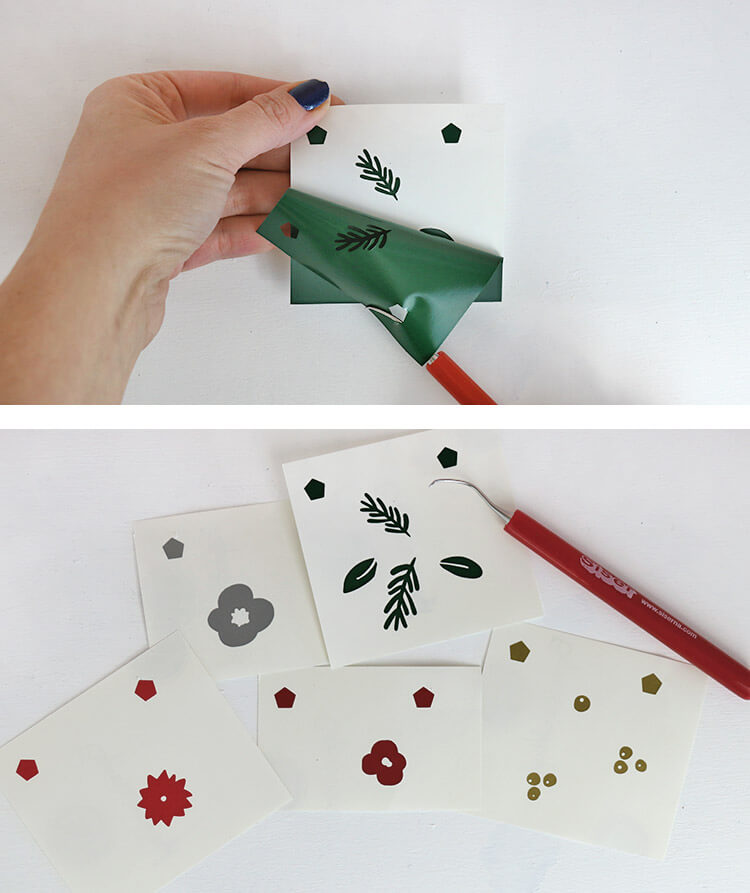
When each color has been cut, use your weeding tool to remove the excess vinyl from each piece.
Next, you will need a piece of transfer tape cut to be just a bit bigger than your biggest piece. I really like the clear transfer tape from Expressions Vinyl and definitely recommend it. I picked up the gold layer first with my transfer tape because that was the layer I wanted to be on the top of my decal. Then I replaced the backing on the transfer tape below the registration marks.
Now, to pick up the remaining layers of vinyl with the transfer tape, you will carefully line up the registrations marks to get each layer perfectly aligned. Always replace the backing below the registration marks before picking up the next layer, this will make it easy for you to position the registration marks without the layers sticking prematurely.
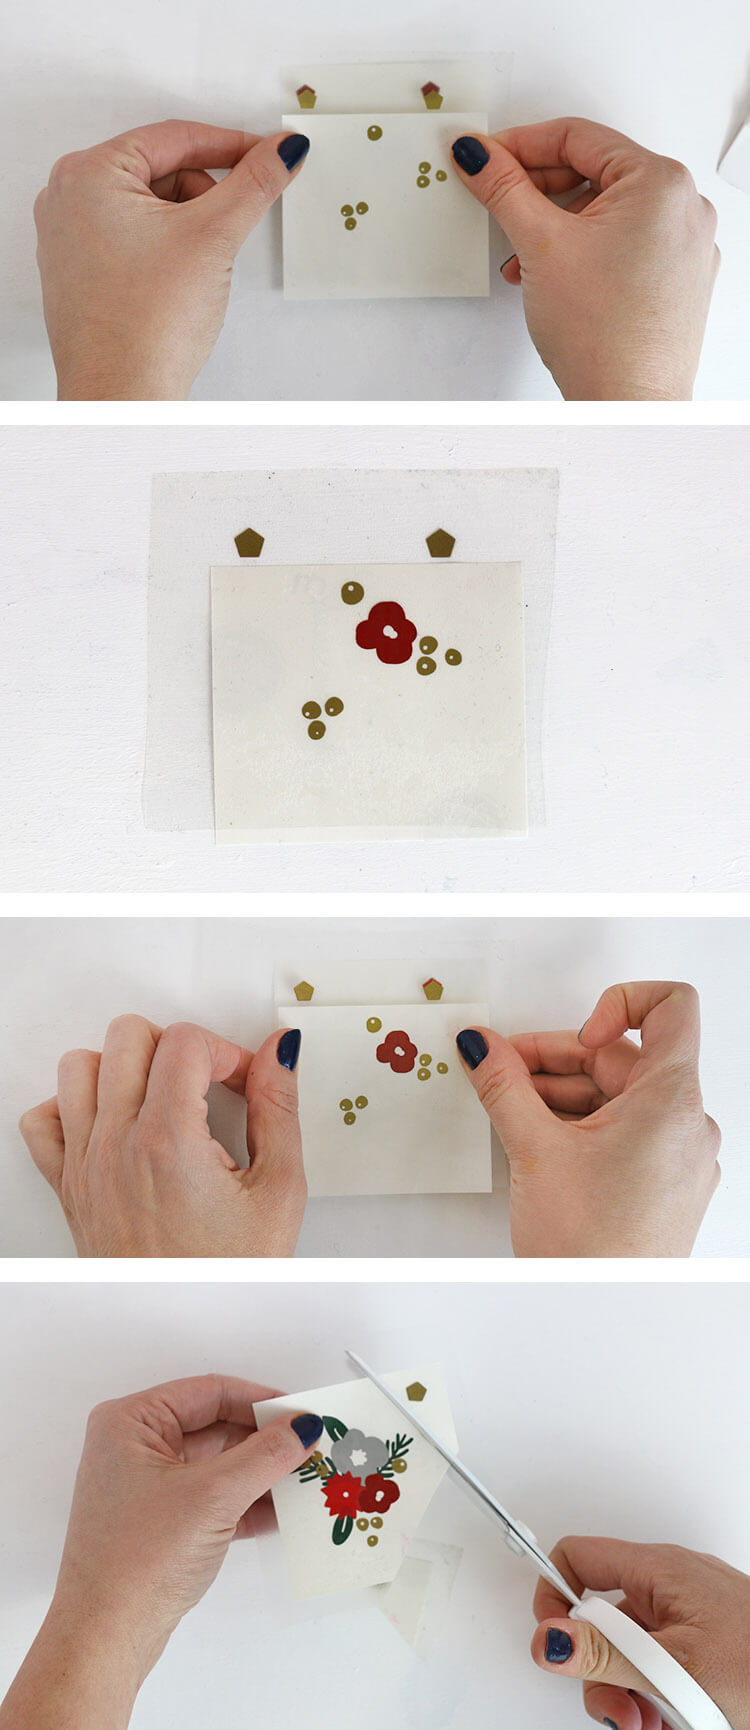
Finally, cut off the registration marks so they don’t end up on the final ornament. Applying a decal like this smoothly to a curved surface can be tricky. One tip that I recommend is clipping the transfer tape in between parts of the design. This makes it easier to smooth the decal onto your curved surface. Start from the middle and smooth out from there.
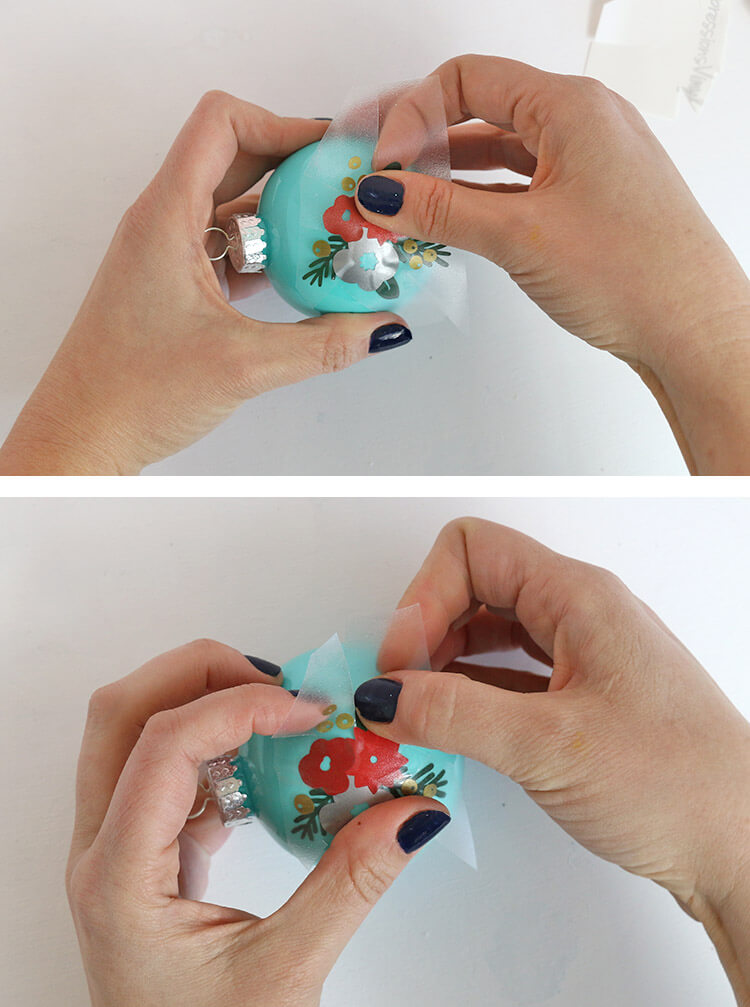
I finished off my ornaments with some pretty ribbon, and they were ready to hang on the tree. And that’s it for our DIY Winter Floral Ornament!
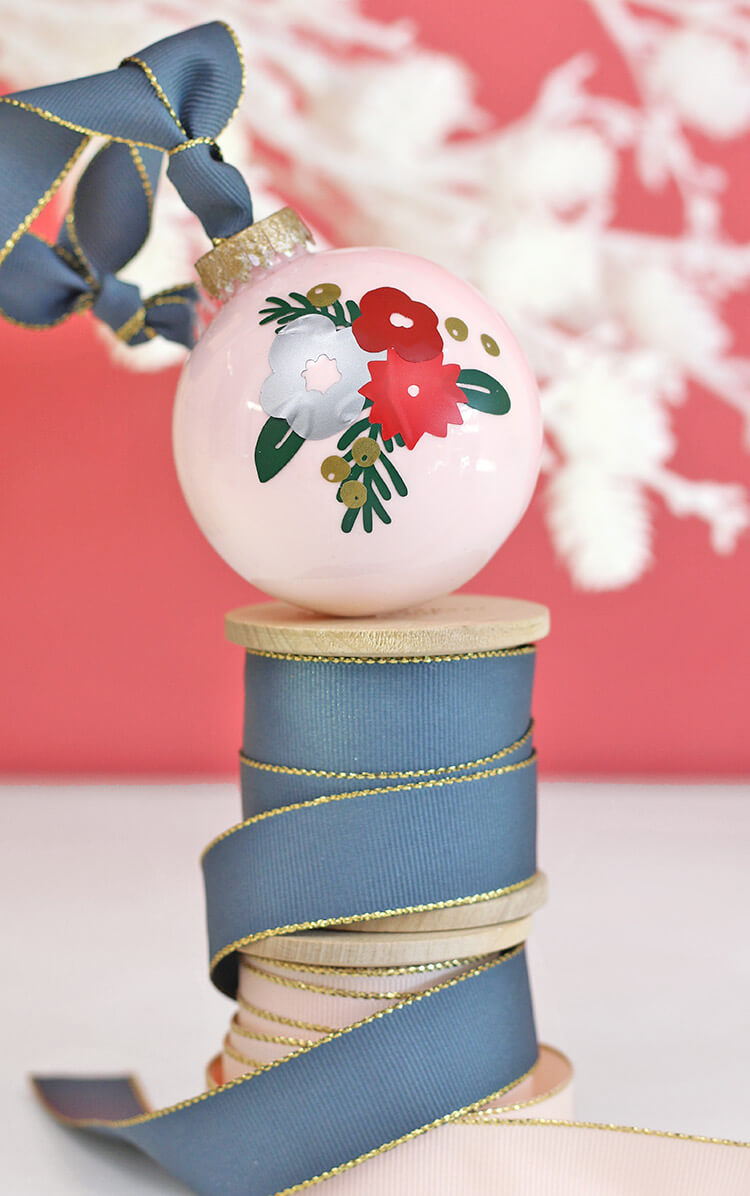
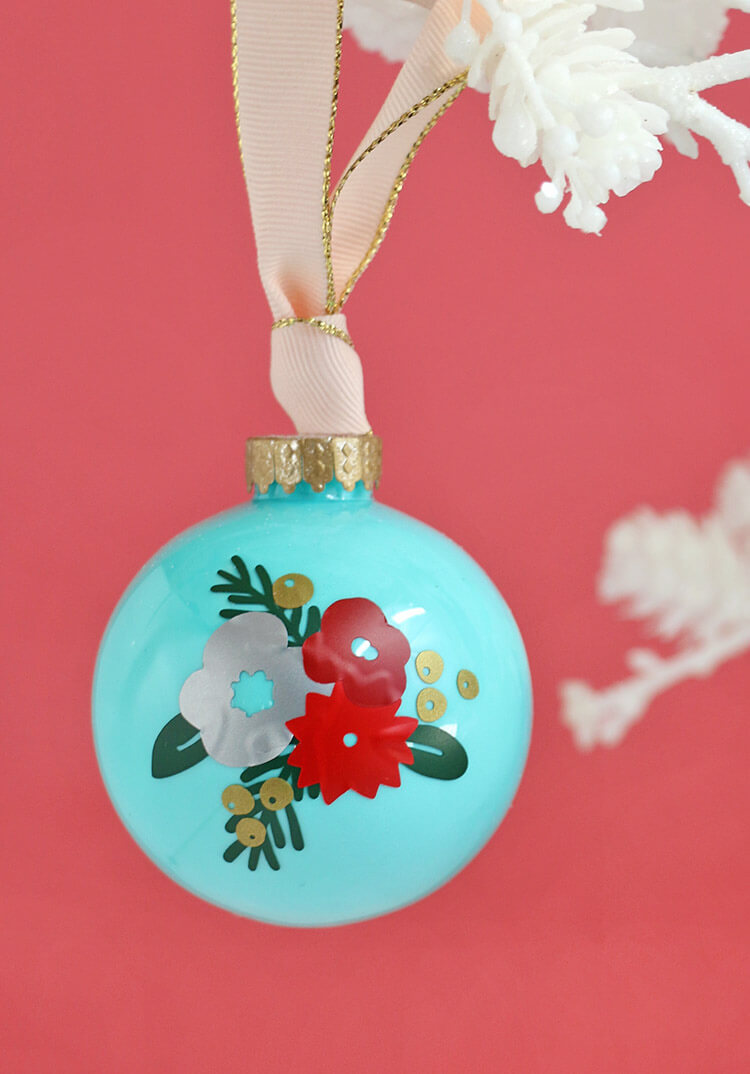
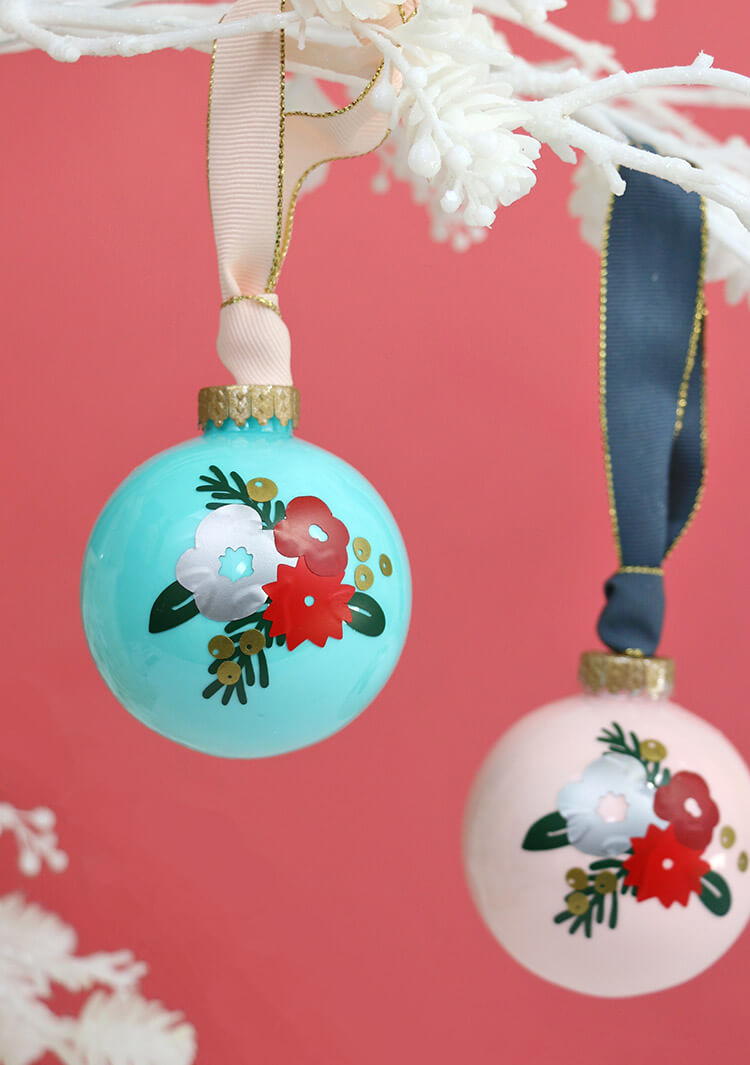
I really like the way these ornaments turned out. I love the combo of the traditional Christmas colors in the vinyl with the less conventional turquoise and blush.
Looking for some more awesome crafty vinyl projects and ornament inspiration? Check out all of these great projects from my creative friends.
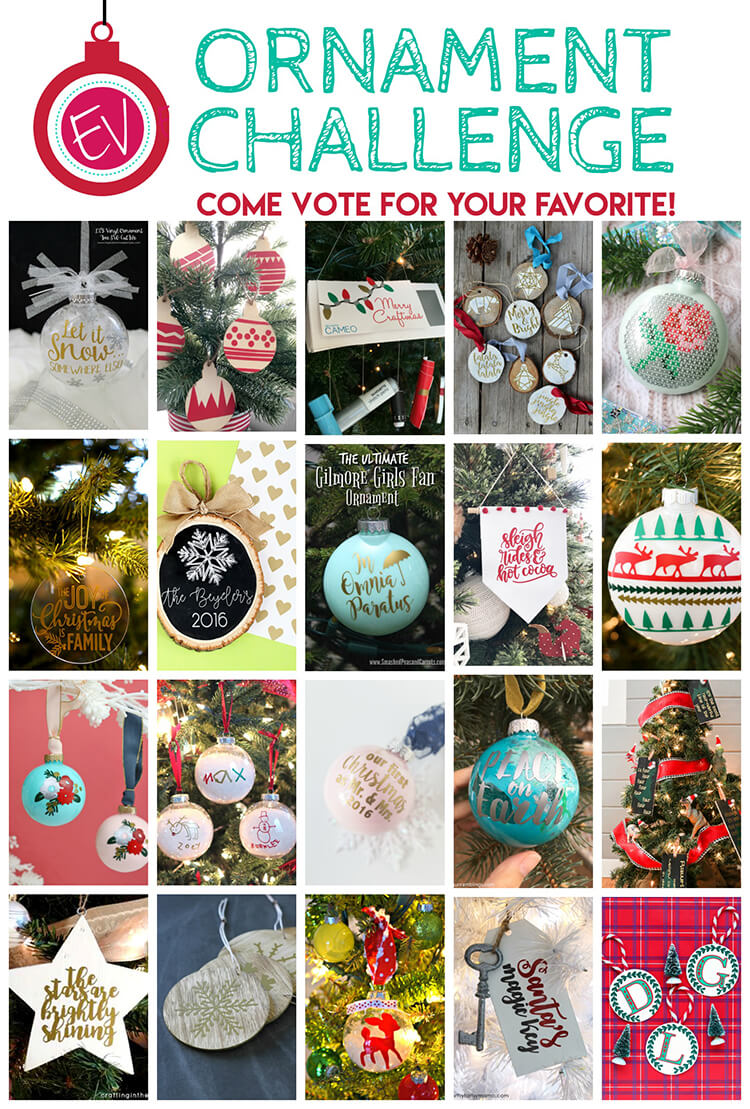
If you head over to the Expressions Vinyl blog, you can see all of the ornaments in more detail. PLUS, you can vote for your favorite (I wouldn’t mind if you voted for mine wink-wink-nudge-nudge), and you can also enter to win a $100 Expressions Vinyl gift card! Woot! Just click HERE.
I hope this post has showed you that vinyl projects don’t have to be intimidating! If you want to learn more tips and techniques for working with vinyl, I have a great new resource! My new Craftsy course, Silhouette Saavy: Venture into Vinyl. It’s an online video course that will teach you everything you need to know to make vinyl projects with your Silhouette. We make everything from large wall decals to t-shirts to an etched mirror, and I walk you through each step.

Click here to check out the new class!
That’s it for today! Happy Making, friends!


Comments + Project Love
Stephanie says
Great colors – and those flowers are dreamy!
Havalah Turner says
These are perfect! I actualy thought you painted them when I first saw them!
Amy | Delineate Your Dwelling says
I love love this ornament. I didn’t even realize it was vinyl until I looked closer! Pinned.
Alexis says
Thanks so much, friend!
Marlene @ Idle Hands Awake says
Sooooo pretty, Alexis! I love the color combinations, and the unexpected texture of the vinyl on the paint-filled glass. Love it!
Alexis says
Thanks so much, Marlene!
Natasha says
Great tip for using registration marks to line up vinyl layers like that! I use my Silhouette for vinyl all the time, but only ever one color at a time, so I’d never thought do do that.