Learn how to DIY scratch off cards with color and pattern! It is so easy with Silhouette printable scratch off material! I will walk you through the whole process step by step plus you can get a free Easter printable for adorable Easter egg cards! This post may contain affiliate links, which help to support this site at no extra cost to you. Thank you!
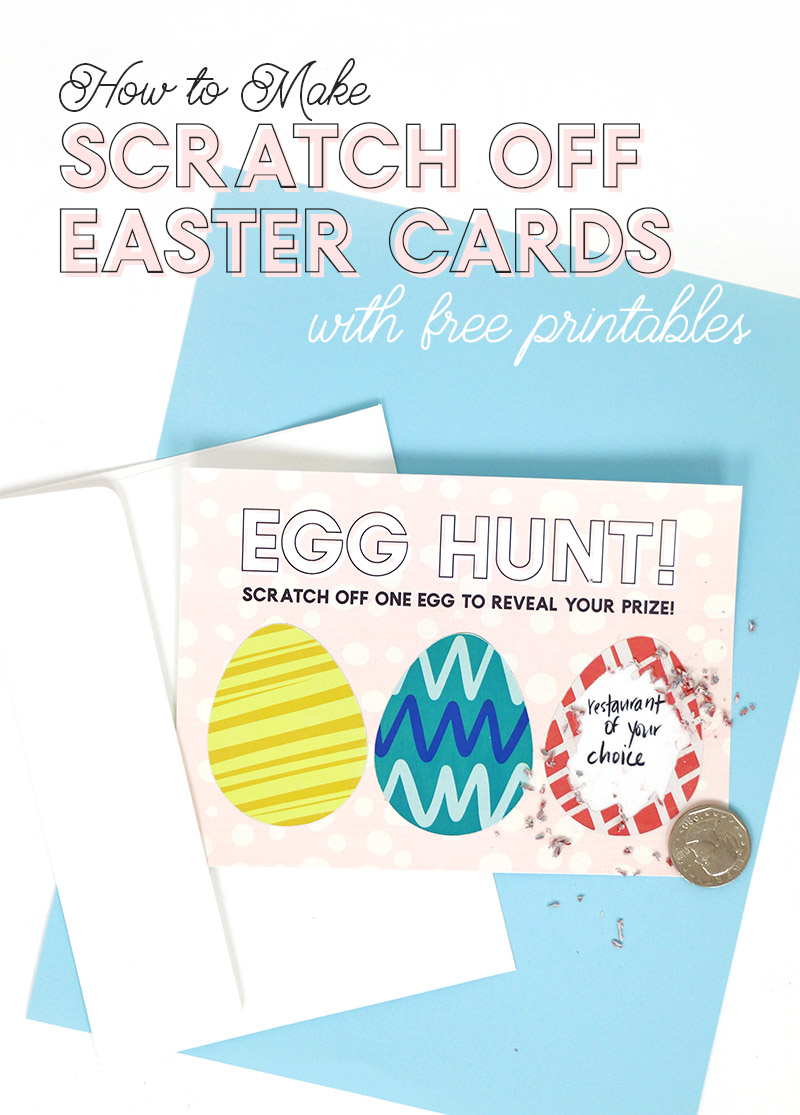
I am super excited to share this fun technique and product with you guys today. I have done scratch off cards before – (even Easter ones!) – but the cards I am sharing today are extra special. Can you see why?
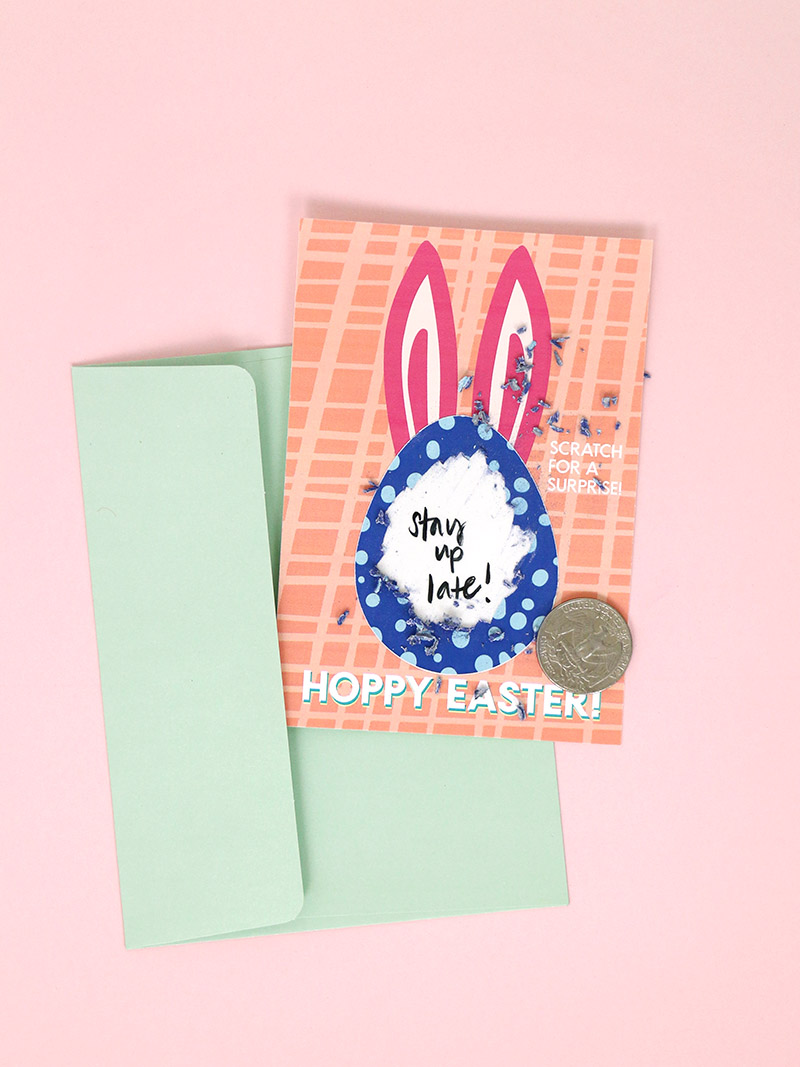
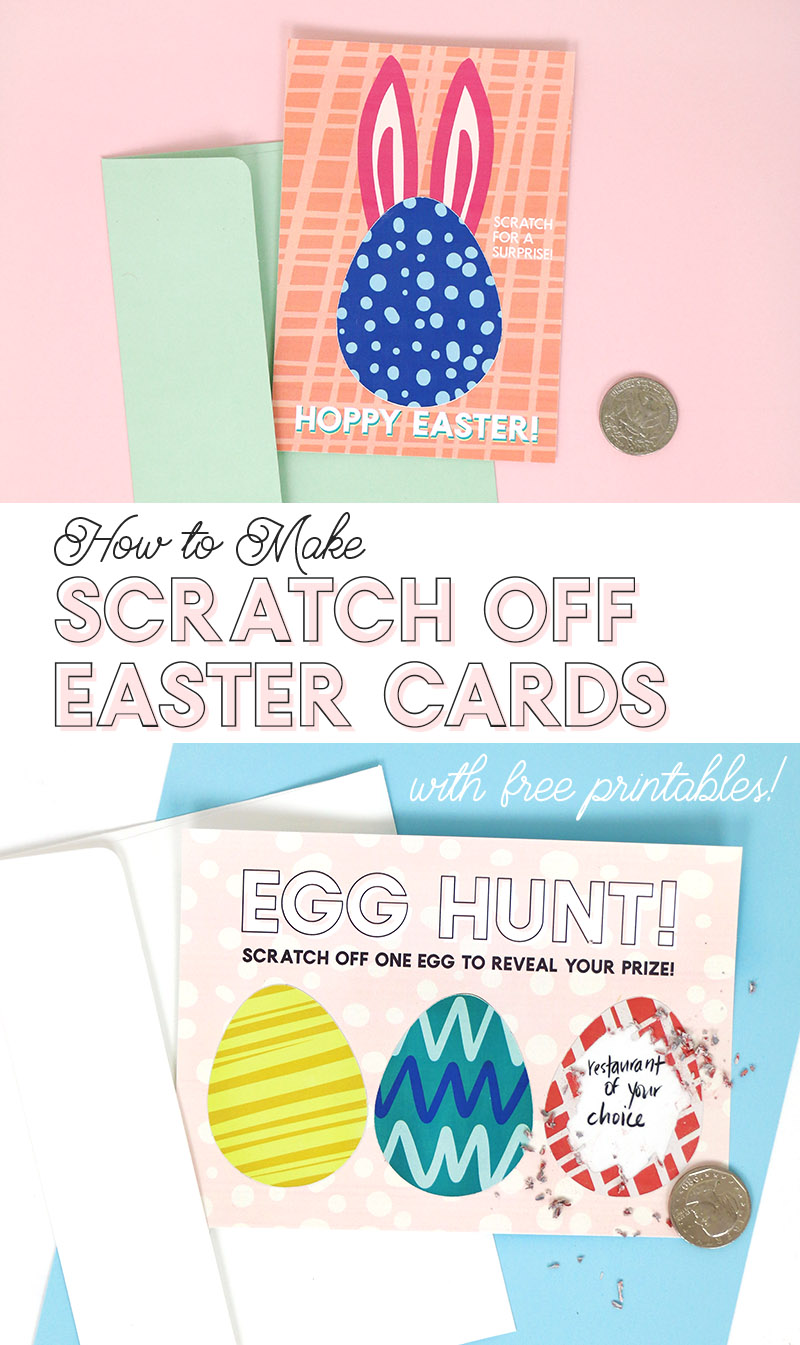
That’s no silver scratch off, folks! It’s colorful! It’s patterned! It can be whatever you want it to be! Seriously. How cool is that? I am crazy about this stuff.
You can do make your own DIY scratch off stickers using clear contact paper and paint, but it’s a little time consuming and messy. This new Silhouette printable scratch off material makes it really, really easy (and mess free!) to make your own colorful scratch off cards in just minutes.
I have been dying to try this product out, and it felt like Easter would be the perfect chance to put it to the test because scratch off Easter eggs in different colors and patterns – I mean, how fun! If you want to make your own DIY scratch off Easter cards (or any other printable scratch off project), then I’ve got you covered. Here’s everything you need.
Easter Printable Scratch Off Card Supplies:
- My Printable Easter Cards printed out on White Cardstock (free for personal use only please) – Download Here
- Silhouette Printable Scratch Off Sticker Material (you can also get it on Amazon)
- My Scratch Off Egg Designs – Download the PDF or PNG (Free for personal use only)
- Silhouette Cameo or other electronic cutting machine (this should work fine for my Cricut friends or you can totally print these and cut them by hand with nice sharp scissors.)
- Envelopes – the smaller cards will fit in A2 envelopes and the larger fit in A7 envelopes
How to Make DIY Scratch Off Cards with COLOR
Step One – Print and Cut
I used my Silhouette Cameo to make these scratch off Easter cards, but you could absolutely make these without a Silhouette (although you should totally get one haha!). The Silhouette printable scratch off material can easily be used with a Cricut or other cutting machine or with no cutting machine at all. Let me tell you how it works.
Silhouette Printable Scratch Off Sticker Material
The printable scratch off sticker sheets are white on one side (this is the scratch off side) and have a yellow paper backing on the other side. Basically, you print your design on the white side of the material, and then cut it out, peel it off, and stick it over whatever you want to be revealed when you scratch away the color. Easy peasy! You could simply cut the stickers out by hand with a pair of scissors, but if you want your Silhouette to do the cutting for you (because how great is that?), I will walk you through setting that up in the software.
Start off by opening up the scratch off egg designs in the Silhouette Studio software. The eggs are already sized to cover the blank spaces on the printable cards, so don’t adjust their size. Next, turn on your registration marks in the Page Setup tab (see the image below.) The registration marks are what allow the machine to cut around your printed design. Make sure your design doesn’t overlap the hash marks along the edge of the page and that it fits within the red box.

Now you are ready to print! Load the scratch off sticker material into your printer (yes, your home printer will work just fine), and be sure to load it so the image will print on the white side of the material. Then click File > Print to send the document to your printer.
Next, we will use the trace tool to create a cut line around the edge of each egg. First open up the Trace panel (the icon kind of looks like a little butterfly). Then click “Select Trace Area” and drag a box around your designs. Next, adjust the threshold slider until the design is completely yellow. Finally, click on “Trace Outer Edge” to create a cut line around the edge of each egg.

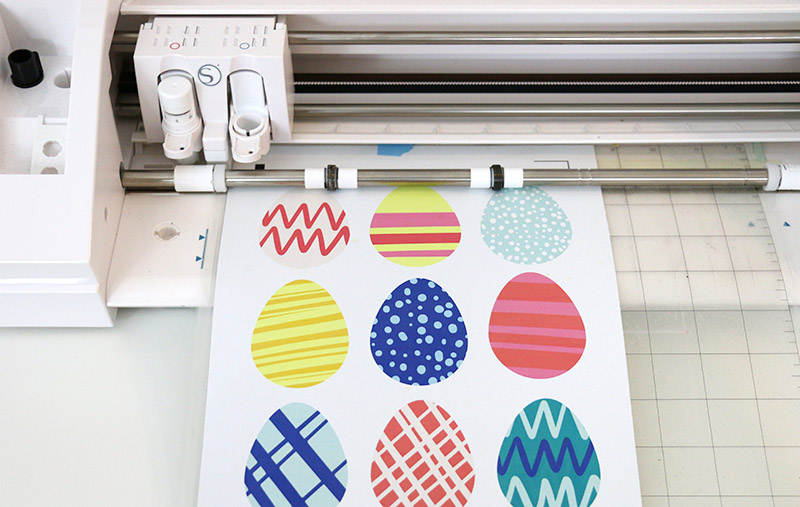
To cut out your eggs, place the printed scratch of sheet onto your cutting mat and load it into your machine. Go to the Send tab and select Scratch-off Sticker Sheet from the Material menu.

If you are using a ratchet blade, be sure to adjust the blade as necessary, and then click “Send.” The machine will read the registration marks and then cut along the edges of your eggs. So cool!
Step Two – Assemble Cards
Now all that’s left to do is peel up the egg stickers, and place them on the cards!

The cards file includes 4 smaller cards that have one egg each, and two larger cards with 3 eggs each. Cut them all out, and then write notes or prizes on the blank egg spaces.


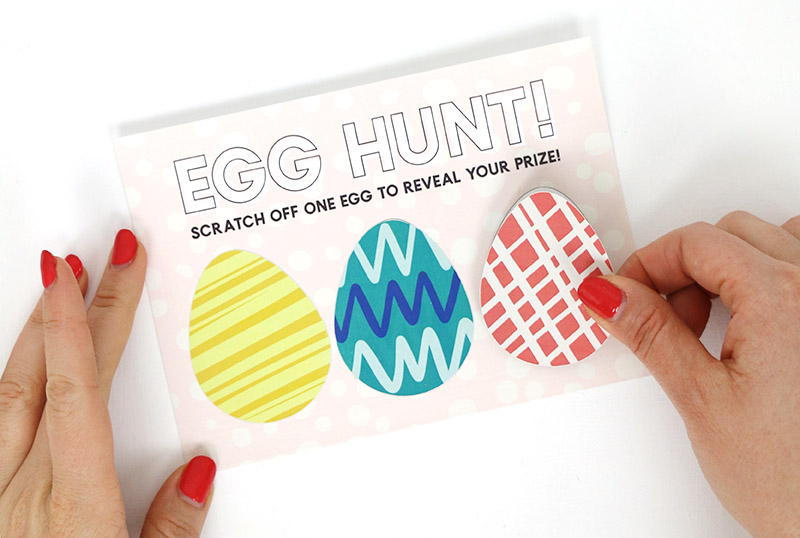
Then, just cover up the note with one of the scratch off stickers. That’s it! So easy, right? And how cute are these?


What do you think? Are you guys going to give this stuff a try? I hope you do! I can see so many possibilities, and I would love to see what you do with it!
UPDATE: I just did a little facebook live, and we made these scratch off cards, so if you want to see a little video demo of how they work, check it out below.
Until next time, Happy Making!

Check out more Silhouette posts:
[the_grid name=”Silhouette Crafts Footer”]


Comments + Project Love
Rebekah Purnel says
How sweet! I have fallen in love with it!!! I’m an avid DIYer and always try to be busy with some new projects! Was searching for a unique idea. Yours made me stop and crazy to do it asap! In a hurry to start. Wish me a good luck! 🙂