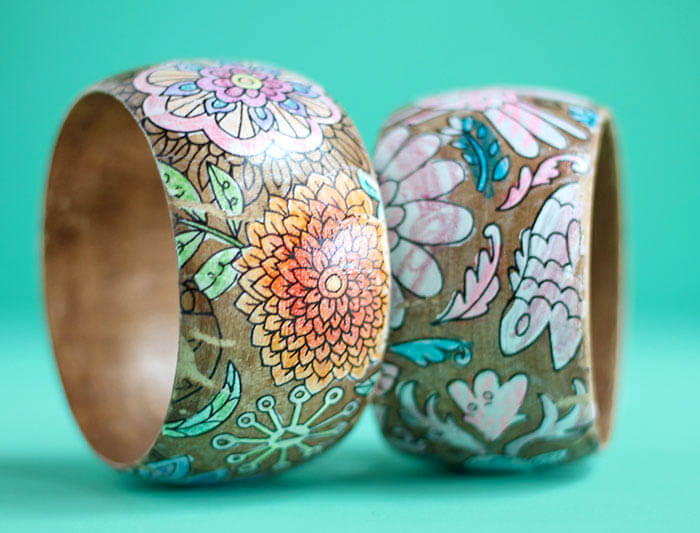
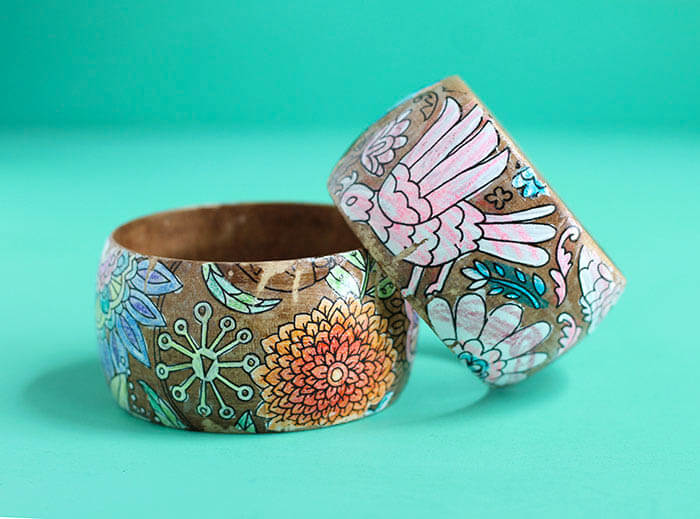
Turn your coloring masterpiece into a piece of wearable art! These DIY Mother’s Day Bracelets are so much fun to make and are the perfect gift for Mom. This post contains affiliate links where possible.

Last year I made a really fun photo transfer art piece, and I had so much fun with it, I just had to do another photo transfer project. I did one photo transfer bangle that you can check out here, but then I thought that transferring a colored coloring onto a bracelet would be a fun challenge. Plus, I thought it could make a really great Mother’s Day gift. I mean, I love the idea of turning my kids’ artwork into pretty bracelets! And – good news! – it turned out great! I love these DIY Mother’s Day Bracelets.

It took me a few tries to figure out how to transfer a colored image, but I eventually got it down, and I will walk you through all the steps. Okay – let’s do this!
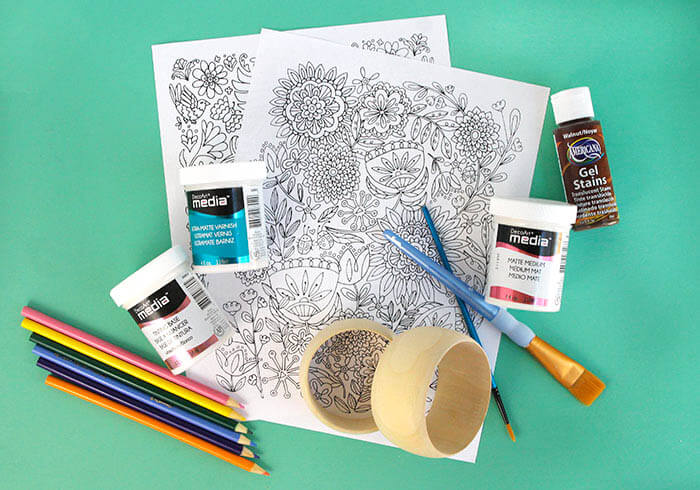
DIY Mother’s Day Bracelets Supplies:
- Wood Bangles (I got mine from DIY Bangles, which also has an Amazon shop. The flat bangles are the easiest to work with.)
- Coloring Pages (If you are using a coloring book that has thicker paper, you will want to copy the image on to thinner copy paper. I used these printable coloring pages from Pat Catan’s.)
- Crayons or Colored Pencils
- DecoArt Media Matte Medium
- DecoArt Media Tinting Base or Opaque White Craft Paint
- Wood Stain
- Gloss Varnish
- Brushes (Wide flat and small round)
- Sponge
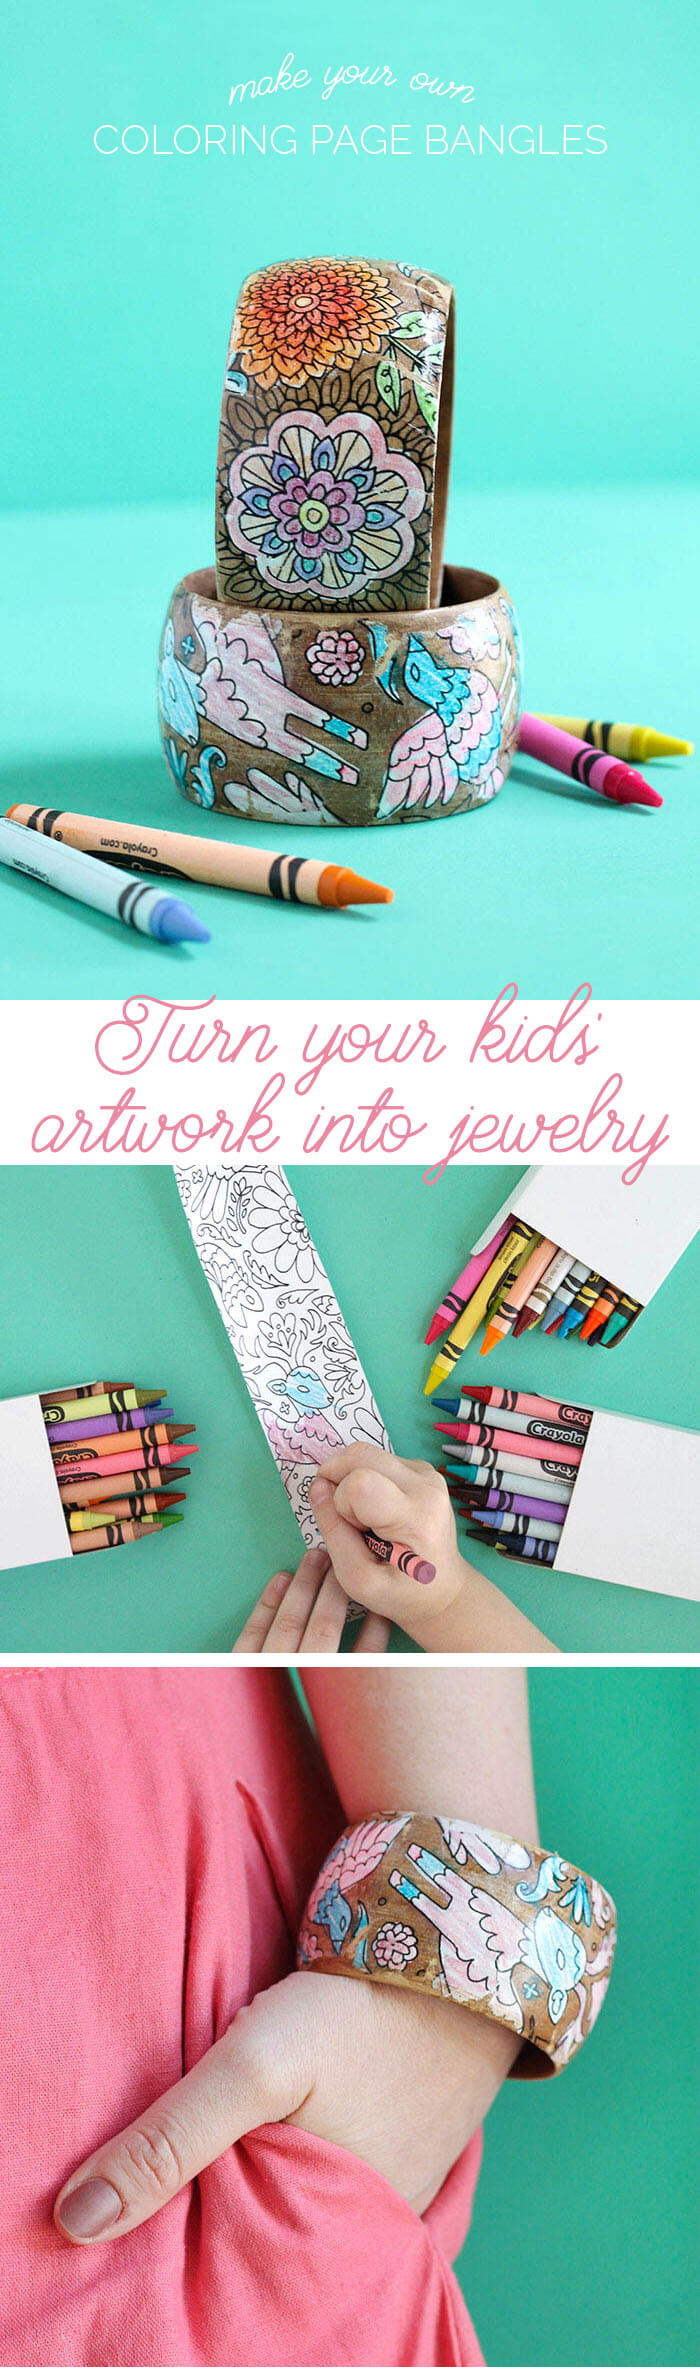
Step One – Trim Coloring Pages

To make your own DIY Mother’s Day bracelets, start by trimming your coloring page to about the same width and circumference of your bangle. An 11″ coloring page is the perfect length to wrap around the large size bracelet.
Step Two – Stain Bracelets
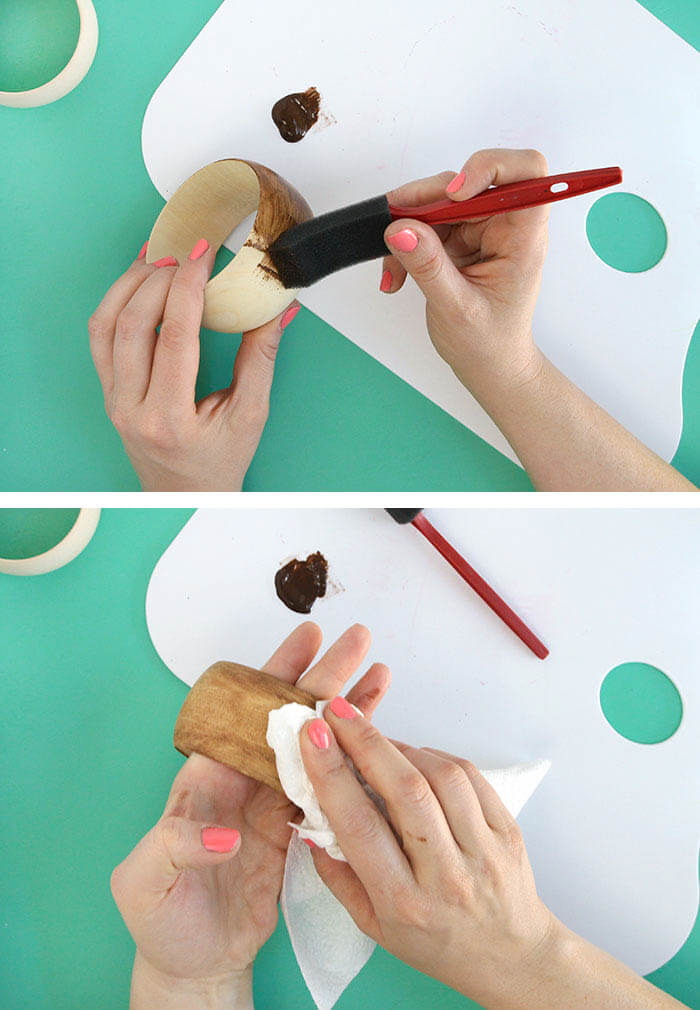
Simply brush the stain onto the bangle, wipe it off with a cloth, and then set it aside to dry. If you wanted you could use a colored stain or leave wood natural as well.
Step Three – Prep Coloring Pages

While the stain is drying, prepare your coloring strips by covering them with a thin coat of the matte medium. Applying the matte medium to the paper before coloring is prevents the color from rubbing off when you transfer the image to the bracelet, so don’t skip this step!
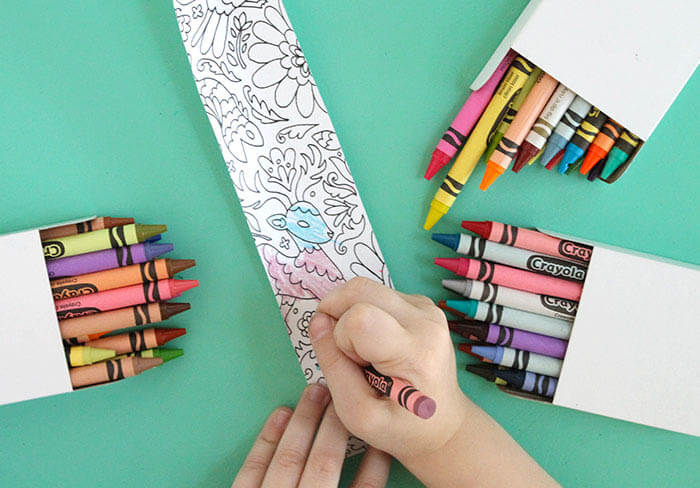
Step Four – Color!
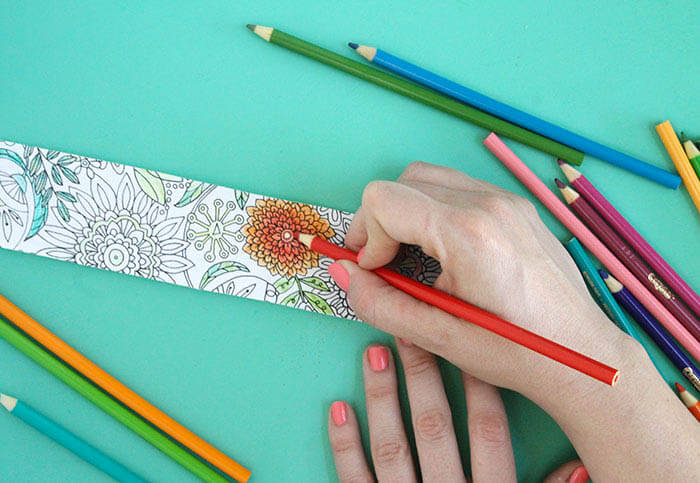
Once the matte medium has fully dried, you are ready to color your strips! Both colored pencils and crayons work well for this. You may have to press a bit harder with the colored pencils to get rich color onto the prepped paper, but they blend really nicely and are great for detail work. The crayons add rich color easily, but they are a little more difficult to control. I colored one strip with pencils, and my little girl did the other one with crayons.
Step Five – Paint on White Background
After you are happy with your coloring, use your round brush to paint over the sections of the design you want to be opaque. I used DecoArt tinting base, but any opaque white craft paint should work fine.

Just paint right on top of your coloring. When you transfer the image, it will flip and this side that you are painting will be underneath the colored design. The sections you don’t paint will let the wood grain of the bracelet show through. When you are done, set that aside to dry.
Step Six – Apply the Paper to the Bracelet
Once your white paint has dried, apply a thin coat of matte medium to both the coloring page strip and the bangle. Then use your fingers to press the coloring strip firmly onto the bracelet. Smooth out any bubbles and try to get the paper as flat as possible. I used domed bracelets, which are a little harder to shape the paper around. It’s much easier to get a good transfer with the flat bracelets, so I recommend getting those if possible.
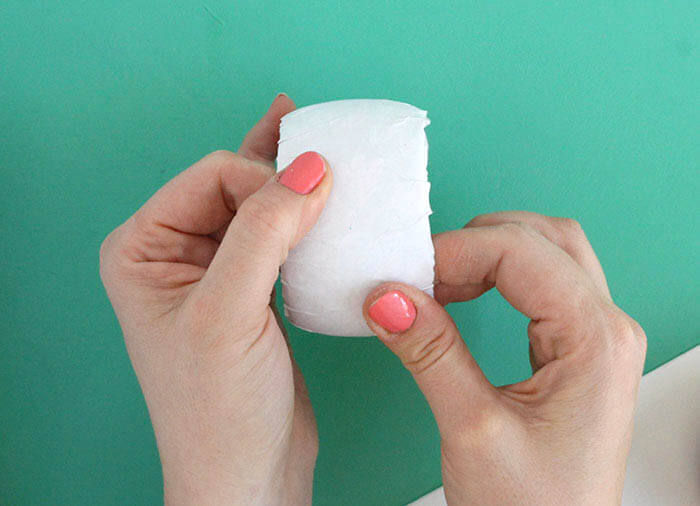
After you have the paper smoothed and firmly adhered to the bracelets, set them aside to dry for at least a few hours or overnight.
Step Seven – Remove Paper
Now it’s time for the magic reveal! This is my favorite part. Get a sponge and some water and wet the paper. Use the sponge to gently remove the paper from the bracelet and reveal your pretty coloring page design.
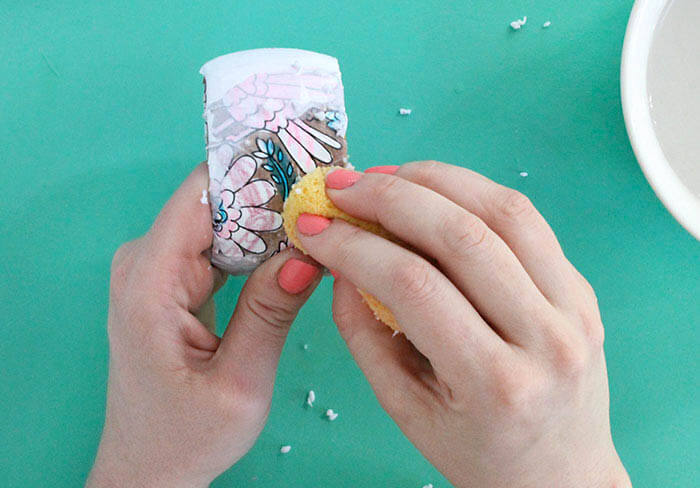
So fun, right?!
Step Nine – Seal the Bracelet
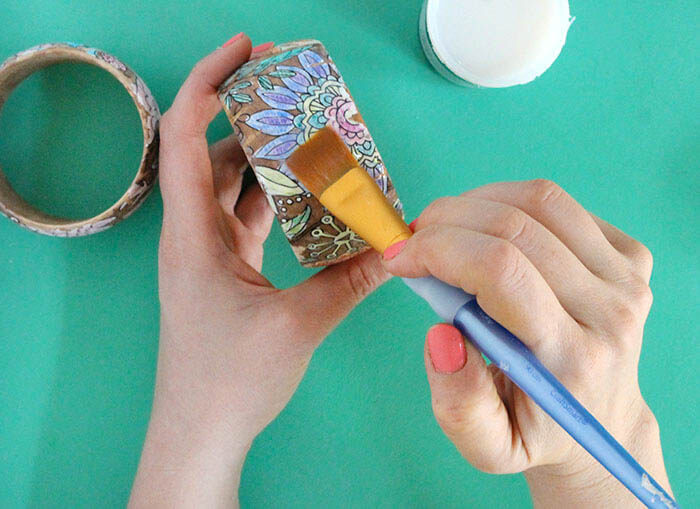
When you have all the paper removed, finish off your bracelet with a coat of gloss varnish. Once that has dried, your DIY Mother’s Day bracelets are all done! Wahoo!


I love having a piece of my daughter’s art that I can wear, and I especially love that I can see all of her coloring lines in the bracelet. She thinks it’s pretty cool too.
Isn’t that cool? You could use this same technique to transfer color pages to any kind of wooden surface – maybe earrings or a jewelry box? What do you think?
If you make your own DIY Mother’s Day bracelets, I would love to see them! Share your photos with me on my facebook page or tag me on instagram (@persialou) and don’t forget to use the hashtag #persialou for a chance to be featured.
Happy Making!


Comments + Project Love
Wendy says
Have you seen the colour your own Jamberry Wraps? Use the design Sketched with Love and colour away and voila!
Alexis says
Cool! I haven’t seen those yet.
J says
Can you color first then apply the matte?
Lisa Komprs says
Really!?! I absolutlely need those. 😉
Katie says
I never would have even thought to do something like this! What a fun sentimental AND pretty gift idea!
Alexis says
Thanks so much, Katie!
Amy | Delineate Your Dwelling says
This is AWESOME.
Alexis says
Thanks! You are awesome!
Rachel (Lines Across) says
Wow so cool! What a great idea too!
Alexis says
Thanks so much, Rachel!
Melissa says
Do you know if you can do this on an already stained and varnished bracelet?
Alexis says
Hi Melissa – the bracelet I started with was unfinished, but I applied stain before transferring the images. 🙂
Alexis says
Oh sorry! Just realized I misread your question. I am not sure if it would work on a finished bracelet. I might try lightly sanding it first to help the image transfer adhere. If you try it, let me know how it goes!
Pat C. says
Thoses are a cute idea. Thanks for sharing the instructions! This is one thing I plan on making in the near future………
Barbara says
Those are beautiful! Thanks for sharing the steps.
Alexis says
You are welcome! Thanks so much for stopping by! 🙂
Charity Cram says
I love this! What a fantastic idea! I will have try this out when my niece comes for a visit this summer!
Nicole says
I love this. This is great for teens to make for Mother’s Day. That why I will feature your blog post on my blog. Thanks for the inspiration!
Greetings from Norway 🙂
Claudette says
Love this idea. Do you have any ideas how I could use pages that I already colored using permanent markers.?
Megan says
Do you think this would work with markers? We’re using colored pencils, but the color doesn’t seem to be very dark. We’re pressing pretty hard. Maybe the gel medium is too thick?
Lucia Hetherington says
I LOVE this idea and have tried to replicate it for Christmas presents for my kids teachers. However, each time I go to remove the paper from the bangle after it has dried for 24 hours it simply lifts off and leaves me with a white mess on the bangle.
Do I need to use a special pencil/ marker?
Is there supposed to feel like there is a thin layer of paper on there still or is it meant to come off completely?