Learn how to paint your own heart-shaped color wheel canvas art! This simple painting project is fun to make and a great way to learn about mixing colors! Thank you to DecoArt for partnering with me on this project. This post contains affiliate links, which help to support this site at no extra cost to you when you make a purchase through one of our links.

Ready for a fun new art project idea? 🙋♀️
I had so much fun making this little color wheel inspired piece, and I think it makes for some pretty cute wall art too!
If you are looking for an enjoyable and colorful DIY art project, then I have just the thing for you! This DIY color wheel canvas art combines the fun of color mixing with a rainbow graphic punch.
Let’s get painting!
Make Your Own Color Wheel Heart Canvas Art

This piece takes a little bit of time to create because of the color mixing, but it is still a pretty simple and fun process that creates a really cute finished piece, in my opinion.
Before we start painting, you will need to gather up a few supplies to create your own color wheel art.
Color Wheel Canvas Art Supplies:
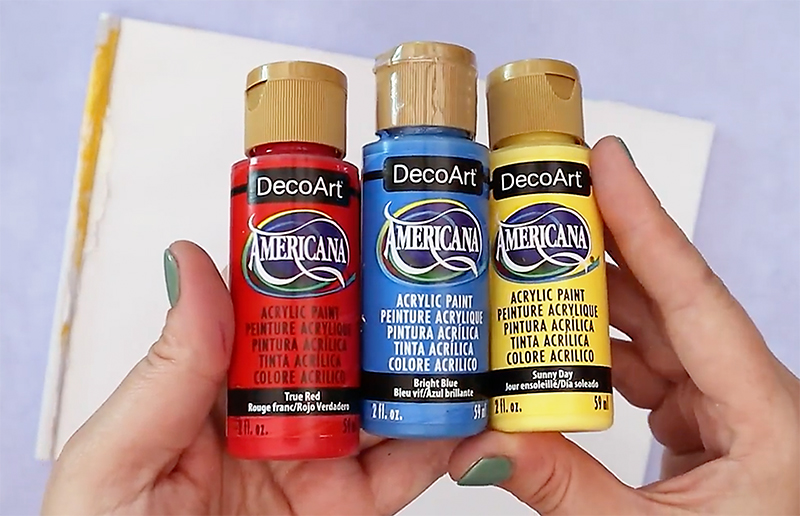
- Americana Acrylics in the following colors
- Blank Square Canvas
- Pencil Compass
- Ruler
- Cardstock
- Scissors
- Palette Knife
- Paint brushes (I found flat angle brushes worked really well for this project.)
I have created a full video tutorial to walk you through the process of making your own color wheel canvas art, which you can watch below. If you prefer to read, you can find complete written instructions over on the DecoArt Blog.
DIY Color Wheel Heart Art

This fun twist on color wheel art allows you to practice mixing colors while creating a piece of vibrant wall art.
Materials
- Americana Acrylics in True Red, Bright Blue, Sunny Day, Snow (Titanium) White, and Soft Black
- Blank Square Canvas
- Cardstock
Tools
- Pencil Compass
- Ruler
- Scissors
- Palette Knife
- Paint brushes
Instructions
- Start by sketching out the color wheel heart design. Mark the center point of the canvas, and then use the pencil compass to draw a circle centered around that middle point. Use your ruler to draw to perpendicular lines that cross through the center point of the circle. With the compass set to the radius of the circle and the compass needle on a point where a perpendicular line crosses the circle, mark the radius distance on either side of each point. Use your ruler to connect the points through the center point of the circle. Now your circle is evenly divided into 12 segments.
- Cut a heart shape out of a piece of cardstock then position the heart template over the center of the circle, and then trace the heart shape onto the canvas.
- Next, mix your first group of colors. Starting with red and yellow, create three orange colors by mixing together equal parts of your red and yellow paints. Once you have three oranges that are all about the same hue, add more yellow to one and more red to another and mix them up to create a red-orange and a yellow-orange. Choose a heart segment to start with and then paint adjacent sections with your red, red-orange, orange, and yellow-orange.
- Create a lighter version of each color by mixing a bit of white paint with each hue to create a pastel tint. Paint each circle section with the pastel tint that matches the adjacent painted heart section.
- Repeat this process with the remaining colors.
- Finish your piece by painting around your color wheel and the outside edge of the canvas black.


Once all of your paint as dried, your color wheel canvas art is all done and ready to display!
What do you think? Isn’t this a fun twist on a color wheel? I hope you will give this project a try, and if you do, I would love to see it! You can share your photos to my facebook page or tag me on instagram or twitter (@persialou).
Until next time, Happy Making!


Let's Chit Chat!