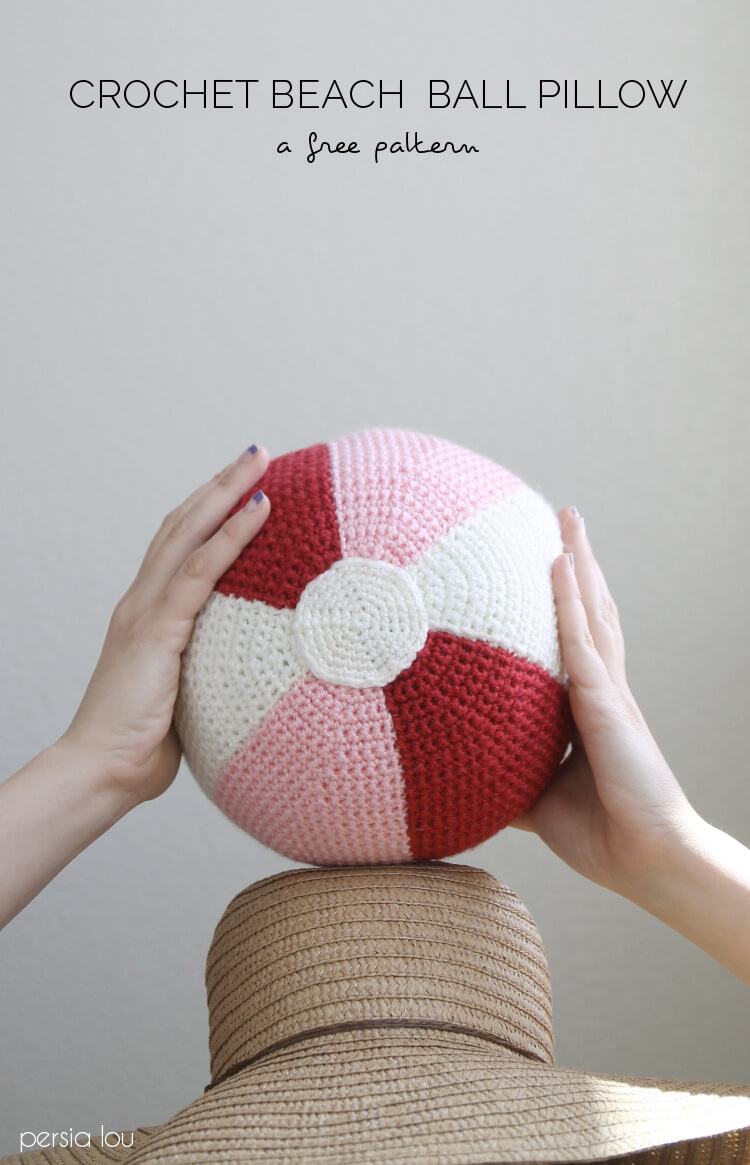
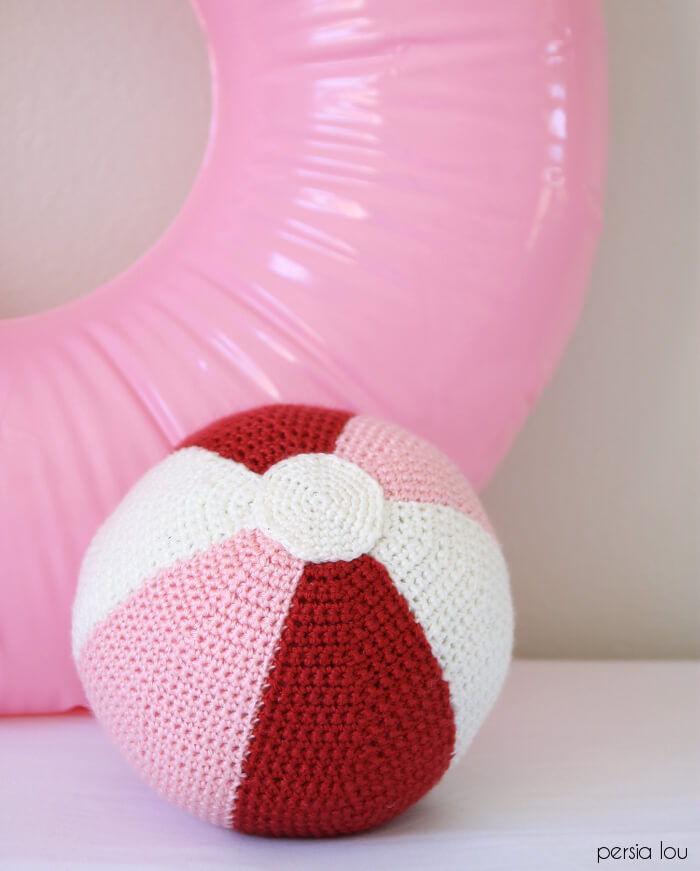
Bring in sunny days with DIY stuffed beach ball! This free crochet ball pattern makes it easy for your to make your own colorful ball shaped pillow or toy. I originally shared this project at Darice, and this post may contain affiliate links, which help to support this site.
Just because it’s summertime and the weather is hot doesn’t mean you can’t still enjoy some crochet. I like small projects in the warmer months (no one wants a big afghan spread across their lap in August, amiright?).
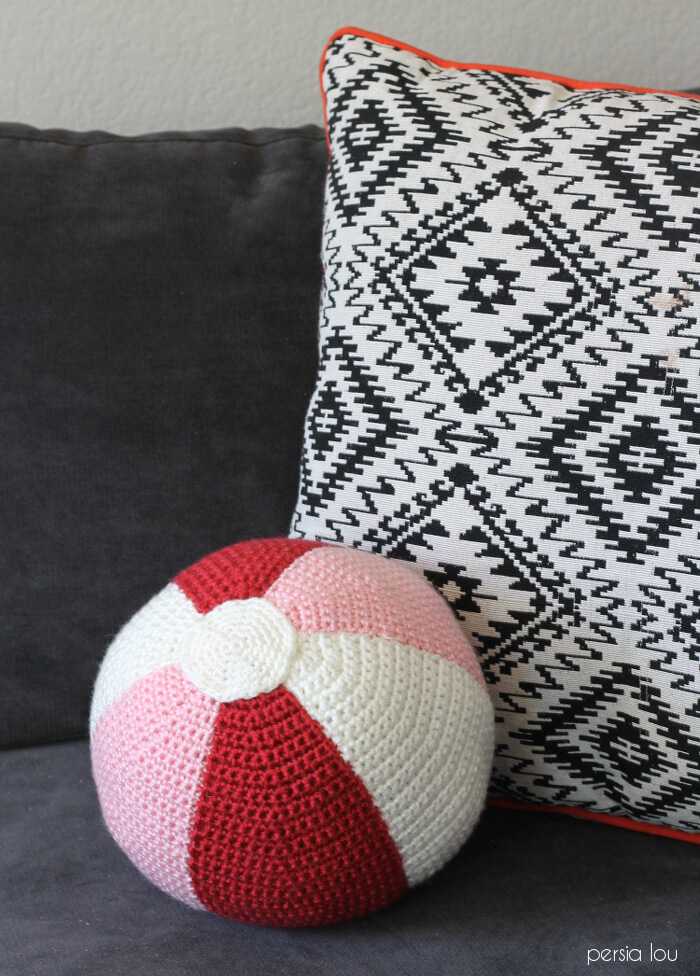
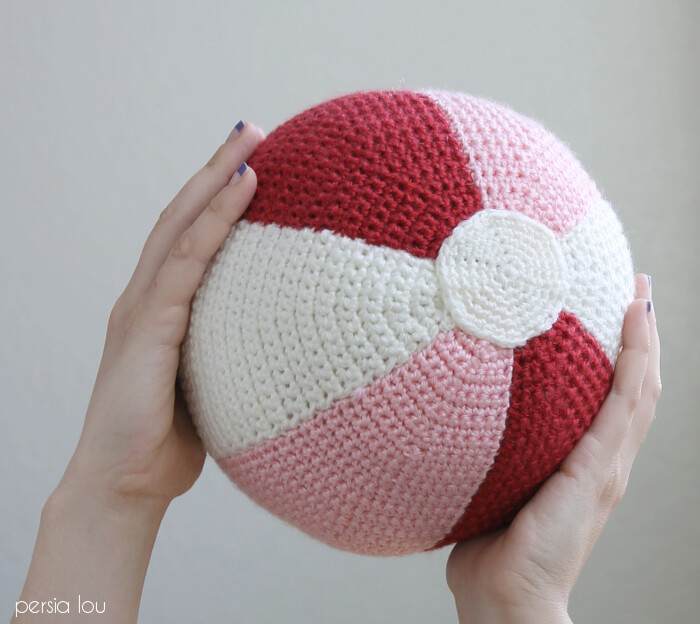
This is basically a crochet ball pattern, but since it looks like a happy little beach ball, I think it makes a perfect little pillow and a perfect summer crochet project – small, bright, and fun! It is fun to play with and squish, but I also think it would be adorable in a kid’s room or even a fun, summery accent in your living space.
So cute, right? Wanna make one?
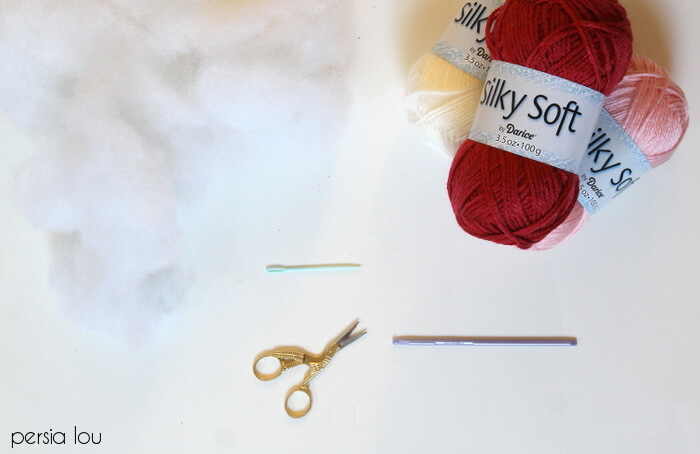
Crochet Beach Ball Supplies:
- No. 4 Worsted Weight Yarn in 3 colors (I used red, pink, and white)
- Size G (4.00 mm) Hook
- Polyester Fiberfill
- Yarn Needle
- Scissors
Crochet Ball Pattern
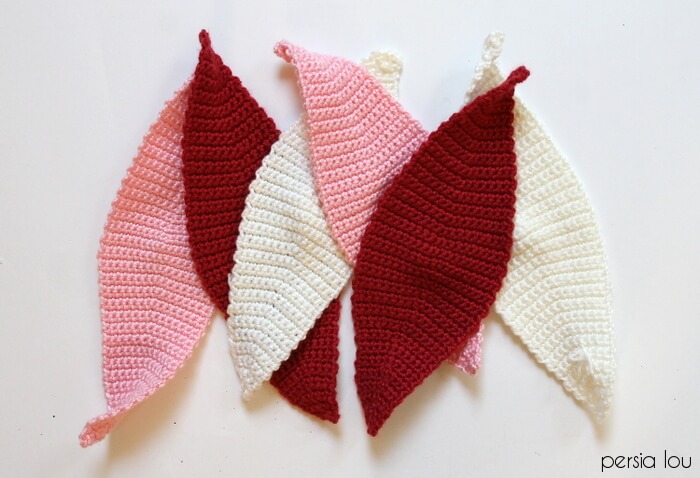
To make the ball pillow, you will need to crochet six panels (two of each color), which will form the ball.
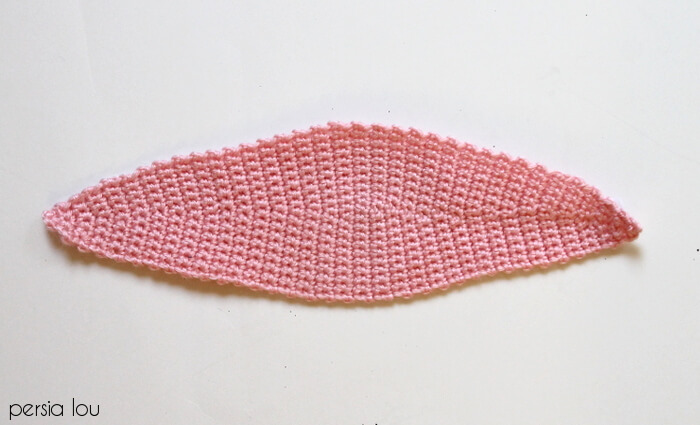
Beach Ball Panel Pattern (Make 6)
Pattern Overview: The pattern might look long and confusing, but it is really simple if you understand how it works. Rows 2-8 have one increase (2 sc in the same st) in the middle of the row. Rows 9-32 alternate between rows of all sc across and one increase in the middle of the row. Rows 33-55 alternate between rows of all sc across and one decrease (sc two sts together) in the middle of the row. Rows 56-63 have one decrease in the middle of the row.
Row 1: Ch 2, sc in 2nd ch from hook, ch 1, turn (1 sc).
Row 2: 2 sc in st, ch 1, turn (2 sc).
Row 3: sc, 2 sc in next st, ch 1, turn (3 sc).
Row 4: sc, 2 sc in next st, sc, ch 1, turn (4 sc).
Row 5: sc, sc, 2 sc in next st, sc, ch 1, turn (5 sc).
Row 6: sc, sc, 2 sc in next st, sc, sc, ch 1, turn (6 sc)
Row 7: sc, sc, sc, 2 sc, in next st, sc, sc, ch 1, turn (7 sc)
Row 8: sc, sc, sc, 2 sc, in next st, sc, sc, sc ch 1, turn (8 sc)
Row 9: sc in each st across, ch 1, turn (8 sc)
Row 10: sc in each of first 3 sts, 2 sc in next st, sc in each of remaining 4 sts, ch 1, turn (9 sc)
Row 11: sc in each st across, ch 1, turn (9 sc)
Row 12: sc in each of first 4 sts, 2 sc in next st, sc in each of remaining 4 sts, ch 1, turn (10 sc)
Row 13: sc in each st across, ch 1, turn (10 sc)
Row 14: sc in each of first 4 sts, 2 sc in next st, sc in each of remaining 5 sts, ch 1, turn (11 sc)
Row 15: sc in each st across, ch 1, turn (11 sc)
Row 16: sc in each of first 5 sts, 2 sc in next st, sc in each of remaining 5 sts, ch 1, turn (12 sc)
Row 17: sc in each st across, ch 1, turn (12 sc)
Row 18: sc in each of first 5 sts, 2 sc in next st, sc in each of remaining 6 sts, ch 1, turn (13 sc)
Row 19: sc in each st across, ch 1, turn (13 sc)
Row 20: sc in each of first 6 sts, 2 sc in next st, sc in each of remaining 6 sts, ch 1, turn (14 sc)
Row 21: sc in each st across, ch 1, turn (14 sc)
Row 22: sc in each of first 6 sts, 2 sc in next st, sc in each of remaining 7 sts, ch 1, turn (15 sc)
Row 23: sc in each st across, ch 1, turn (15 sc)
Row 24: sc in each of first 7 sts, 2 sc in next st, sc in each of remaining 7 sts, ch 1, turn (16 sc)
Row 25: sc in each st across, ch 1, turn (16 sc)
Row 26: sc in each of first 7 sts, 2 sc in next st, sc in each of remaining 8 sts, ch 1, turn (17 sc)
Row 27: sc in each st across, ch 1, turn (17 sc)
Row 28: sc in each of first 8 sts, 2 sc in next st, sc in each of remaining 8 sts, ch 1, turn (18 sc)
Row 29: sc in each st across, ch 1, turn (18 sc)
Row 30: sc in each of first 8 sts, 2 sc in next st, sc in each of remaining 9 sts, ch 1, turn (19 sc)
Row 31: sc in each st across, ch 1, turn (19 sc)
Row 32: sc in each of first 9 sts, 2 sc in next st, sc in each of remaining 9 sts, ch 1, turn (20 sc)
Row 33: sc in each st across, ch 1, turn (20 sc)
Row 34: sc in each of first 9 sts, sc the next 2 sts together, sc in each of remaining 9 sts, ch 1, turn (19 sc)
Row 35: sc in each st across, ch 1, turn (19 sc)
Row 36: sc in each of first 9 sts, sc the next 2 sts together, sc in each of remaining 8 sts, ch 1, turn (18 sc)
Row 37: sc in each st across, ch 1, turn (18 sc)
Row 38: sc in each of first 8 sts, sc the next 2 sts together, sc in each of remaining 8 sts, ch 1, turn (17 sc)
Row 39: sc in each st across, ch 1, turn (17 sc)
Row 40: sc in each of first 8 sts, sc the next 2 sts together, sc in each of remaining 7 sts, ch 1, turn (16 sc)
Row 41: sc in each st across, ch 1, turn (16 sc)
Row 42: sc in each of first 7 sts, sc the next 2 sts together, sc in each of remaining 7 sts, ch 1, turn (15 sc)
Row 43: sc in each st across, ch 1, turn (15 sc)
Row 44: sc in each of first 7 sts, sc the next 2 sts together, sc in each of remaining 6 sts, ch 1, turn (14 sc)
Row 45: sc in each st across, ch 1, turn (14 sc)
Row 46: sc in each of first 6 sts, sc the next 2 sts together, sc in each of remaining 6 sts, ch 1, turn (13 sc)
Row 47: sc in each st across, ch 1, turn (13 sc)
Row 48: sc in each of first 6 sts, sc the next 2 sts together, sc in each of remaining 5 sts, ch 1, turn (12 sc)
Row 49: sc in each st across, ch 1, turn (12 sc)
Row 50: sc in each of first 5 sts, sc the next 2 sts together, sc in each of remaining 5 sts, ch 1, turn (11 sc)
Row 51: sc in each st across, ch 1, turn (11 sc)
Row 52: sc in each of first 5 sts, sc the next 2 sts together, sc in each of remaining 4 sts, ch 1, turn (10 sc)
Row 53: sc in each st across, ch 1, turn (10 sc)
Row 54: sc in each of first 4 sts, sc the next 2 sts together, sc in each of remaining 4 sts, ch 1, turn (9 sc)
Row 55: sc in each st across, ch 1, turn (9 sc)
Row 56: sc in each of first 4 sts, sc the next 2 sts together, sc in each of remaining 3 sts, ch 1, turn (8 sc)
Row 57: sc in each of first 3 sts, sc the next 2 sts together, sc in each of remaining 3 sts, ch 1, turn (7 sc).
Row 58: sc in each of first 3 sts, sc the next 2 sts together, sc in each of remaining 2 sts, ch 1, turn (6 sc).
Row 59: sc in each of first 2 sts, sc the next 2 sts together, sc in each of remaining 2 sts, ch 1, turn (5 sc).
Row 60: sc in each of first 2 sts, sc the next 2 sts together, sc in each of remaining st, ch 1, turn (4 sc).
Row 61: sc, sc the next 2 sts together, sc, ch 1, turn (3 sc).
Row 62: sc, sc the next 2 sts together, ch 1, turn (2 sc).
Row 63: sc the remaining 2 sts together, ch 1, turn (1 sc). Finish off. Weave in ends.
When you have all six panels crocheted, you are ready to sew your ball together.
Holding two pieces with the right sides facing, sew the edges of the panel together using a piece of yarn and your yarn needle.
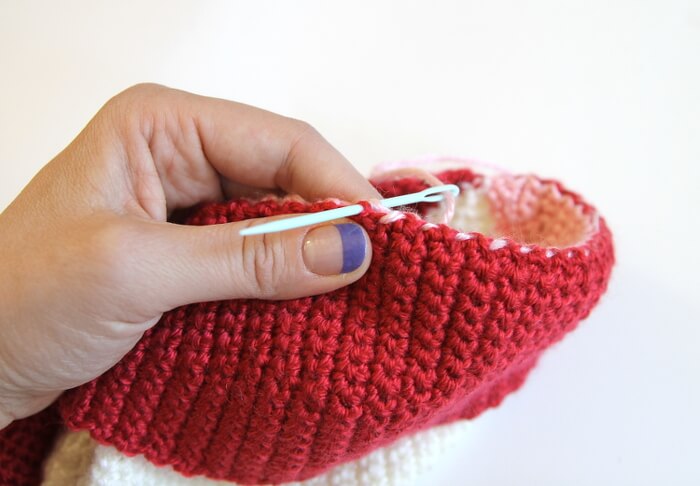
If you work your stitches through the back loops of your stitches, you will get a nice, flat seam on the front:

Just continue sewing panels together until you get to the final seam. As you sew the panels together, make sure the ends of the ball where the points meet are sewn closed. It’s okay if this is a little messy because it will be covered up.
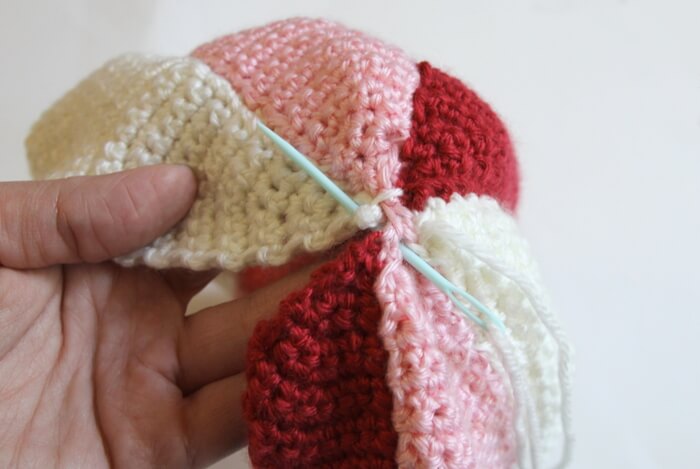
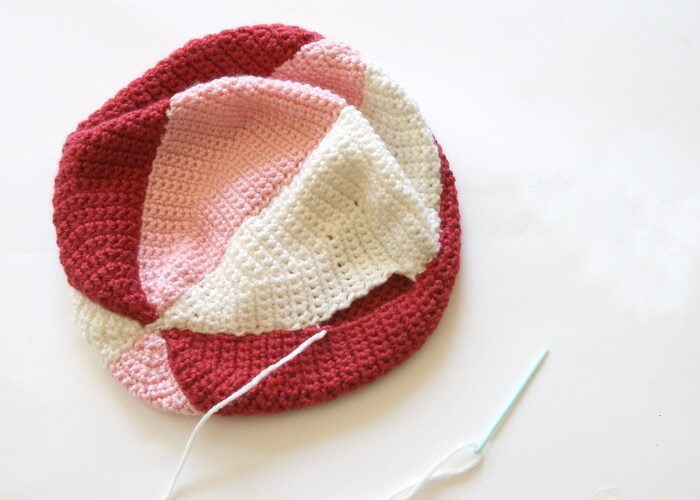
Next, sew the final up the final seam but leave a gap of a couple inches on the side of the ball. To do this, you will have to start the seam on one end, finish it about halfway, and then start sewing the seam again from the other side.
At this point, we will crochet a couple of circles to sew onto either end of the ball to give this little pillow its beach ball look.
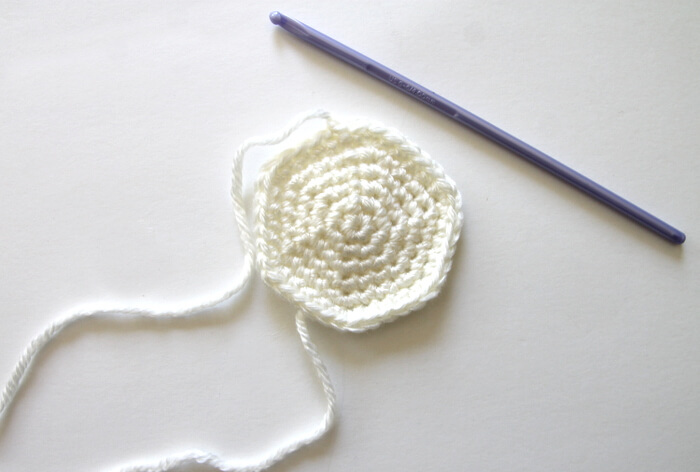
Beach Ball Crochet Pillow End Pattern (Make Two)
Round 1: Work 6 sc into a magic loop, pull the loop to tighten, sl st to join (6 sc).
Round 2: Ch 1, 2 sc in same st, 2 sc in each st around, sl st to join (12 sc).
Round 3: Ch 1, sc in same st, 2 sc in next st, *sc, 2 sc, repeat from * around (18 sc).
Round 4: Ch 1, sc in same st, sc, 2 sc, *sc, sc, 2 sc, repeat from * around (24 sc).
Round 5: Ch 1, sc in same st, sc, sc, 2 sc, *sc, sc, sc, 2 sc, repeat from * around (30 sc).
Round 6: Ch 1, sc in same st, sc in each of next 3 sts, 2 sc in next st, *sc in next 4 sts, 2 sc in next st, repeat from * around (36 sc). Finish off. Weave in ends. (You can leave one of the ends long and use that to attach the piece to the ball.)
Using a white piece of yarn and your yarn needle, sew the end piece over the panel points on each end of the ball.
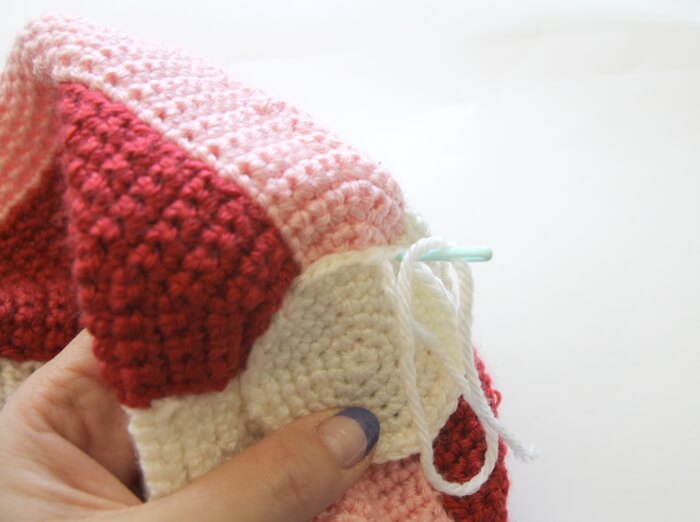
Finally, stuff your crochet pillow ball full of fiberfill through the small opening in the final seam. To get a nice, round shape, you will have to stuff it pretty full. Once it is stuffed, simply finish up your seam with your yarn and needle.

All done! Enjoy your cute little beach ball crochet pillow or give it to someone you love. My son thought this pillow was pretty great and quickly claimed it as his own.
If you make your own, I would love to see it! Share it on my facebook page or tag me on instagram.
Happy Making!

Here are a few more free crochet patterns you might want to check out:
[the_grid name=”Crochet Patterns Footer”]


Comments + Project Love
Chrissy @ Adventures in DIY says
LOVE this! Adorable!
Heather App says
Just made this for a co-worker with a “beach-themed” classroom! Thank you for the amazing directions!
jane says
Very cute! Can you resize it smaller, for a baby toy? Thanks!
persialou says
Hi Jane! Yes! I would try maybe only going to like 12 sc on the panel, and then switch to the decreases. Good luck!
maillescrochet says
So cute! thanks a lot!
shannon steele says
in the pattern for the panel you have rows 31 and 32 repeated. are we suppose to repeat these two rows or is it a typo. it seems to have the remainder of the stitch counts off as well. hoping to get this finished for my great nephew. thanks for posting this ball pattern have been looking for one for some time now and have not found the right one until now.
persialou says
Hi Shannon – Let me go look at it and fix it. Thanks for bringing the error to my attention!
Natasha says
Hey,
Just noticed that the row numbers need changing. The row after 18. It goes 17, 18, 17, 19. Doing my third panel an I just noticed it.
persialou says
Thank you so much! I will fix the pattern.
Krista says
Love this and already shared! 🙂
Alex from Sew, Simmer, and Share says
Such a cute idea! Thanks for sharing the pattern! I’m stopping by from the HOHD linkup.
Erin says
This is so cute! My son would LOVE this…it would definitely become a toy rather than a pillow around our house haha.
Phan says
There is no abbreviations for this. Maybe some newcomers might not know what some abbreviations means
Jini says
Any suggestions oh how to stuff to try and maintain the shape? Did you regular fill? Mine came out not quite as round and trying to figure out if I messed up or if is the filling.
Family loved this so going to try another one and see if it comes out more round (in case it was my mistake)
Alexis says
Hello! Yes, I used regular fill. It does go a bit football shaped sometimes, but I just squish in the ends and it goes round again. I’m not sure if that helps at all, but good luck!
rose28flowers says
I use nerf balls.. you can find them at most walmarts…early in the spring season. they have large and small ones. they are the perfect stuffers, and washable!!
Pam says
Hello! How many yards of yarn did you use for each color approximately? I love this!
Steph says
Can you make a video tutorial on how to start this bc its a little confusing to a beginner like me
Halma Aboobacker says
Such a cutie ball🩷 thank you for sharing!
Would like to know how do you wash /clean these crochet stuffs when it gets dirty?
Myriam Le Corre says
Bonjour.
J’ai réalisé le ballon de plage, mais, mes diminutions sont visibles. Comment procéder pour obtenir votre résultat. Merci de votre réponse