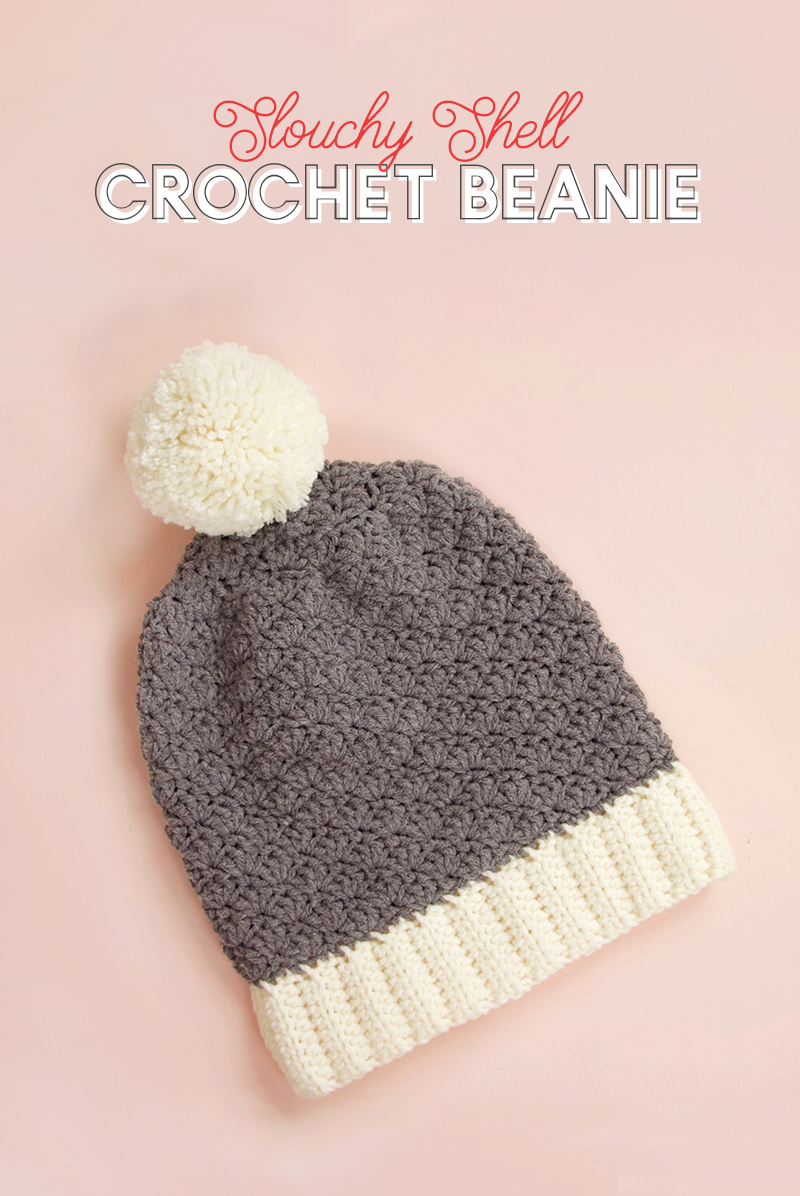
Learn how to make your own cute crochet beanie with this free slouchy shell crochet hat pattern! This pattern features a ribbed brim, shell stitch body, and fluffy pom pom topper. I originally shared this project at Crafts Unleashed, and this post may contain affiliate links, which allow me to earn a small commission at no extra cost to you.
I guess in some parts of the world it is still cold and wintery. I am seeing pictures of snow and ice skating and things like that, so even though it was a ridiculous 70 degrees F here today, I guess I am still good to post a cold weather crochet pattern? Right?? I hope so because here we go!
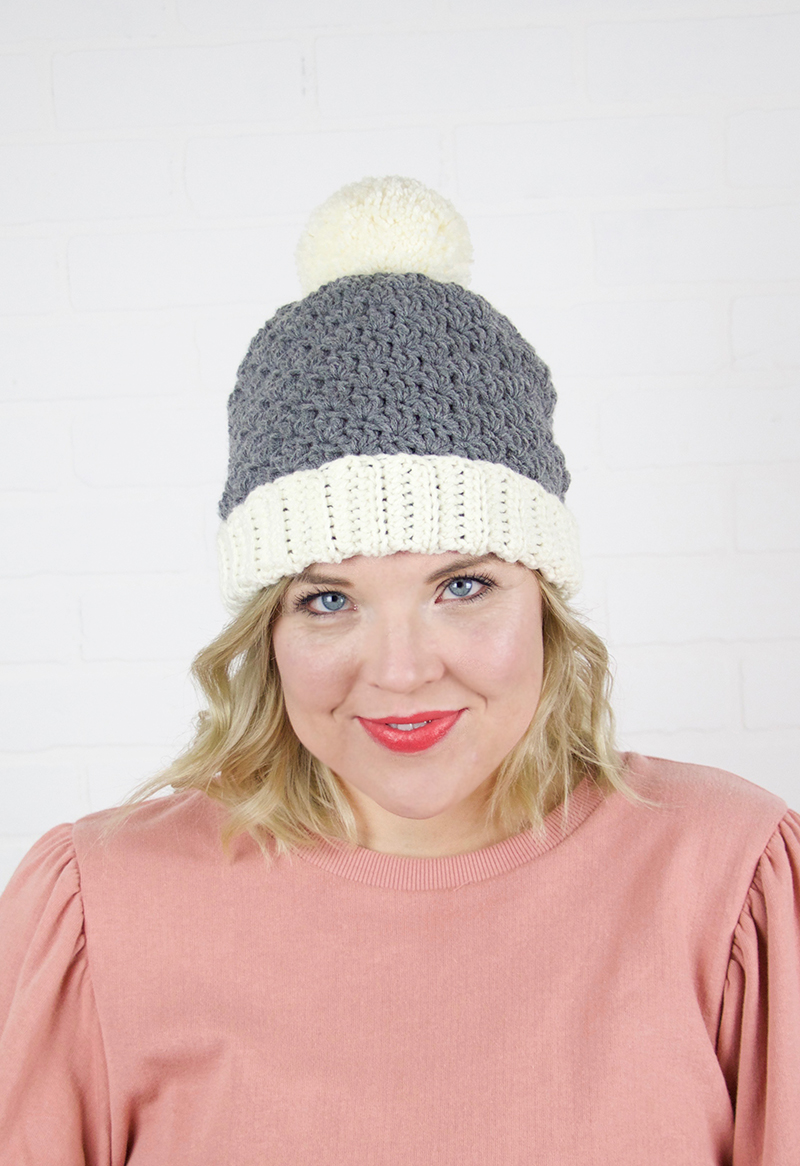
The good news is that this hat is really cute, in my humble opinion. It really has all of my favorite crochet beanie features – ribbed brim, textured stitch, slouchy fit, and pom pom topper! I love it all. This hat is worked from the bottom up, and the pattern should work well for intermediate crocheters.
Make one for yourself, for your friend, as a Valentine’s Day gift (in pink? red?) – so many options! Here’s everything you will need to make your own slouchy shell hat.
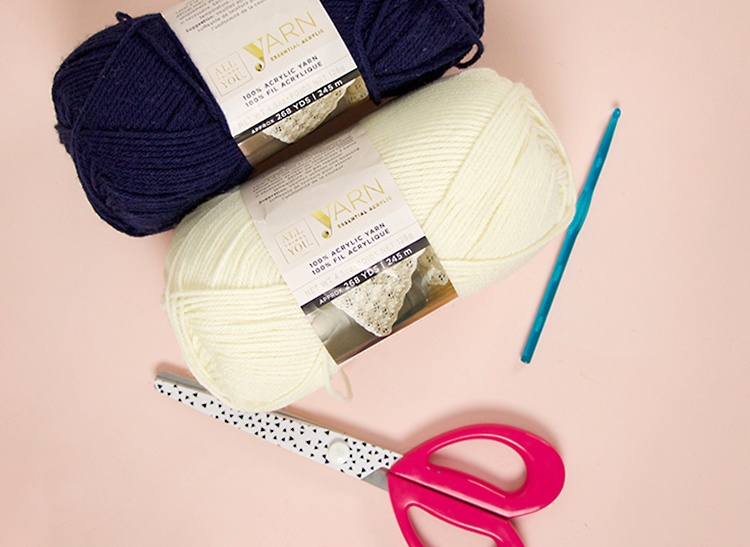
Slouchy Shell Crochet Hat Supplies:
- Two balls of Size 4 Worsted Weight Yarn in two colors. I used All Things You Essential Acrylic in Aran White and True Grey.
- Size I (5.50 mm) Crochet Hook
- Finishing Needle
- Scissors
- Large Pom Pom Maker (I love and highly recommend the Clover pom pom maker for a super tight and perfectly round pom pom)
Slouchy Shell Crochet Hat Pattern
Please note: This pattern is free for personal use only and uses American crochet terms.
Gauge: 13 hdc = 4″
Stitches Used:
- Chain (ch)
- Slip Stitch (sl st)
- Single Crochet (sc)
- Half Double Crochet (hdc)
- Double Crochet (dc)
Special Stitches Used:
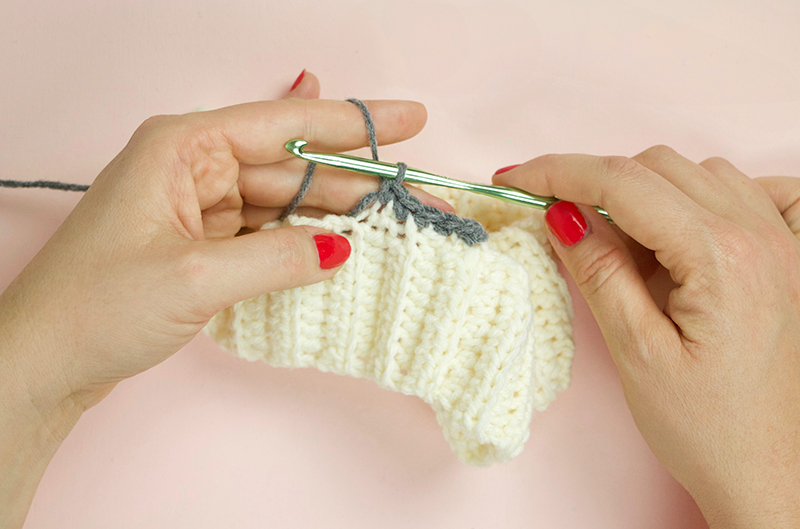
Single Crochet Three Together (sc3tog) – Insert hook into stitch and draw up loop. Insert hook into next stitch and draw up loop (3 loops on hook). Once more, insert hook into next stitch and draw up a loop (4 loops on hook). Yarn over and draw loop through all 4 loops. (See image below)

Step One – Crochet Brim
Row 1: Using Color A, chain 11, hdc in 3rd ch from hook, hdc in each remaining ch. Turn.
Row 2: Ch 2 (counts as hdc), working in back loops only, hdc in each st (including starting ch 2) (10 hdc total). Turn.
Rows 3-48: Repeat Row 2. Finish off and leave a long tail.
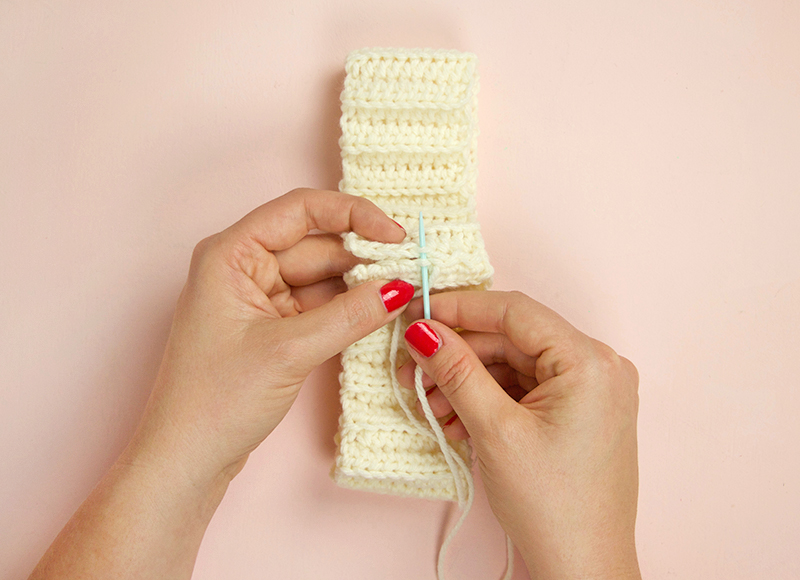
Next, you will sew the brim into a loop. To do this, fold the brim in half, so the two short ends line up. Then, thread that long tail onto a finishing needle and sew the ends together to create the round brim.
Step Two – Crochet Body of the Hat
Round 1: Join Color B in any stitch along the edge of the brim. Then chain one and single crochet into the same stitch. Continue to work single crochet stitches around the brim (see image below). Because you are working into the side of the rows your worked to create the brim, there won’t be any clear stitches to work into. Don’t stress too much about it and just try to work your single crochet stitches somewhat evenly around the brim. You need to work 64 total single crochet stitches. Finish off by slip stitching to the first single crochet stitch to join the round.
Round 2: Ch 1, sc in same st, *skip 1 st, 3 dc in next st, skip 1 st, sc in next st, repeat from * around ending with a 3 dc, sl st to beg sc to join.
Round 3: Ch 3 (counts as dc), dc in same st, *sc in center dc of next 3 dc shell, 3 dc in next sc, repeat from * around ending with a sc, dc at base of beg ch3, sl st to top ch of beg ch 3 to join.
Round 4: Ch 1, sc in same st, *3 dc in next sc, sc in center dc of next 3 dc shell, repeat from * around ending with 3 dc shell, sl st to beg sc.
Rounds 5-18: Repeat Rounds 3 & 4. (To make a shorter, less slouchy hat, work fewer rounds here.)
Round 19: Ch 3 (counts as dc), dc in same st, *sc in center dc of next 3 dc shell, sc3tog, sc in center dc of next 3 dc shell, 3 dc in next sc, repeat from * around ending with sc3tog, sc in center dc of next 3 dc shell, dc at base of beg ch3, sl st to top ch of beg ch 3 to join.
Round 20: Ch 1, sc in same st, skip 2 sts, 3 dc in sc3tog, skip 2 sts, sc in center dc of next 3 dc shell, repeat from * around ending with 3 dc, sl st to beg sc to join.
Round 21: Ch 3 (counts as dc), dc in same st, *sc in center dc of next 3 dc shell, 3 dc in next sc, repeat from * around ending with a sc, dc at base of beg ch3, sl st to top ch of beg ch 3 to join.
Round 22: Ch 1, sc in same st, *sc3tog, sc in center dc of next 3 dc shell, 3 dc in next sc, sc in center dc of next 3 dc shell, repeat from * around ending with 3 dc, sl st to beg sc to join.
Round 23: Ch 3 (counts as dc), dc in same st, *skip 2 sts, sc in center dc of next 3 dc shell, 3 dc in next sc3tog, repeat from * around ending with sc, dc at base of beg ch3, sl st to top ch of beg ch 3 to join.
Round 24: Ch 1, sc in same st, 3 dc in next sc st, sc in center dc of next 3 dc shell, repeat from * around ending with 3 dc, sl st to beg sc to join. Finish off and leave a long tail.
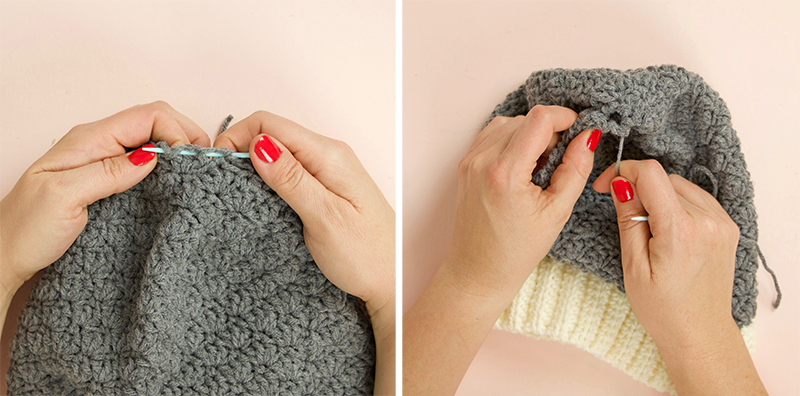
You now have a hat with a hole in the top. To close up the hole and finish off the hat, start by threading the long tail onto your finishing needle. Using the needle, weave the tail in and out of the tops of the stitches of the final round. Pull to the tail to tighten and close up the top of the hat (see image below). Secure with a knot and weave in the end.
Step Three – Add Pom Pom.
Using Color A, make yourself a nice large pom pom. I recommend using a Clover pom pom maker if you like that full, round look. (I used a large Clover pom pom maker for this hat.) You can also make pom poms just using your fingers if you don’t have a maker.
However you make your pom pom, be sure to leave two long tails to attach the pom pom to your hat. Use scissors to trim and shape the pom pom, and then thread one of the long tail ends onto your needle, and pull it through the top of the hat. Repeat with the other end so both tails are threaded through the top of the hat. Finally, tie the tails together with a double knot and then weave in the ends on the inside of the hat. Trim off the excess, and you are all done!
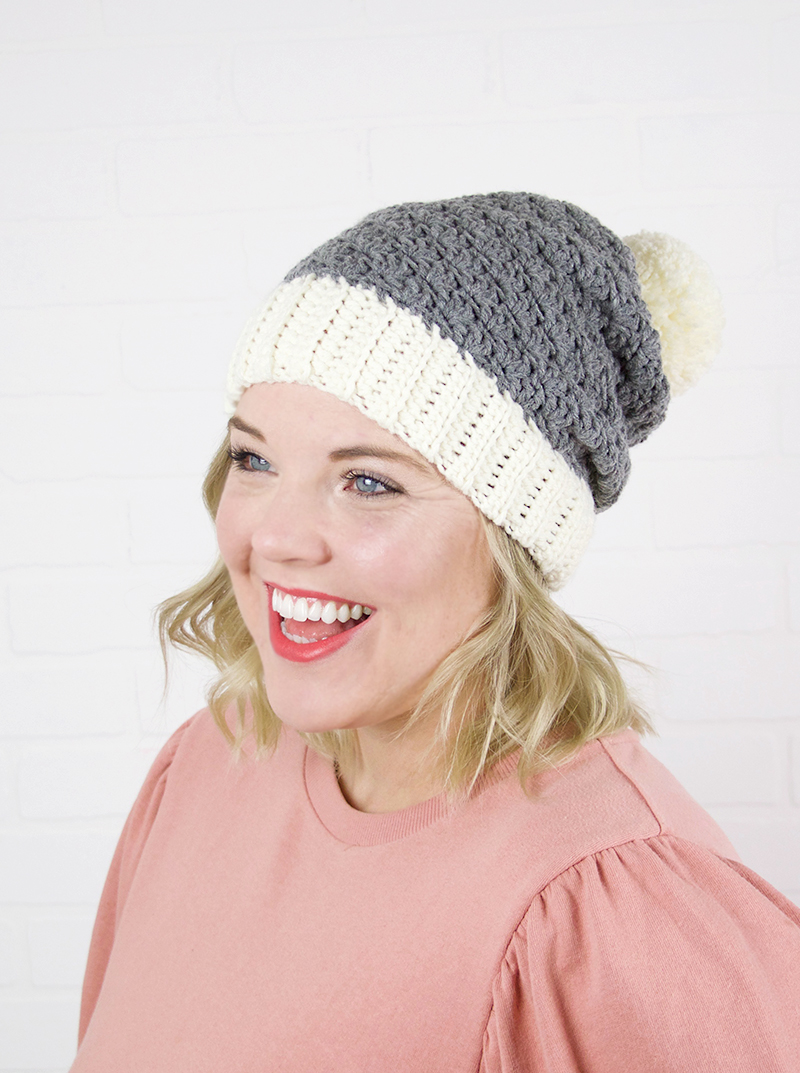
Wear that cute crochet beanie proudly or wrap it up and gift it to someone special.
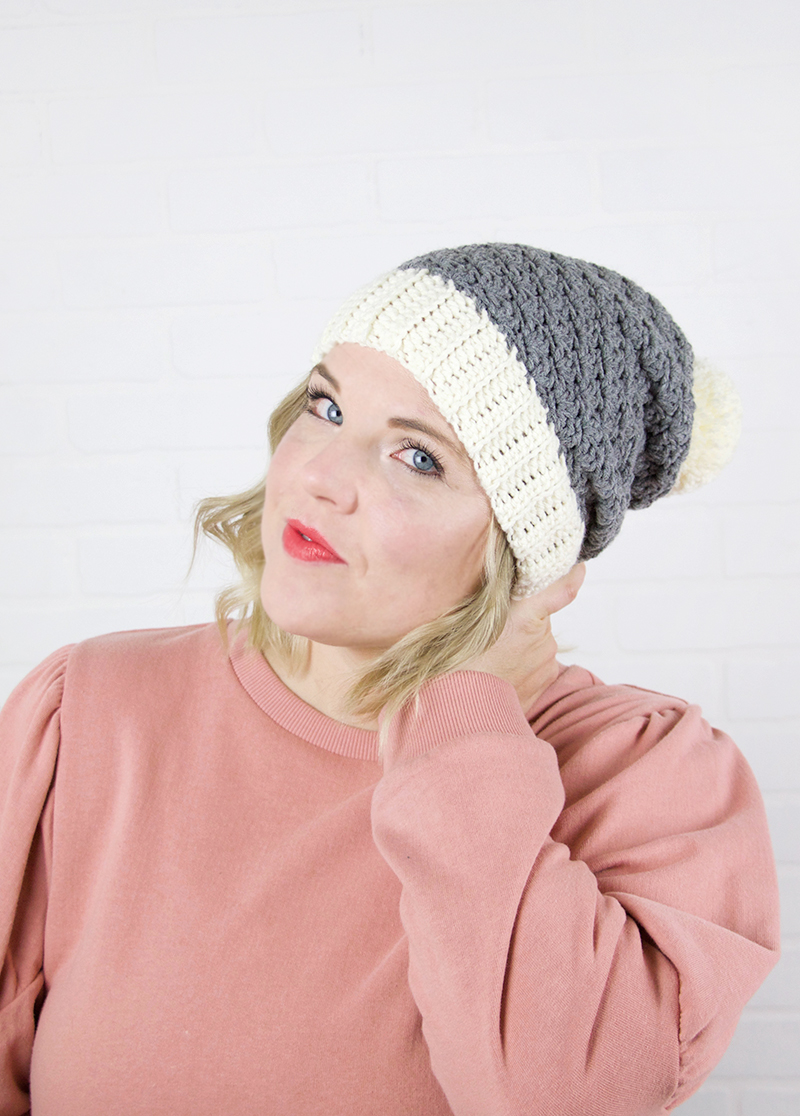
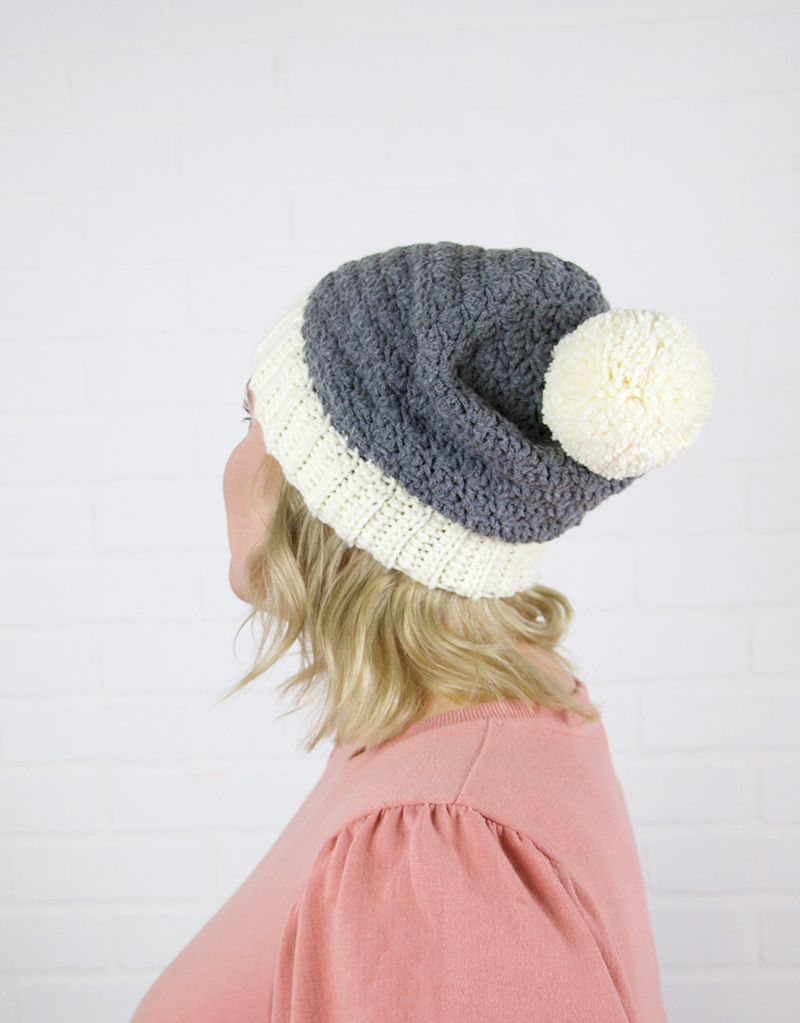
The slouchy style of this hat means it can be worn pushed back (so the pom pom will fall back) or you can fold the brim up to place the pom pom on top of your head. Either way, it’s pretty cute!
That’s it, friends! I hope you like this slouch shell crochet hat pattern! If you make your own, I want to see it! Please share it to my facebook page or tag me on instagram. 🙂
Until next time, Happy Making!

Get more free crochet patterns here:
[the_grid name=”Crochet Patterns Footer”]


Comments + Project Love
Kiss Marianne says
Hi!
Your letter with the white-and-black slouchy hat came at the best time because I want today begin a punctually this kind of hat for my dear Julie, my granddaughter!!! Thank you very much!!! Marianne
Alexis says
Oh good! That’s perfect! I hope you like it! Let me know if you have any questions. 🙂
Cindy Courtright says
Having trouble printing this so I get pics AND instructions. Any chance this is in pdf and can be emailed to me?
Linda says
I agree!!!
Selena says
I absolutely love this hat! I want to make one for my daughter’s God son. How can I make it to fit a toddler? Thank you so much!!
Anna says
Do you have to do the brim of the hat 48 does the hat strink when you do the shell Stitch in i love all of your crochet pattern
Jessica says
If I want to make a child hat, how many single crochets into the band do I need? I can easily measure the band to reach the desired circumference to fit the child’s head, but from there I do not know how to gauge the rest of the hat. Thanks!
Beth Staton says
I LOVE YOUR PROJECT’S 😊!