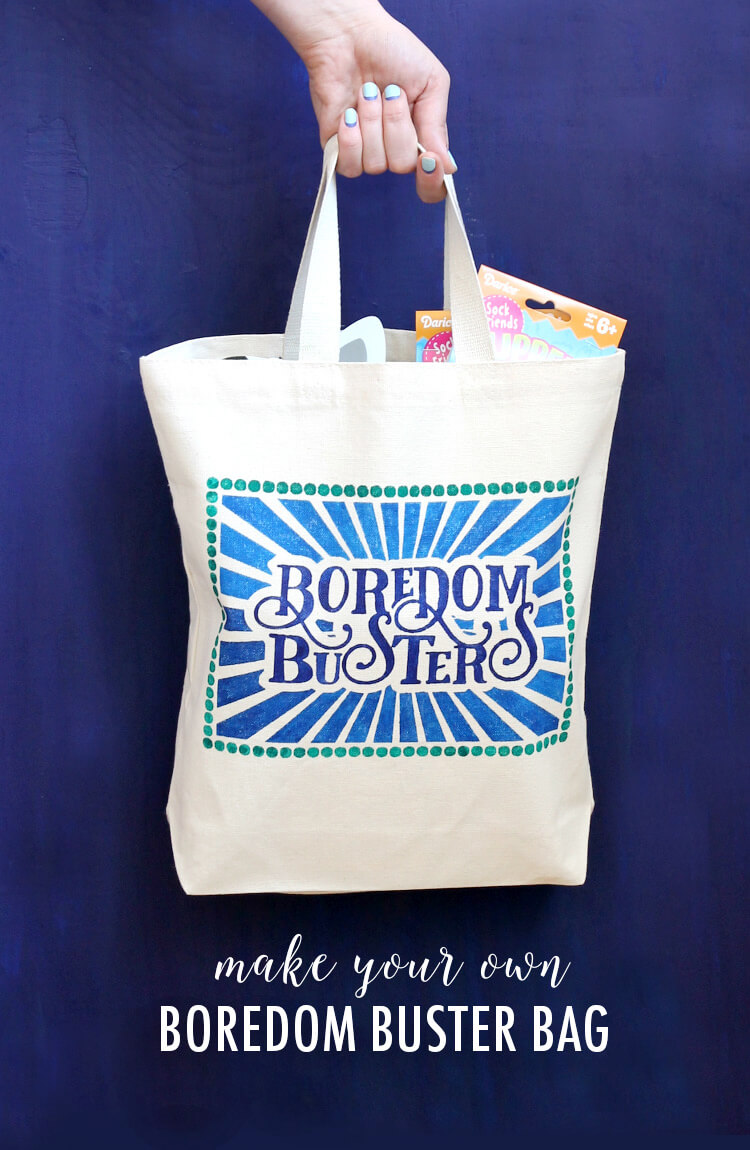
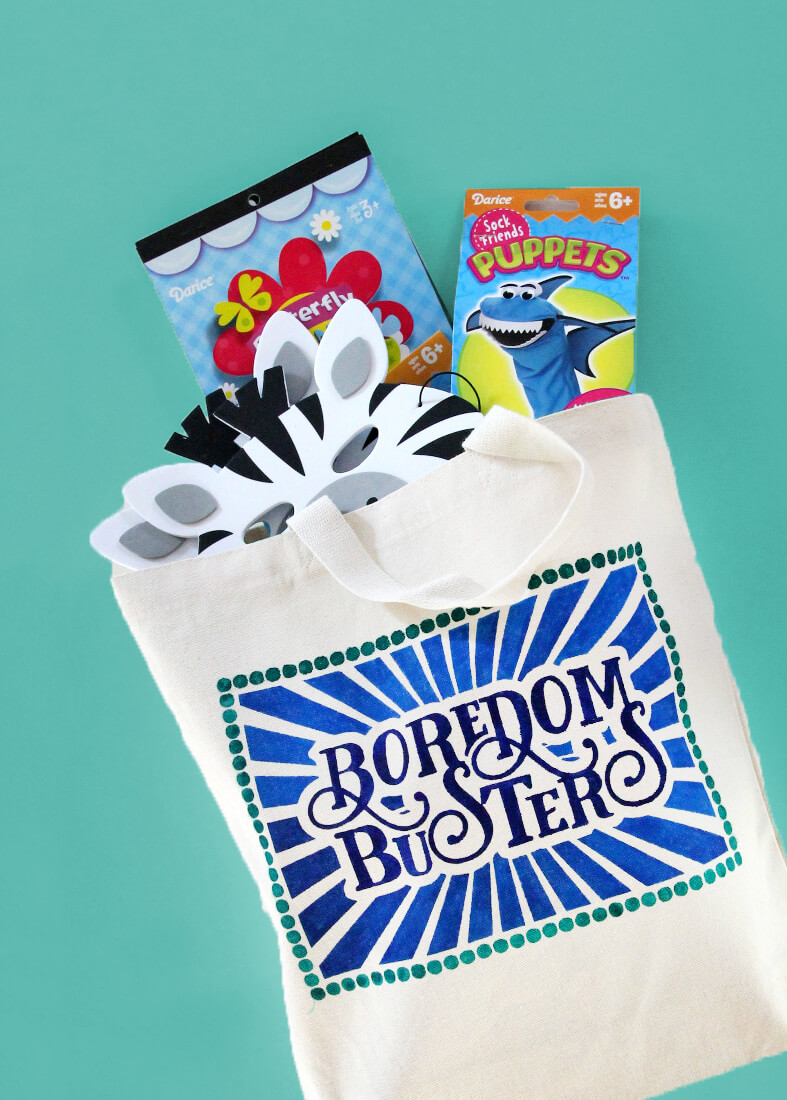
Make a little Kids Boredom Busters Bag to keep the kids busy over summer break, while traveling, or really anytime! Decorate a simple tote and then fill it with fun and simple activities the kids can take on themselves. This post was originally shared at Darice and may contain affiliate links, which help to support this blog. Thanks!
I know some kids are already heading back to school, but we still have a month of summer left here, and this Momma is struggling to keep everyone happy, busy, not glued to their screens, and NOT fighting. (Anyone else’s kids fight constantly or is it just mine?)
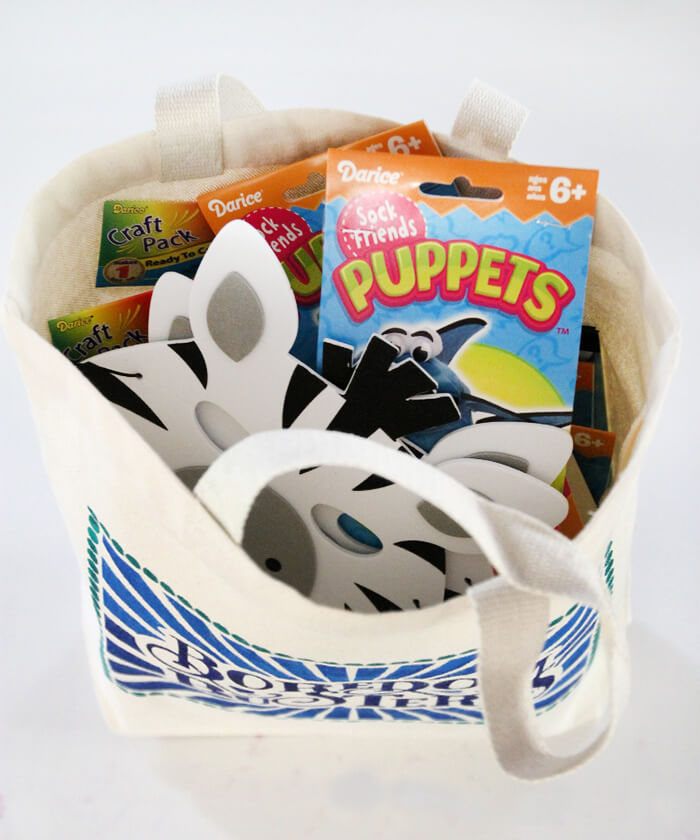
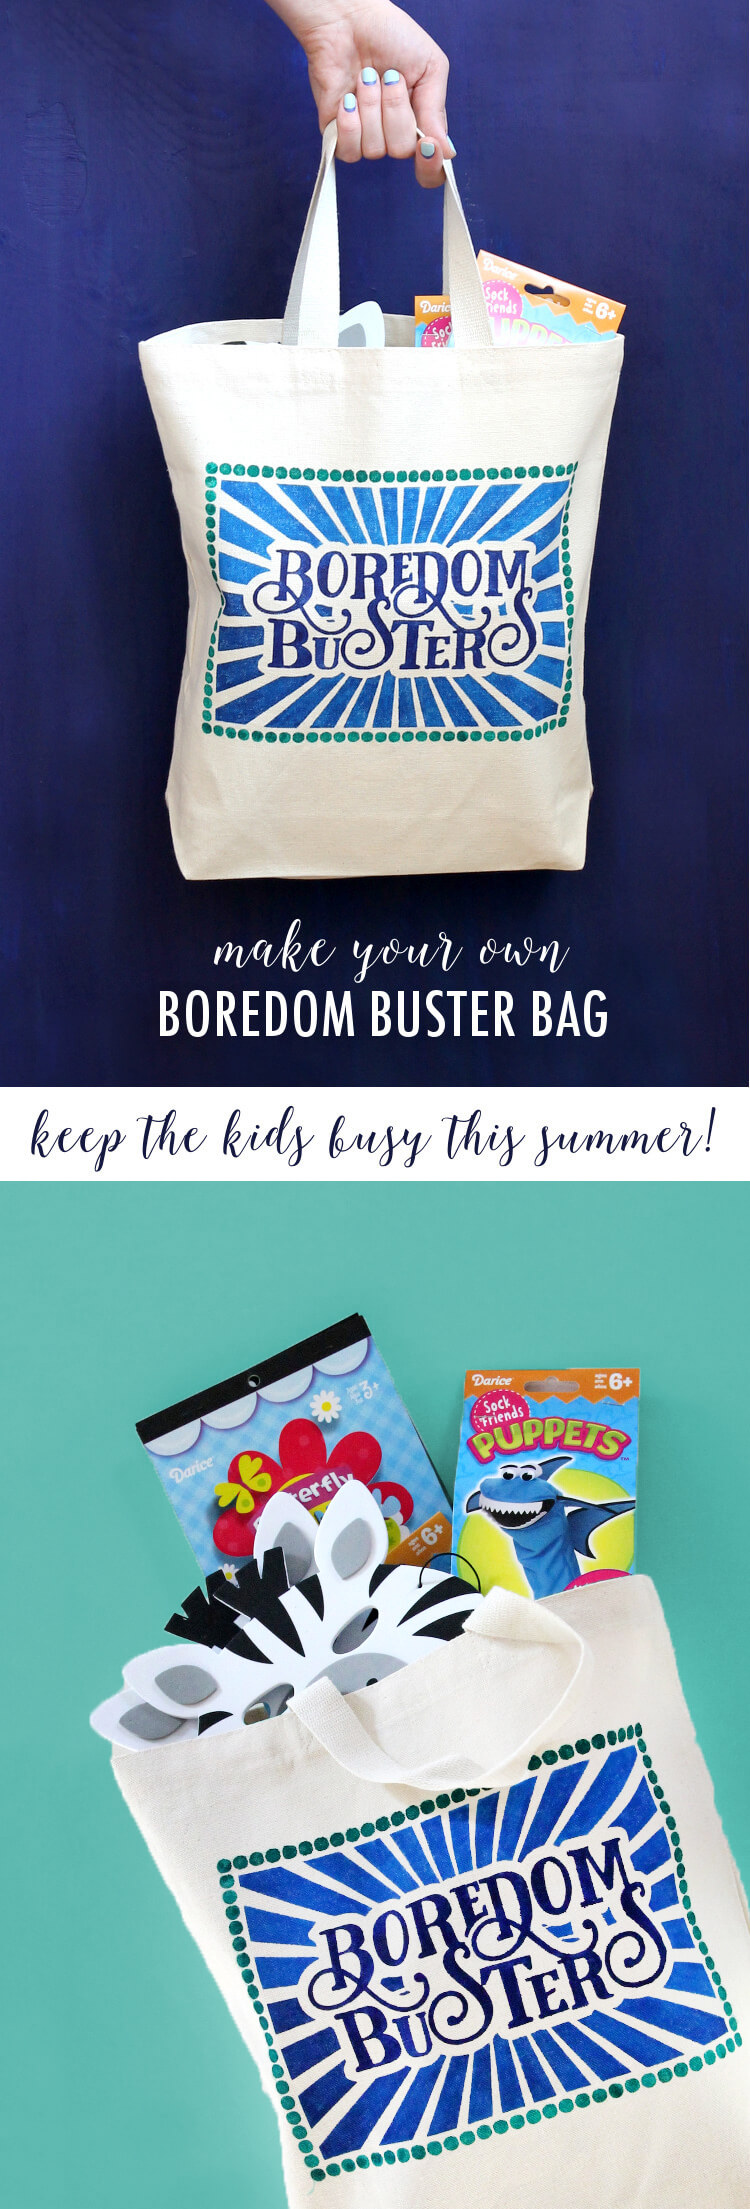
I made this little Boredom Busters bag last year, and it was a big hit. I filled it up with inexpensive little toys and craft projects, and when the kids needed something to do, I would pull it out and let them choose one project or activity. You might also use the goodies in the bag as a reward for doing chores, finishing a book, or whatever you like. I definitely think I need to restock this bag to help get me through the rest of the summer!
Of course, you could just stuff any plain bag or box full of crafts and activities, but I wouldn’t be me if I didn’t decorate it first. 🙂 If you want to decorate your kids boredom busters bag too, then good news – I’ve got my free design for you plus instructions for making your own.
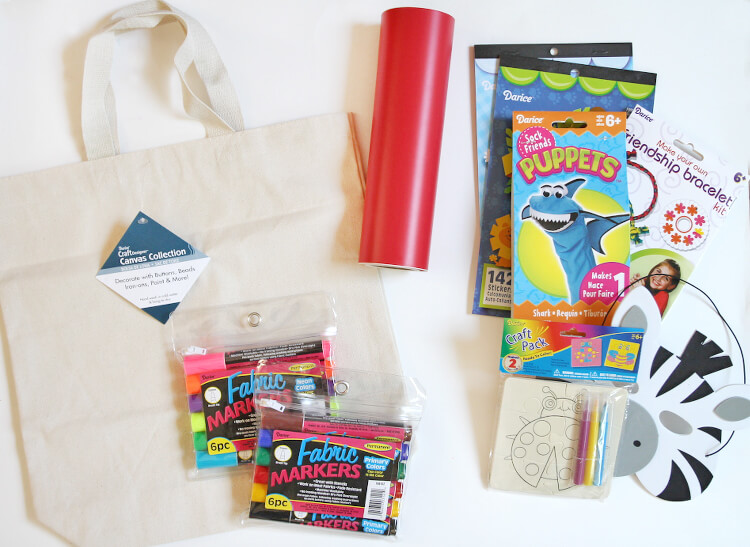
Kids Boredom Busters Bag Supplies:
- Plain Tote Bag (can’t beat the price at Consumer Crafts)
- Fabric Markers
- Adhesive Vinyl
- Silhouette Cameo
- Transfer Tape or Contact Paper
- Weeding Tool
- Free Download – Boredom Busters Design
- Kids Craft Kits, Stickers, and Other Activities (Check out some favorites below!)
If you don’t want to use store-bought kits, you can make your own mini kits by filling up little baggies with supplies that go well together (beads and pipe cleaners to make jewelry and creatures, old socks and foam stickers to make sock puppets, etc.). I am, of course, all about that DIY but sometimes I take the easy way out too. I love how convenient these little kits are and that my kids can do them all by themselves so Mom gets a little break.
Anyway – shall we make this bag or what? Let’s do it!
Step One – Cut the Stencil
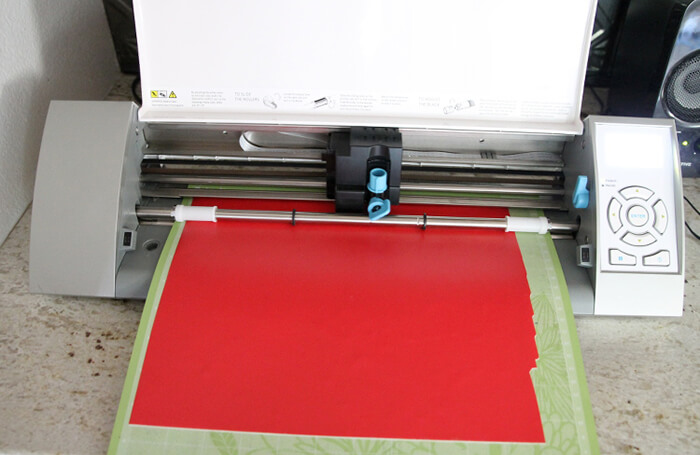
Start by downloading my design HERE (or make your own!). Open the image in the Silhouette Studio software and use the Trace feature to trace the image. Then put your adhesive vinyl onto the cutting mat and send it to the Silhouette using the recommended settings. (No need to mirror the image like you would with heat transfer vinyl!)
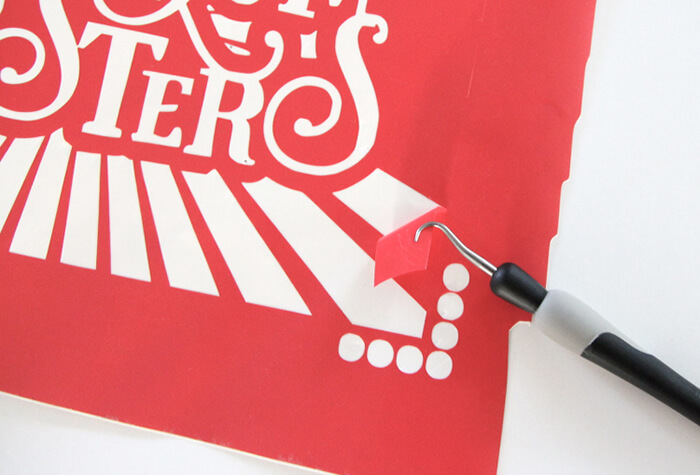
When the Silhouette is done cutting, use your weeding tool to remove the positive portions of the design (the letters, sunburst, and dots) leaving the outside of the design on the vinyl backing.
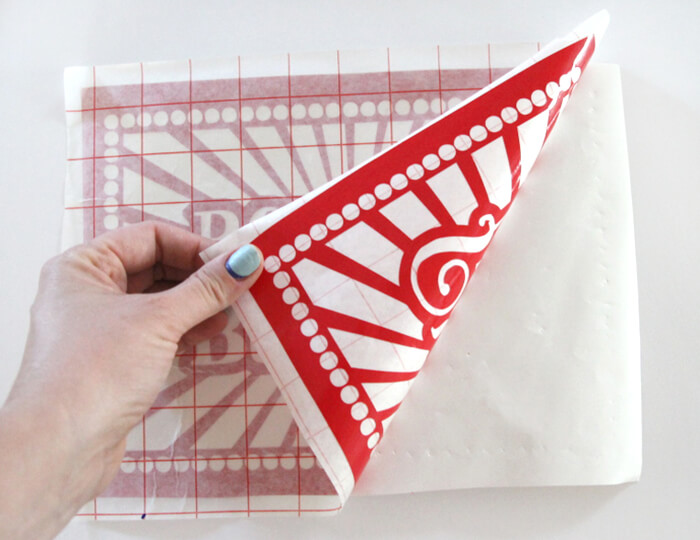
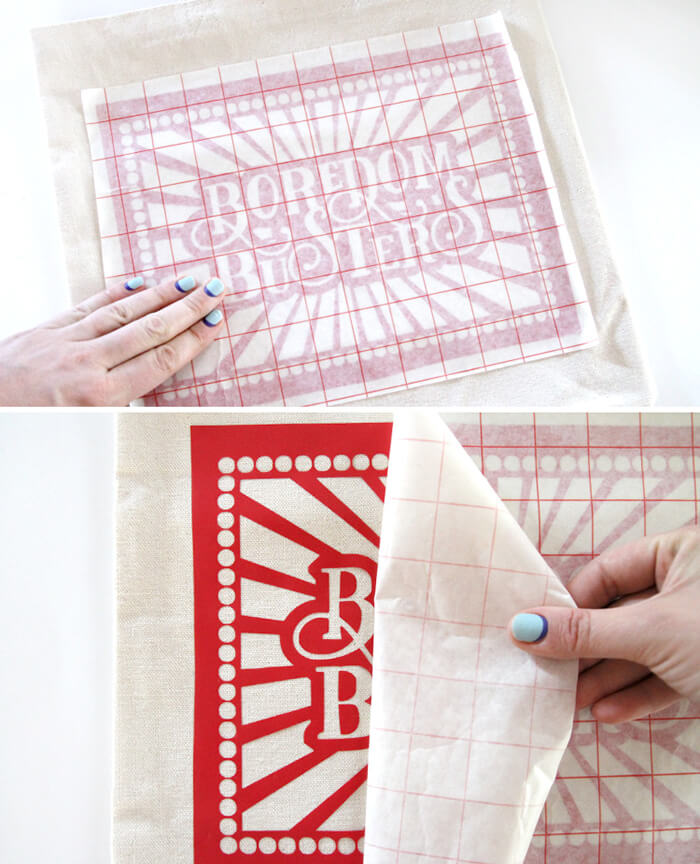
Step Two – Transfer Stencil to Bag
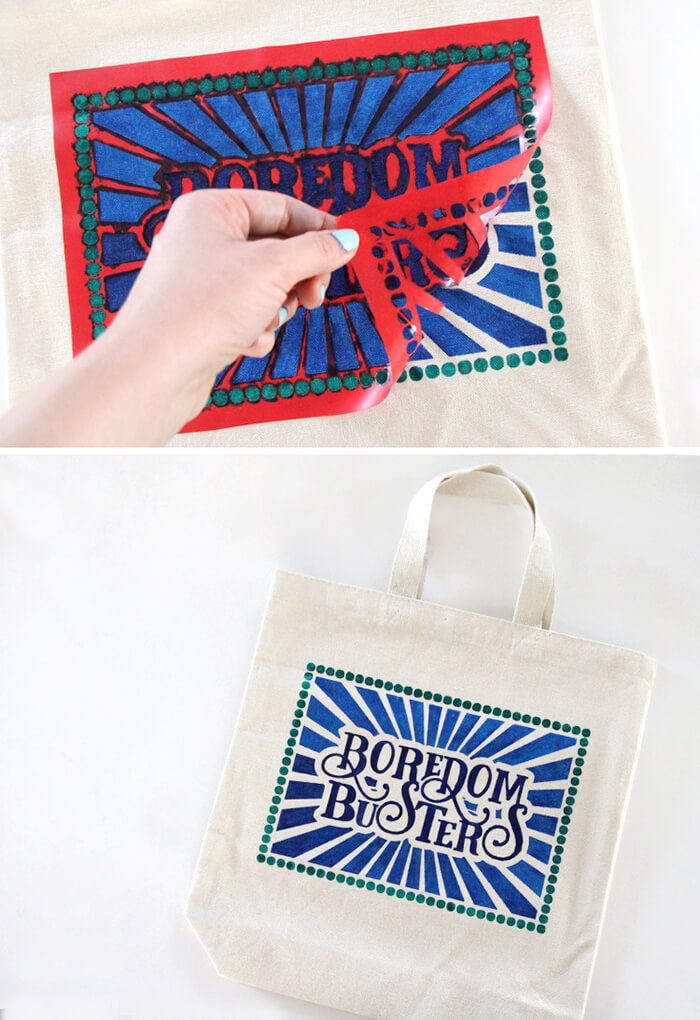
Next, grab your transfer tape, and place it sticky side down on top of your vinyl stencil. Peel the transfer tape and the vinyl stencil up off the vinyl backing. Place the stencil on your tote bag using your fingers to rub the vinyl onto the bag. Gently peel off the transfer tape leaving the vinyl in place.
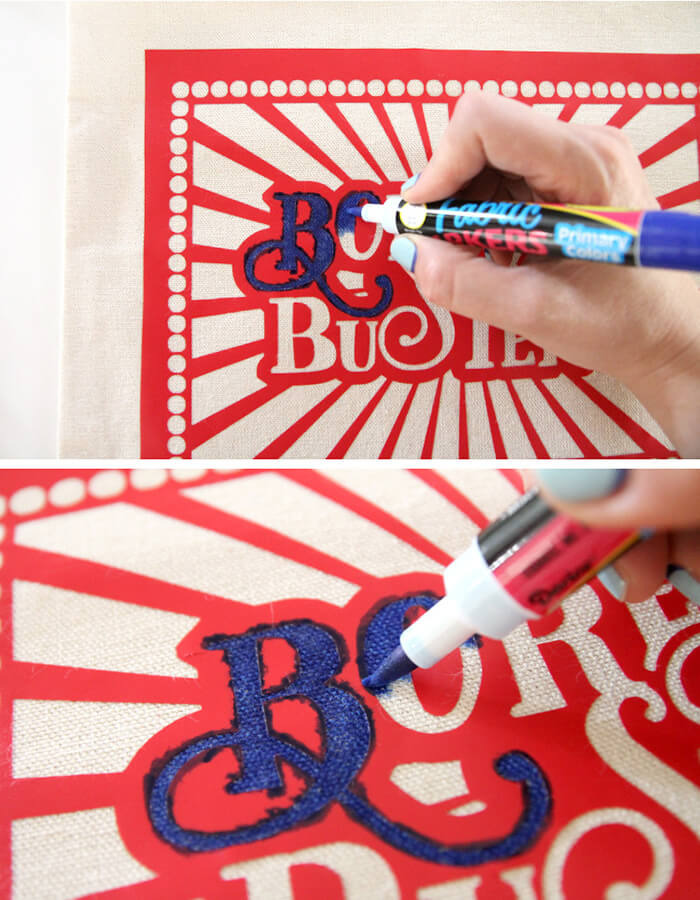
Step Three – Color!
Now comes the fun part. Use your fabric markers to color in the design however you like. I used blue and green colored markers. Be sure to start with your marker on the vinyl and pull it over the edge of the stencil onto the fabric instead of pushing the marker towards the vinyl to avoid bleeding underneath the stencil. You could also try this with fabric paint, but I found I got a much better edge with the markers and they are so easy to use!
And that’s it! Just peel off the stencil and stuff with whatever craft supplies, stickers, games or toys your kids will enjoy.
What kids boredom busters do you guys use? Any great tips? Share ’em with me in the comments because I can always use more help!
Happy Making!

More crafty goodness below:


Comments + Project Love
Clarissa says
These are awesome! My parents would’ve loved this idea when we were younger — five children on a road trip? We NEEDED boredom buster bags, lol
-Clarissa @ The View From Here
Alexis says
Lol… I bet! Thanks for stopping by, Clarissa!