Filling in outline fonts with sketch pens is SO easy with the Silhouette Curio. I will walk you through it with this video tutorial. No complicated hacks – just one simple click. Thanks to Silhouette for sponsoring this post, which may also include affiliate links. See my full disclosure policy here.
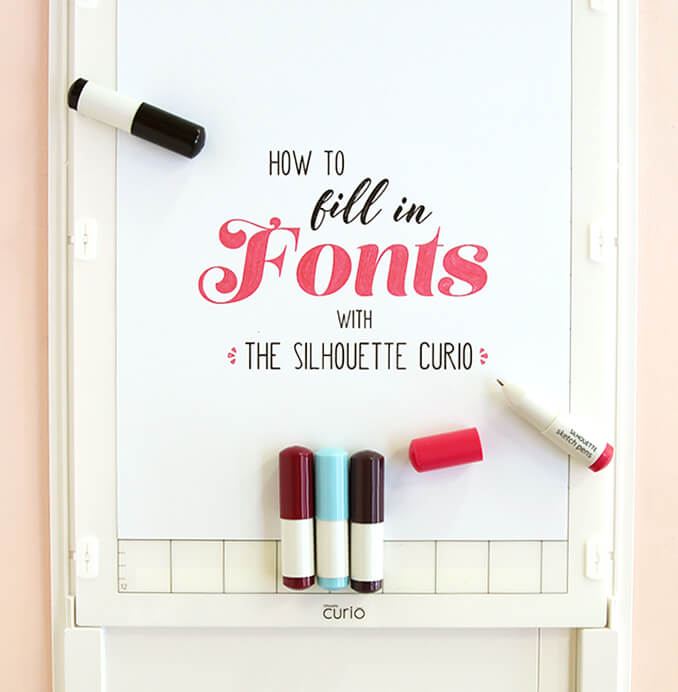
Hey guys! Today I am back to share some more tips for using the Silhouette Curio! I got my machine a few months ago, and I have had a lot of fun exploring what this little guy can do. It has some of the same features as the Cameo, which I still adore and use constantly, but it also brings in some new abilities and features. I already shared how you can use the print and deboss feature to create awesome letterpress look notecards, and today, I want to share one of my other favorite features – filling in fonts!
If you have every used sketch pens with your Silhouette Cameo, you know that when you use thick fonts the sketch pen will just trace the outside of the font leaving it looking hollow, which is fine sometimes, but it’s not always the look you are going for.

It is possible to fill in fonts with the Silhouette Cameo using the Offset tool (Melissa from Silhouette School walks you through how to do it here), but it is just a little bit complicated. The Silhouette Curio comes with some new additions to the Silhouette Studio software that allow you to fill fonts with just one click. Seriously guys, it’s so easy.
The video below walks you through each step to fill in your fonts easily in Silhouette Studio.
If you prefer written instructions, here you go:
- Use the text tool to type your text and select your font.
- If you are using a script font, you may want to make sure the letters are overlapping by adjusting the spacing between characters. Then, weld the text together so you have one work instead of separated letters.
- Select the text you want to fill in.
- Select the emboss menu and then select “Emboss/Deboss”
- Choose one of the emboss options. I recommend “Concentric” for filling in fonts.
- Finally adjust the spacing until the font is filled in. I have found 0.01 to work well.
- Place your sketch pens in your machine, and let it do it’s thing!
So now that we know how to fill in fonts, why would we want to do that anyway? Why not just use your printer? Well, this technique works great for anything that can’t go into your printer – think thick cardstock, chipboard, fabric, maybe paper bags, even thin wood! (Now I’ve got some experimenting to do!)
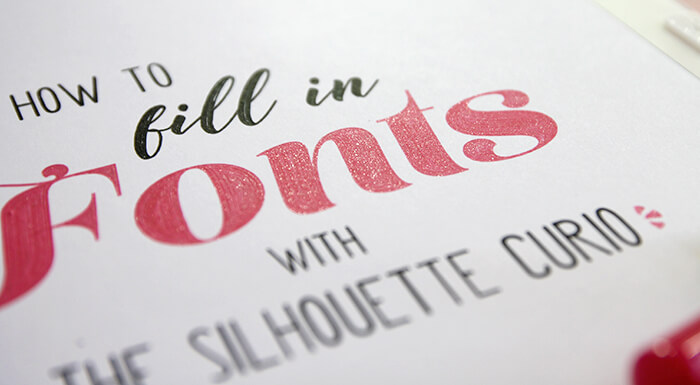
This technique lets you print (sketch) on different surfaces/materials, and it also lets you use different inks! Just check out the shimmer in that pink sketch pen:
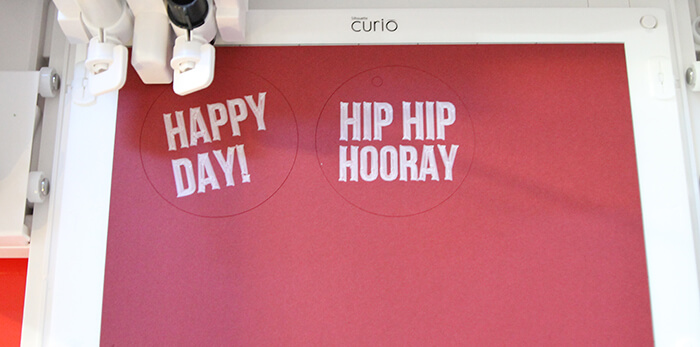
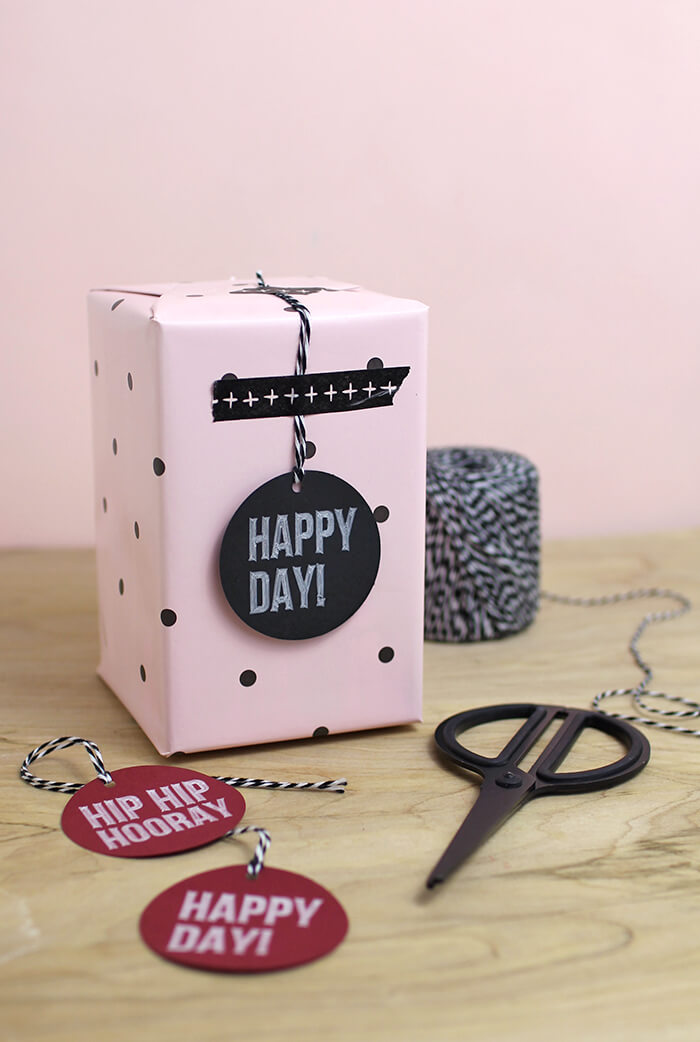
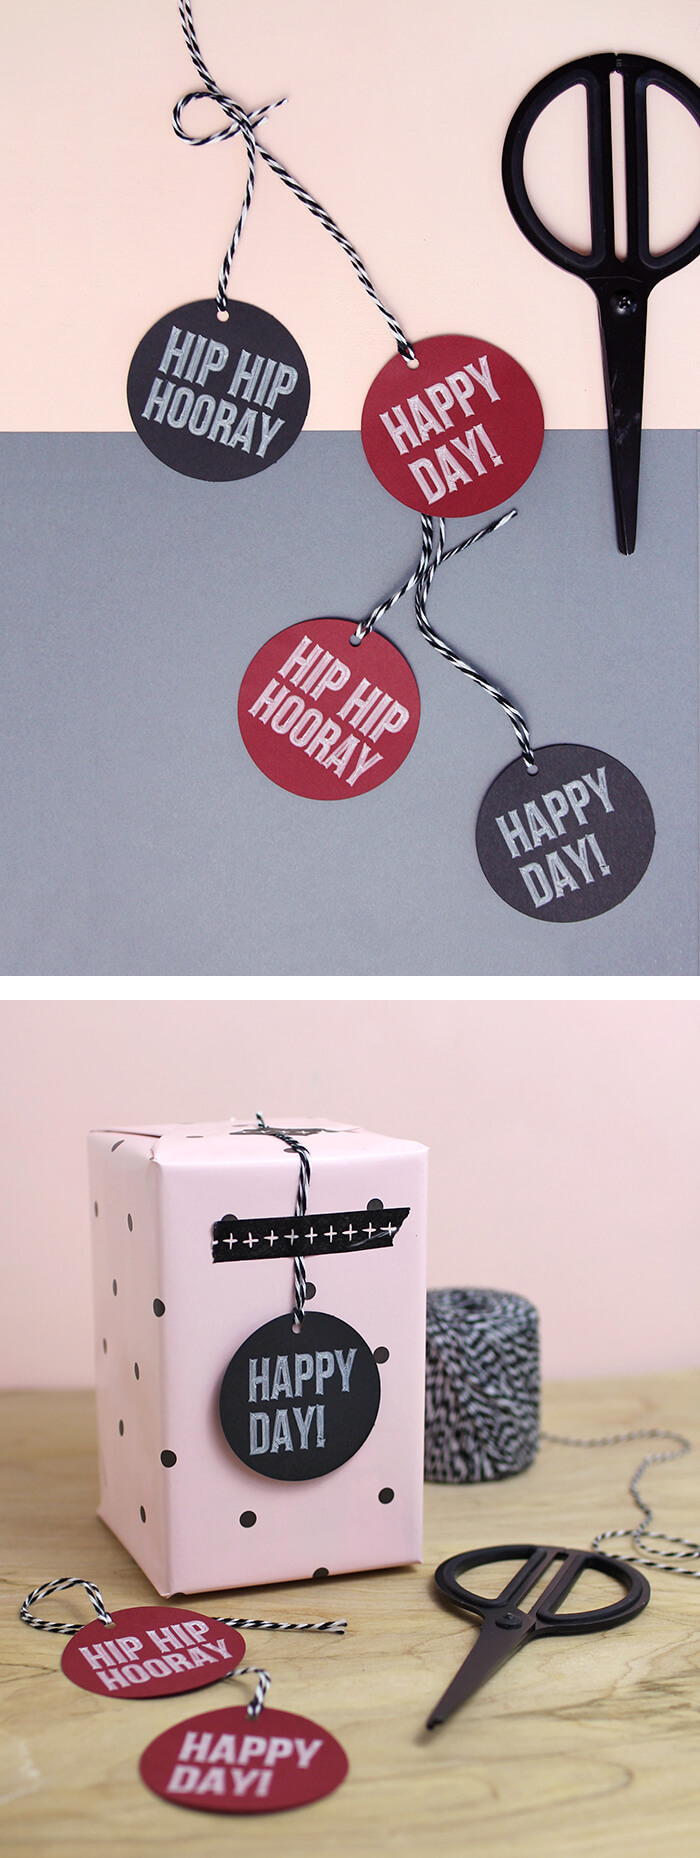
That also means that you can “print” with white and light colored ink on a dark surface. Sure, you can print a black background, but it uses up so much ink and it never looks quite as dark and rich and real black cardstock. For example, I used a white pen and dark cardstock to create these simple gift tags.

Another bonus of the Silhouette Curio is that it can hold and use two tools at once, so I sketched and cut these tags all at once. Easy Peasy! What to make some? Okay – let’s do it!
Simple Silhouette Curio Gift Tag Supplies:
- Silhouette Curio
- Silhouette Sketch Pens OR Pen Holder
- Curio Large Base (if you are sketching on an area larger than 8.5″ x 6″
- Black Cardstock
- White Gelly Roll Pens
- Baker’s Twine
- My Happy Day Gift Tags Studio File (Download HERE)
Start by opening the file in the Silhouette Studio software. The fonts should already be filled if you use my file, but if you are using your own design, be sure to fill in the fonts! In the cut menu, set up your tools so that Tool 1 (red) is your sketch pen and Tool 2 (blue) is your ratchet blade. Select the text and then click on Tool 1 to assign it to that tool. Then, select the circles (the outside of the tag and the tag’s hole) and click on Tool 2 to assign them there.

Then, just send it to the Curio, and it will sketch and cut all at the same time. Isn’t that kind of amazing? I really like how filling in this font with the concentric embossing gives the font an almost beveled look. Cool, right?

Have you tried sketching with your Cameo or Curio before? I have done it with the Cameo and was just blown away by how much easier it is with the Curio. Tell me about your experiences, ask me any questions, or tell me what I should sketch next in the comments. 🙂
Happy Making!

Check out more Silhouette Projects below:

DIY Letterpress Look Cards with the Silhouette Curio

 DIY Maker Tattoos


Comments + Project Love
Georgia says
I find it pretty frustrating that I would have to buy a whole new machine just to use that feature. Why not give us an option to fill with sketch pens with our other machines??
bri says
Thank you so much for the article!
I wonder if it works also with very tiny fonts (6-10px) what do you think about? do you recommend it?
thanxs
Alexis says
Hi! It could work, but if the font is thinner than the pen tip, you will run into problems. I would definitely say give it a try! Good luck!
Karen H says
I am so grateful for your posts and user-friendly directions of how to use the features that the Curio can do! Please do not ever remove these entries! But, is it possible to create some updated directions to accommodate the new Silhouette Studio v 4.1? I’m able to find most of the functions, but some are really difficult (and the search/help isn’t very helpful) to find with the new navigation set up. If this is possible, I’d be so appreciative!
Linh says
Hi! What script font did you use in the video?
Gail says
I’ve just gotten back to using my Curio because I want to use your text fill trick to write greetings inside a watercolor illustrated card. When I try to get the text into emboss mode the text disappears. Do you have a suggestion as to what I’m doing wrong?
Your videos are so informative and helpful and you are one of the very few to help out we Curio users. Thank you.