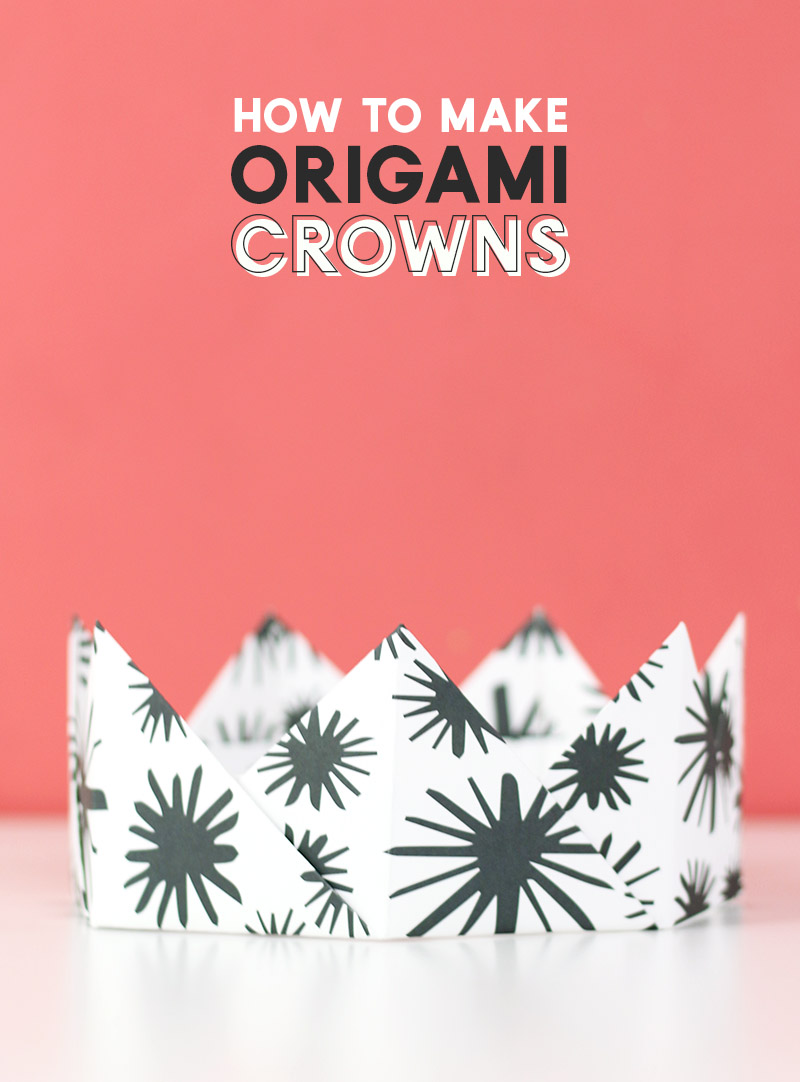
Learn how to make origami paper crowns! These step-by-step origami instructions will teach you the basics of making your own modular origami crowns. You can make your crowns in different sizes and decorate them for a fun and simple kids craft. This may contain affiliate links, which help to support this site at no extra cost to you when you make a purchase through one of our links.
School-free summer days around my house means lots of time for crafting with the kids. (Check out more kid’s craft ideas here.)
One thing we have been getting into recently is origami. I loved origami as a kid and have loved teaching them some of the paper folding projects I enjoyed making years ago!
These cute origami crowns are one of our favorite recent projects. They are simple enough for kids to make on their own (although they may need a little help, especially with assembling the crowns).
Origami crowns are fun to make for parties or special occasions but they are a fun and simple everyday craft too!
DIY Origami Crowns

I love origami because that supply list is short! No glue or scissors required – you really only need paper!
Origami Crown Supplies
- 6″ x 6″ Origami Paper (metallic is really fun for this project!) OR Scrapbook Paper cut into 6″ x 6″ squares
- Paper Trimmer (if using scrapbook paper)
- Adhesive Gems (optional)
- Colorful Brads (optional)
We used scrapbook paper for the crowns in our photos just because that was what we had laying around. Scrapbook paper is thicker than origami paper and doesn’t always work as well for origami projects, but it worked just fine for these crowns!
How to Fold Origami Crowns

Learn how to fold origami crowns with these step by step instructions!
Materials
- 6" x 6" origami paper OR 12″ x 12″ Patterned Scrapbook Paper cut into 6" x 6" squares
- Adhesive Gems (optional)
- Colorful Brads (optional)
Tools
- Paper Trimmer (if using scrapbook paper)
Instructions
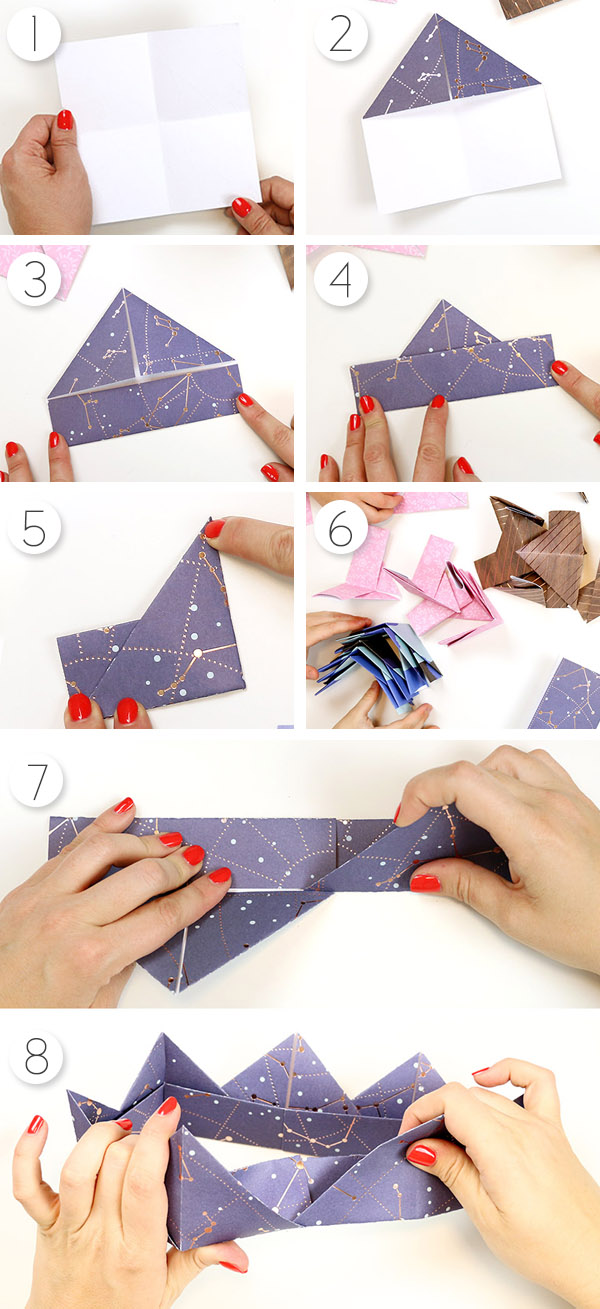
- Start with a square of paper patterned side down. Fold the paper in half widthwise then unfold and fold in half lengthwise. Unfold the paper to reveal a cross fold in the center of the paper.
- Next, fold one of the top corners to line up with the center cross and crease. Repeat with the other top corner to create a triangle shape at the top of your paper.
- Fold up the bottom of the paper to meet the crease line in the center of the paper and crease.
- Fold the bottom rectangle piece up again and crease along the center fold line.
- Fold the right half of the entire piece over on top of the left half and crease along the center line then unfold the last fold. You have created one piece of your crown!
- Repeat this process until you have seven total pieces. (You can use six pieces for a smaller crown or eight for a larger crown.
- To assemble the crowns, slide the folded rectangle bottom of one crown piece into the next piece. To do this, slip the corner of one piece’s rectangle fold into the other piece's rectangle fold (See images for guidance). Slide the pieces together until the end of the right piece meets the center fold line of the left piece. (It will be difficult to slide it past this point.)
- Continue joining pieces together in this method until all seven are linked together. Finally, slide one end of the last piece into the first piece to form a circle and your crown is formed!
- If you like, decorate your crown with adhesive gems, brads, or whatever you like!

Recommended Products
As an Amazon Associate and member of other affiliate programs, I earn from qualifying purchases.


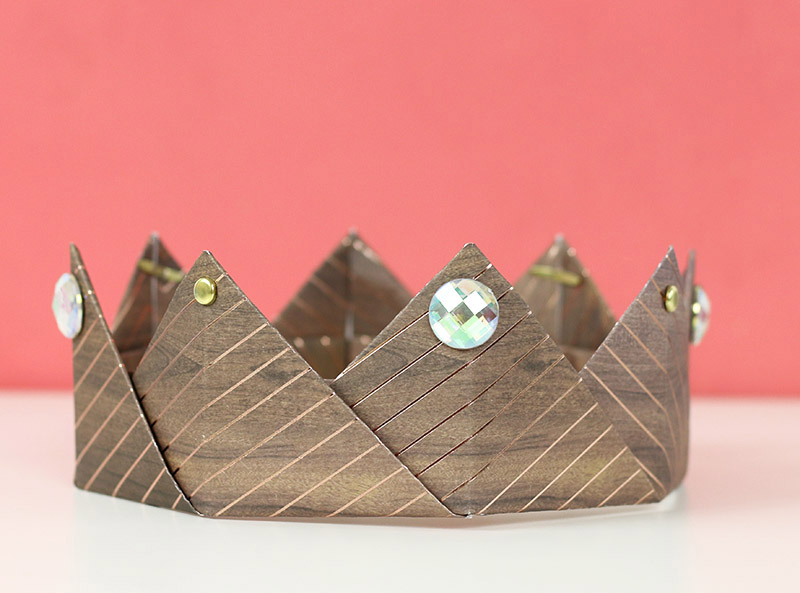
And that’s it! At this point your origami crown is finished and ready to wear.

Feel free to decorate your crowns however you like. We used adhesive gems and gold brads, but there are so many ways to add a little something extra to your crown!

My kids were really proud of their crowns and wore them all day long! I hope you have fun making origami crowns too!
Until next time, Happy Making!


Let's Chit Chat!