*This post contains affiliate links. If you make a purchase, it doesn’t cost you anything extra, and it helps support Persia Lou. Thank you!
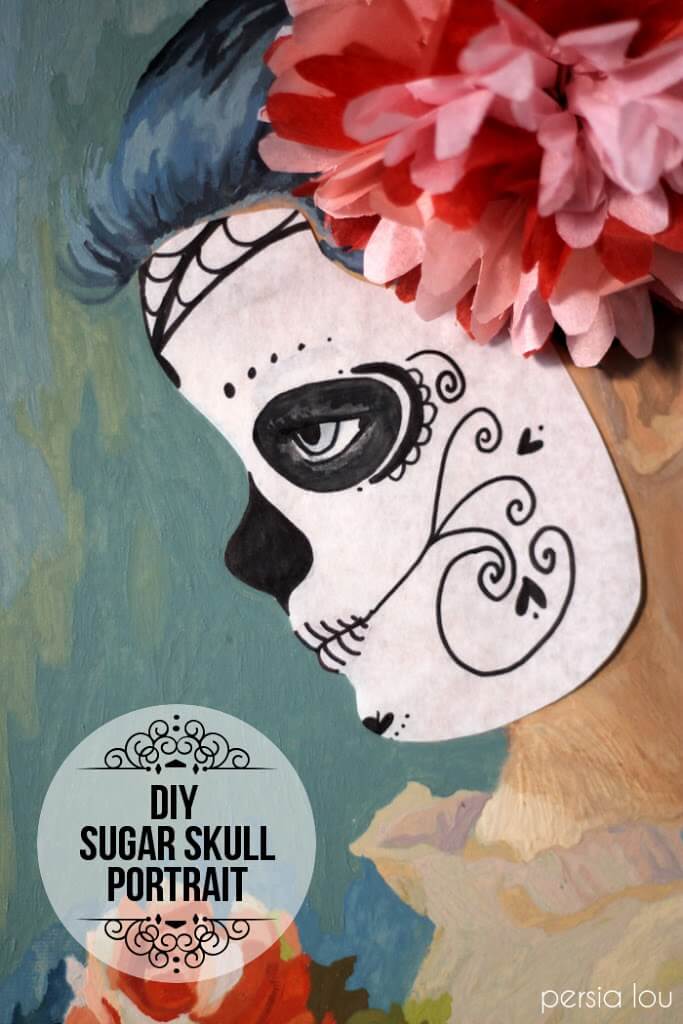
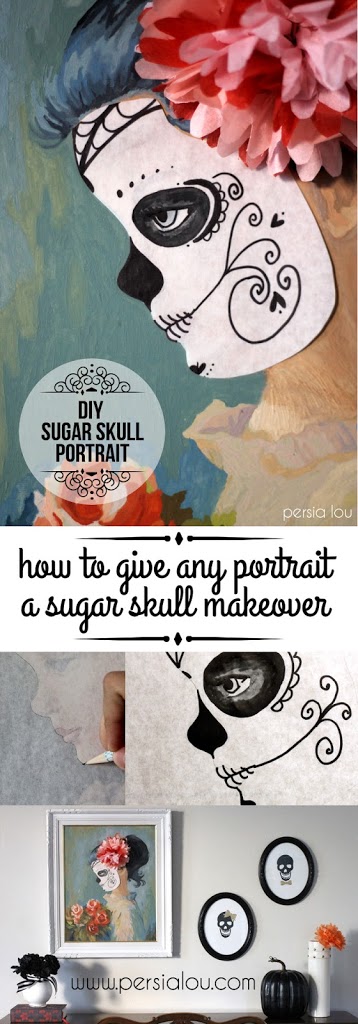
My best ideas always seem to come to me late at night, and this DIY Sugar Skull Portrait is no exception.
I was finishing up getting my home all ready for the mini Halloween home tour I posted last week, and I really needed something else to hang on the wall. I was looking through my artwork (most of it is sitting in a closet right now since we just moved), and I came across a paint-by-number little girl that I picked up at a thrift store last Spring.

You can see her in our old Master Bedroom gallery wall above – over on the left. Anyway, in my Halloween mindset, and she looked a little creepy, and I immediately knew she would look awesome with a sugar skull makeover.
I could have just painted right over the top of her face, but I like this little girl and I think eventually she is going to end up in my daughter’s room. I needed a temporary makeover – a costume really – and I’m really happy with what I came up with.
Here’s what you will need to give any portrait you have a spooky sugar skull makeover:
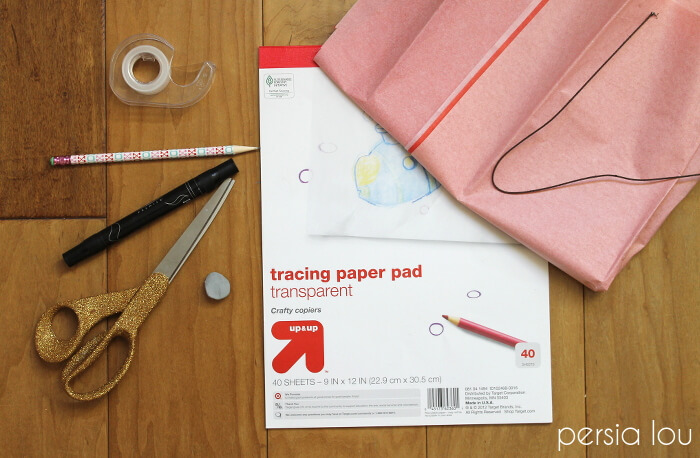
- tracing paper

- pencil
- felt tip pen
- tape
- tissue paper
- wire
- scissors (they don’t have to be glittery, but I recommend it!)
Start off by tracing the face of your portrait onto your tracing paper using your pencil.
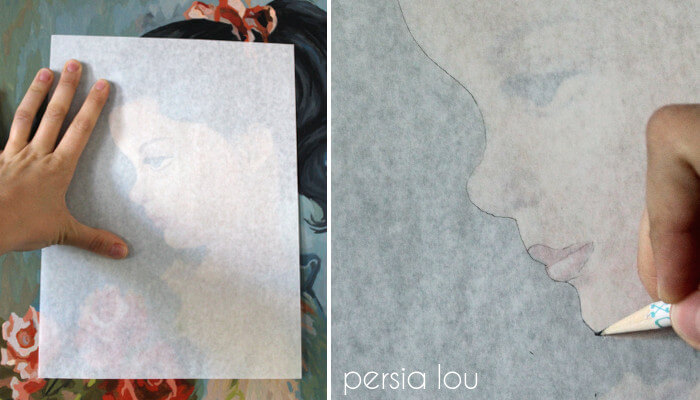
Trace lightly around the face and the jawline. You will also want to lightly trace the facial features – nose, lips, eyes, and eyebrows to help you place your sugar skull features.
For inspiration, take some time to search Pinterest or Google for sugar skull make-up. You want to get inspiration from images of makeup, not actual sugar skulls because they will show you how to give real human features a skeletal look.
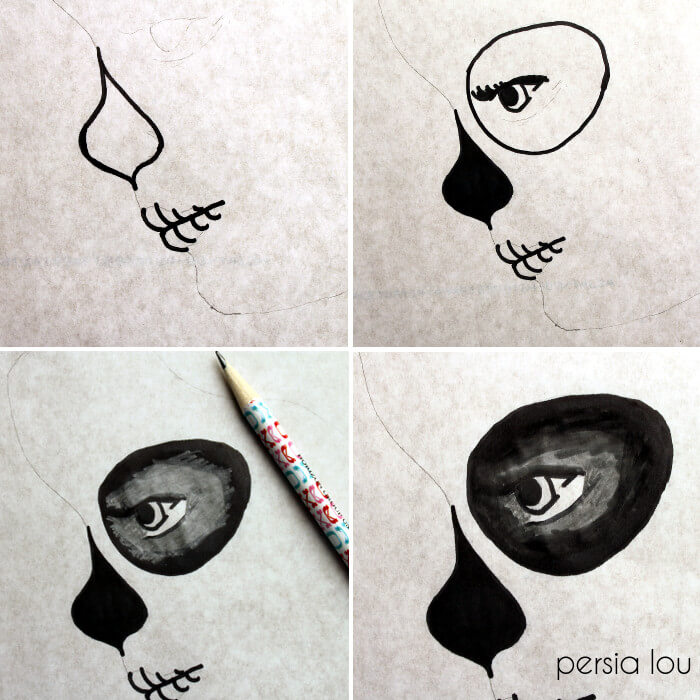
Using your felt tip pen, color in color in the nose, and draw teeth over the lips, following the lines you traced. Draw a circle around the eye, using the eyebrow as an upper guide. I wanted to give the shaded eye some depth, so I used a pencil to color right around the eye and then went back around the outer edge with the marker.
Using your makeup photos as inspiration, add details and embellishments to the forehead, chin, and cheeks.
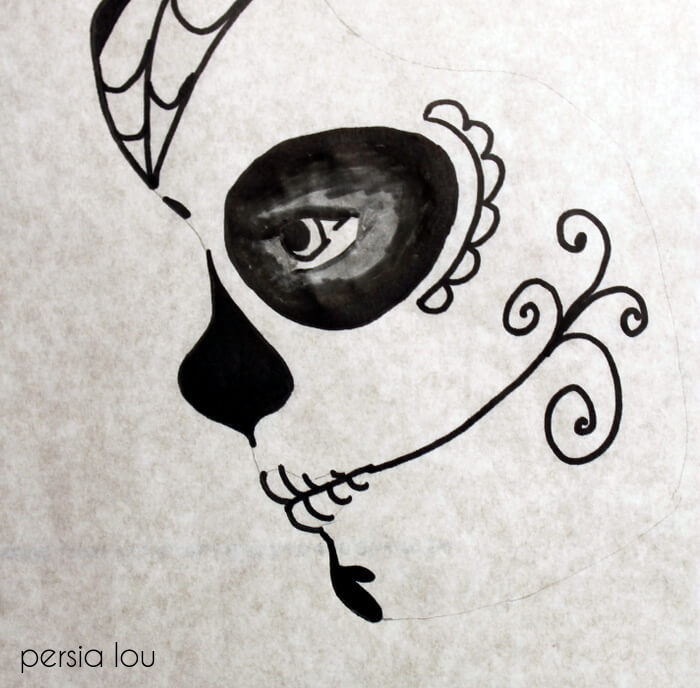
When you are done, carefully erase any pencil lines (I like to use a kneaded eraser), and cut out your mask around the outside edge.

Use a little bit of clear tape doubled up on the back to attach it to your painting. Double-sided tape would work great too, I just didn’t have any. (P.S. if you have a priceless family portrait, please do not put any tape on it! This DIY is really more for thrift store type portraits.)

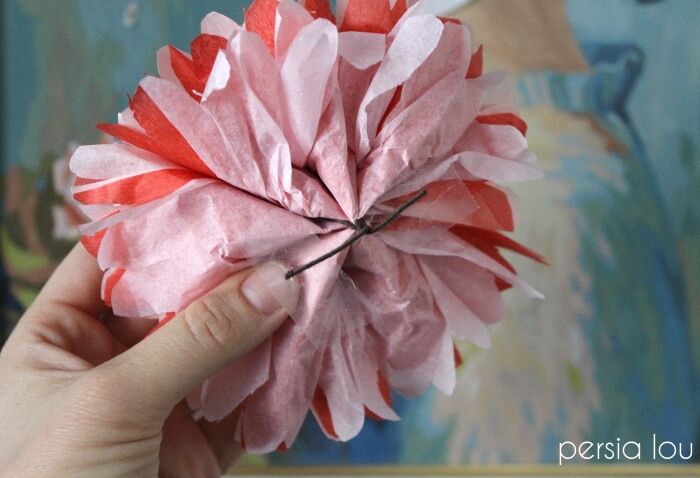
I also whipped up a tissue paper flower for my girls’ hair. You can get a full step-by-step tutorial for the flower I made HERE.
When my flower was ready, I clipped the wires short and taped them to the portrait.
My spooky little girl was all ready to take her place of honor over the piano – and when Halloween is over, her mask can come right off!


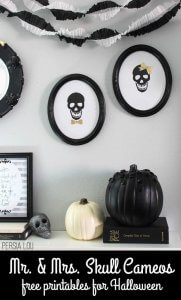
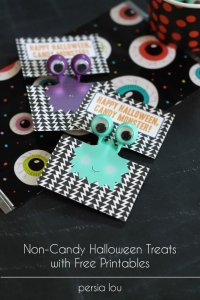
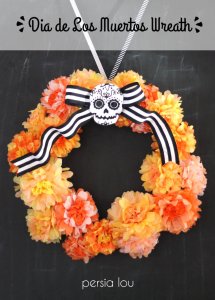
Don’t miss these other great Halloween projects!


Comments + Project Love
Brynne Delerson says
Woohoo! I was wondering if you had just painted right over the painting – this removable mask idea is PERFECT!
Jennifer BNHblog says
Not sure if my comment went through. Basically, I said this was a great idea and I love the 3D effect of adding the flower. My best ideas come to me late night, too. The later, the crazier they get!
Trisha D says
What a perfect way to preserve the painting underneath! The 3-d flower effect is a wonderful added touch! I'd love to see Ms Sugar Skull at Outside [the Box] link party this evening @5PM EST http://bit.ly/BlackAndWhiteObsession
Cher-Ann Texter says
Love this idea – especially that you made it a temporary "costume"! Fabulous!!
Erica Sooter says
I absolutely LOVE what you did to her portrait! The vintage feel is awesome and it's great that it's removable too. I would totally leave it like that all year round. So cool! It looks like it was painted that way.
Krista thehappyhousie says
Such a fun Halloween project Alexis- love it!!