Make your own Neon Pennant Shirt to show your enthusiasm for whatever you are into. It’s easy to customize your design with this tutorial. A big thanks to Expressions Vinyl for sponsoring this post! This post also contains affiliate links. Thanks for supporting Persia Lou!

A couple of months ago I went to SNAP, a blogging conference I have attended for the past few years. It was, as always, a lot of fun, and one of the best parts was a super fun flamingo/Palm Springs themed party thrown by the amazing Heidi Swapp and Fujifilm. I wanted to make myself a new tee for the party, and I thought it was a great time to use some neon heat transfer vinyl from Expressions Vinyl, which is truly my very favorite place to get my vinyl.
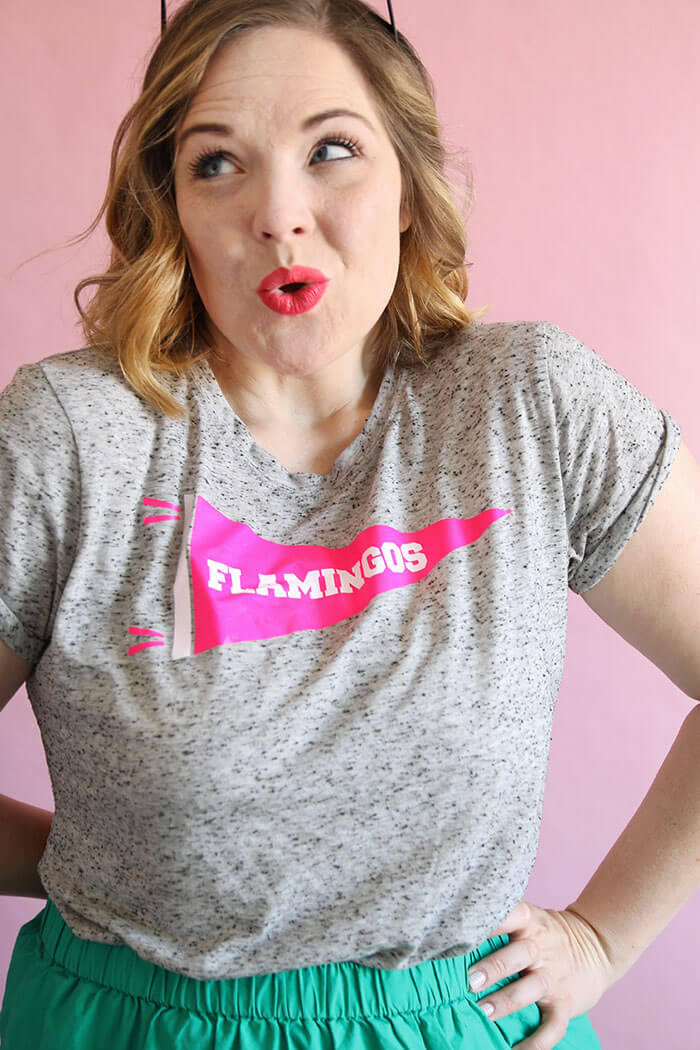
I wanted to do something a little bit different, and I remembered a cute “Veggies” pennant sweater that I had seen before, and I decided to create my own “Flamingos” version. And, of course, if you are making a flamingo tee, it should probably be in pink. Obvi.
I really loved the way it turned out, and I wanted to make more, so I whipped up a Yarn sweatshirt too because I’m totally on Team Yarn. If you are enthusiastic about flamingos or yarn (or anything really!), you can make your own pennant tee to show it off. Let’s do this!
DIY Neon Pennant Shirt Materials:
- Plain shirt or sweatshirt (I picked mine up at H&M)
- Heat Transfer Vinyl (I used Fluorescent Pink, Fluorescent Raspberry, White, and Burgundy)
- Silhouette Cameo
- Weeding Tool
- Iron
- My Cut File – Flamingos, Yarn, Tacos, or Blank Pennant SVG
PSST – If you are brand new to working with vinyl, start by checking out my Vinyl 101 post right here.
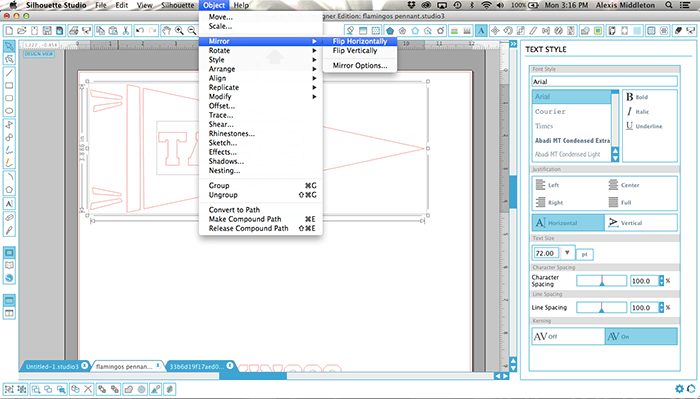
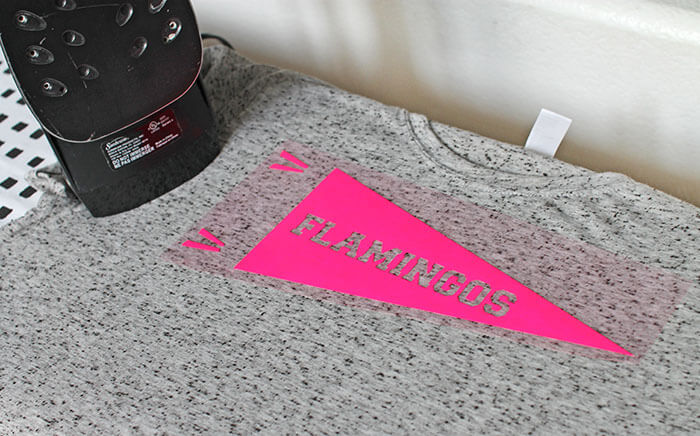
Start by opening the file in the Silhouette Studio software. When you cut heat transfer vinyl, you cut on the back side, so you have to make sure the image is mirrored so it transfers properly.
There are a couple of different ways to layer heat transfer vinyl. You can simply just iron one layer right on top of another (as long as the base layer is smooth HTV or flocked) OR you can do what I did here, and cut a hole in the back layer for the top layer to fit into. I have a full post on how to layer heat transfer vinyl without extra bulk right HERE that walks you through the whole process.
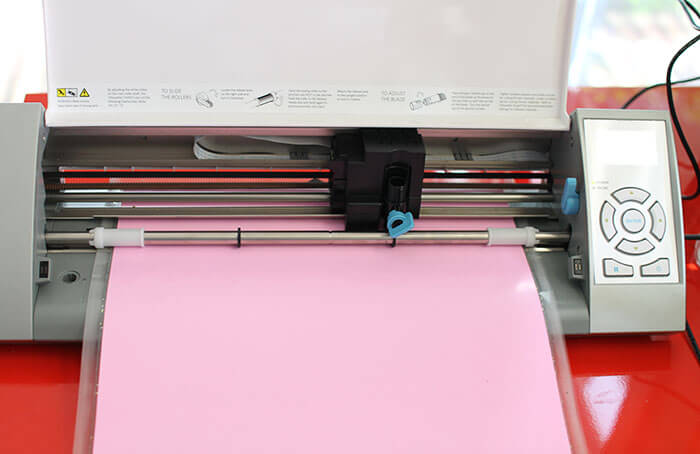
Next, group the triangle portion of the pennant and the ties together (they will be cut from the same color) and group the pennant stripe and letters (they will also be the same color). Use the heat transfer material setting and cut the two groups one at a time. Just select no cut from the cut tab for the group not being cut at the moment. Place the heat transfer material shiny side down onto your cutting mat and load it into your Silhouette.
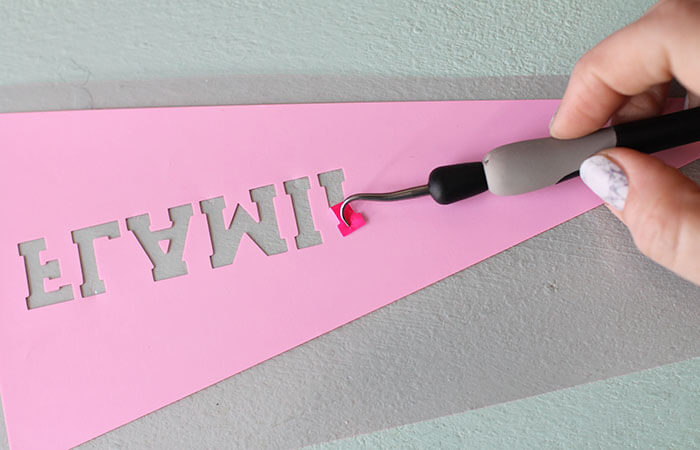
Once it has cut, it’s time to weed out the stuff that you don’t want. Just use that little hook to peel off anything you don’t want.
When you have your two pieces weeded, it’s time to transfer them to your shirt. Position the base piece first, cover it with a piece of cotton fabric, and iron it on using medium pressure for about 15-20 seconds.
Next, repeat the process for the other color. When that is transferred to the shirt, you are all done!
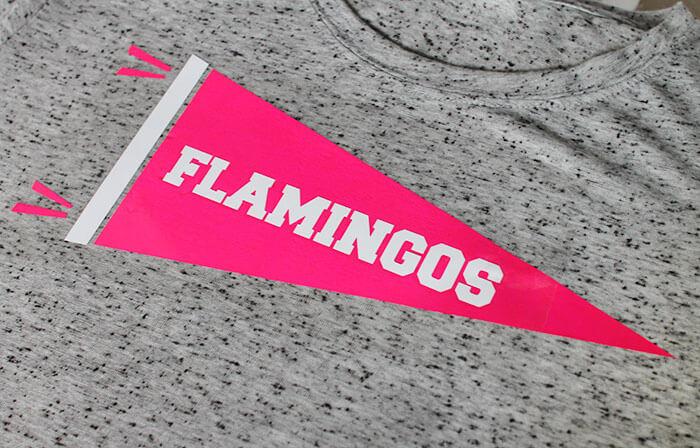

I really like the way neon goes with darker colors and neutrals – the contrast is great. I put the fluorescent raspberry vinyl with white on a gray tee and the fluorescent pink with burgundy vinyl on a gray sweatshirt.

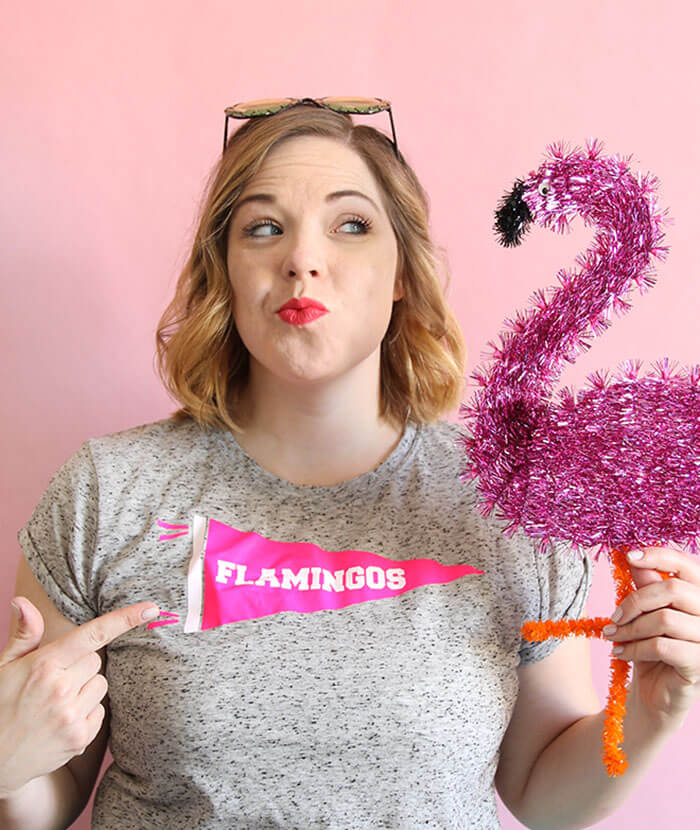
So, what do you think? Guys. I really kind of love my yarn sweatshirt. Do you need a Pennant Shirt? What would yours say?
Until next time, Happy Making!

Check out more free cut files:
[the_grid name=”Cut Files Footer”]

