Make your own unique DIY Modern Wall Art inspired by a modern quilt design. This piece is easy to make with a few simple supplies and this step-by-step tutorial. This post contains affiliate links. Thanks for supporting Persia Lou!

Over the past few years of this blogging journey I have got to know a lot of other bloggers and creative entrepreneurs, and I’ve even been lucky enough to meet many of them IRL. But today I’m going to tell you all a little about one of my real-life friends who also happens to be an amazing creative business boss, Christa Watson, of Christa Quilts. Christa lives in my neighborhood, and we like to play nerdy board games together and are occasional workout buddies. She also happens to be an amazingly talented quilter who has recently published her second quilting book (woot!), and I wanted to share a little bit of that magic with you all today plus a little DIY project of my own inspired by one of her quilt designs.
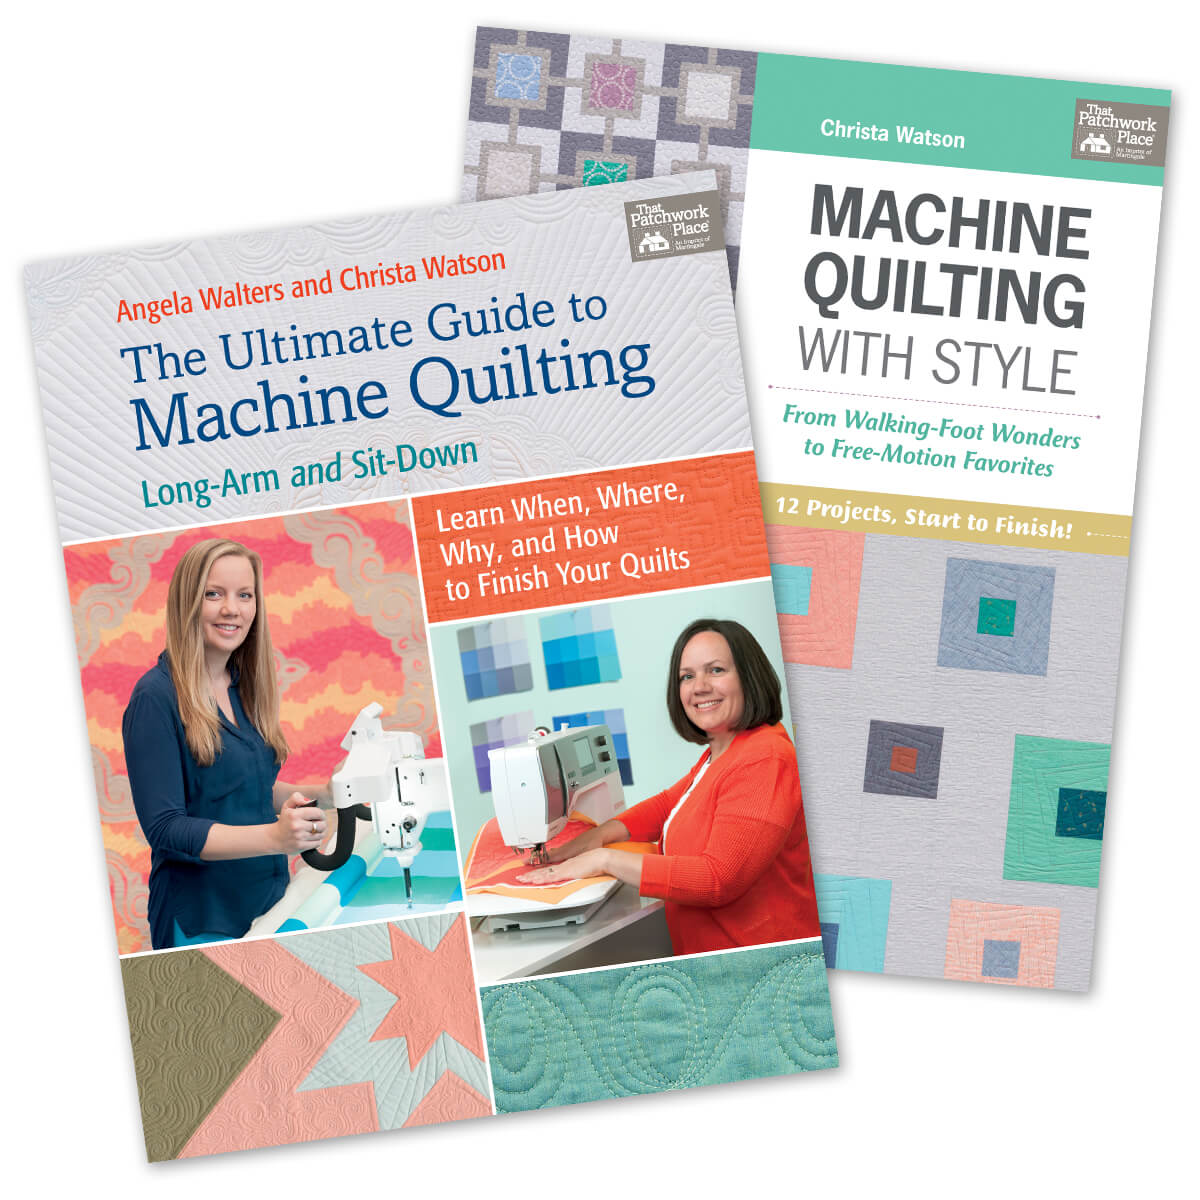
It has been a lot of fun for me to watch Christa’s work, style, and business grow and develop over the past few years. Her designs are all simple and modern, which I love, but I think what really stands out about Christa’s work is her amazing quilting – the dense, intricate stitch patterns that give her pieces such amazing texture – and, guys, she does all of her quilting at home on a regular ol’ sewing machine. It’s true! And amazing. AND she walks you through her techniques for creating that beautiful quilting in her first book, Machine Quilting with Style, which she so nicely gave me a copy of.

So, I have made a few quilts myself. A few years ago I made my kids twin-sized herringbone quilts for their shared Disneyland bedroom, and I also did a no-piece geometric quilt that I love and is still on our bed. I used Christa’s binding technique for both, and I feel like it really upped my quilting game. I really wanted to do a project inspired by Christa’s work, but I didn’t have the time for a full quilt (they are amazing but time-consuming pieces of work). Christa is always commenting on how things she sees would make great quilt designs. In fact, once when she and her husband came over to our house she took a bunch of photos of our rugs and art as quilt inspiration, so I thought it would be fun to flip it around and make a little piece of wall art inspired by one of her quilts.
I chose Rain, a mostly white quilt with diagonal colored strips quilted with matching thread. It is a really stunning piece and I knew the design would translate really well into a piece of wall art using a similar method to what I used in my first embroidered canvas art piece a few months ago.
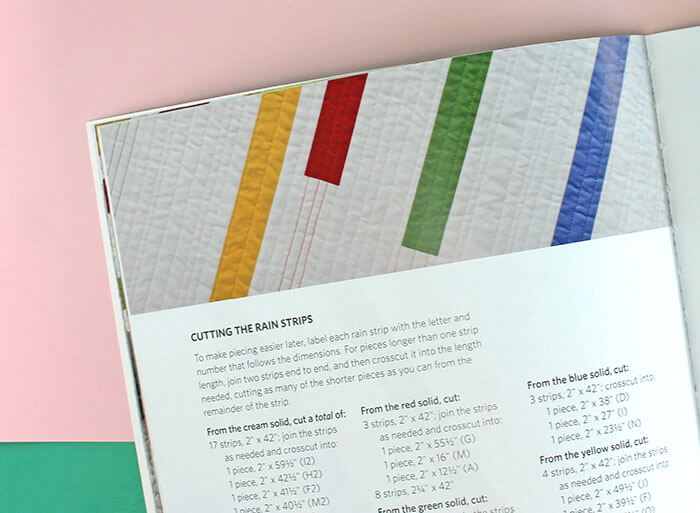
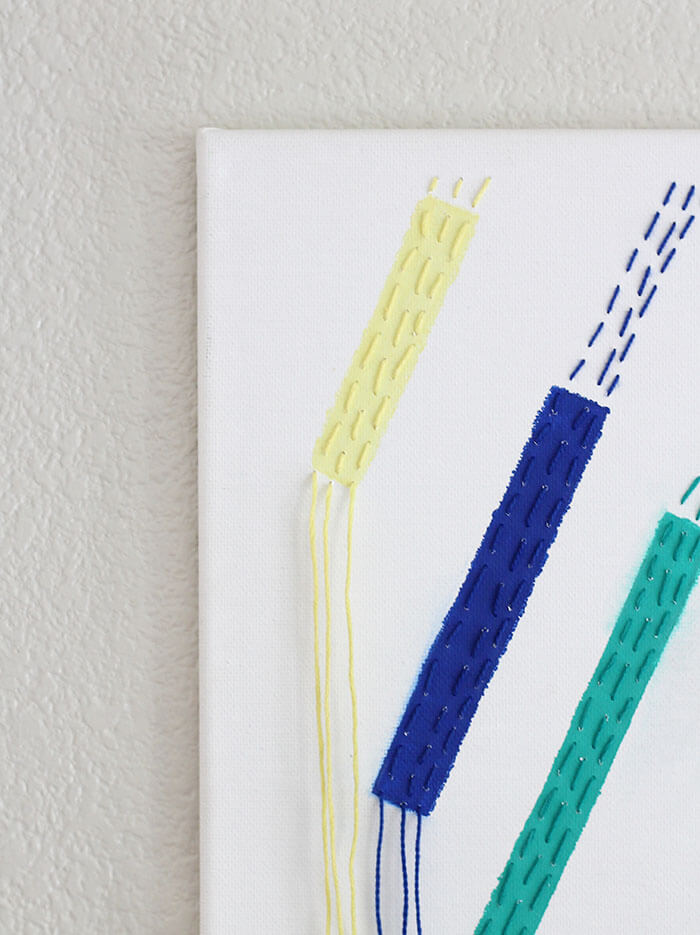
Here’s how it turned out:

I kind of love it. I switched up the color palette slightly, but the design is pretty much identical. Here’s how I made it in case you want to make your own modern quilt inspired piece.
DIY Modern Wall Art Supplies:
- Blank Stretched Canvas
- Embroidery Floss
- Paint (in colors to match your embroidery floss)
- Needle
- Scissors
- Masking Tape in varying widths

Here’s how it went down.
- Tape off the canvas to leave strips blank strips where you will paint. Keep the blank strips the same width but vary the space between. To keep your lines parallel, start by laying a strip of tape all the way across the canvas somewhere in the middle and then work out from there. I followed Christa’s design as a guideline but just kind of eyeballed it.
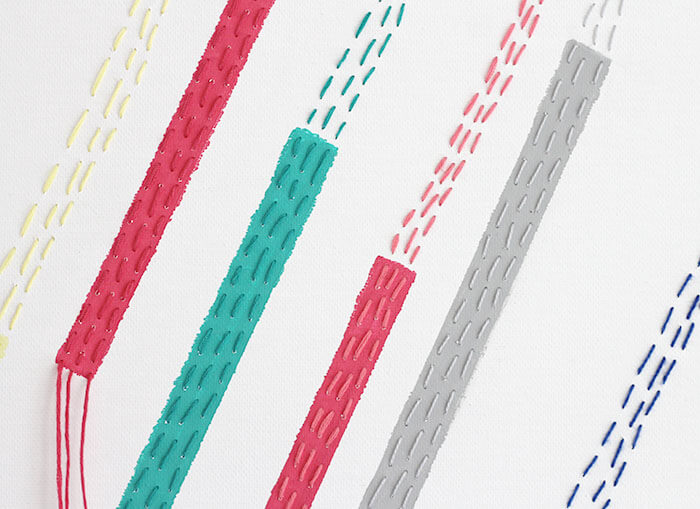
- Paint in your colorful strips using five colors. Again, I used Christa’s design as a guideline but I switched the palette up a bit. Try to paint carefully to prevent paint from getting under your tape.
- Remove the tape! Clean up and spots where paint may have bled under the tape with a brush dipped in rubbing alcohol. (This actually works pretty well, so don’t fret too much if you have some bleeding.)
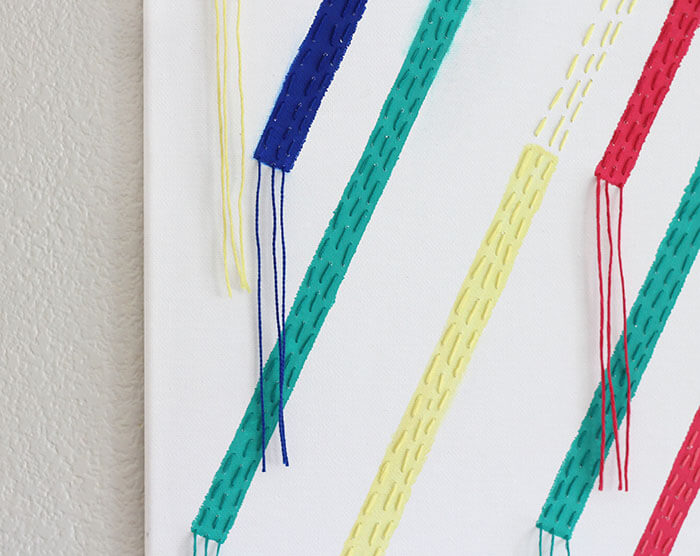
- Using matching embroidery floss and a needle, work a running stitch from the bottom of each strip of color up to the edge of the canvas. Be sure to leave at least six inches of a tail at the bottom of each colored strip. Follow the direction and angle of the strip even when you run out of paint.
- When you are done with your embroidery, trim all of your ends to about the same length and use a little bit of water to straighten out any kinks.
And that’s it! I really love this piece and I think it does a pretty great job of recreating Christa’s design in a piece of DIY Modern Wall Art. What do you think?
Be sure to check out both of Christa’s amazing quilting books for more inspiration and quilting how-to. You can get both The Ultimate Guide to Machine Quilting and Machine Quilting with Style on Amazon or if you’d like a signed copy you can order them from Christa directly.
If you make your own DIY Modern Wall Art, I would love to see it! Share your photos to my facebook page or tag me on instagram or twitter (@persialou), and don’t forget to use the hashtag #persialou for a chance to be featured.
Happy Making!


Comments + Project Love
Christa Watson says
Wow! This turned out so amazing!! You are right – if I didn’t already make this quilt, I’d want to just from your artwork, LOL!! I love what you did with the embroidery!!
karen swann says
I love your reinterpretation of Christa’s quilt! This looks like something I may just try out. Thanks so much for the tutorial!