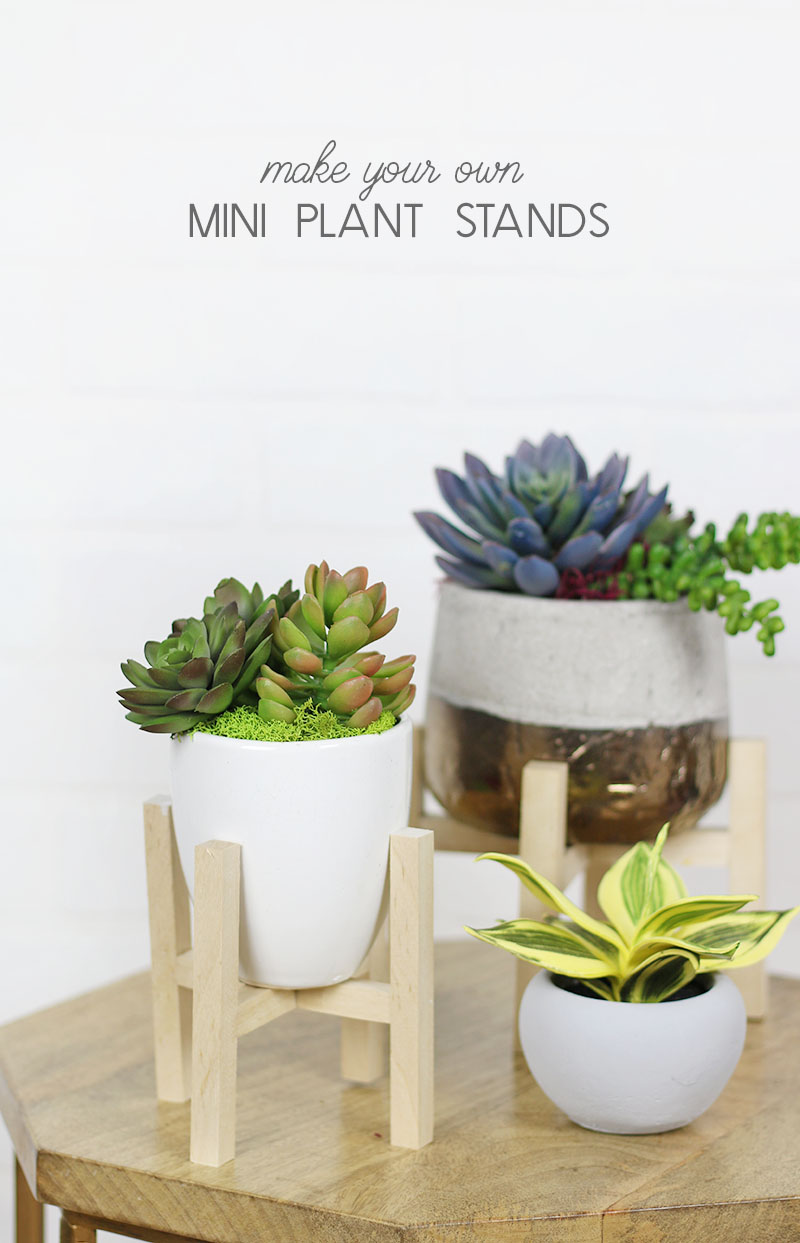
Learn how to make your own DIY Mini Plant Stands easily with just a few supplies. These simple stands add a fun modern shape and a natural texture to your home. Thank you to Hobby Lobby for sponsoring this post!
I have mentioned a few times that we recently moved into a new home, and I have been kind of consumed with planning and decorating our new space. I have a really specific vision of what I want our home to look like and I really want to incorporate clean, modern lines with a lot of color and texture coming from natural elements like wood and plants. I think these DIY mini plant stands perfectly achieve that look, and I am so happy with how well this simple little project turned out!
These pretty little things are basically a mini version of the larger mid-century modern style planters and plant stands that have been popular in recent years. I have seen lots of great DIY versions of the larger plant stands, and I thought a mini version would look very cute on a shelf or on the table in our entryway. Plus, they are easier to make than you might think – no crazy tools required. I will walk you through the whole process. Ready to make your own DIY mini plant stand? Let’s do this!
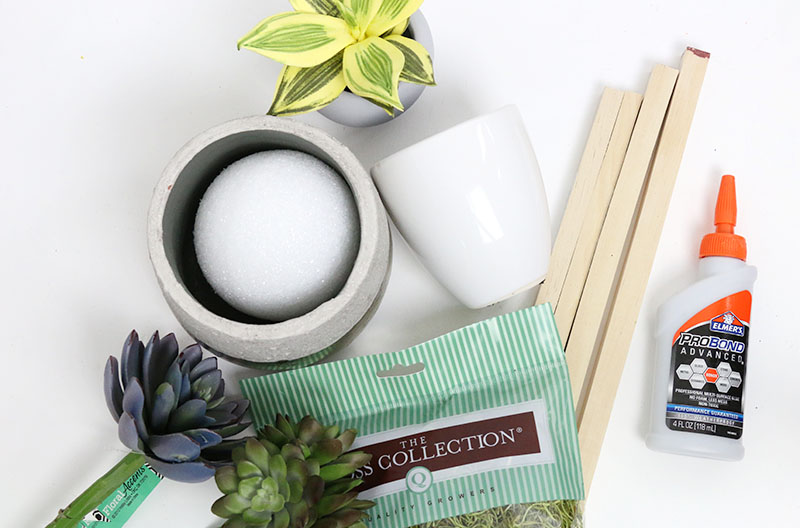
DIY Mini Plant Stands Supplies:
- Square Dowels (I used the 1/2″ and 3/5″ sizes. I only needed one dowel per plant stand.)
- Miter Saw (I used a power saw because that’s what we have, but a hand saw with a miter box would work perfectly too.)
- Elmer’s ProBond Advanced (I was really impressed with how well this glue worked and definitely recommend it.)
- Small Pots (My largest pot is about 5.5″ wide. Hobby Lobby even has some that already contain succulents!)
- Floral Foam
- Faux Succulents
- Moss
Step One – Measure, Mark and Cut
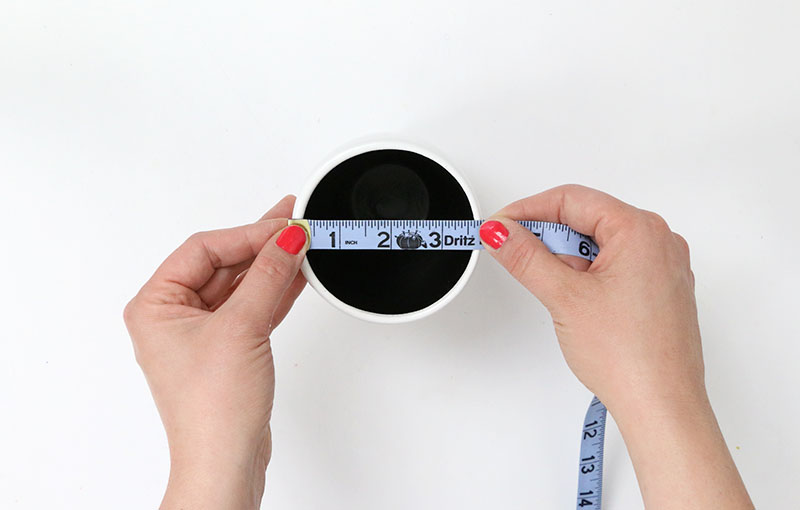
The first thing to do is determine how long to cut your dowel pieces. The length of each piece will depend on the size of your pot and how high you want the pot to sit. First, measure the width of your pot’s diameter at it’s widest point. (If the top of your pot is wider than the bottom, you will only need the diameter at the widest point up to where the stand legs reach.) Once you have this measurement, think about how tall you want the stand to be and how high up the pot you want the stand legs to reach. Then it’s time for a little math, but don’t worry, it’s not too bad!
For each stand you will need to cut 7 pieces – 4 legs, 1 center beam, and 2 shorter center beams. The three center beam pieces will be glued together to form an “x” shape that will support the base of the pot. The longer center beam should be cut to the diameter of your pot’s widest point plus about 1/4-1/2″ for clearance. The two shorter center beams should be the length of the larger center beam minus the width of the dowel divided by two (center beam – dowel width ÷ 2). Hopefully that all made sense! Here are the measurements I ended up using:
Smaller Stand – 1/2″ Dowel
- Four 5″ leg pieces
- One 4″ center beam piece
- Two 2 7/8″ center beam pieces
Larger Stand – 3/5″ Dowel
- Four 5″ leg pieces
- One 5 3/4″center beam piece
- Two 2 9/16″center beam pieces
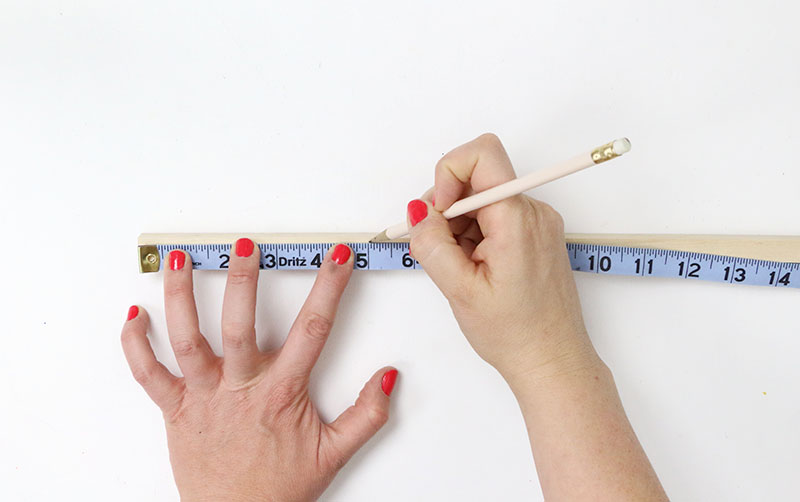
Just mark the measurements along your dowel rod, and then cut with your saw. Use sand paper to smooth down any rough edges if necessary.

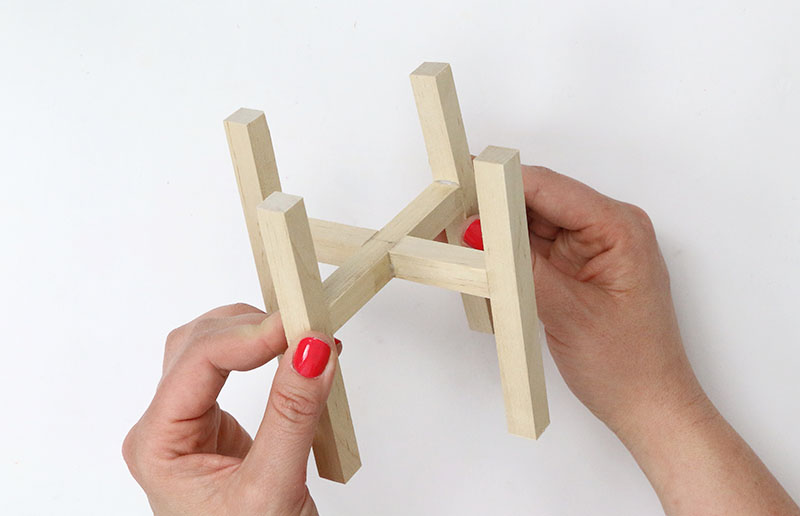
Step Two – Assemble Stand
Start by assembling the “x” of the center beam. Take your center beam piece and mark the midpoint. Then use the ProBond glue to adhere the smaller center beam pieces at this midpoint.
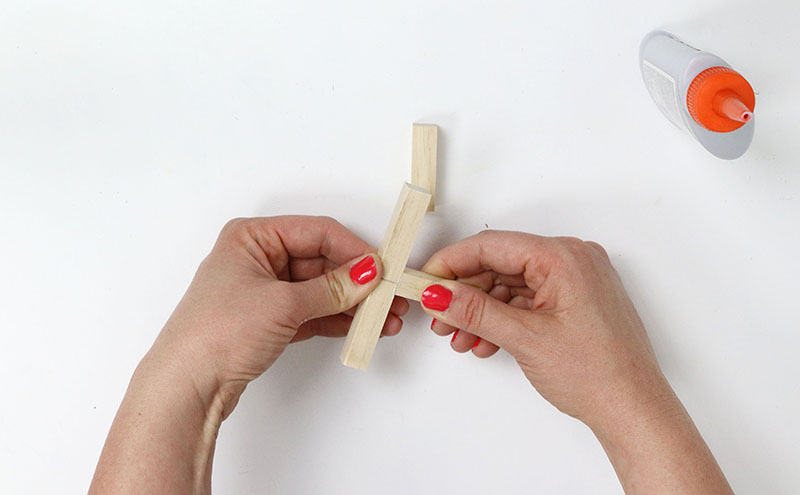
Hold the piece in place for a minute or two before moving onto the other side to help the glue bond. I have to say I was really impressed with this glue. After a few minutes, the glue seemed pretty well set. After 24 hours it was completely cured with a strong bond that seems like it will hold up well. I can’t say how well other glues will perform.
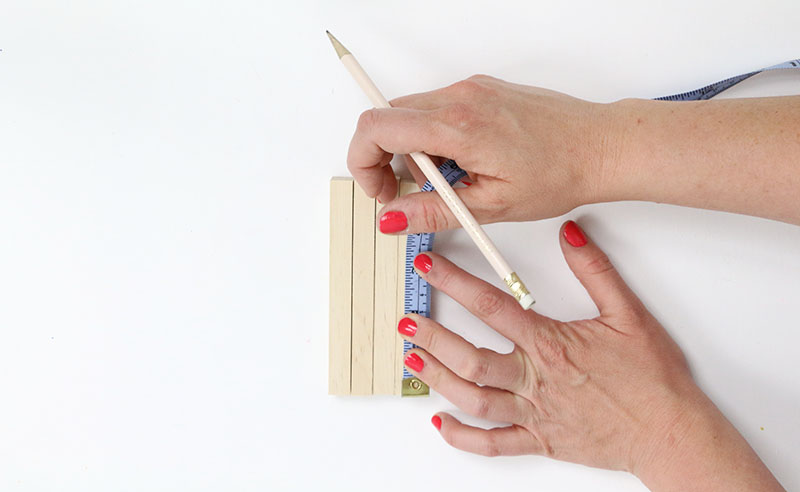
After the base is assembled, it’s time to attach the legs. First, determine how low or high along the leg you want your pot to sit. Carefully line up all of the leg pieces and mark the same distance from the bottom with a pencil. Keeping this measurement the same on each leg will keep your plant stand sitting level and will help to cover up any slight differences in length among your leg pieces.
Finally, glue the legs onto your center beam piece, lining the top of the beam up with the line marked on your leg. Hold each piece in place for a while to set the glue just as you did with the center beam.
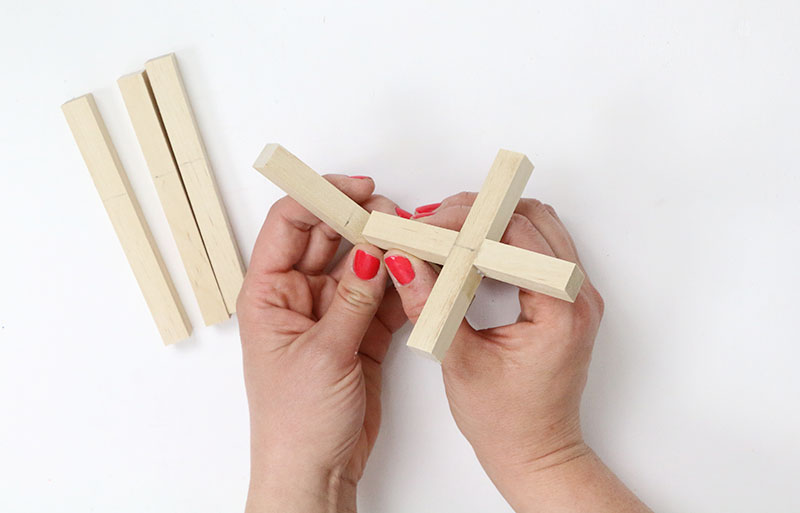
Repeat the process for each leg and – voila! – your stand is done! You will want to let the glue fully cure for 24 hours before putting any weight on the stand. If you like, you could stain or paint the stand at that point, but I really liked the look of the natural wood.
Step Three – Prep your Pots!
While that glue is curing, you can fill your pots with cute little plants and faux succulents. Start by cutting a piece of foam to fit inside your pot. Then insert succulent picks in the foam as desired. (Quick tip: I find it easier to remove the plastic stem surrounding the pick wire before trying to stick them in the foam.) Finish by covering the exposed foam with pieces of moss. You can use floral pins to hold the moss in place.


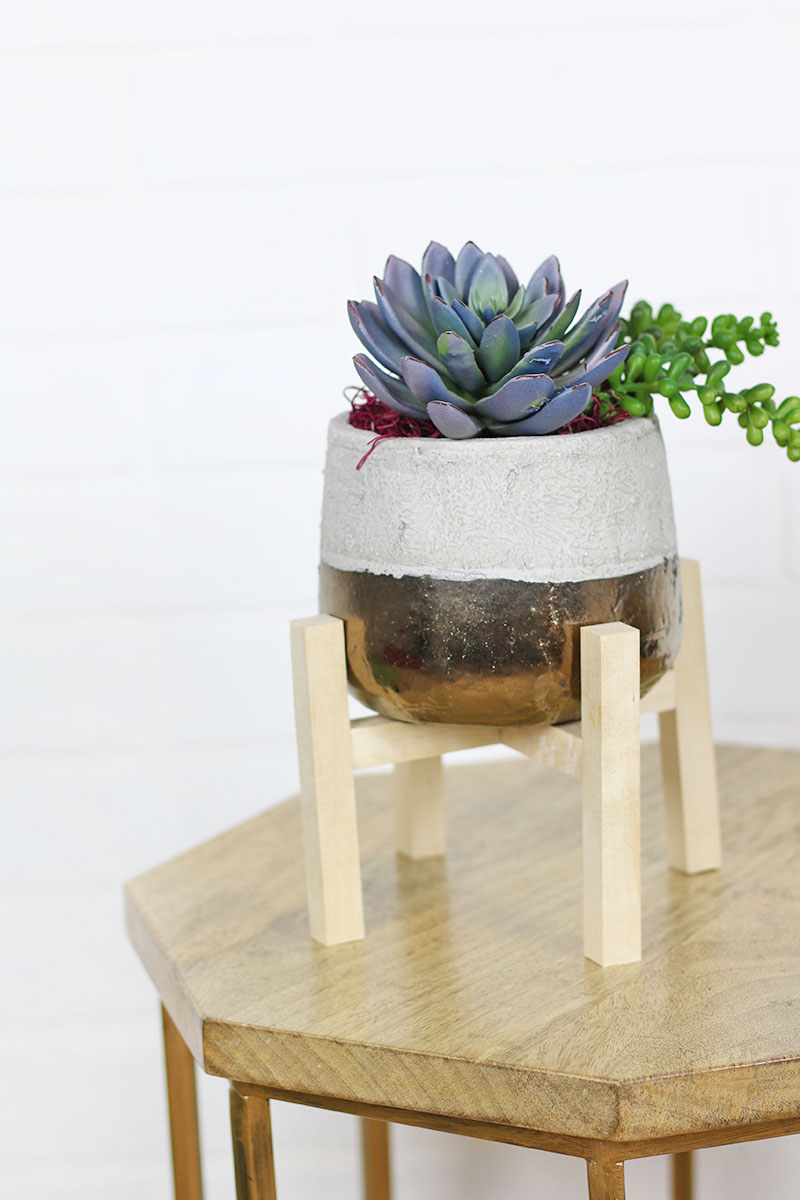
Step Four – Set Pot in Stand
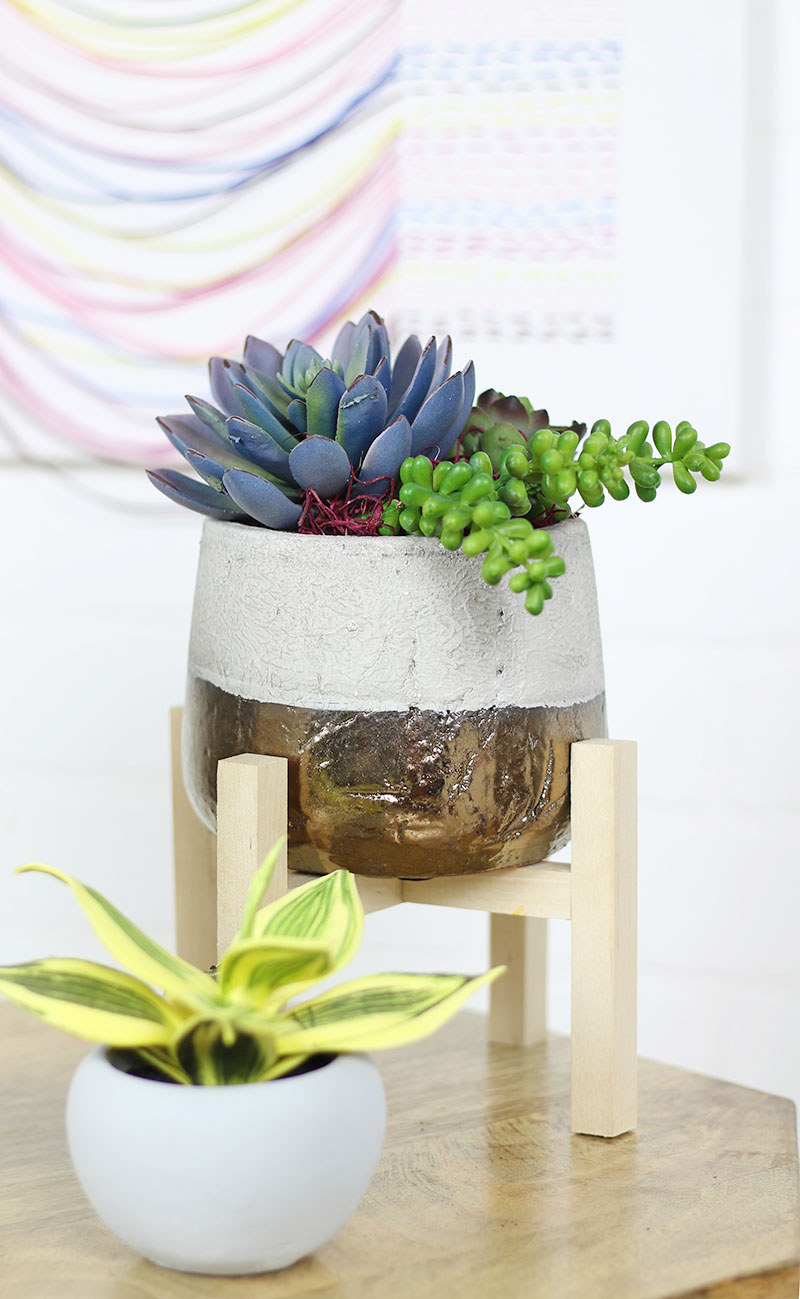
Finally, after your glue has had time to cure and your pot is filled with lovely succulents, it’s time to place the pot in the center of your stand. These little stands are just so cute and will add a fun modern touch to any console table or shelf.

That’s it! What do you think? Would you tackle this project? I love that it takes just a few floral and wood crafting supplies to pull together. If you do decide to give it a try, be sure to snag your Hobby Lobby coupon below to get that 40% off! 😉

Happy Making!

This is a sponsored conversation written by me on behalf of Hobby Lobby. The opinions and text are all mine.

If you like this post, don’t miss these:
My Top Tips for Re-Potting Houseplants


Comments + Project Love
Amy | Delineate Your Dwelling says
Love me some Hobby Lobby and these little plant stands are presh.
Kari says
I absolutely love this idea – thanks so much for the tutorial!