This post was originally created by me for Darice.
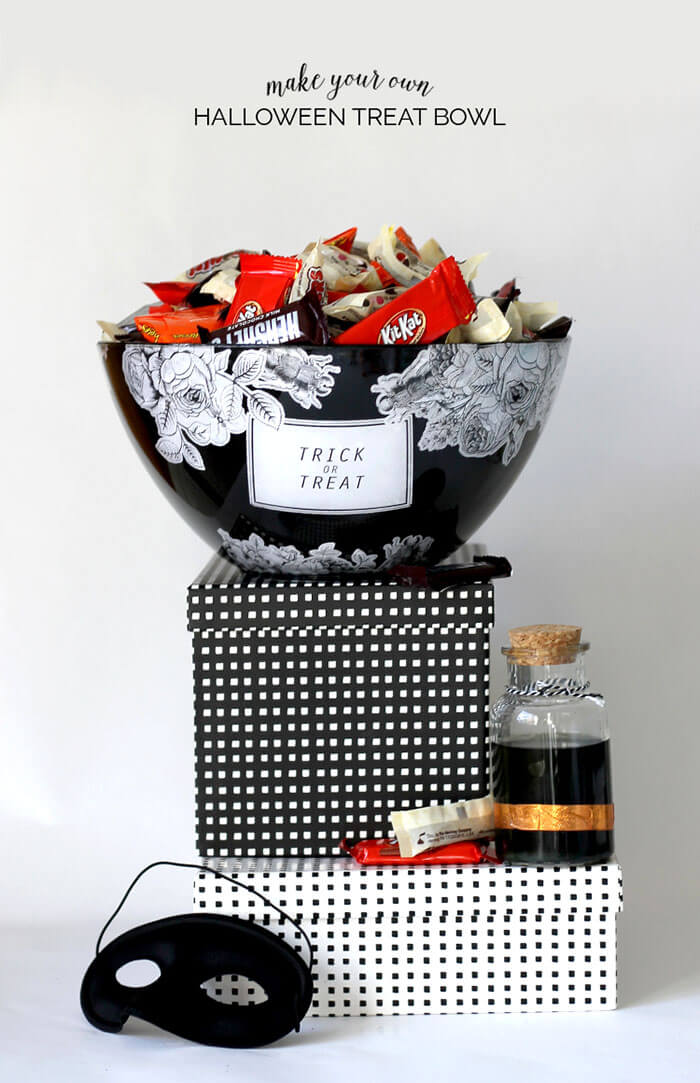
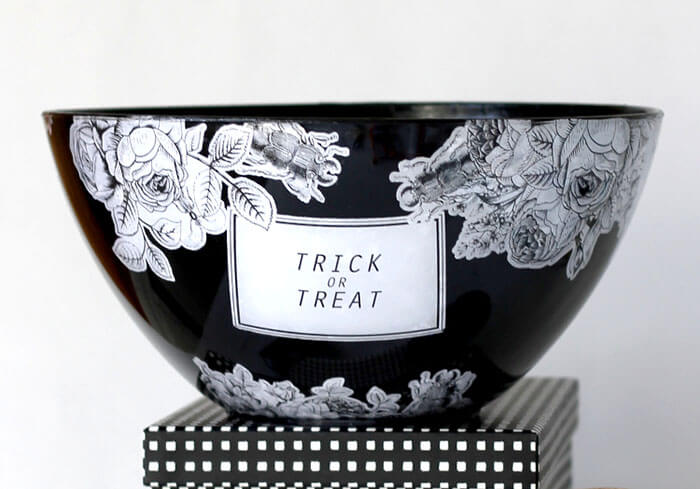
Do you do Halloween decorations in your house? If so, do you go scary, gory, cutesy – what’s the look you like? Sometimes I really like pretty Halloween – black and white florals, jeweled skulls – that kind of thing. That’s the look I went for with this DIY trick or treat bowl.
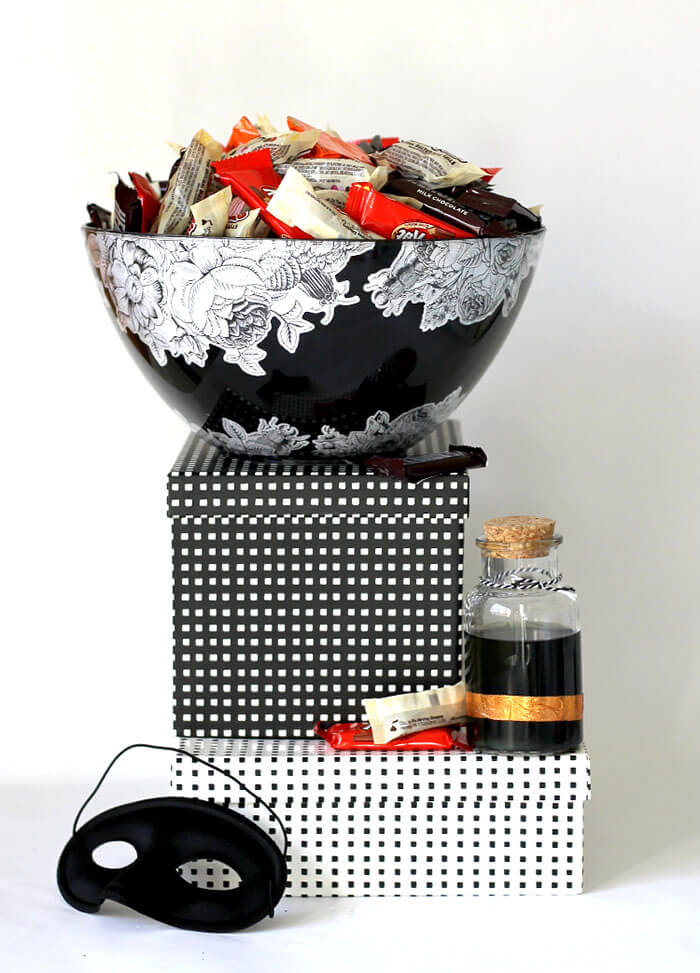
The finished Halloween DIY bowl is a little spooky, but mostly pretty and sophisticated, and I am really happy with the way this project came out. I love that it’s so glossy – I think it gives it a nice professional look. The trick to getting that polished finish is applying the printed elements and paint to the interior of the bowl and letting them shine through the plastic. It’s kind of a lot of fun.
Want to give it a try? Here’s everything you will need.
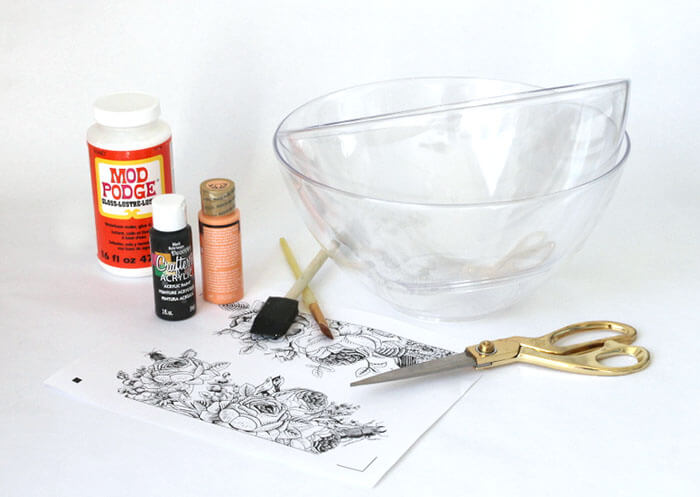
Supplies:
(I have included affiliate links below. If you click through and make a purchase I may make a small commission. Thanks for supporting Persia Lou!)
- Clear Plastic Bowl
- Gloss Decoupage
- My Halloween DIY Printables Printed on Copy Paper
- Craft Knife
- Craft Paint
- Sponge Brush
- Scissors or Electronic Cutting Machine (I used my Silhouette)
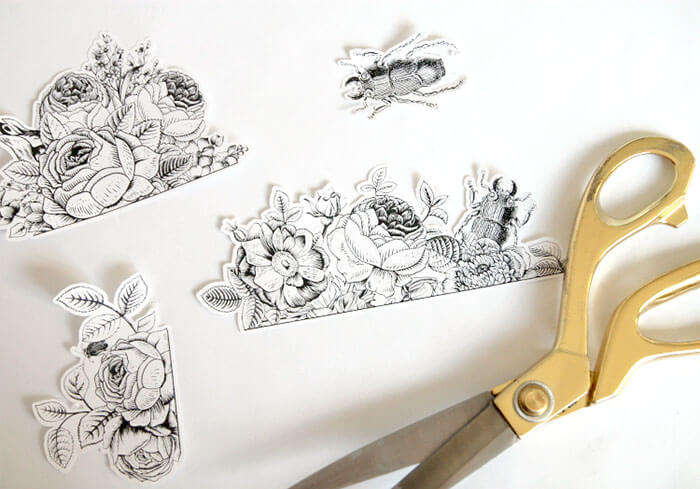
Step One – Cut out Images
I used my Silhouette to cut out the designs, but scissors will work just as well. Cut close to the designs, but leave a little bit of a white border. There are two pages of floral elements and insects and one page with two text options – “Happy Halloween” and “Trick or Treat.” (The links to the printables are in the supply list above.)
(A quick note about printing the images – I used a laser printer, which I recommend if you have it available to you. You can absolutely use an inkjet printer, but the images are more likely to bleed when covering them with the decoupage. To avoid this, allow inkjet printed images to dry for 24 hours before applying them.)
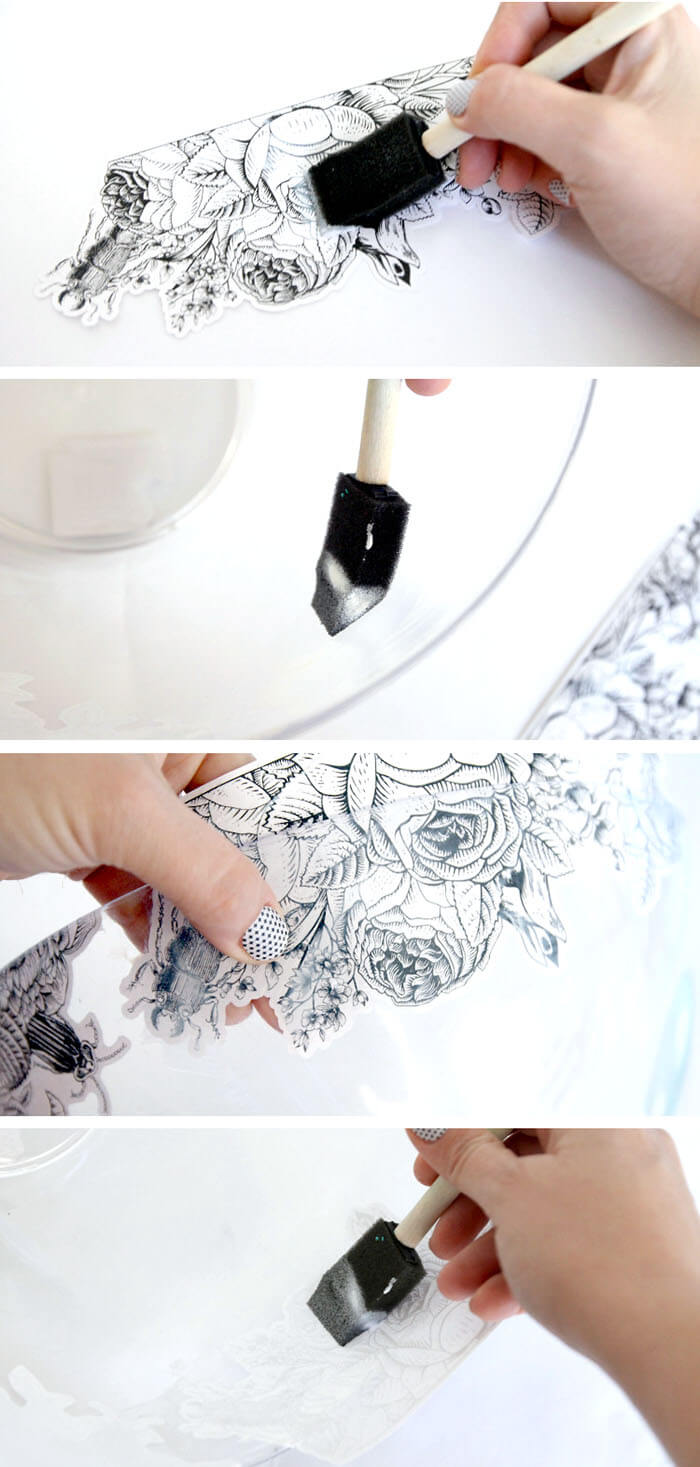
Step Two – Decoupage Images onto the Bowl
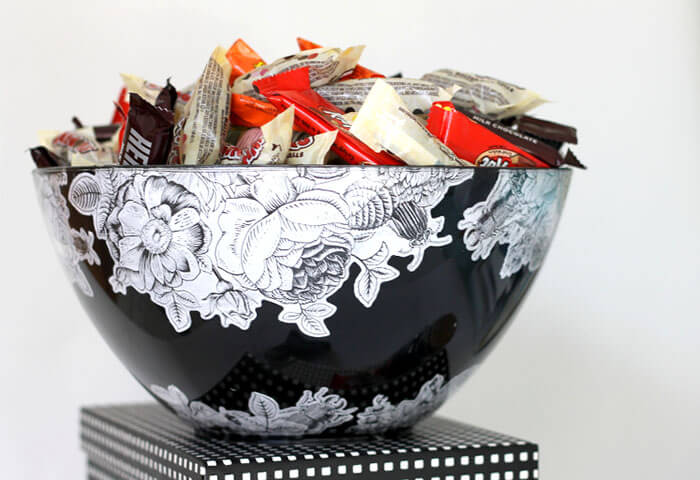
I started by adhering the flowers and insects around the top and bottom of the bowl. To do this, apply a thin layer of gloss decoupage to the top of the printed design AND on the bowl where the image will be placed. Smooth the paper onto the bowl with your fingers making sure there are no air bubbles or wrinkles. Finally, add another thin layer of decoupage over the top of the paper to seal it. Wipe any excess decoupage off the rest of the bowl with a damp cloth.
Continue adding the floral and insect designs around the top and bottom. There isn’t just one way to do this – just place the elements wherever they look good to you. I love crafts where you can make it your own! Trim off the excess paper from the top and bottom of the bowl using a craft knife.
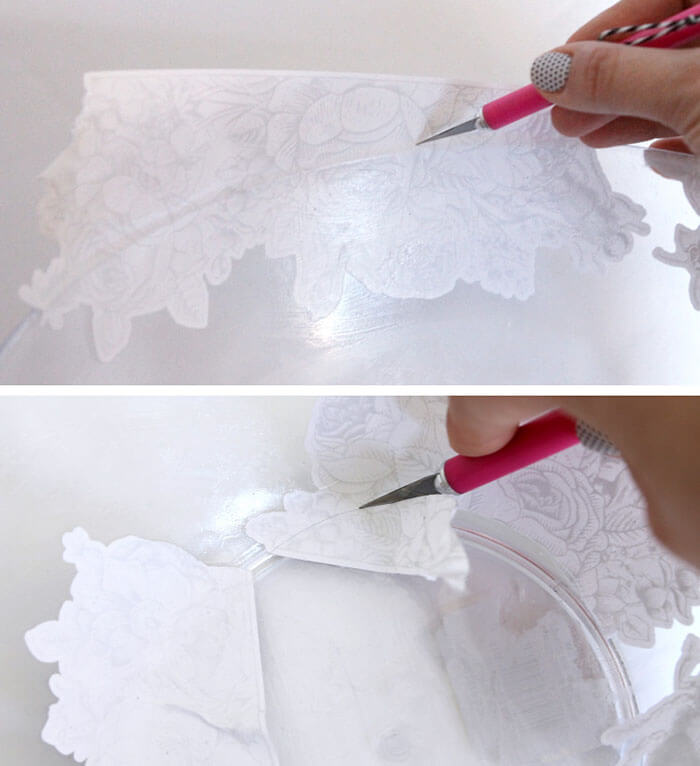
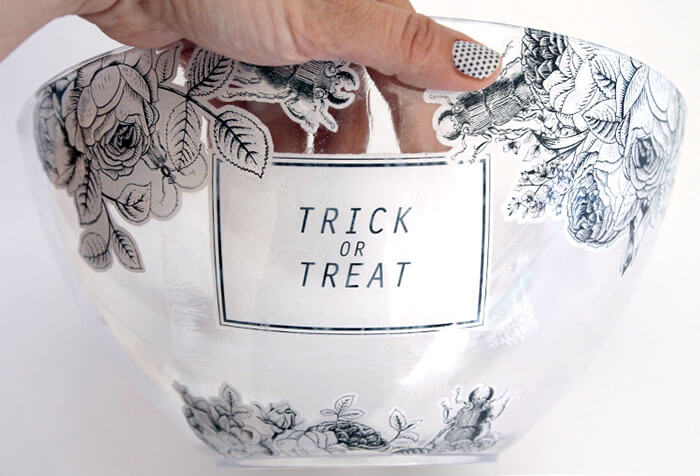
Finally apply the text printable to the bowl with decoupage. I liked the way it looked layered behind some of the floral pieces.
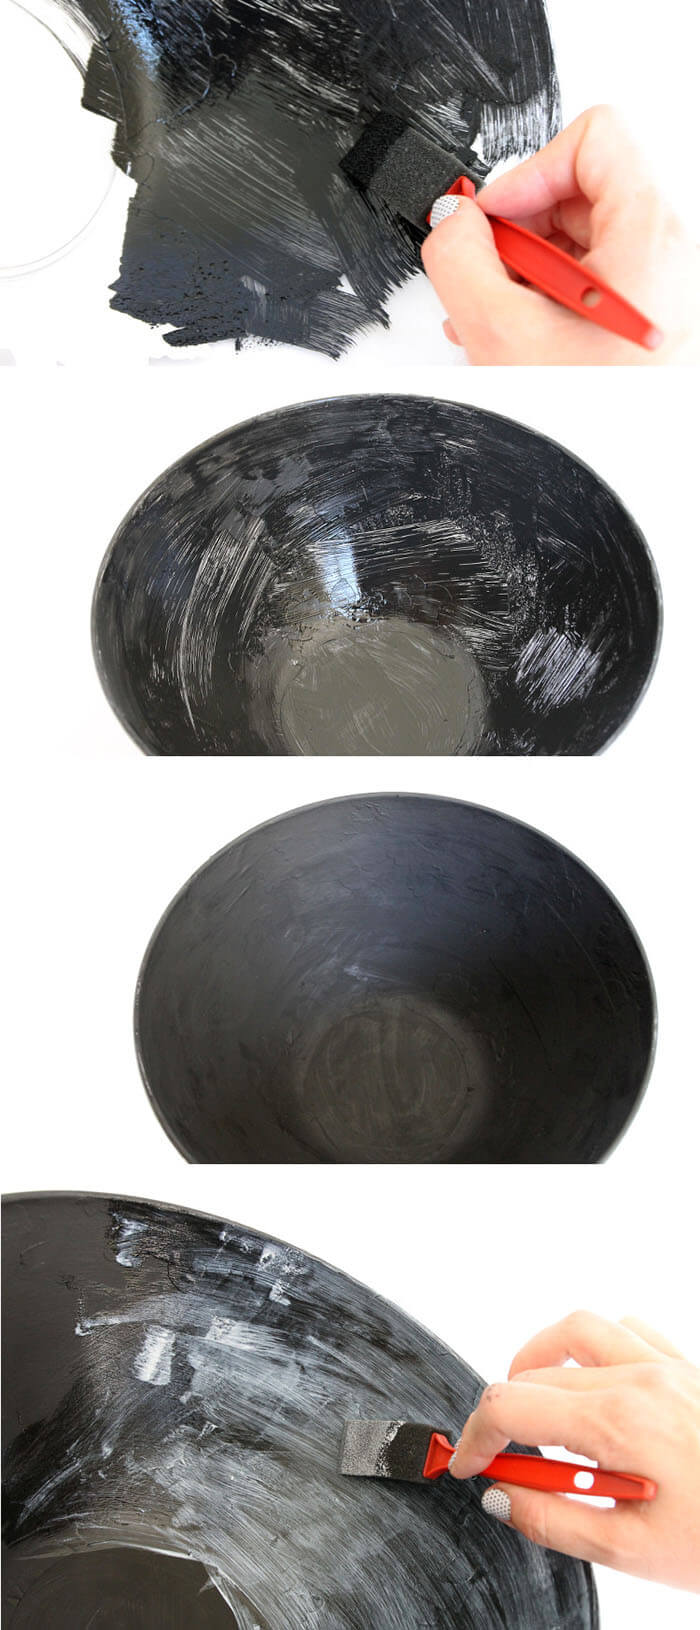
Step Three – Paint Interior of Bowl
Using craft paint and a sponge brush, paint the interior of the bowl. I went with black paint, but I think a pale orange would be really pretty too. It will take at least two coats of paint to get full coverage. After both coats of paint have dried, apply a thin coat of gloss decoupage to seal the paint.
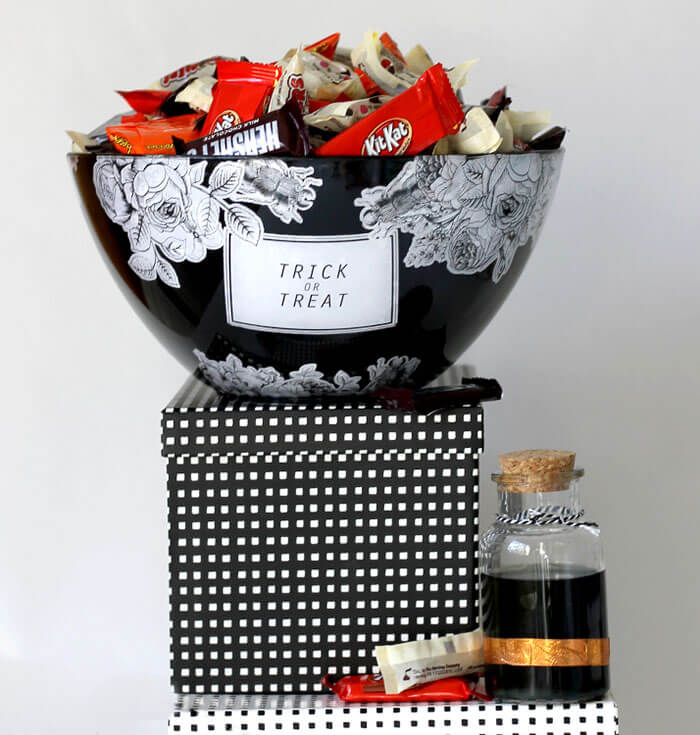
Once the final coat of decoupage has dried, your Halloween DIY bowl is all ready to be filled with wrapped candy or any decorative items you want! (Keep in mind that the bowl is not food safe, so please don’t toss your Halloween salad in this bowl!)
If you make your own bowl, I would love to see it! Share it to my facebook page or tag me on instagram.


Comments + Project Love
Heather @ The Deans List Blog says
I had no idea that was a clear bowl – I thought you used ModPodge on top. Brilliant! I’ll have to make one for myself this year!
Emily @ Two Purple Couches says
This is the most elegant trick-or-treat bowl I’ve ever seen! And I was thinking the same thing as Heather – I thought you used a black bowl. Love how easy this is to personalize 🙂
persialou says
Yes! So many options on this one. Thanks so much, Emily! 🙂
Kelly says
This turned out awesome, Alexis! I love the floral and black combo too. xo
Ashley Broviak - Little Glass Jar says
This is seriously adorable, clever idea!!! Love it!
Katie says
WOW,, I had to do a double take because it looks like you purchased the bowl that way. It looks so professional and pretty. Way more festive than a plain clear bowl!
persialou says
Haha… thanks, Katie! You are the best. 🙂
Krista says
Unbelievably cute- can’t believe it is a DIY!! Amazing job Alexis:)