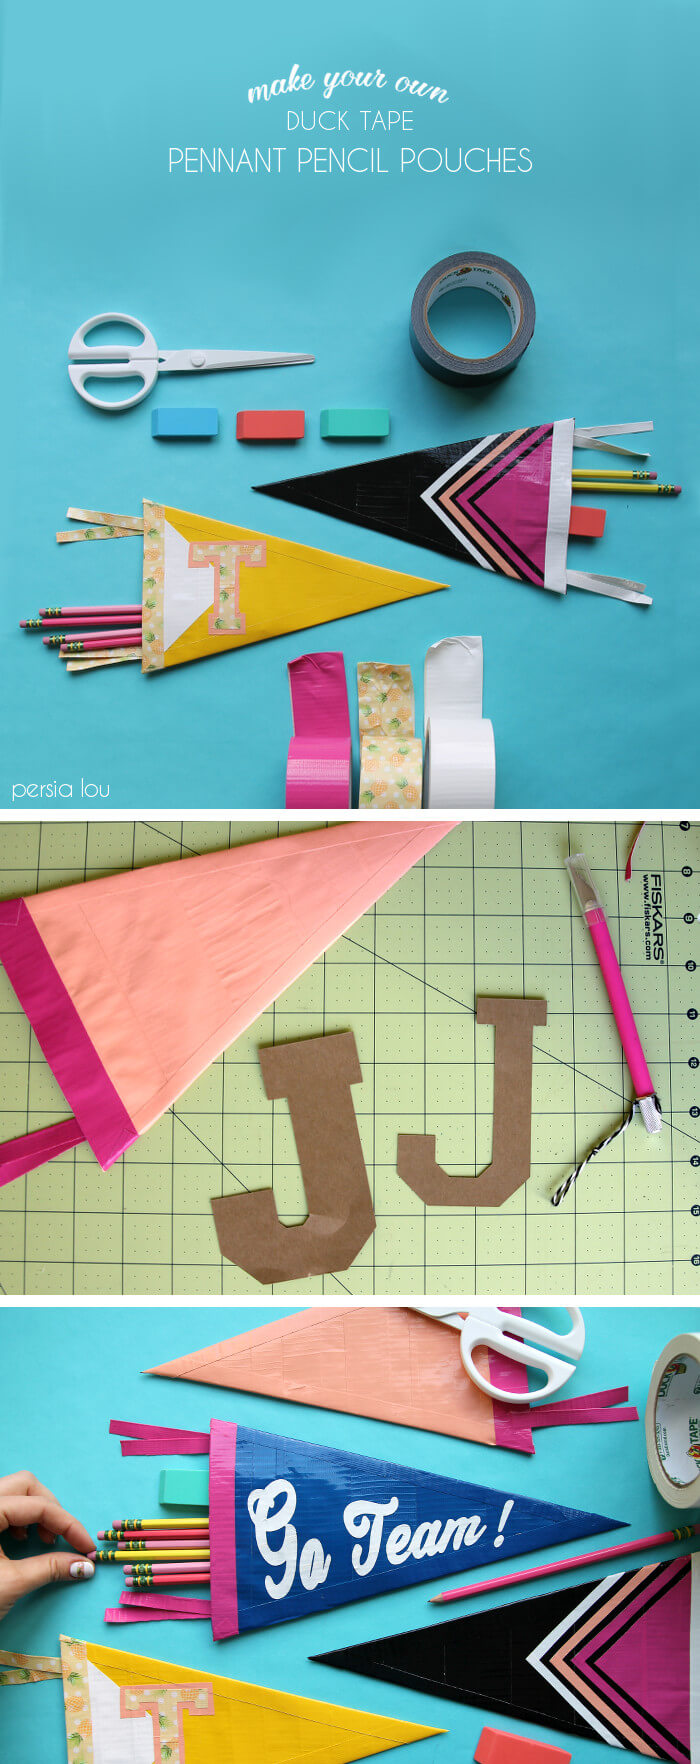
This is a sponsored post written by me on behalf of The Duck Brand. All opinions are 100% mine. There is something so exciting about new school supplies! A brand new pack of pencils and a blank notebook are just full of potential and promise, don’t you think?

Back to school time is a great time to whip up some personalized school supplies too, and Duck Tape is a fun and easy way to add some custom flair, especially because it comes in so many colors and patterns (over 200 styles, you guys, including pineapple!). Plus, it’s great a great material for crafting with the kids.
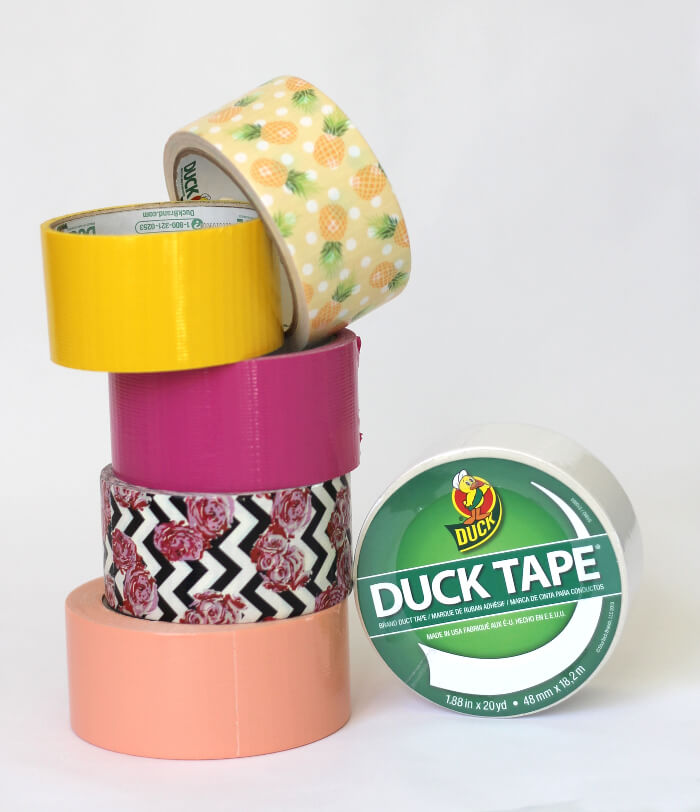
Of course, I’ve used Duck Tape in craft projects before, but in the past I have always just used it to cover or decorate an item I already had. This was my first project making a Duck Tape project completely from scratch. That’s right, all you need to make these fun pouches is Duck Tape and a few simple tools. So cool!
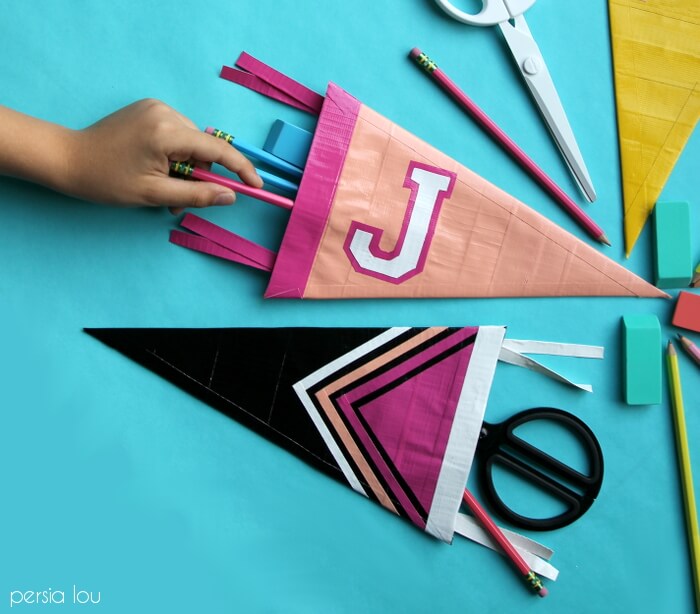
I really love the look of vintage felt pennants. I’ve made my own pennants out of felt before, but these Duck Tape pencil pouch versions are really durable and don’t require a sewing machine.
Want to make your own? All you need is:
- Duck Tape in a few colors and/or patterns
- Cutting Mat
- Craft Knife
- Ruler or Straightedge
- Adhesive Hook and Loop Closures
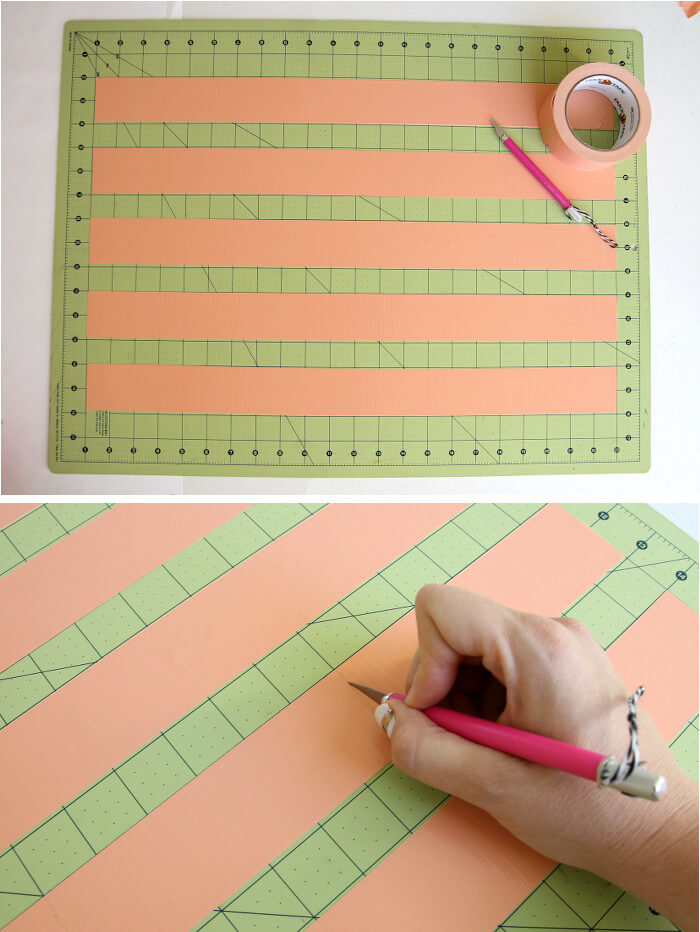
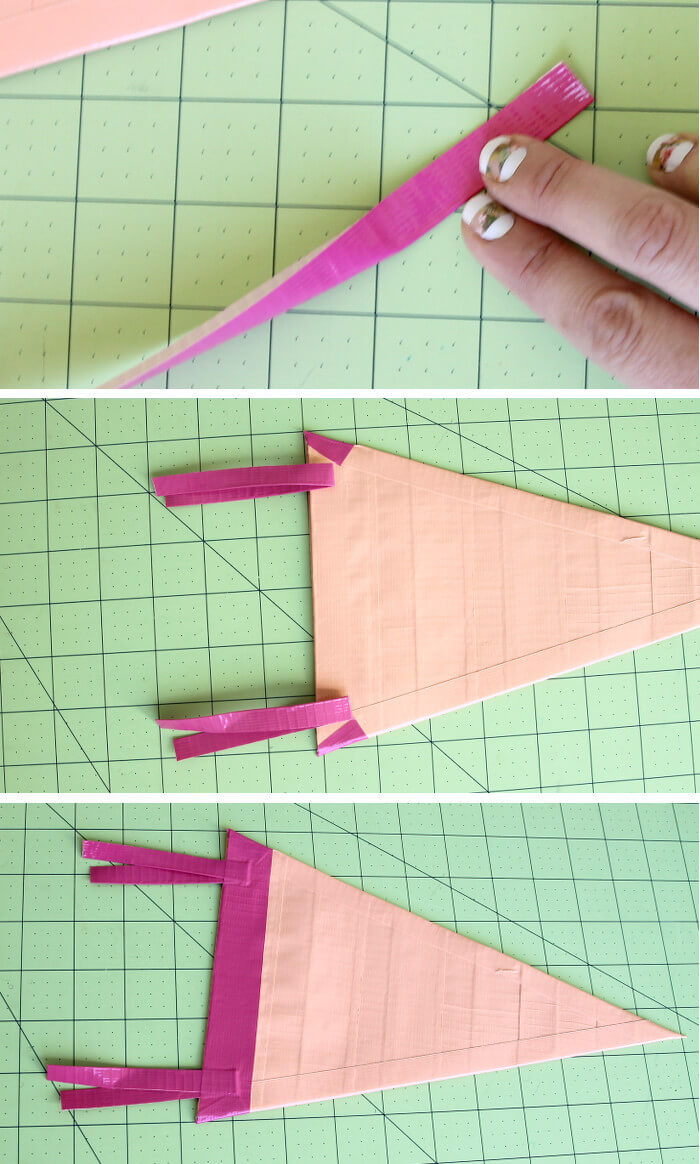
Step One – Make Two 6″ x 11″ Duck Tape Sheets
To make the Duck Tape sheets, begin by laying down long strips of tape on the cutting mat and then cutting them into six inch segments.
Place one six inch strip on top of another sticky sides facing so one inch overlaps. Continue to overlap strips (see image below) until you have a 6″ x 11″ sheet.
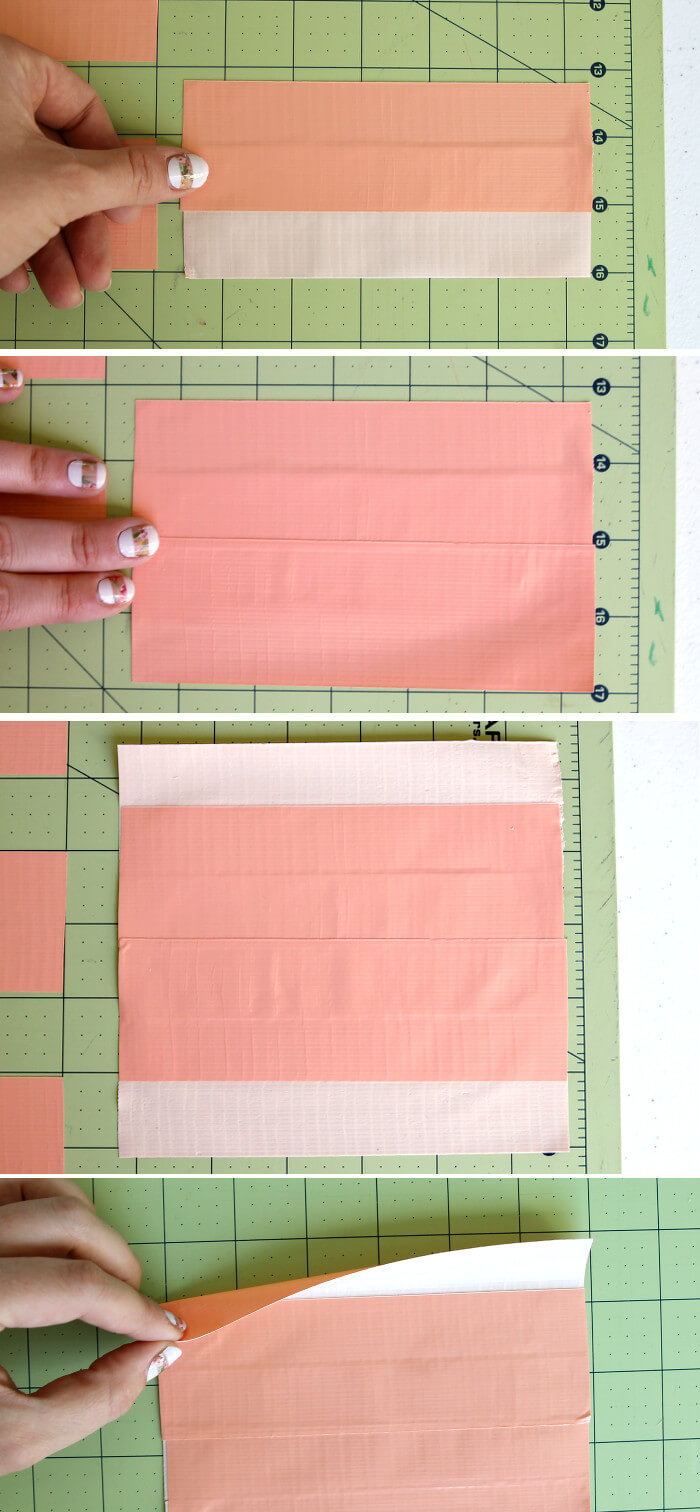
Fold the end strips back over to finish off the ends of the sheets.
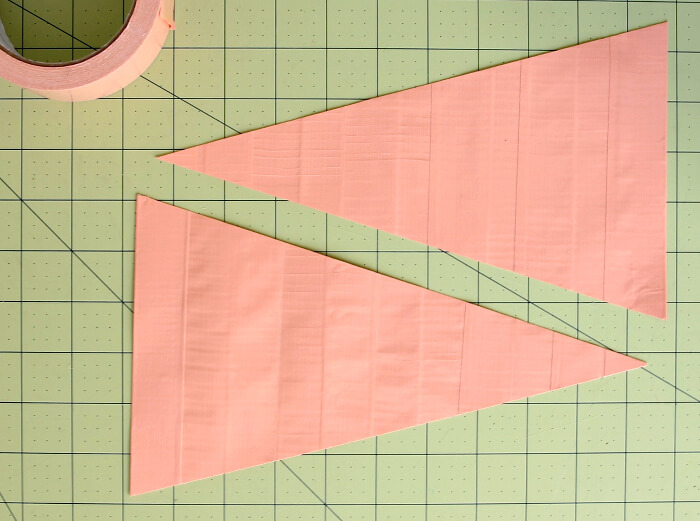
Step Two – Cut Sheets to Triangles
Using a ruler or straightedge, cut the rectangle into a triangle shape. Line the ruler up with one corner and the middle of the opposite side.

Step Three – Form Pouch
Cut two strips of tape about 13 inches long and 1/2″ thick and tape the two triangles together to form a pouch with an opening along the base of the triangle. Trim off the excess tape with your craft knife.

Step Four – Decorate!
I added 3/4″ strips of contrasting tape along the opening of each pouch as well as little pennant ties. To form the ties, fold 1/2″ strips in half lengthwise, then fold in half widthwise, and tape to the back of the pouch.
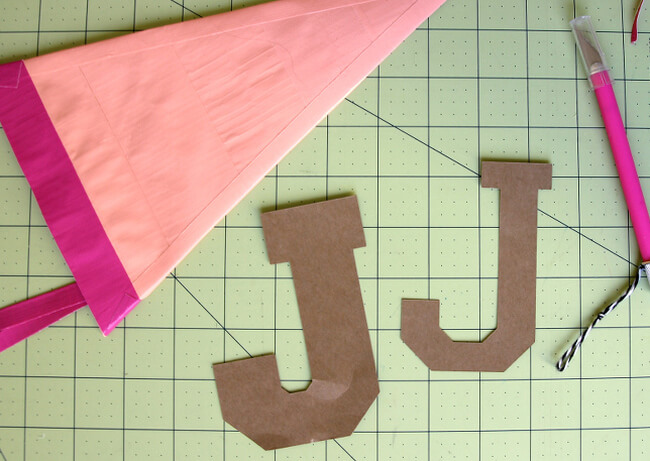
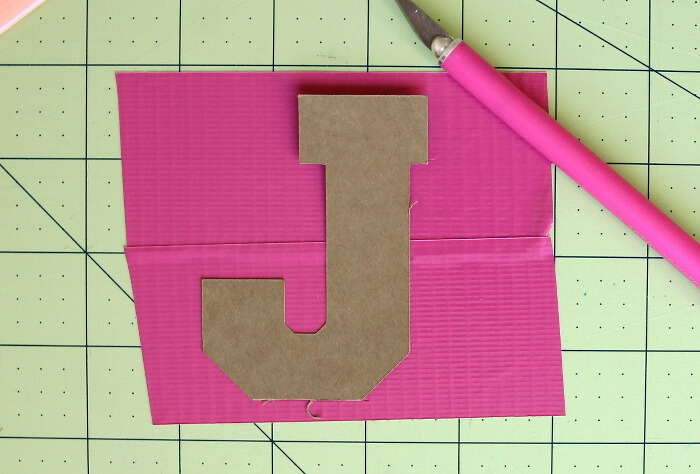
I also added varsity style monograms to two of the pouches. I cut templates out of card stock first and then used the templates to cut the letters out of Duck Tape.
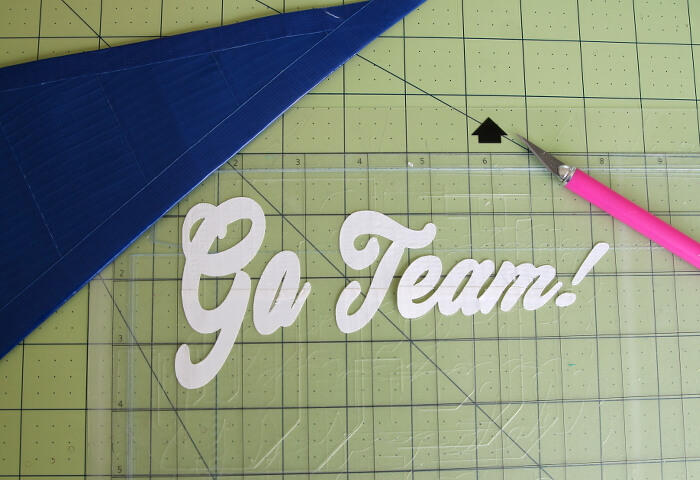
I also cut out a design using my silhouette cutting machine.
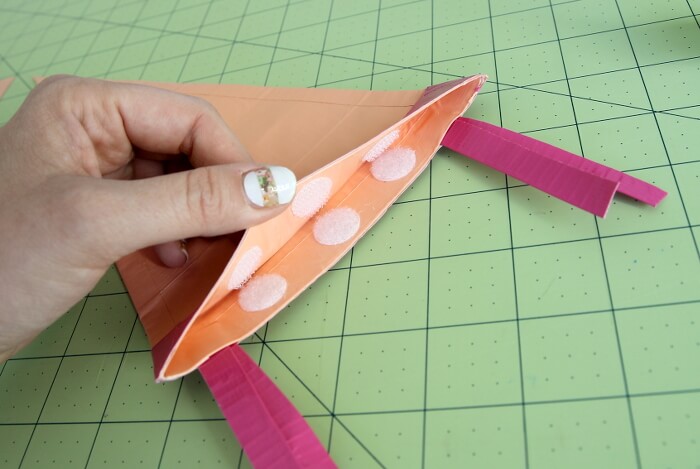
Step Five – Add Closures
Finally, adhere the hook and loop closures to the opening of the pouch to keep all your pencils from falling out!
And that’s it! I really love how these little pouches turned out.


Have you ever made a project just using Duck Tape? This was so fun, I’m sure I will be making more in the future.
You can find Duck Tape here. And for more Duck Tape craft ideas be sure to follow The Duck Brand on Instagram and Twitter and check out the School Craft board on Pinterest.


Comments + Project Love
Stephanie R says
Oh my goodness, these are so stinking cute!
persialou says
Thank you!! 🙂
Bethany says
I love these! SO fun. And I love your nails 🙂
persialou says
Thank you!! I’m kind of addicted to the Jamberry. 🙂
Amber says
Well this right here is just as cute as it comes! “Way to go!!!” (said in my best cheerleader, pennant flag holding voice!)
Kelly says
So super cute — and that pineapple duct tape is all kinds of fabulous! xo
persialou says
Thanks so much, Kelly!