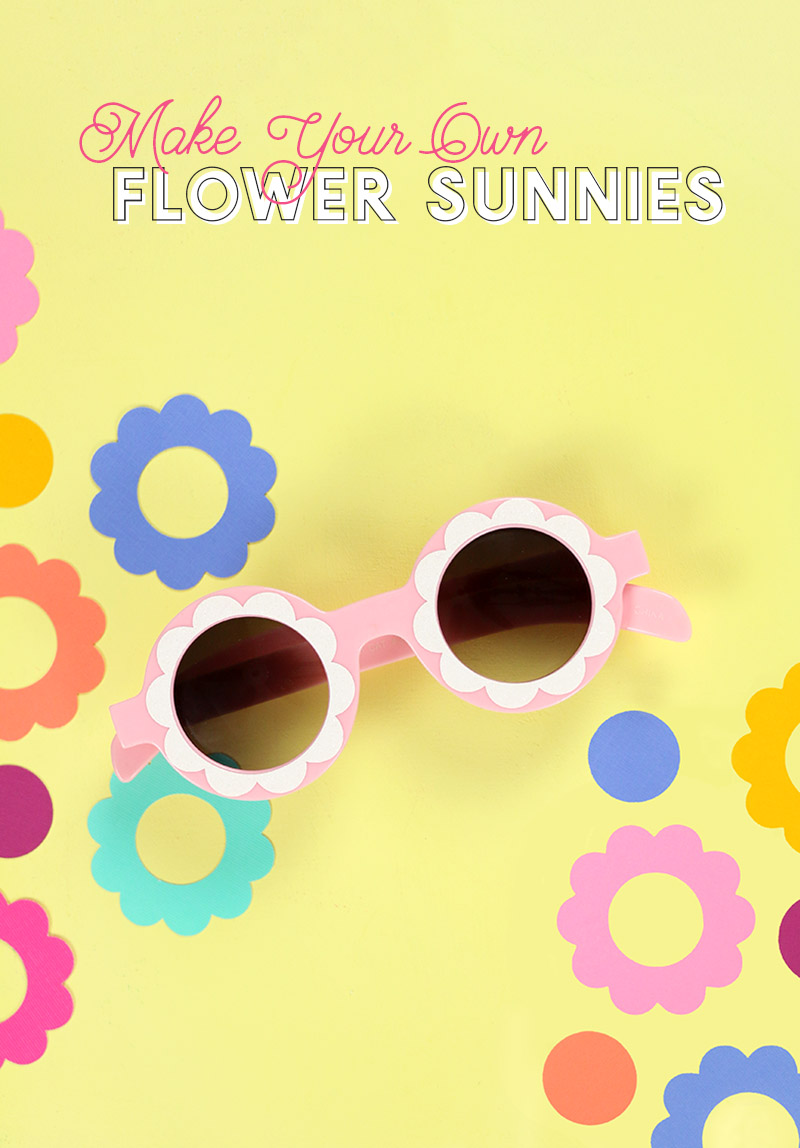
It is so easy to make your own DIY custom sunglasses! You can add any designs or sayings you like using vinyl and your Silhouette or Cricut. I will walk you through all of the steps and show you how to make these adorable daisy sunnies too! A big thanks to Expressions Vinyl for sponsoring this post!
I have a super simple, but also super adorable project to share with you all today. We are making our own custom sunglasses! So fun, right? If you have been here before, then you probably know that I love vinyl. I love it! Know why? Because this stuff just makes it SO easy to make your own custom home decor, t-shirts, mugs, and now – sunnies!
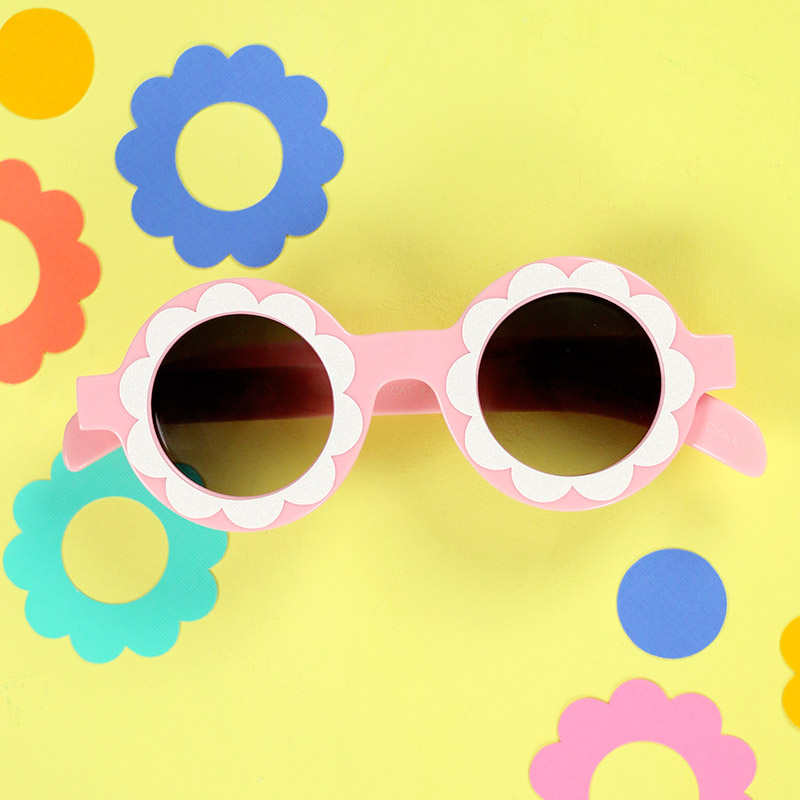
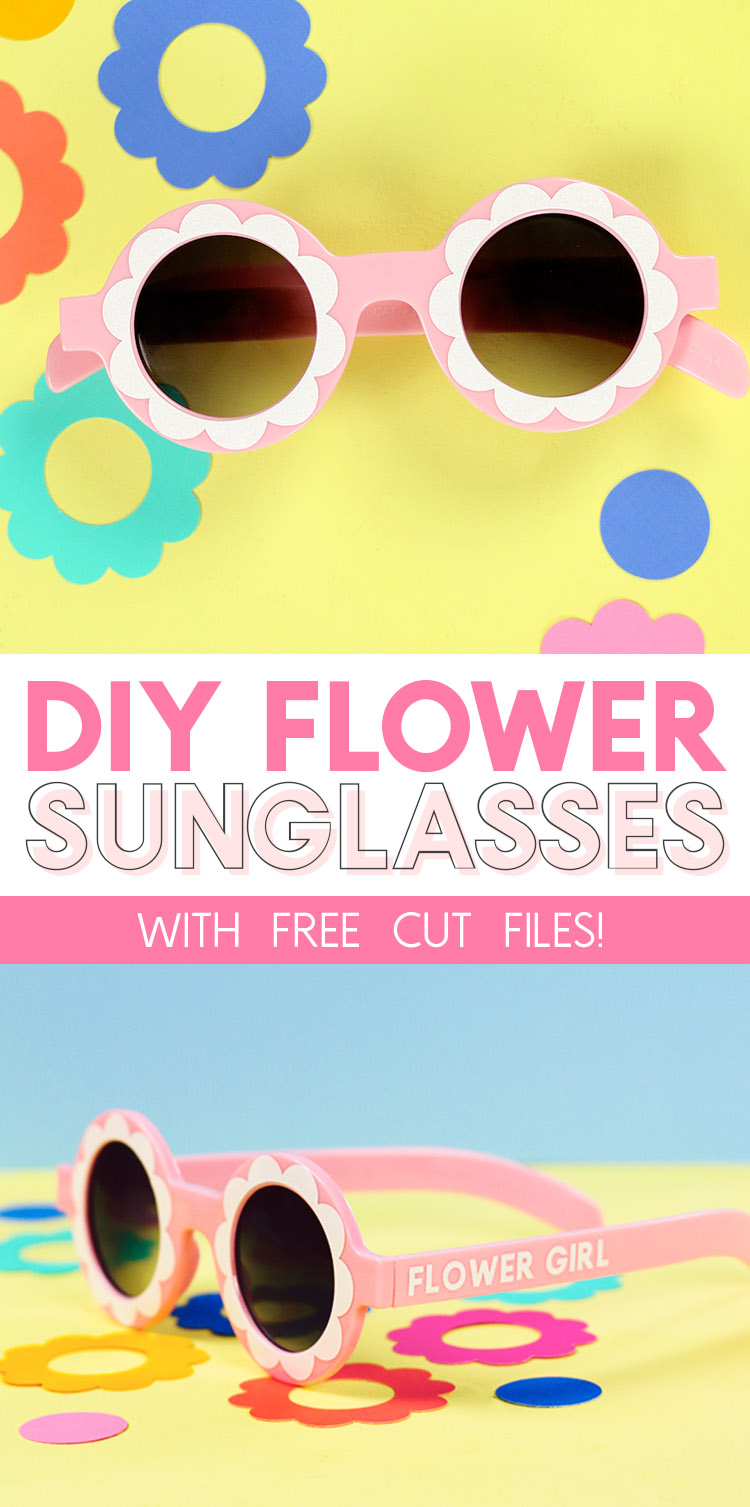
Today, I’m going to show you how easy it is to customize sunglasses using vinyl. I made these cute daisy sunglasses, but you can use the basic techniques I will walk you through here to make any kind of sunglasses you can dream up!
Here’s everything you will need to DIY your own personalized sunglasses.
Custom Sunglasses Supplies
- Plain Sunglasses (I used these for my flower sunglasses)
- Permanent Adhesive Vinyl (I used Expressions Vinyl White Glitter Vinyl)
- Electronic Cutting Machine (I use a Silhouette Cameo 3)
- Weeding Tool
- Transfer Tape
- Application Tool
- Ruler or Measuring Tape
- My Flower Sunnies Cut File (Download the SVG, PNG, or DXF file. For personal use only please.)

How to make DIY Custom Sunglasses
Before you get making, you will want to have your sunglasses on hand as well as an idea of what type of design, phrase, or image you want to add to your glasses.
Step One – Measure Glasses and Scale Design
Once you have your sunglasses and design idea, start off by measuring the section of your glasses where you will be applying your design.
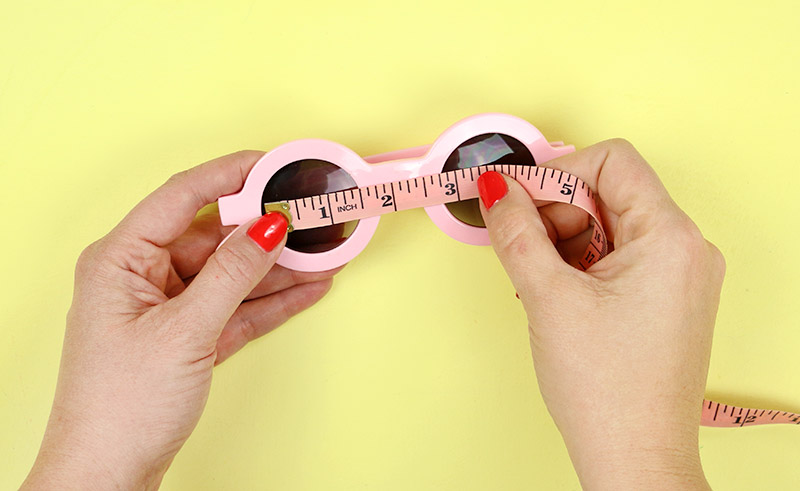
Then, in your cutting machine software, scale the design to fit on your glasses. If you want to make the flower sunnies I made here, you can download the free cut file from the supply list above.
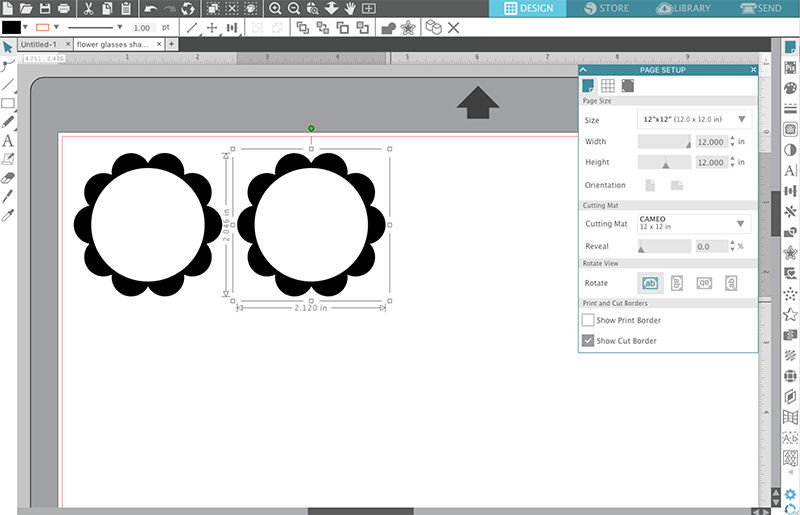
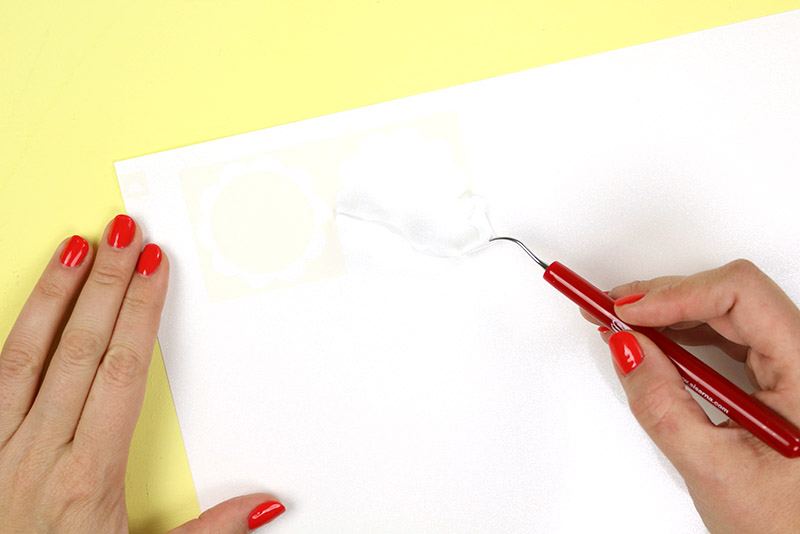
Step Tw0 – Cut and Weed Vinyl Decals
When your design is scaled to the right size, then send it to your machine to cut. (If you are new to working with adhesive vinyl, you can find all of the basic steps and my tips for beginners right HERE.) After the design is cut, remove the excess vinyl from around your design using a weeding hook, tweezers, or needle. (This weeding hook is my absolute favorite.)
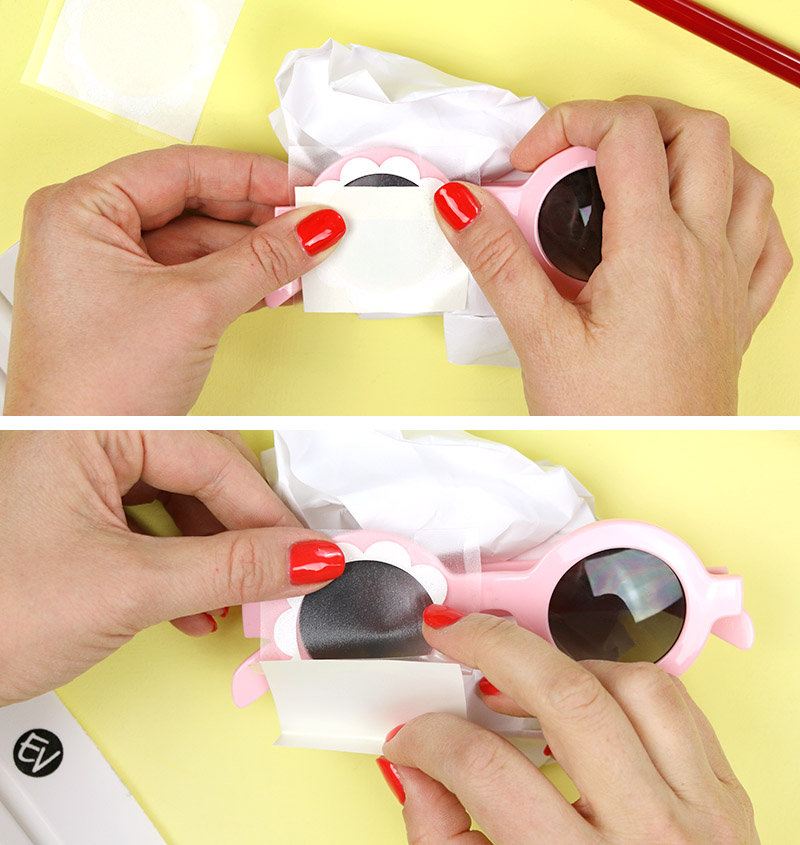
Step Three – Apply Vinyl Decals
The trick to moving your cut decal from the paper backing to your sunglasses is transfer tape! There are lots of different kinds of transfer tape out there, but I find a clear transfer tape like this to be the easiest to work with. Just cut a small piece of transfer tape about the size of your decal from the roll, smooth it onto the top of the cut decal, and you are ready to apply!
Here is the technique I recommend for getting perfect placement when applying your decals to your sunglasses. First, rather than completely pulling the decal off the backing, start by just folding back the paper backing about a half inch along the top edge. This makes it easier to move the decal around and position it properly without the vinyl sticking to the glasses prematurely.
When you have the decal positioned, stick the top portion of the decal down and then pull the rest of the paper backing away as you smooth the decal down.
Finally, use your application tool (or an old credit card) to burnish the decal down, activate the vinyl’s adhesive, and smooth out any little wrinkles or bubbles.
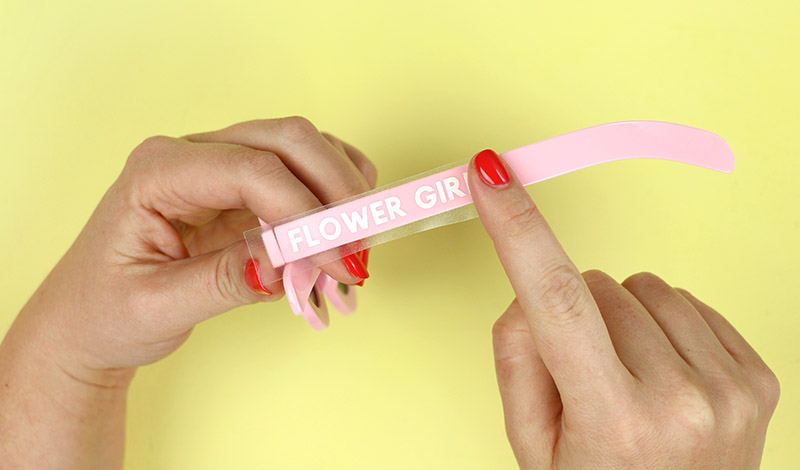
You can use this same process to apply decals to any part of the glasses you like. I also added “Flower Girl” to the temple of the glasses.
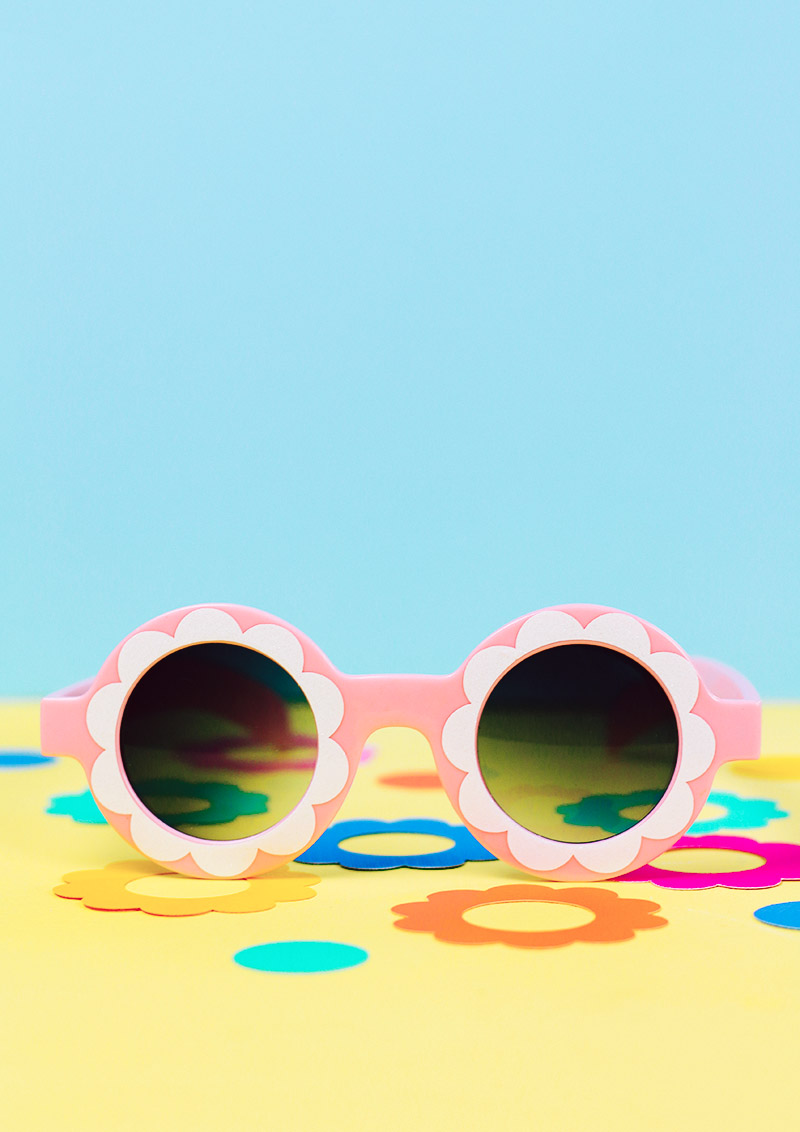
And that’s it! Your cute new custom sunnies are all ready to wear!

Wouldn’t these be fun to make for a party? You could add names or custom sayings to the side of each pair. So fun! What occasion or event would you make custom sunglasses for? Give me your ideas in the comments. 🙂
Happy Making!

Check out more vinyl projects below:
[the_grid name=”Vinyl Projects”]


Comments + Project Love
Amy Cluck-McAlister says
Wow, those are even cuter than all the daisy sunnies I’ve seen all over Instagram. Love them!
Alexis says
Aw thanks so much!
Indya | The Small Adventurer says
These are ADORABLE! I’m hoping to get a Cricut machine for my birthday this year and I am SO excited to play around with vinyl and put it on practically everything!
Alexis says
Yes! You will love it! 🙂
Jessie Rayot says
What a cute idea, I love them!