DIY beauty gift ideas are perfect for all of your makeup, nail polish, and bath product loving friends! I have a few simple gift bag ideas to share today plus some free cut files to help you make your own. This post contains affiliate links, which help to support this site. Thank you!
If you have been around here much, you probably know that I’m a big fan of my Silhouette. I seriously use it constantly, but maybe my favorite thing about it is how easy it makes it for me to make awesome custom gifts. It’s just a face that vinyl + Silhouette = great gifting.

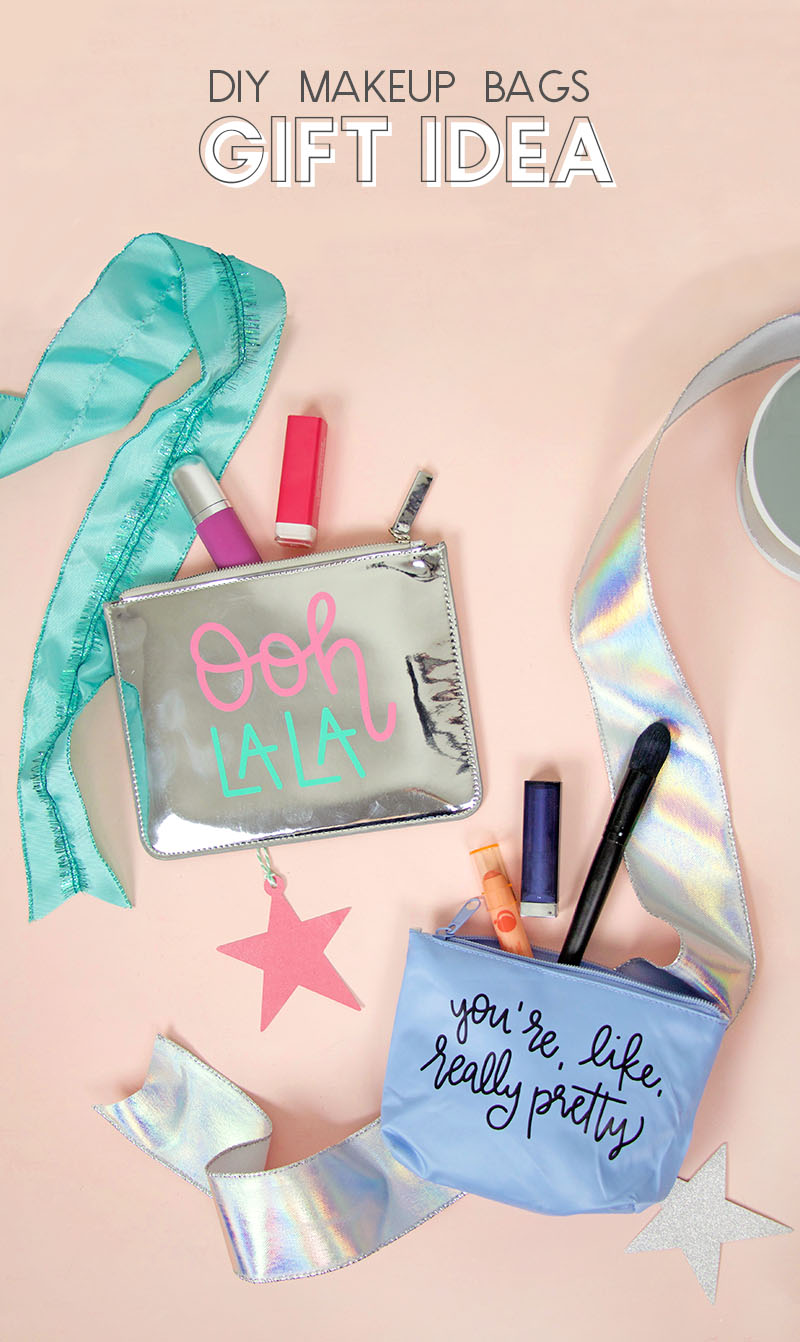
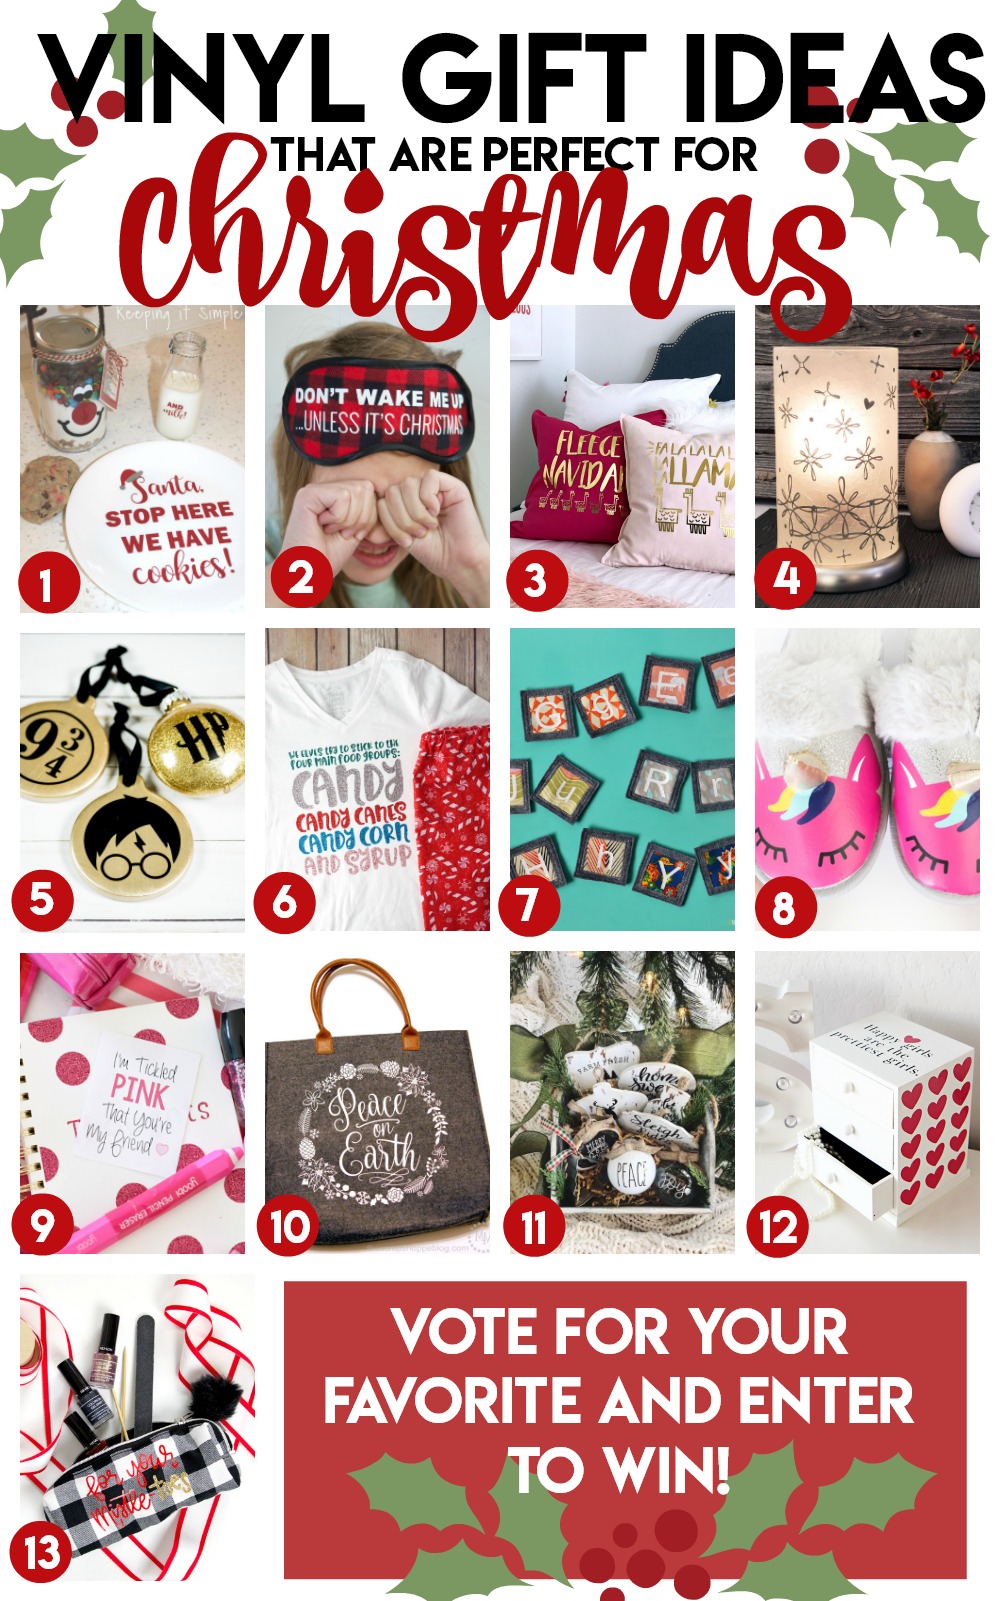
One of my favorite vinyl companies, Expressions Vinyl, challenged me and some of my blogging friends to come up with some fun gift ideas using vinyl, and I came up with these cute little make up bags! I love a getting a new lipstick or bottle of nail polish, and I thought it would be a fun and simple little gift idea for a friend, teacher, or babysitter. Throw a few beauty goodies into a cute custom zipper pouch, and have a fab little gift.

I used my ipad pro with my apple pencil to create the designs for each pouch, and I’m sharing the files here to make it easy for you to make your own pouches.
Free Beauty Gift SVG Cut Files
All of the following cut files are for personal use only. If you are interested in purchasing a commercial use license, you may do so HERE. Click the links below to download a ZIP file containing the SVG, PNG, and DXF file for each design. (Read more about the types of files you can use with your Silhouette HERE.)
Okay, ready to make some cute DIY beauty gift bags?? The first step is to go grab yourself some cute pouches. If you head to Michaels, you may be able to find this cute plaid pouch with pom pom that I picked up the other day. I think it’s actually a pencil pouch, but it can totally hold beauty goodies, and it is very, very cute. I can’t find it online, but it was in a little display with a bunch of cute plaid goodies. I also found a very cute metallic, mirrored pouch on an end cap near the office supplies at Target that I’m kind of crazy about. Amazon also has lots of good options (like these or these). Whatever pouch(es) you pick, you need to determine what kind of vinyl to use on your pouch.
I recommend using heat transfer vinyl if it will work with your pouch. If your pouch is made of fabric that can withstand heat, then use heat transfer vinyl. (Beware that there are plenty of pouches made from plastic-y fabrics that will melt under high heat.) If your pouch is made of vinyl or plastic, then you will need permanent adhesive vinyl. I would also recommend using a more flat style of pouch if going this route to make it easier to apply the vinyl. Okay, so got that? Fabric pouches (preferably cotton-y types) take heat transfer vinyl and plastic pouches take permanent adhesive vinyl. Perfect. Here’s how to make each pouch type:
DIY Beauty Gift Ideas

DIY Vinyl/Plastic Makeup Pouch Supplies:
- Zipper Pouch made of plastic or vinyl (I found this awesome mirrored metallic pouch at Target)
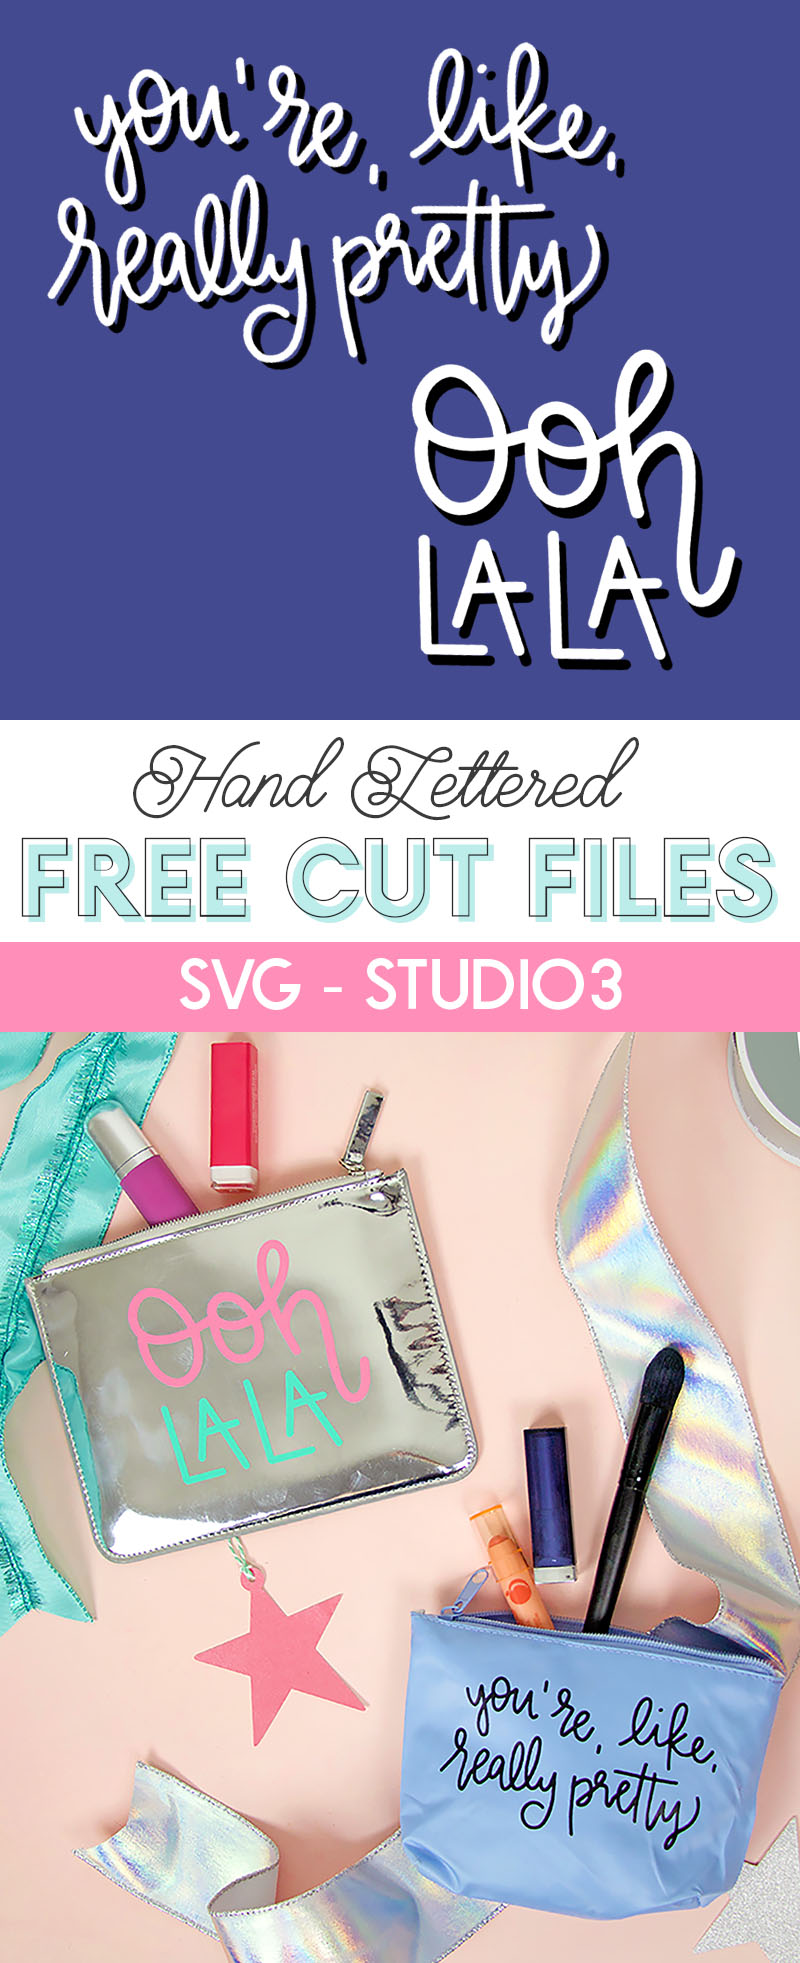
- Permanent Adhesive Vinyl (For my OohLaLa pouch I used EV Series 51 in Mint and Oracal 651 in Soft Pink)
- Transfer Tape
- Weeding Tool
- Application Tool
- Sihouette Cameo or other cutting machine
Step One – Cut Vinyl
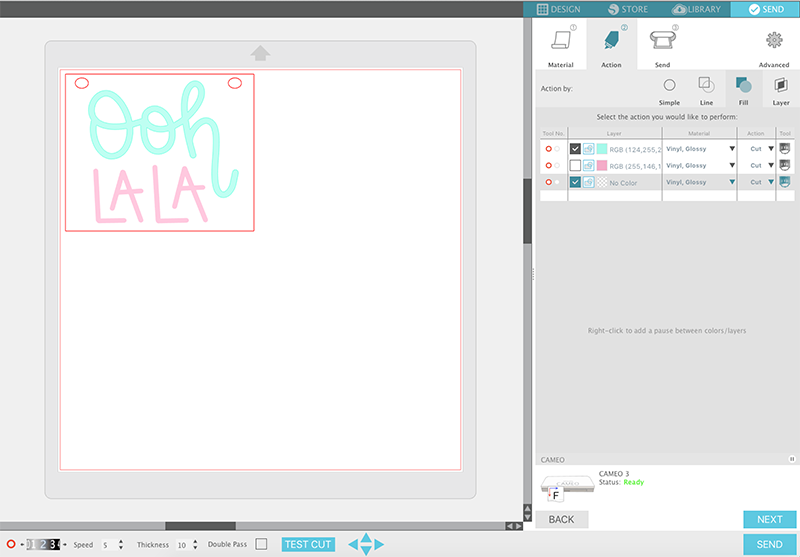
First, cut your chosen design (find the cut files above) from permanent adhesive using your Silhouette or other cutting machine. If you want to do a two color design, like I did on my Ooh La La pouch, I recommend using the cut by color (or action by fill) option in Silhouette Studio and registration marks to get perfect placement. (Learn how to use registration marks and layer multi-colored vinyl designs in this post.)
Step Two – Weed and Apply Transfer Tape
Start by using your weeding hook (this one is my fave) to remove excess vinyl from around your design. Then, pick up your design using transfer tape. (You can find step by step instructions for layering vinyl using registration marks in this post.)

Step Three – Apply Design to Pouch
Finally, apply your design to your pouch. Be sure to really burnish the decal onto your pouch using your squeegee tool (or an old credit card works too). And that’s it!
If you are making a fabric pouch, here’s what you will need:
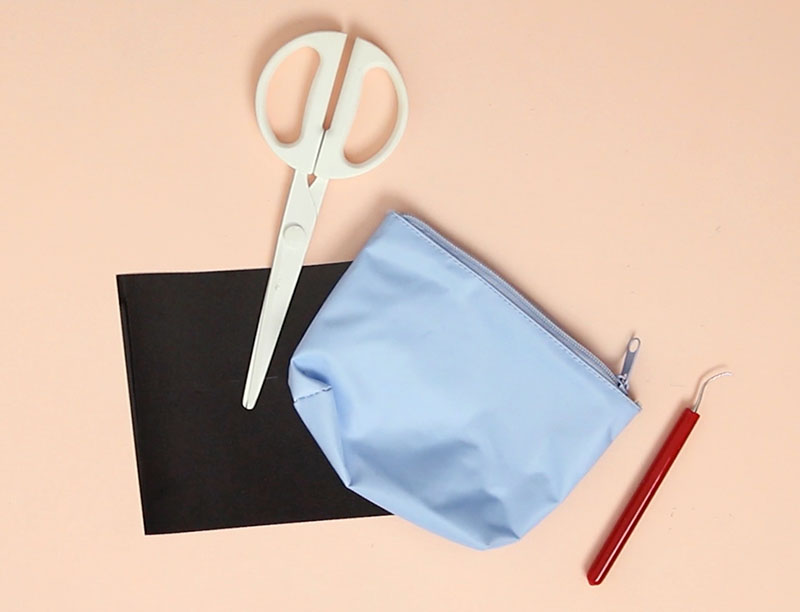
DIY Fabric Makeup Pouch Supplies:
- Zipper Pouch made of fabric (cotton or other fabrics that can withstand heat) (I found that cute plaid zipper pouch at Michaels, but couldn’t find it online)
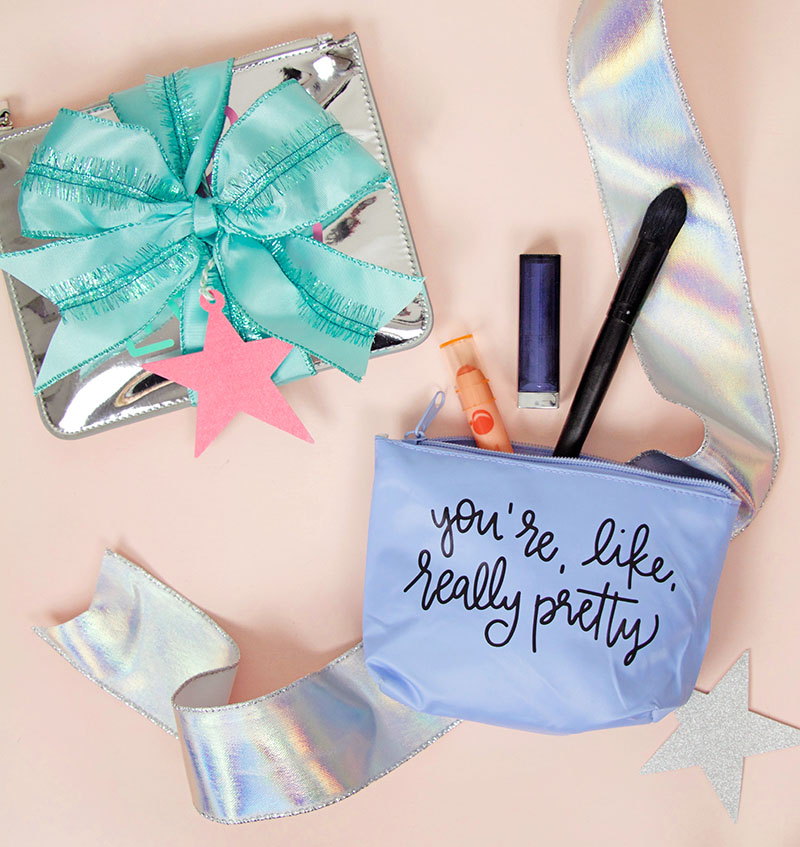
- Heat Transfer Vinyl (I used Black Easyweed on the blue pouch, and Red Easyweed and Gold Glitter on the plaid pouch)
- Iron (a mini craft iron may work better for small pouches)
- Parchment paper or Multi-Use Paper
- Weeding Tool
- Application Tool
- Silhouette Cameo or other cutting machine
Step One – Cut Vinyl
Cut your chosen design (find the free cut files above) from the heat transfer vinyl using your Silhouette or cutting machine. Be sure to mirror the image before cutting so the text will read properly when applied. Heat transfer vinyl is cut on the non-shiny side.
Step Tw0 – Weed
Use your weeding hook (or tweezers or a pin) to help you remove all the excess vinyl from your design. Don’t forget the little pieces inside letters!
Step Three – Iron On
Try to flatten out the pouch as much as possible. Place the design on the front of the pouch. Cover your design with parchment paper or multi-use paper to avoid damaging the pouch. With the iron on the cotton setting, apply heat and pressure to each part of the design.

And that’s it! Fill those pouches with some fun lipsticks, lip balms, nail polish, eye shadows, etc., etc. and give it to someone special.

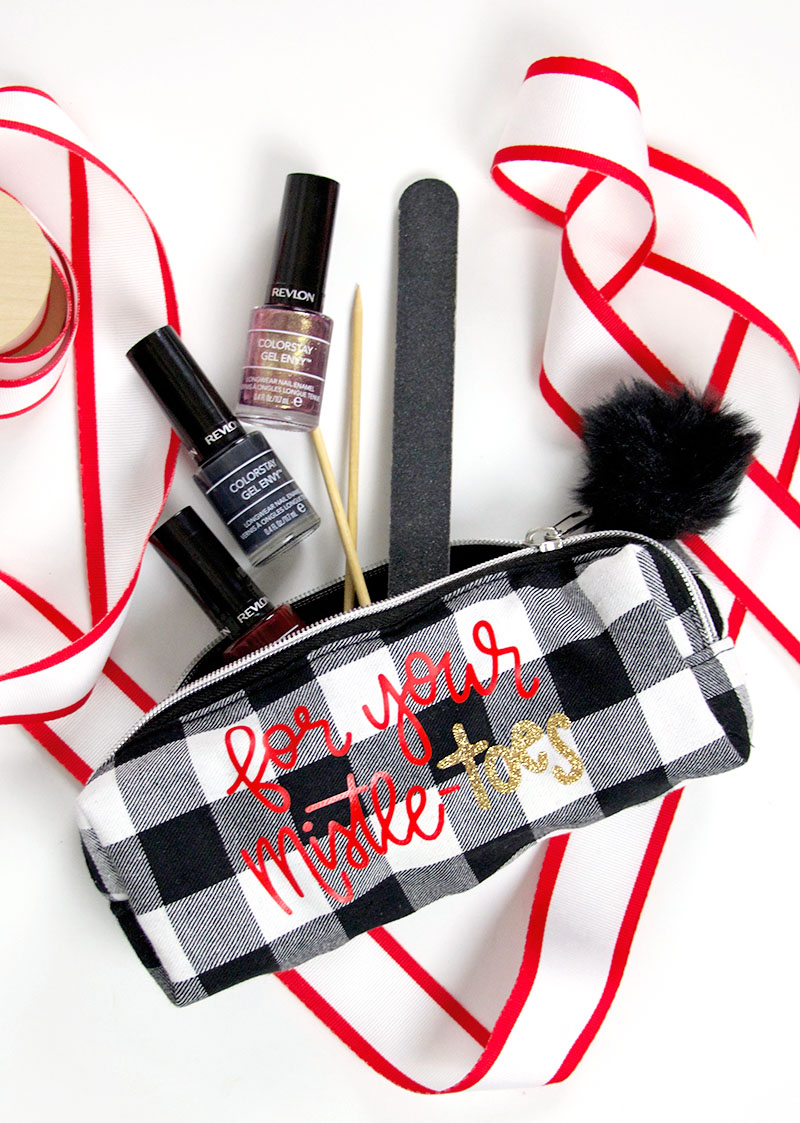
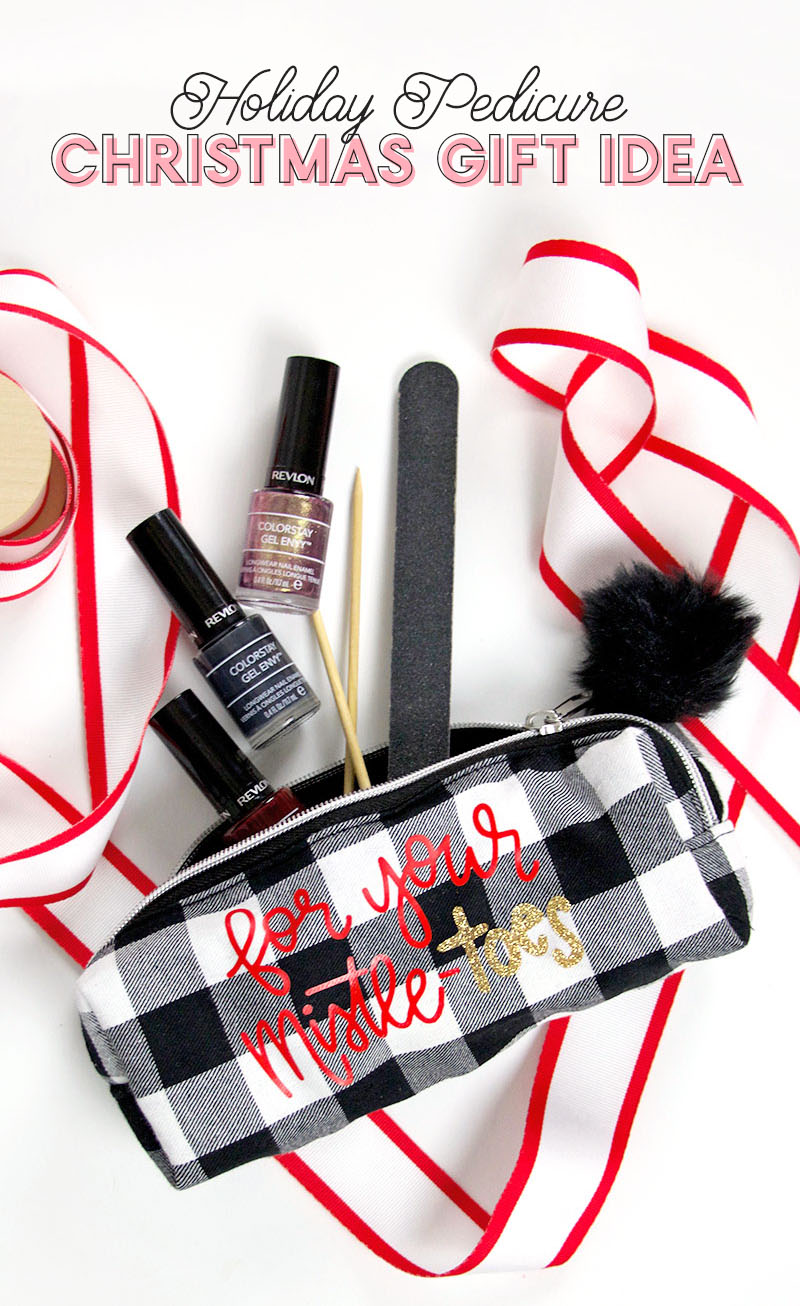
I created a special Christmas-y design that’s perfect for a nail polish or pedicure themed gift and ironed it onto that cute plaid pouch. (This design is an updated version of a printable tag I shared years ago. Let me know if you guys would like a printable tag version of this new design!)
What do you think? Would you like to receive ones of these little gifts? I know I would! Okay – it’s time to go check out all those other vinyl gift ideas over at Expressions Vinyl.
Happy Holidays and Happy Making!

Get more free SVG cut files here:
[the_grid name=”Free Cut Files Footer”]


Comments + Project Love
Carla Hundley says
How cute these bags
are and love the cut
files!
Carla from Utah