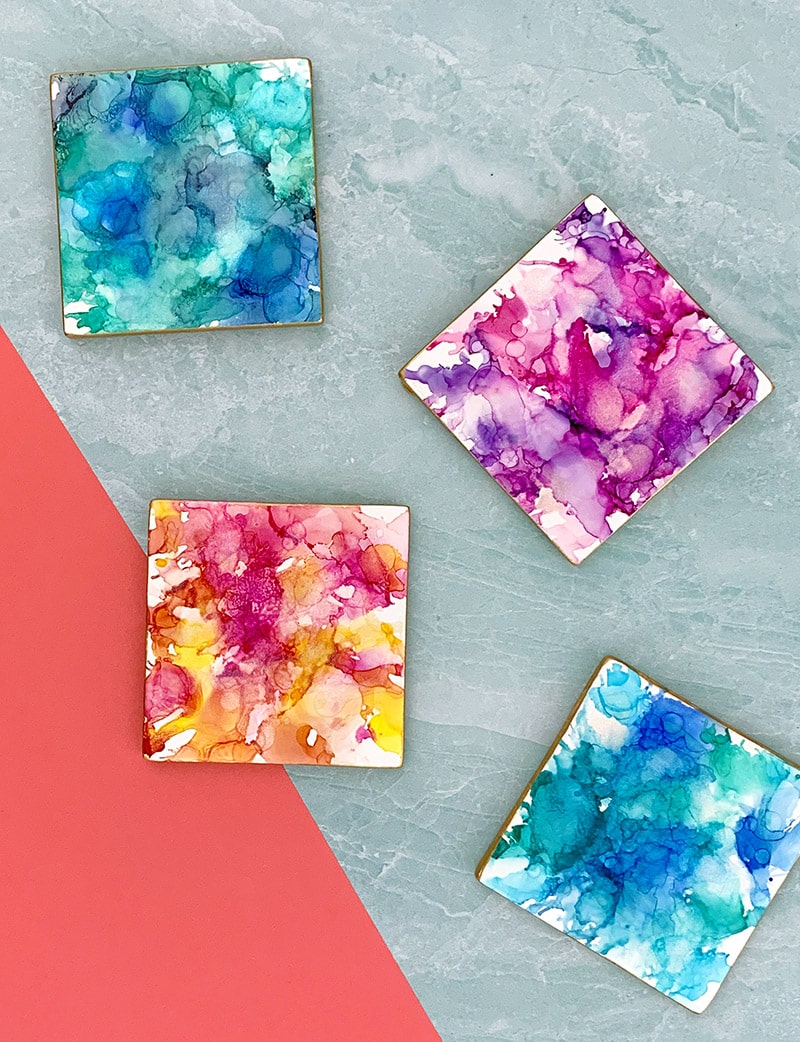
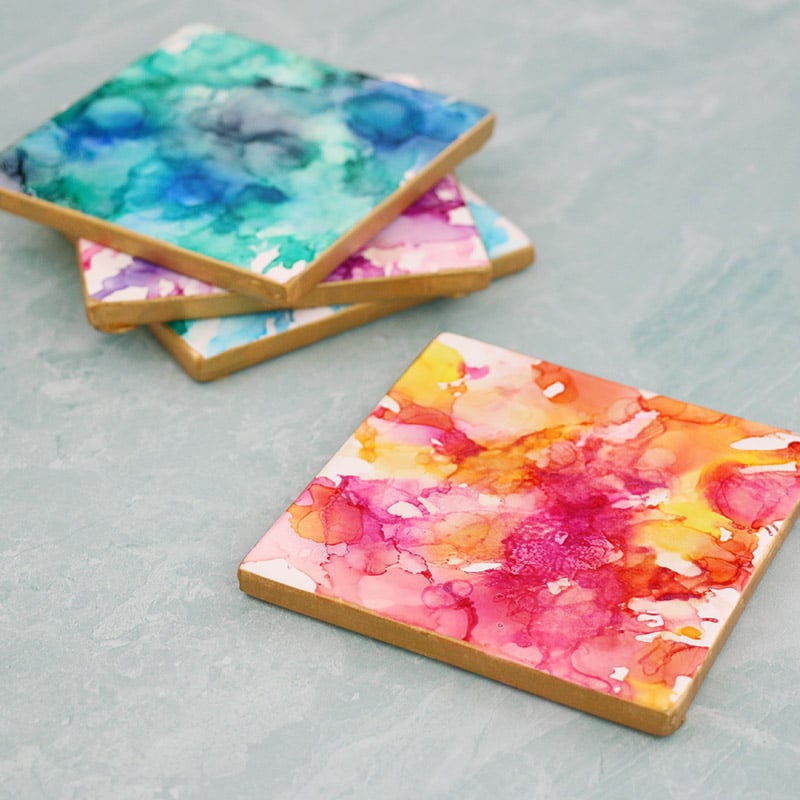
Learn how to make your own gorgeously colored alcohol ink DIY coasters. These ceramic coasters have a beautiful, one of a kind watercolor look and are so much fun to make! This post may contain affiliate links, which help to support this site at no extra cost to you if you make a purchase through one of our links. Thanks!
Have you ever experimented with alcohol inks before?
Alcohol inks are vibrant, transparent inks that dry quickly and create gorgeous marbled, organic designs on slick, non-porous surfaces like ceramics, metal, or glass. They are also just so much fun to create with!
These DIY alcohol ink coasters are a great project to get you started crafting with alcohol inks.
How to Make DIY Alcohol Ink Coasters
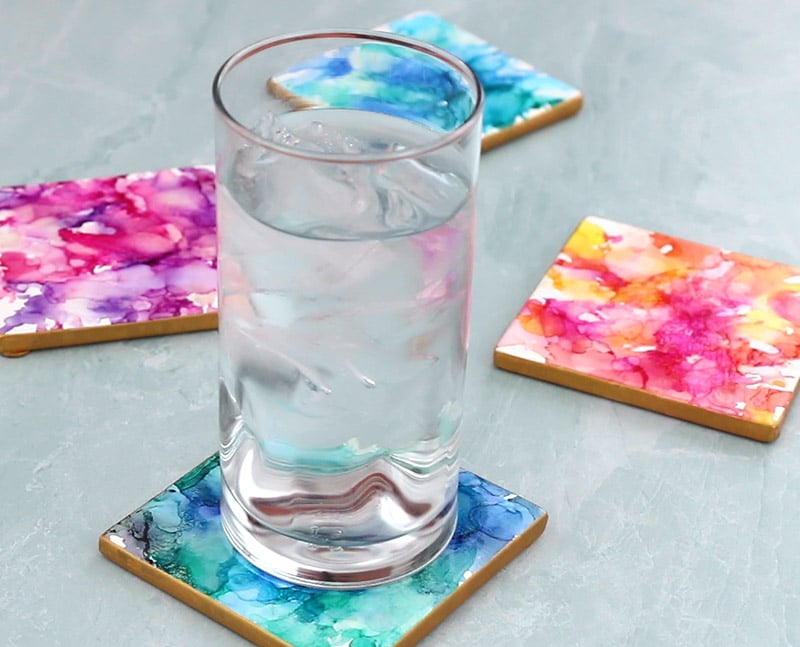
Coasters are a great first alcohol ink project because they are small and useful. You need to gather up a few supplies to make your own.
ALCOHOL INK DIY COASTERS SUPPLIES:
- Ceramic Coasters (Either Glazed or Unglazed)
- Gloss White Spray Paint (If using unglazed coasters)
- Alcohol Inks
- Alcohol Ink Extender (or 91% Isopropyl Alcohol) & Marabu Rainbow Alcohol Ink
- Drinking Straw
- Clear Gloss Acrylic Spray
- Metallic Gold Paint
- Flat Paint Brush
Step One. Paint Coasters.
Because alcohol inks work best on glossy, non-porous surface, if you are starting with unfinished coasters, the first step is to give the coasters a nice coat of glossy white spray paint. This will give you a slick, shiny surface to work with.
If you are starting with glazed coasters, then you can skip this step.
Step Two. Create Designs with Alcohol Inks.
Next, we will create the design on the ceramic coasters using alcohol inks.
Start off by dripping some of the alcohol ink extender (or 91% rubbing alcohol) onto the coaster. Then add a few drops of one of the colored inks onto the coaster. Use a straw to blow air onto the ink to spread the color over the coaster.
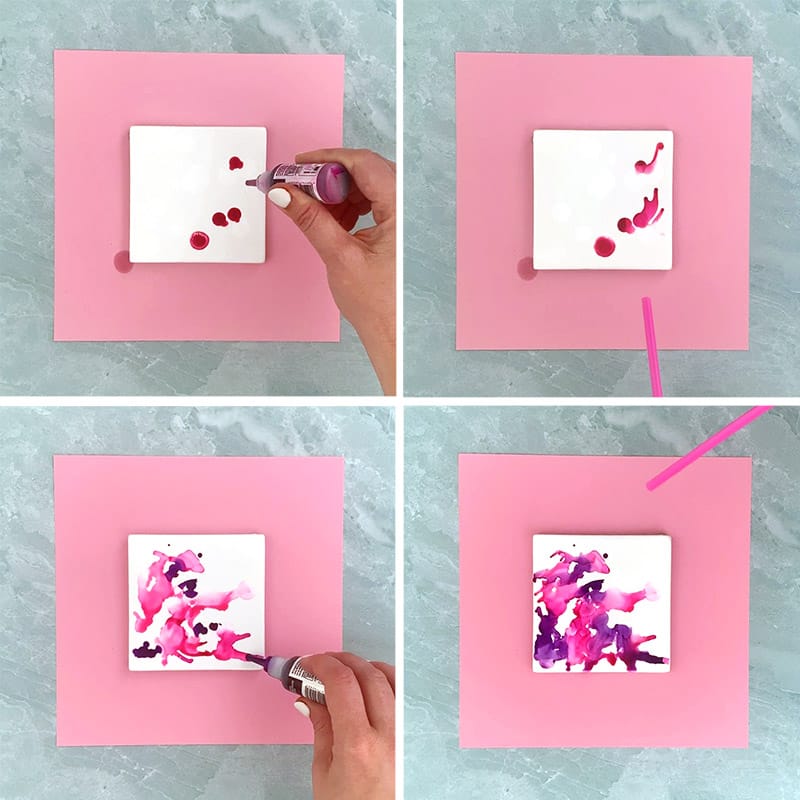
Try adding more colors to see how they mix and blend together. Use your straw to gently direct how the inks spread and flow. If the ink starts to dry out too soon, you can add more extender to keep it flowing.
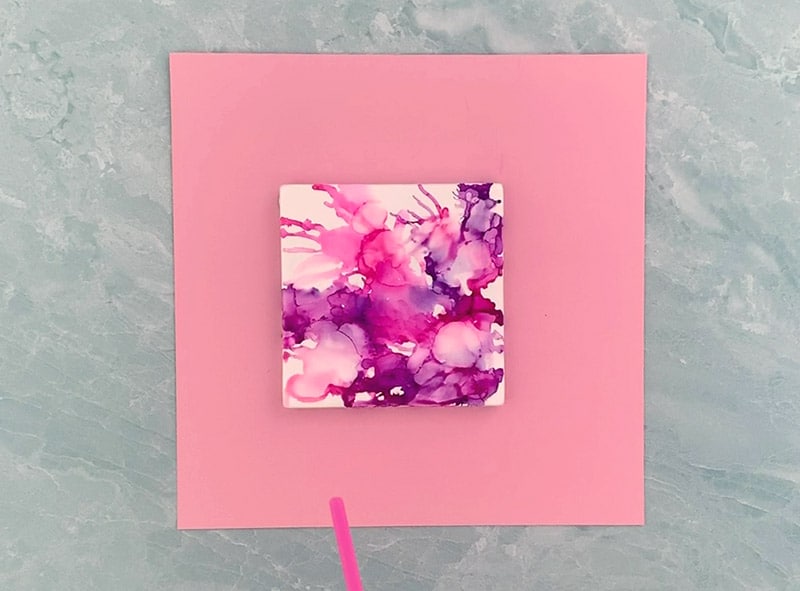
After I was happy with how my coasters looked, I added some rainbow alcohol ink to create a beautiful iridescent look.
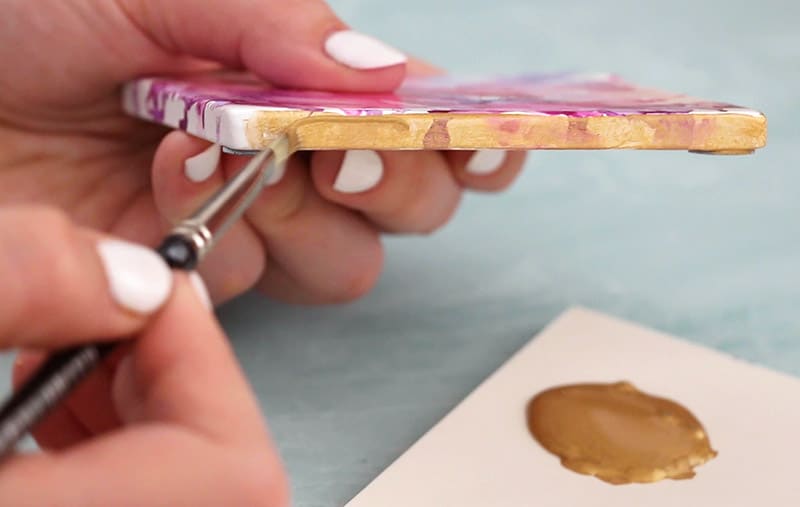
Step Three. Add Clear Topcoat and Paint on Edges.
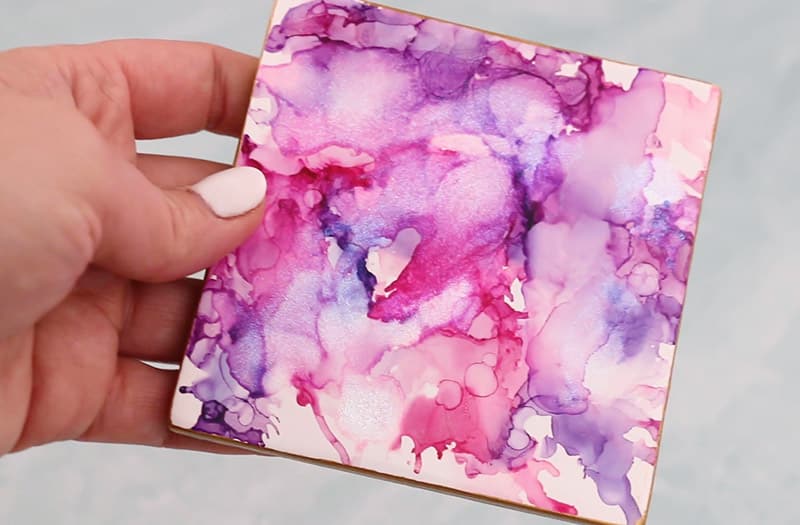
After the alcohol inks have completely dried, finish off the coasters with a coat of glossy, clear acrylic topcoat to protect your beautiful ink design.
When that topcoat has dried, you can give your coasters a polished look by painting the edges with a shiny metallic gold paint. It may take a couple of coats to get a nice opaque finish.
Once the paint has dried, your coasters are all done and ready to look pretty on your table!
What do you think? Will you give this project a try?
Until next time, Happy Making!


Comments + Project Love
Cathy Langbehn says
Is this permanent or will it chip off? Can I use it to put hot, cold ir water on them?