• Skip to primary navigation
  • Skip to main content
  • Skip to primary sidebar
  • Skip to footer
  • Craft & DIY
    • DIY Art Projects
    • DIY Home Decor
    • Free Printables
    • Kids Crafts
    • Paper Crafts
    • Silhouette Crafts
    • Vinyl Crafts
      • Vinyl 101
    • Friday Craft Club!
  • Celebration
    • Party
    • Gift Ideas
    • Halloween
    • Thanksgiving
    • Christmas
    • Valentine’s Day
    • St. Patrick’s Day
    • Easter
    • Fourth of July
  • Crochet
    • Crochet Patterns
      • Crochet Accessories
      • Crochet for the Home
      • Crochet for Kids
    • Crochet Stitches
  • Silhouette
    • Silhouette Studio
    • Silhouette Mint
    • Silhouette Curio
    • Silhouette Alta 3D Printer
    • Silhouette Deals
  • SVG Cut Files
  • SHOP
  • Nav Widget Area

    • Facebook
    • Instagram
    • Pinterest
    • YouTube

Persia Lou

Creative. Crafty. Fun.

Watercolor Drip Dyed Easter Eggs

This post was brought to you by PAAS. All opinions are 100% my own. Find out more about their products here or connect with them on Facebook.

It’s probably no surprise that coloring Easter eggs is hands down my favorite Easter tradition.

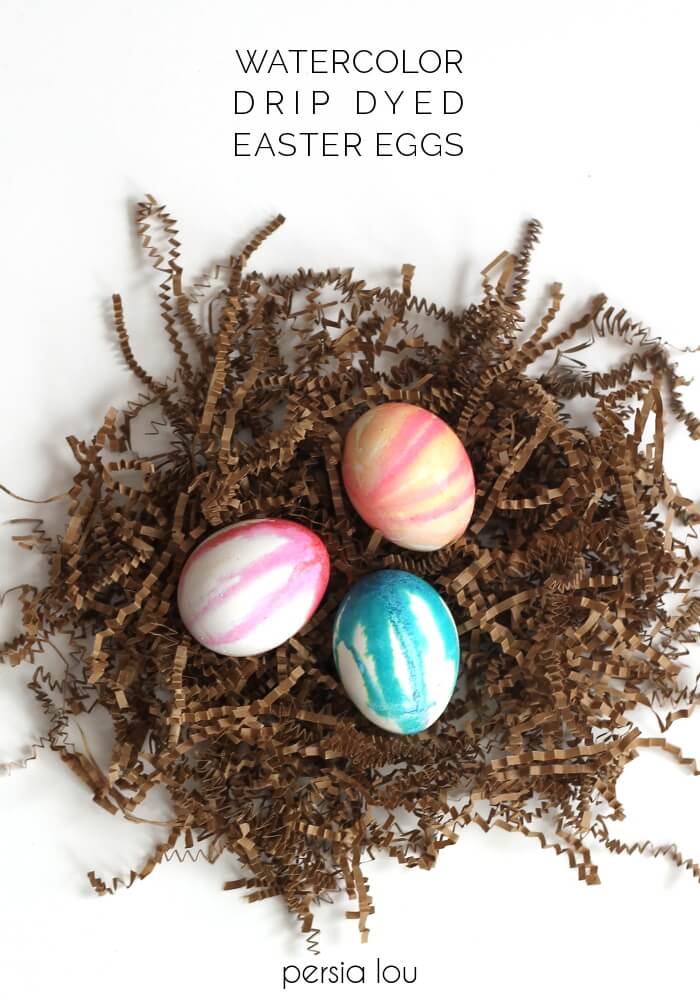
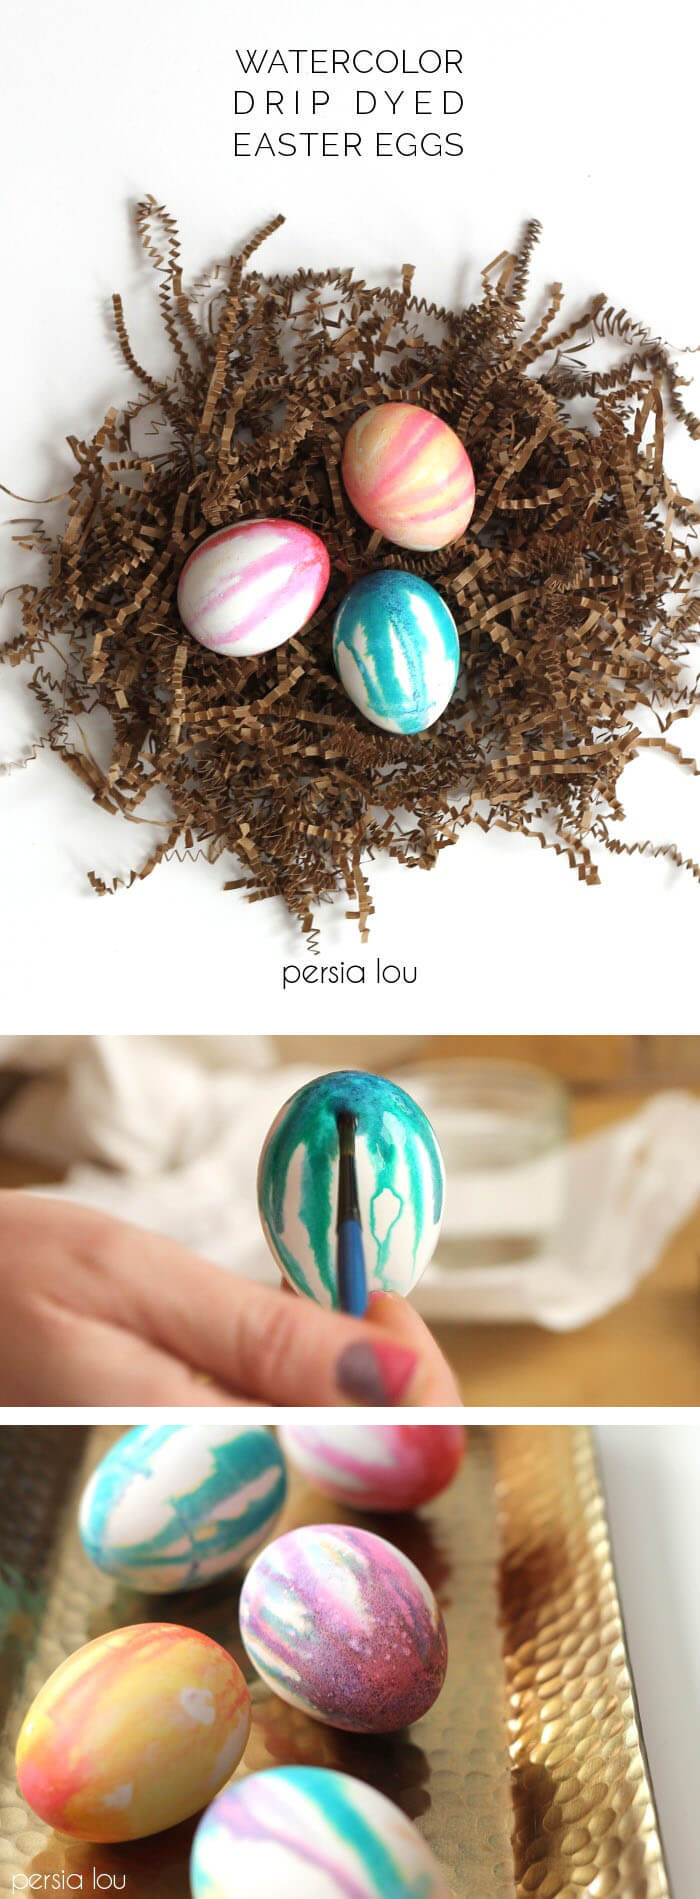
Every year I like to play around with different techniques, and this year I wanted to try to give my eggs a watercolor look. These pretty drip dyed eggs are what I came up with. They are a lot of fun to make and easy enough to do with the kiddos! My kids loved watching the colors drip and blend.

PAAS sent me a bunch of their dying kits to play with (there is a really fun foil one I can’t wait to give a try!), but I ended up using the original kit.

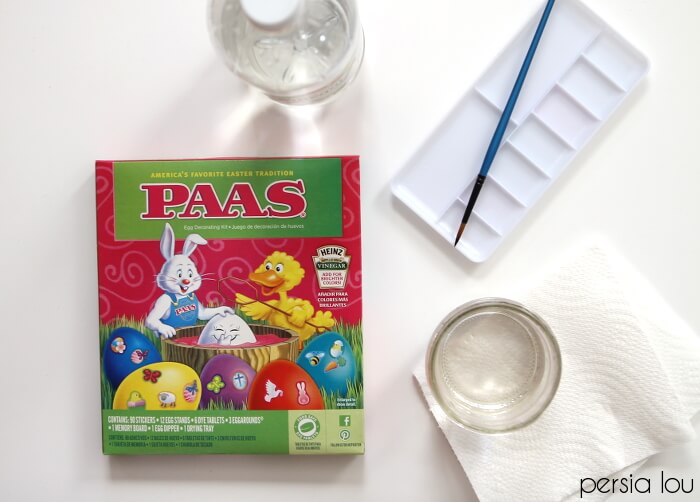
Here’s What You’ll Need:

  • PAAS Egg Dye Tablets
  • White Vinegar
  • Water
  • Round Brush
  • Hard Boiled Eggs
  • Paper Towels
Start off by placing the tablets in the wells of the palette. If you don’t have a palette on hand, you can use small plastic cups or old mason jars.
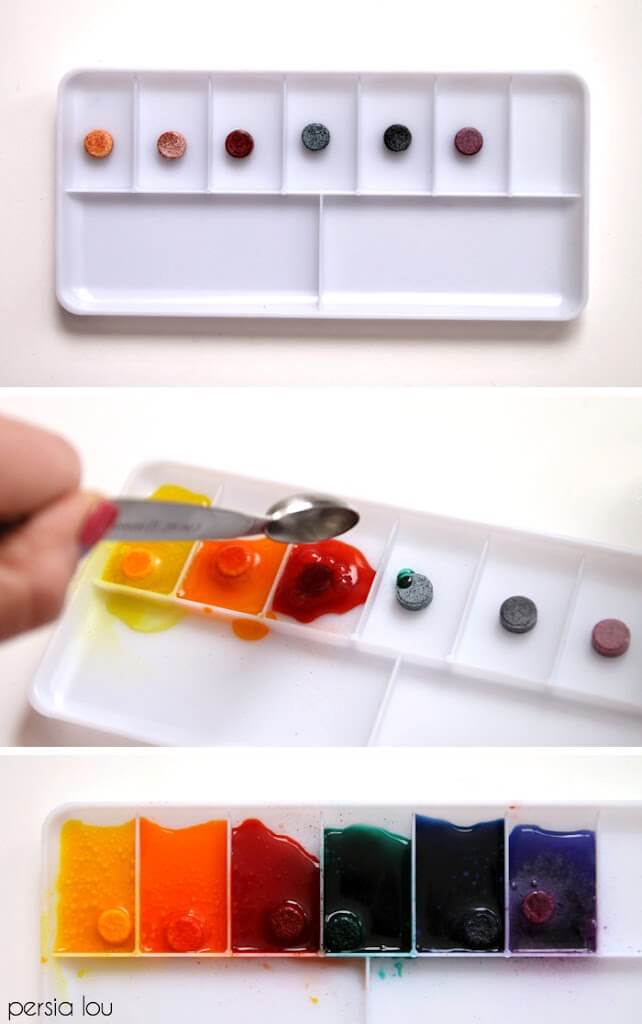
I decided to use vinegar instead of water because it gives your eggs a more vibrant color. Just pour the vinegar over the tablets and they will bubble and dissolve.

Now you are all ready to paint!

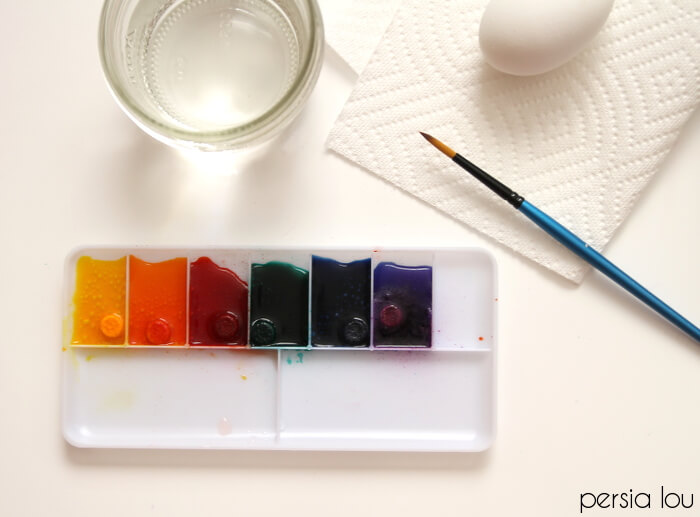
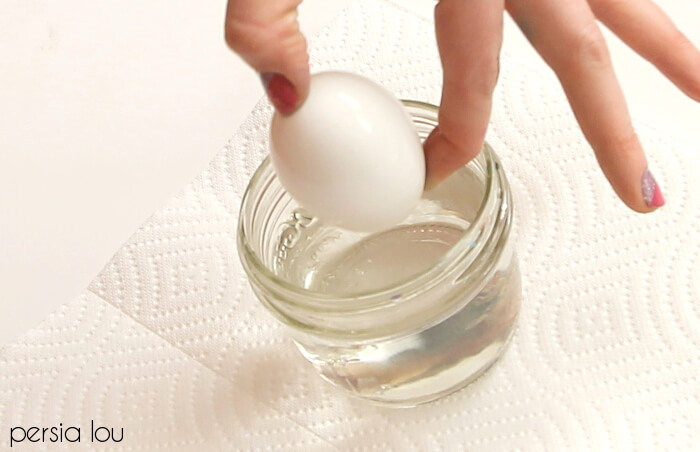
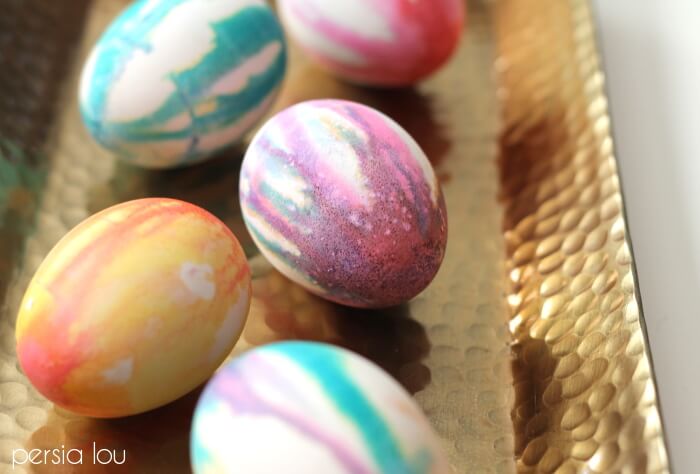
Begin by dipping your egg in water. When the surface of the egg is wet, the colors will drip and blend to give it that pretty watercolor look.


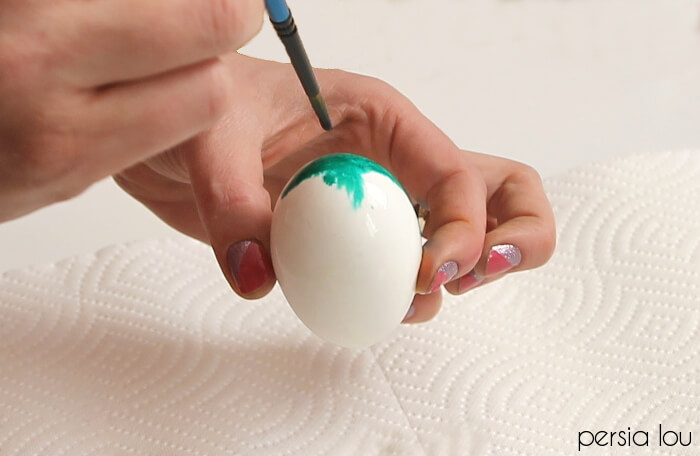
Then, holding the egg on the bottom with one hand, load your brush with dye and touch it to the top of the wet egg. The color will run down the sides.
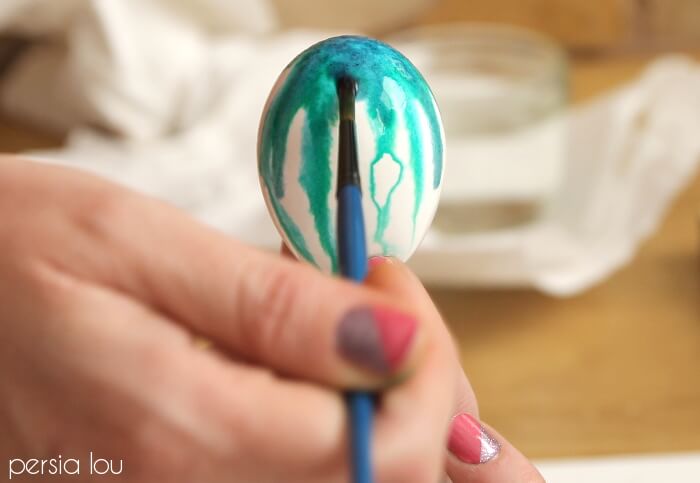
After it has spread a bit, you can go back and add another color to the top of the egg.
Place the eggs in the carton or drying rack to dry, and that’s it!
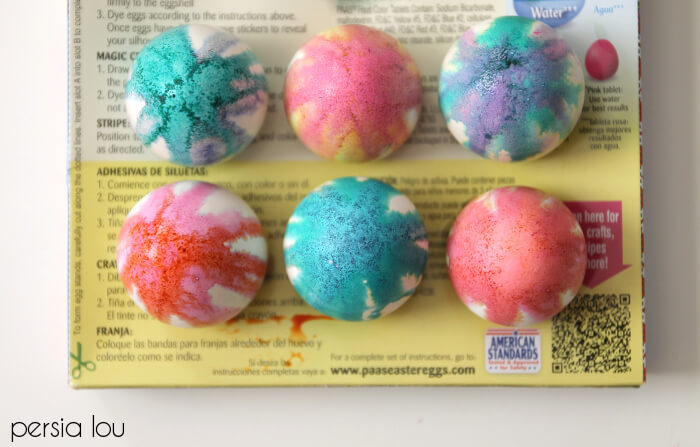
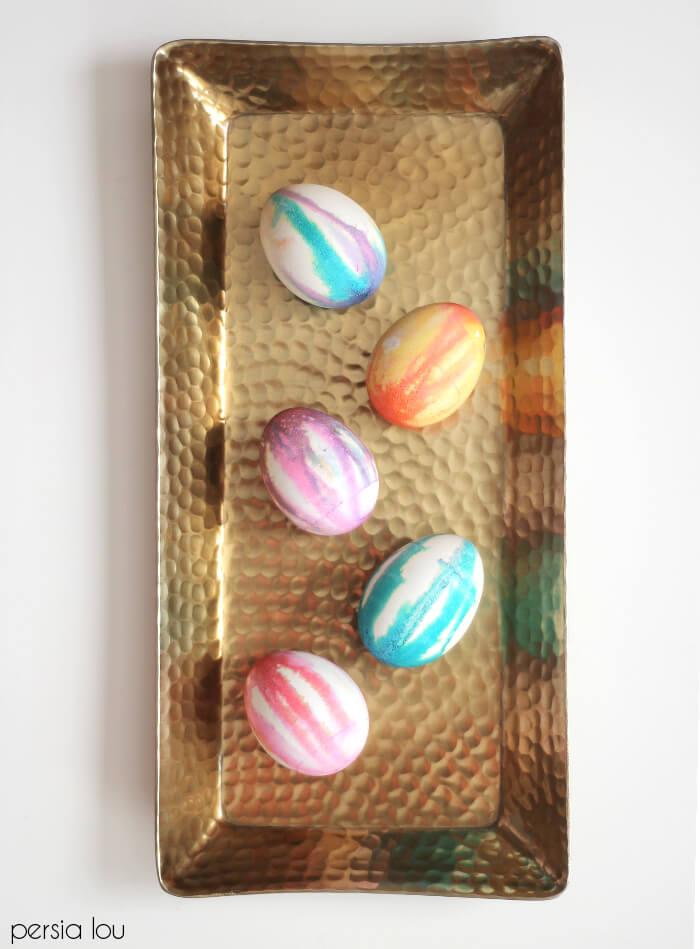
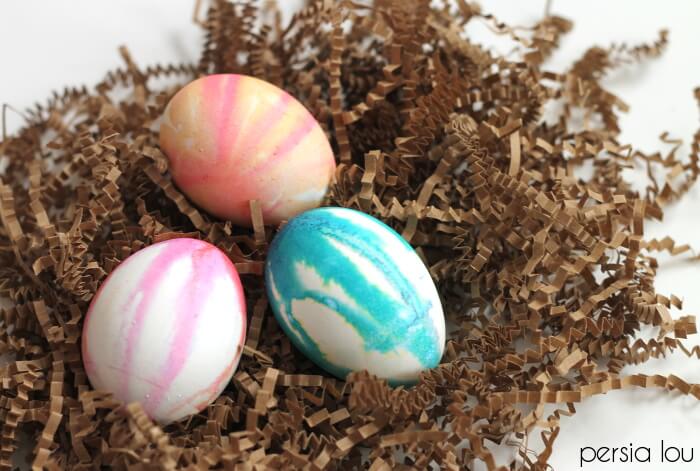
These were so much fun to make, and I think they turned out so pretty! What’s your favorite way to decorate eggs?
 Happy Making!
xoxoalexis1
make your own watercolor drip dyed easter eggs with regular egg colors. Fun and pretty!

March 9, 2015 12:30 pm Alexis Middleton Filed Under: Celebrate

Reader Interactions

Comments

  1. Amy @ Homey Oh My! says

    March 11, 2015 at 3:20 am

    These are so so so creative and gorgeous!! Much easier to do than I thought!

Primary Sidebar

Looking for Something?

FAVORITE POSTS

simple crochet star Christmas ornaments - free pattern
Make your own emoji lapel pins from shrink plastic. So fun to make, wear, and gift! Free printable cards for gifting.

Footer

Content Sharing Policy

First off, thank you so much for being here! I would be so honored if you would like to share one of my projects, but please only use one or two photos and be sure to link back to the original post. Thank you!

If you see anything here that has been improperly credited, please let me know and I will fix it right away. You can email me at persialou@gmail.com.

  • Home
  • About Me!
  • Disclosures and Privacy Policy

© Copyright 2016-2019 persialou.com · Theme by: PDCD