Learn how to use reflective heat transfer vinyl to easily add reflective designs to clothing! Reflective iron on vinyl is great for workout clothing, safety gear, Halloween costumes, or any project you want to add some shine too. Thank you to Expressions Vinyl for sponsoring this post!
Today, we are talking all about reflective heat transfer vinyl, which is one of my new favorite types of vinyl to play around with. Like other kinds of heat transfer or iron on vinyl, reflective heat transfer vinyl is a thin, flexible material which can be cut into designs and then applied to fabric (and other heatproof surfaces like wood), but what makes reflective heat transfer so special is it’s glass bead technology that makes it super reflective in even really dark conditions.
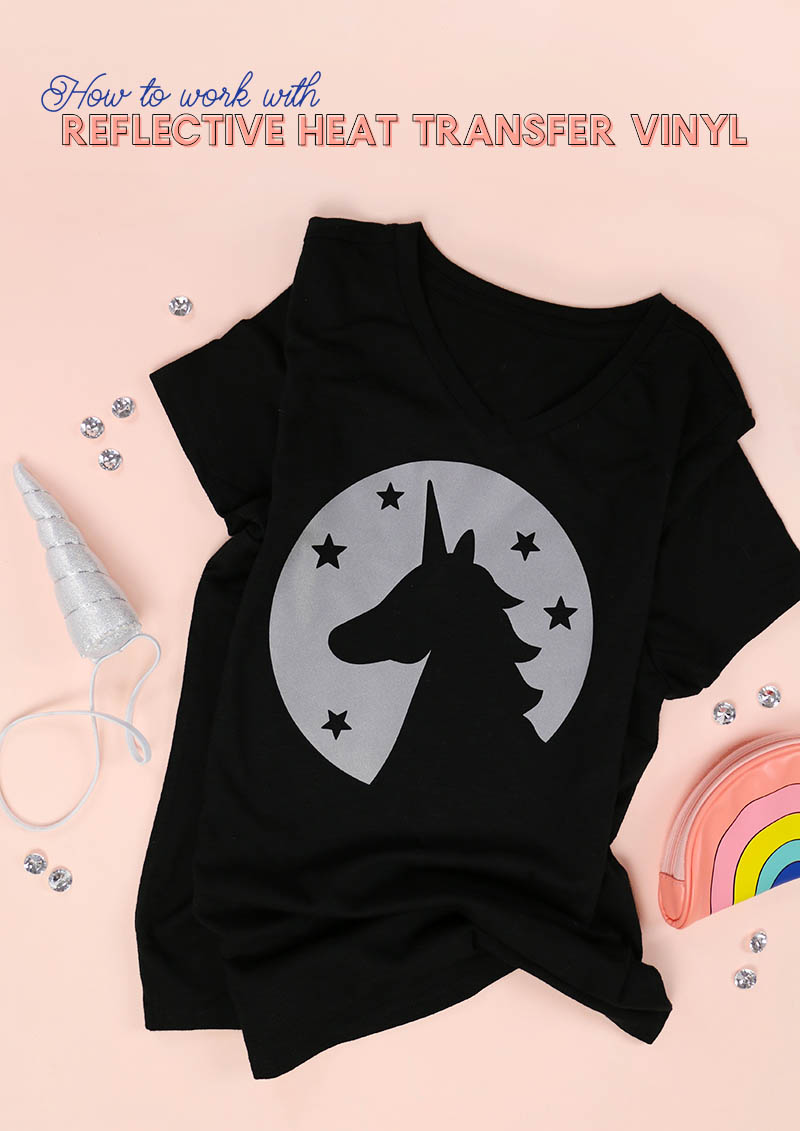
All that means that reflective heat transfer vinyl is a super simple way to keep you and your loved ones visible in the dark by adding some reflective shine and style to your running gear, your kid’s backpack, or a Halloween costume. Also, it’s just kind of fun! I decided to put the reflective HTV to work on a simple, cute unicorn shirt, because my daughter just cannot get enough unicorns lately.

If you want to make your own reflective clothing, then I will walk you through the entire process right here. Let’s get started!
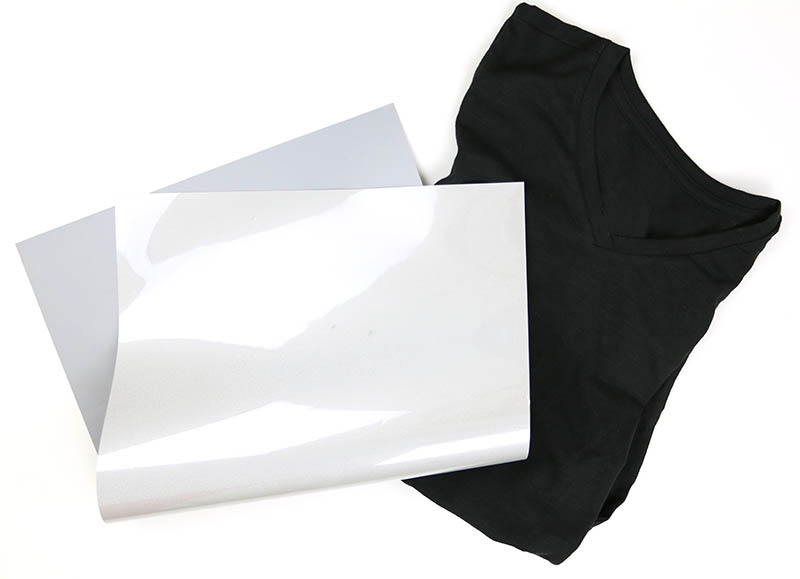
DIY Reflective Unicorn Shirt Supplies:
- Plain Black Shirt
- Reflective Heat Transfer Vinyl
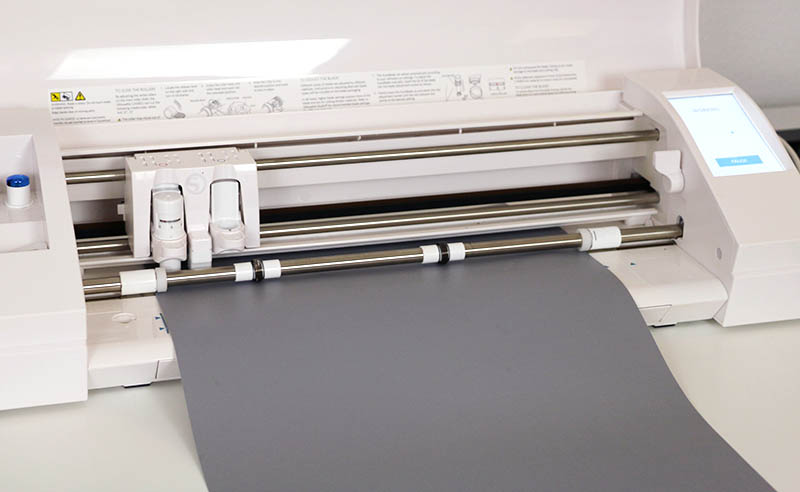
- Silhouette Cameo 3, Cricut, or other cutting machine
- Weeding Hook
- Multi-Use Paper, Parchment Paper, or thin cotton fabric
- Iron, Heat Press or Cricut Easy Press
How to Use Reflective Heat Transfer Vinyl
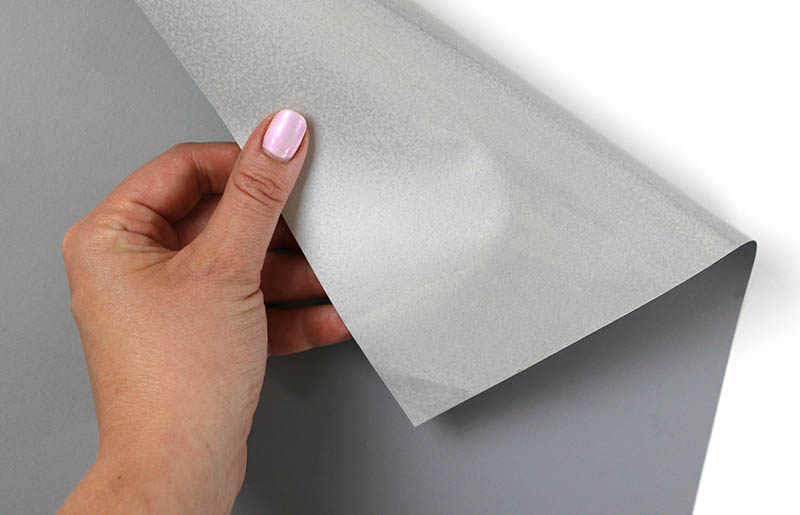
When you first look at your sheet of reflective heat transfer vinyl, it looks a bit like holographic vinyl on the shiny side, but when the carrier sheet is pulled back it loses that holographic look. The adhesive side is a darker matte gray; this is the side you will cut your design on.
For the most part, reflective heat transfer vinyl works pretty much the same as most heat transfer vinyls (You can read through my detailed guide to working with heat transfer or iron on vinyl right HERE), but I will walk you through the basic steps below.
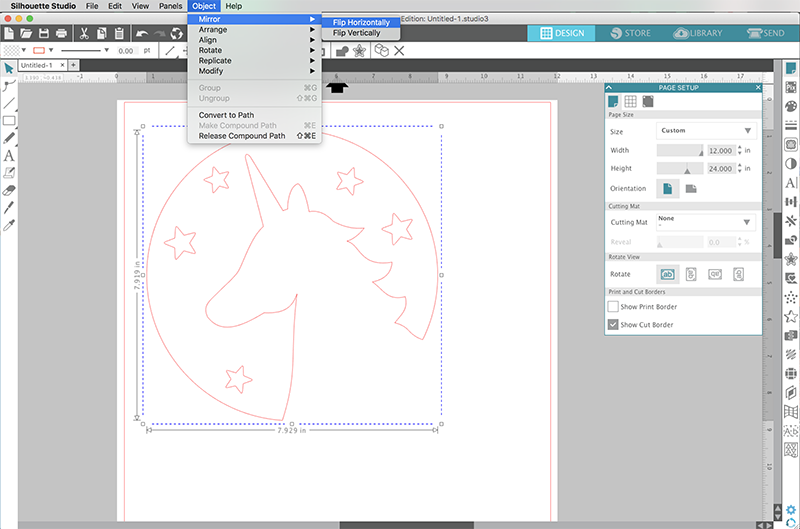
Mirror Design and Cut
Start by opening your design in your cutting machine software. I am using my beloved Silhouette Cameo 3 and the Silhouette Studio software. For this shirt, I used the Unicorn and Stars Design (#212372 in the Silhouette Design Store).
After opening the design, scale it to your desired size, and then mirror the design. You need to mirror the design because you are cutting on the back side of the heat transfer vinyl and you will flip it back the other way when you apply it to your shirt.
Next adjust your cut settings and send it to your machine to cut. For this reflective heat transfer vinyl, I used the settings blade depth 2, speed 7, and force 5, which worked perfectly.
Weed and Apply Vinyl
After your design has finished cutting, use your weeding hook (this one is my absolute favorite) to remove the excess vinyl from around the design. Next, iron your shirt to remove any wrinkles and get it warmed up. Then, position your design on the front of your shirt. Cover with a piece of multi-use paper, cotton fabric, or parchment paper. With your iron set to the cotton setting, apply heat and light pressure for about 15-20 seconds making sure to cover the entire design. Finally, allow the carrier sheet to cool for a few seconds before removing it.

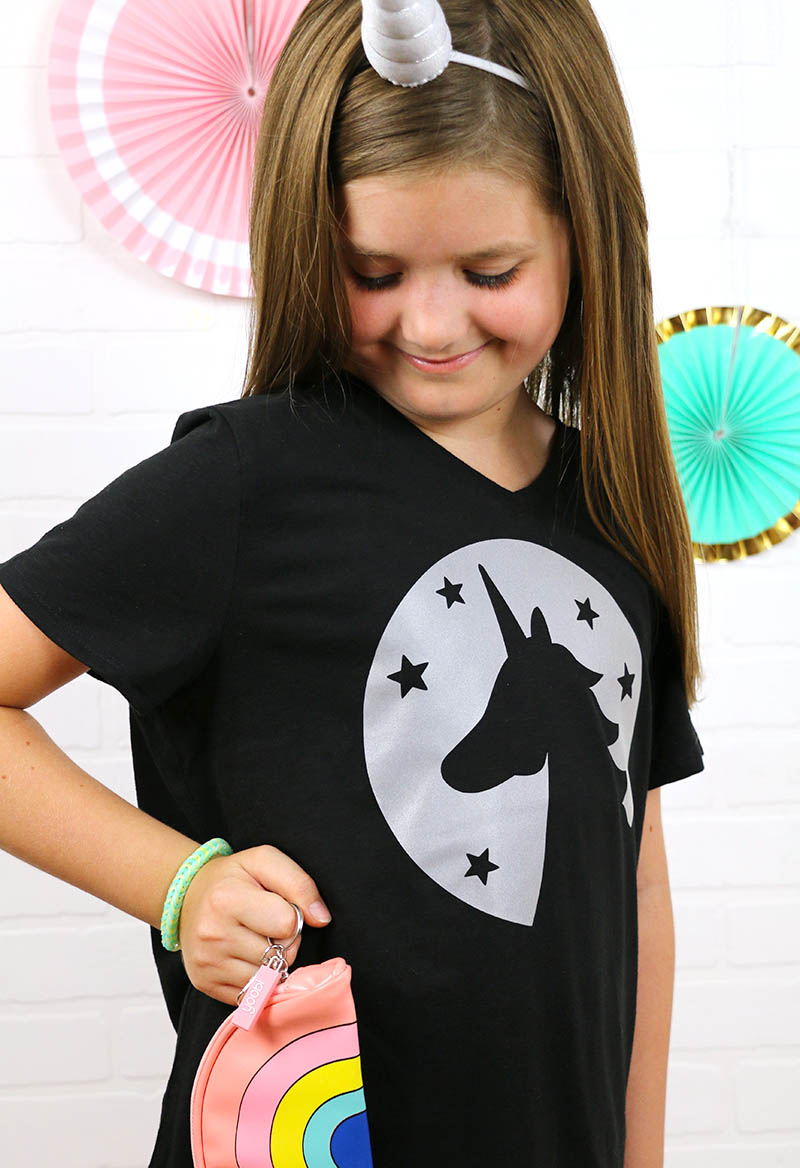
And that’s it! Your new reflective design is all done and ready for wearing and shining. Just look how it reflects the light from my camera flash:
My daughter was really happy with the way this shirt came out, and loves the way it reflects the light!
What do you think? Will you give reflective heat transfer vinyl a try? I’m thinking it would be a great option for Halloween costumes!
Happy Making!

Check out more heat transfer vinyl projects:
[the_grid name=”Heat Transfer Vinyl Footer”]


Comments + Project Love
Cece says
Where did you get the unicorn design for reflective tshirt
Alexis says
Hi Cece! That design is available in the Silhouette Design Store.