• Skip to primary navigation
  • Skip to main content
  • Skip to primary sidebar
  • Skip to footer
  • Craft & DIY
    • DIY Art Projects
    • DIY Home Decor
    • Free Printables
    • Kids Crafts
    • Paper Crafts
    • Silhouette Crafts
    • Vinyl Crafts
      • Vinyl 101
    • Friday Craft Club!
  • Celebration
    • Party
    • Gift Ideas
    • Halloween
    • Thanksgiving
    • Christmas
    • Valentine’s Day
    • St. Patrick’s Day
    • Easter
    • Fourth of July
  • Crochet
    • Crochet Patterns
      • Crochet Accessories
      • Crochet for the Home
      • Crochet for Kids
    • Crochet Stitches
  • Silhouette
    • Silhouette Studio
    • Silhouette Mint
    • Silhouette Curio
    • Silhouette Alta 3D Printer
    • Silhouette Deals
  • SVG Cut Files
  • SHOP
  • Nav Widget Area

    • Facebook
    • Instagram
    • Pinterest
    • YouTube

Persia Lou

Creative. Crafty. Fun.


Phew! – Family History Storybooks

I made it! I got through the first round of One Month to Win It! Did you go check out all of the projects and vote? There were some awesome projects this week.

Did you guess which one was mine?


I really love the way these books turned out. I started with personal histories I had recorded, but you could use any memories. Getting the story broken up into pages and on the right side of the paper for printing takes a bit of thinking and finagling (I can’t believe I spelled that correctly on the first try). If anyone is interested, I could work on putting together a Word doc with the pages set up for people to make their own books.
After I had all the text on the pages, I added illustrations. For one book, I hand drew the illustrations and then scanned them onto my computer. This way, I can easily make additional copies of the same book. For the other book, I used clipart and other images from the internet.

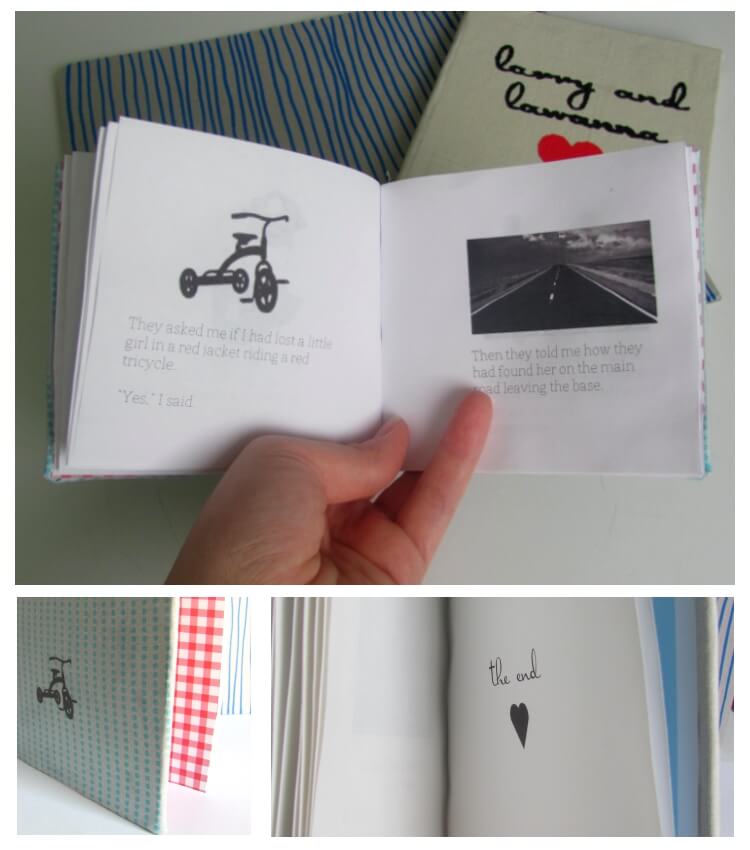
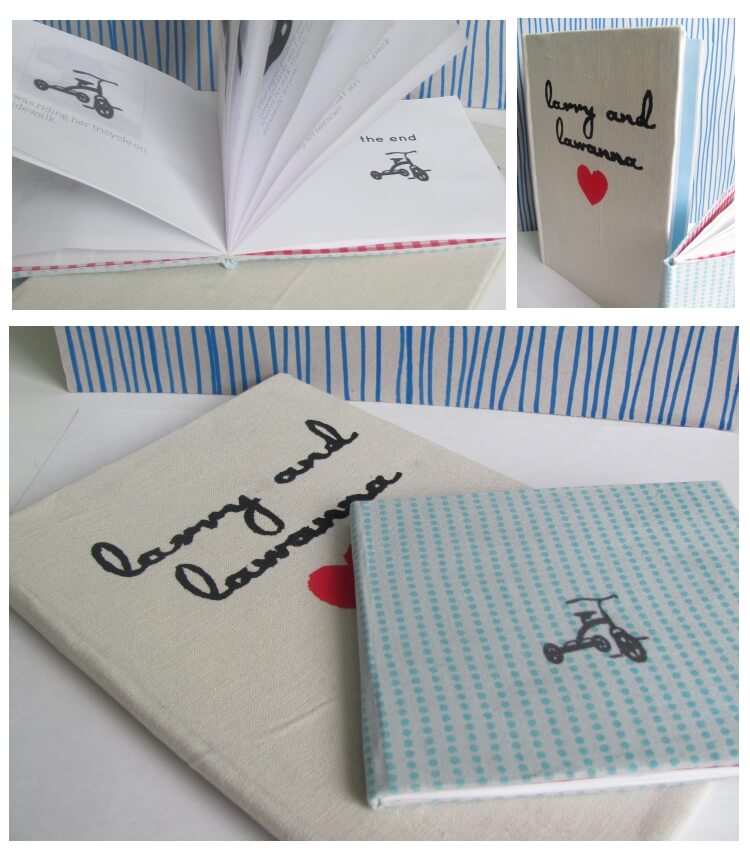
I wanted cloth covers, and I used freezer paper to personalize them. I made a stencil for one book.

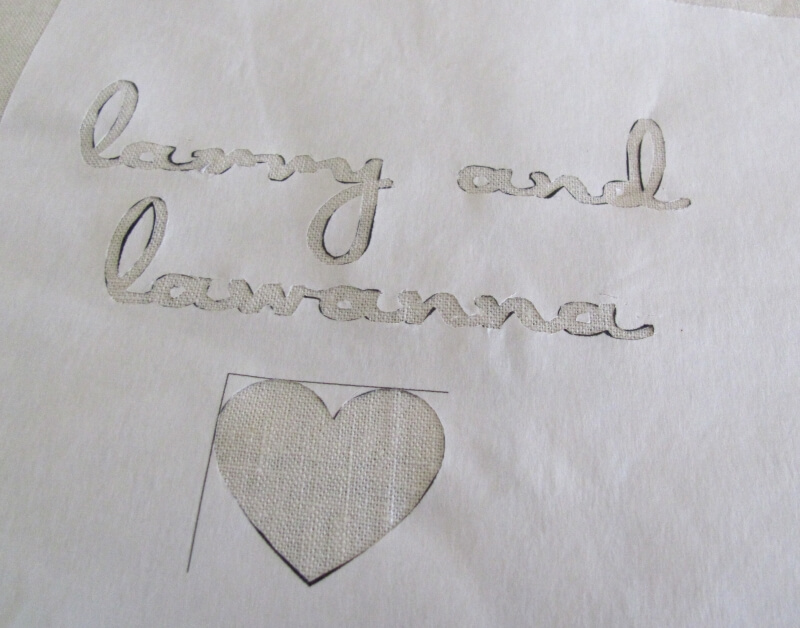
That was maybe the most difficult part of the whole process. This would be SO much easier with a silhouette. Maybe one day… ๐Ÿ™‚

For the other cover, I attached fabric to a piece of freezer paper and printed an image directly on the fabric. This is much easier than stenciling, but it will only work for a smaller book.

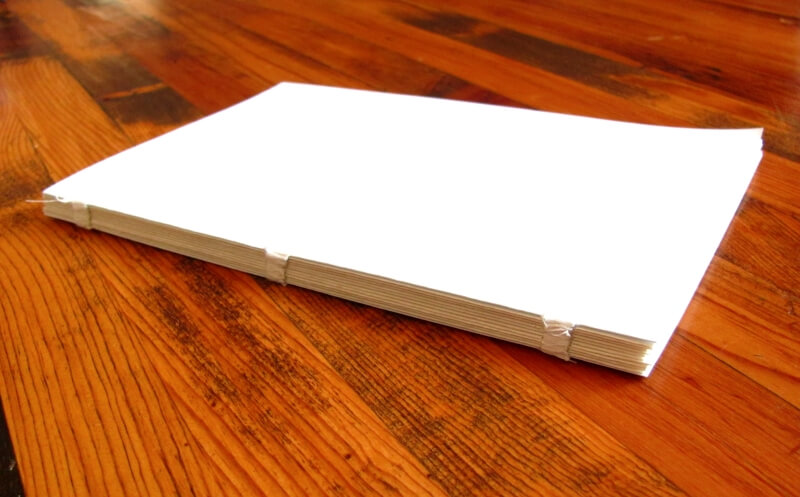
To start binding, you need
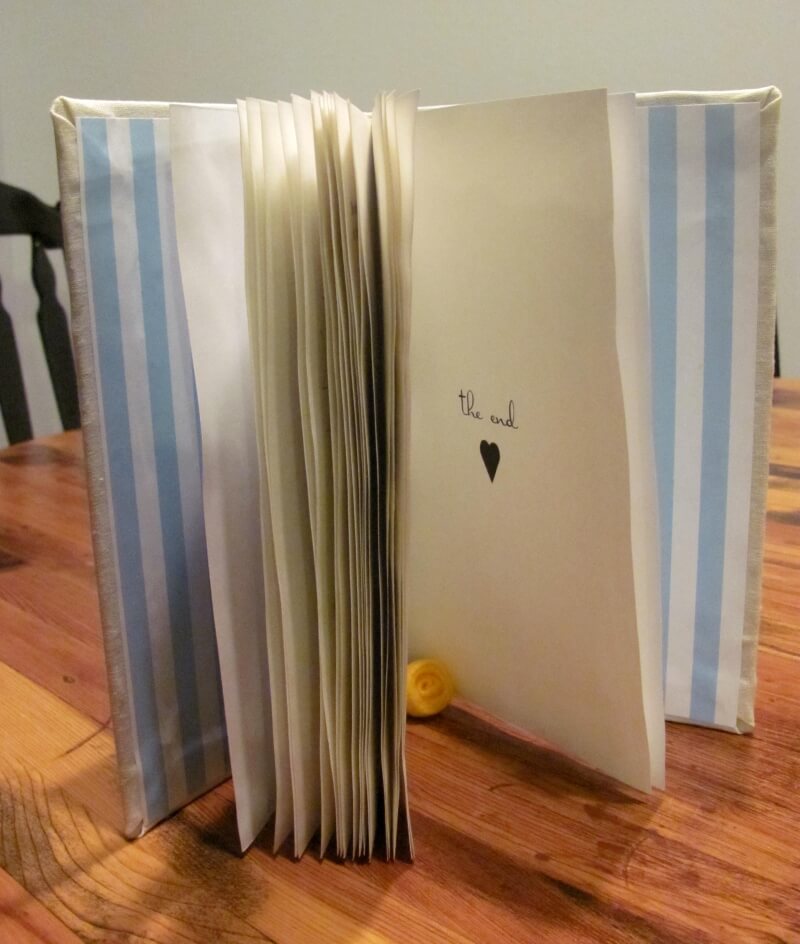
  • the pages of your book ย printed and folded
  • two decorative endpapers
  • the cloth cover
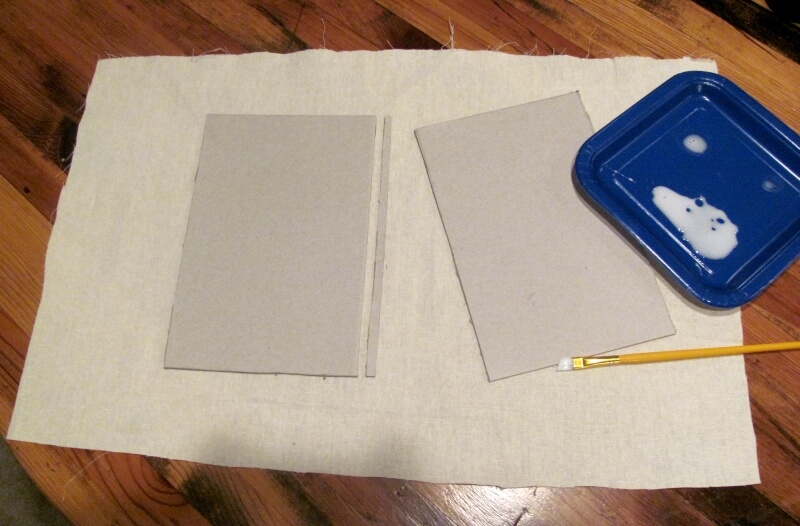
  • chipboard or cardboard cut to size (I bought a 99 cent three-ring binder, cut off the vinyl cover, and used the board inside)
  • needle and thread
  • Elmer’s glue
  • paint brush
First you need to sew the pages of your book together. I didn’t have all the proper tools for this, so I made do. I used a simplified, dumbed down version of the instructions used here. I will work on putting up a more detailed tutorial in the future.


After the pages are sewn together, glue a piece of fabric over the binding with white glue. Then add the fabric to the cover by painting on white glue and smoothing the fabric down. Fold the edges of the fabric over and glue to the inside of the cover.


Once the cover is covered, you attach the pages by gluing the endpages to the cover.

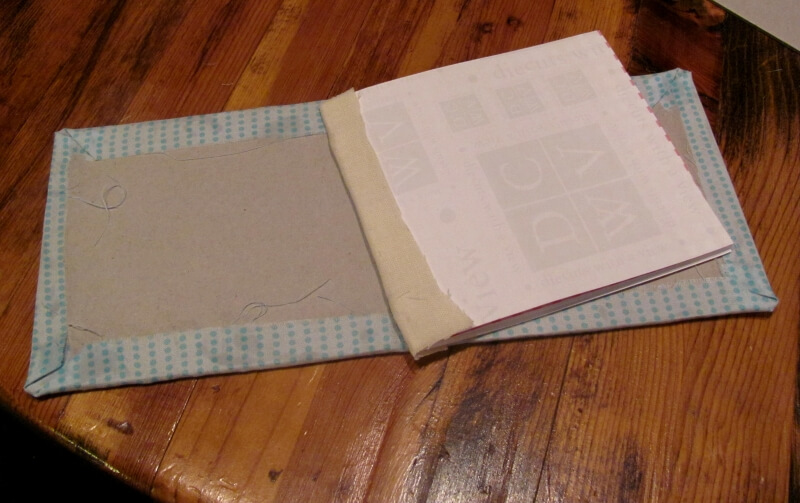
The endpages cover the unfinished edges of your fabric, hold the pages in the cover, and make your book look super cute.

I’ve read these stories to my son at bed time, and he really seems to like them. I’m not quite sure if he understands who they are about yet, but I think he will one day. I love the idea of my kids growing up knowing stories about their grandparents and great grandparents.
Now, off to finish my Week 2 project for OMTWI!


May 6, 2011 4:43 pm Alexis Filed Under: Craft

Reader Interactions

Comments

  1. Taylor says

    May 6, 2011 at 5:35 pm

    Thanks! And I loved this project! Good luck next week, I'm off to finish my project… ๐Ÿ™‚

  2. Steph @ Crafting in the Rain says

    May 6, 2011 at 5:59 pm

    Congrats! That really is a cute project ๐Ÿ™‚

  3. Melissa @ Love Affair With My Brother says

    May 6, 2011 at 6:58 pm

    Congrats on making it through the first week and thank you for the tutorial!<br /><br />http://loveaffairwithmybrother.blogspot.com

  4. BluBabesCreate says

    May 7, 2011 at 5:23 pm

    Cute, cute, cute! And thanks for the compliment!

  5. Jenny @ Embellishing Life says

    May 10, 2011 at 2:33 am

    Love this idea!! This would make a great anniversary gift.<br />I hope you&#39;ll come link this up :)<br />http://embellishinglifeeveryday.blogspot.com/

  6. Sarah @ Sarahndipities says

    May 10, 2011 at 4:29 pm

    I love the way this turned out! Such a lovely idea!!

  7. Jenny @ Embellishing Life says

    May 11, 2011 at 12:53 pm

    Love your storybooks and I&#39;m featuring them today:)<br />http://embellishinglifeeveryday.blogspot.com/2011/05/check-this-out_10.html

  8. Lindsey @ Inspiring Creations says

    May 17, 2011 at 1:00 am

    Love this! What a fun idea! ๐Ÿ™‚

  9. Cathy says

    January 11, 2012 at 3:25 am

    Wow! Great idea. And I guess, this is perfect as a gift, eh.<br /><br />Cheers,<br />[email protected]<a href="http://www.digitplace.com/&quot; rel="nofollow">embroidery digitizing service</a>

Primary Sidebar


Looking for Something?

FAVORITE POSTS

simple crochet star Christmas ornaments - free pattern

Footer

Content Sharing Policy

First off, thank you so much for being here! I would be so honored if you would like to share one of my projects, but please only use one or two photos and be sure to link back to the original post. Thank you!

If you see anything here that has been improperly credited, please let me know and I will fix it right away. You can email me at [email protected]

  • Home
  • About Me!
  • Disclosures and Privacy Policy

© Copyright 2016-2019 persialou.com · Theme by: PDCD