Paint your own palm leaf pencil pouch! You can easily add tropical flair to any bag with multi-surface paint. Use it to store school supplies, makeup, or anything you like! A big thanks to DecoArt for sponsoring this post, which may also include affiliate links. See my full disclosure policy here.

It may still be the middle of summer, but the back to school supplies are on the shelves, which means it is a dangerous time for me to make a target run. I was there a few days ago and I had to buy some new tapes, makers, scissors, and more. The lady who checked me out asked, “School supplies already?” And I had to admit they were for me, not the kids. Ha!
While I was there I found a bunch of blank or nearly blank pouches and notebooks to decorate for the upcoming school year and for, you know, just everyday use. I found some good ones!

I was especially excited about the Bethany Mota items I picked up in the regular school/office supply section because they are completely blank and ready to be prettied up. To decorate my new little pouch, I decided to go with a tropical palm leaf look with a little something extra. I was inspired by Sarah Illenberger’s amazing Wonder Plants to add some colorful polka dots, and I really love the way it turned out.
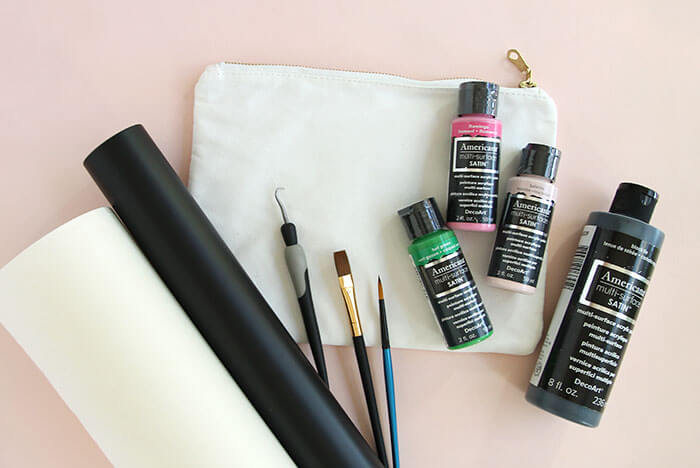
Palm Leaf Pencil Pouch Supplies:
- Blank Zipper Pouch
- Americana Multi-Surface Satin Paint (This paint is specially designed to work on fabric and other surfaces. If you use regular craft paint, you might also need fabric medium.)
- Adhesive Vinyl
- Silhouette Cameo or Craft Knife
- Weeding Tool
- Transfer Tape
- Brushes
- Embroidery Floss (optional – for tassel)
- Needle
- Scissors
- My Free Leaf Template – PDF or SVG version
Palm Leaf Pencil Pouch Tutorial
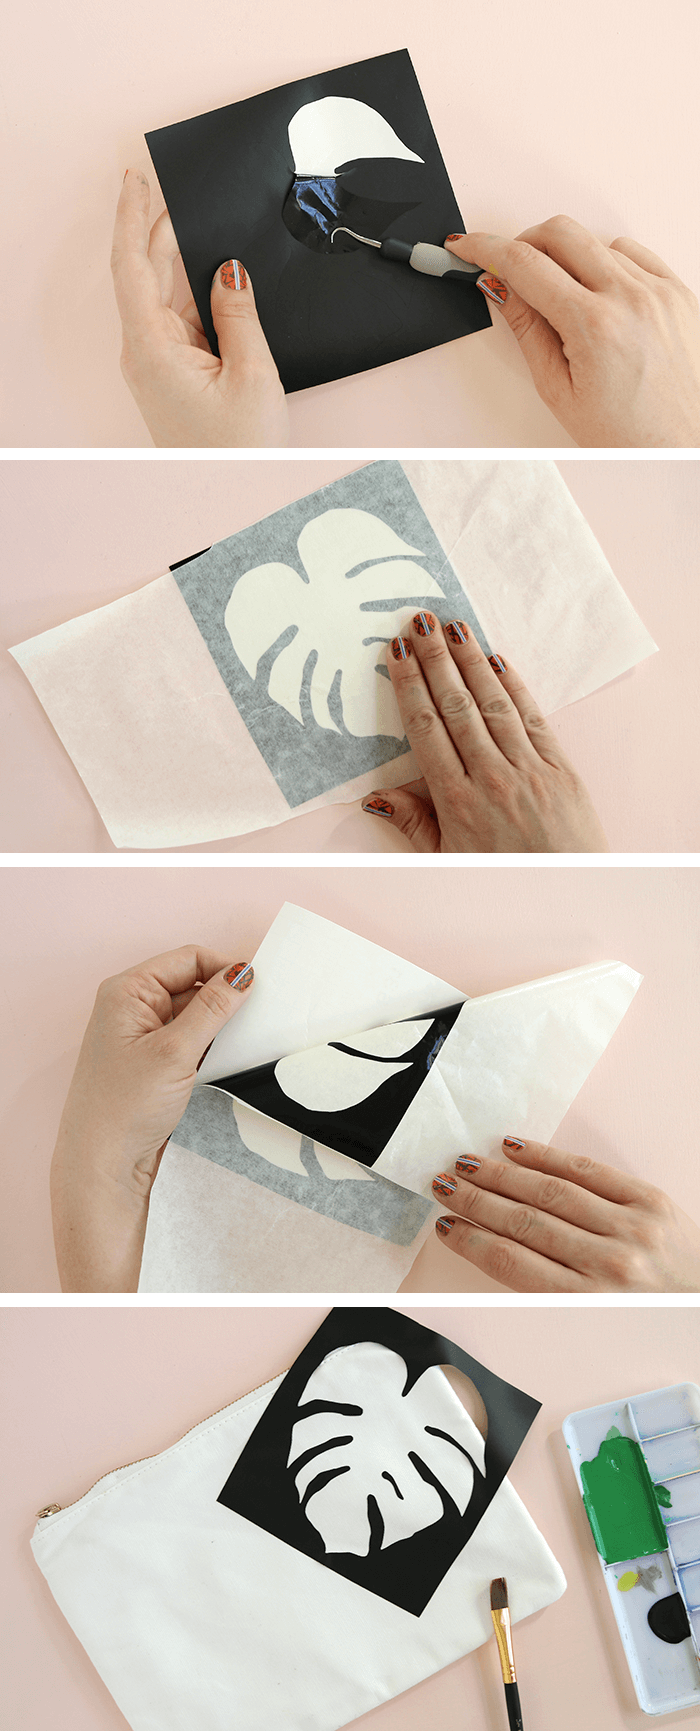
Step One – Stencil!
Start by by cutting your stencil from the vinyl. This is super easy if you have a silhouette or another cutting machine, but is totally doable with a craft knife too. Once it is cut, use your weeding tool to remove the leaf shape. Then pick the stencil up from the vinyl backing using a piece of transfer tape (contact paper works well too). Finally, place the stencil where you want it on your bag, and remove the transfer tape.
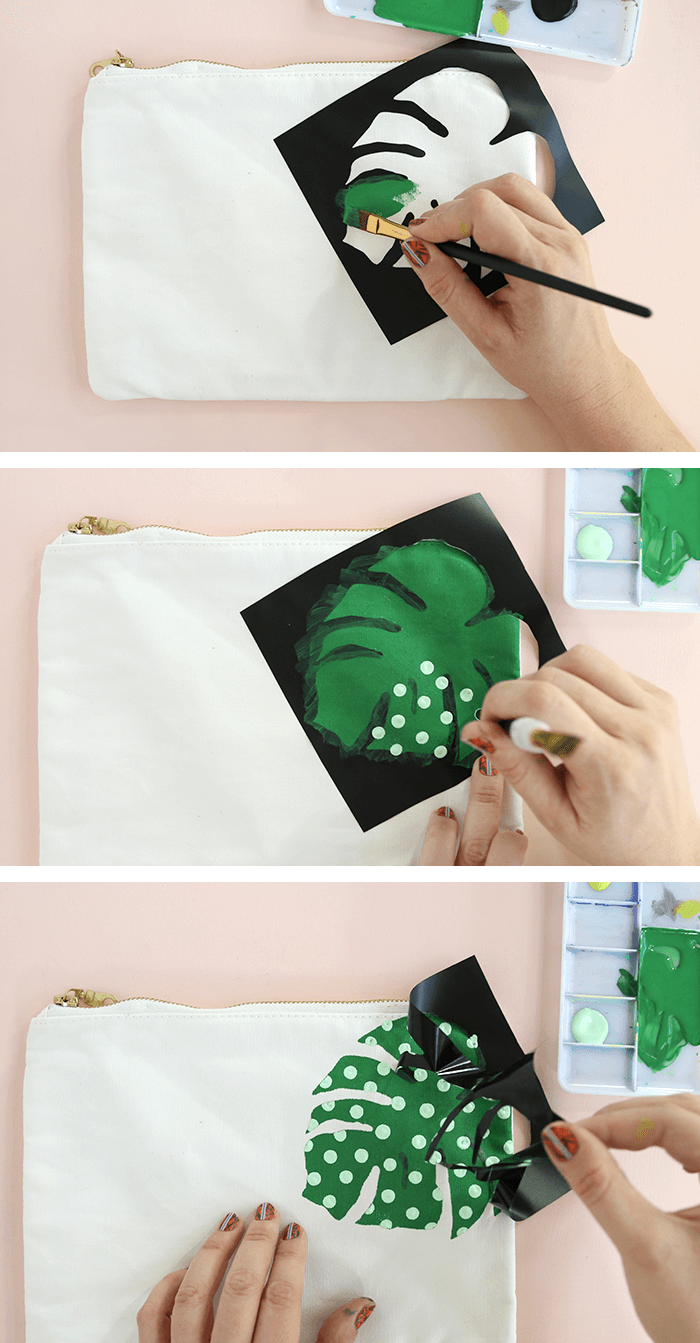
Step Two – Paint!
Next up, paint your leaf! Start by carefully painting the background of the leaf using a darker green. Use your brush to pull the paint over the edge of the stencil and onto the fabric rather than to push it towards the edge of the stencil. This will help to keep the paint from bleeding underneath the vinyl. When you are done painting the background, use the handle end of your brush to add contrasting polka dots all over the leaf. Finally, remove the stencil, and set it aside to dry before moving on to your next leaf. Repeat the process for as many leaves as you like!
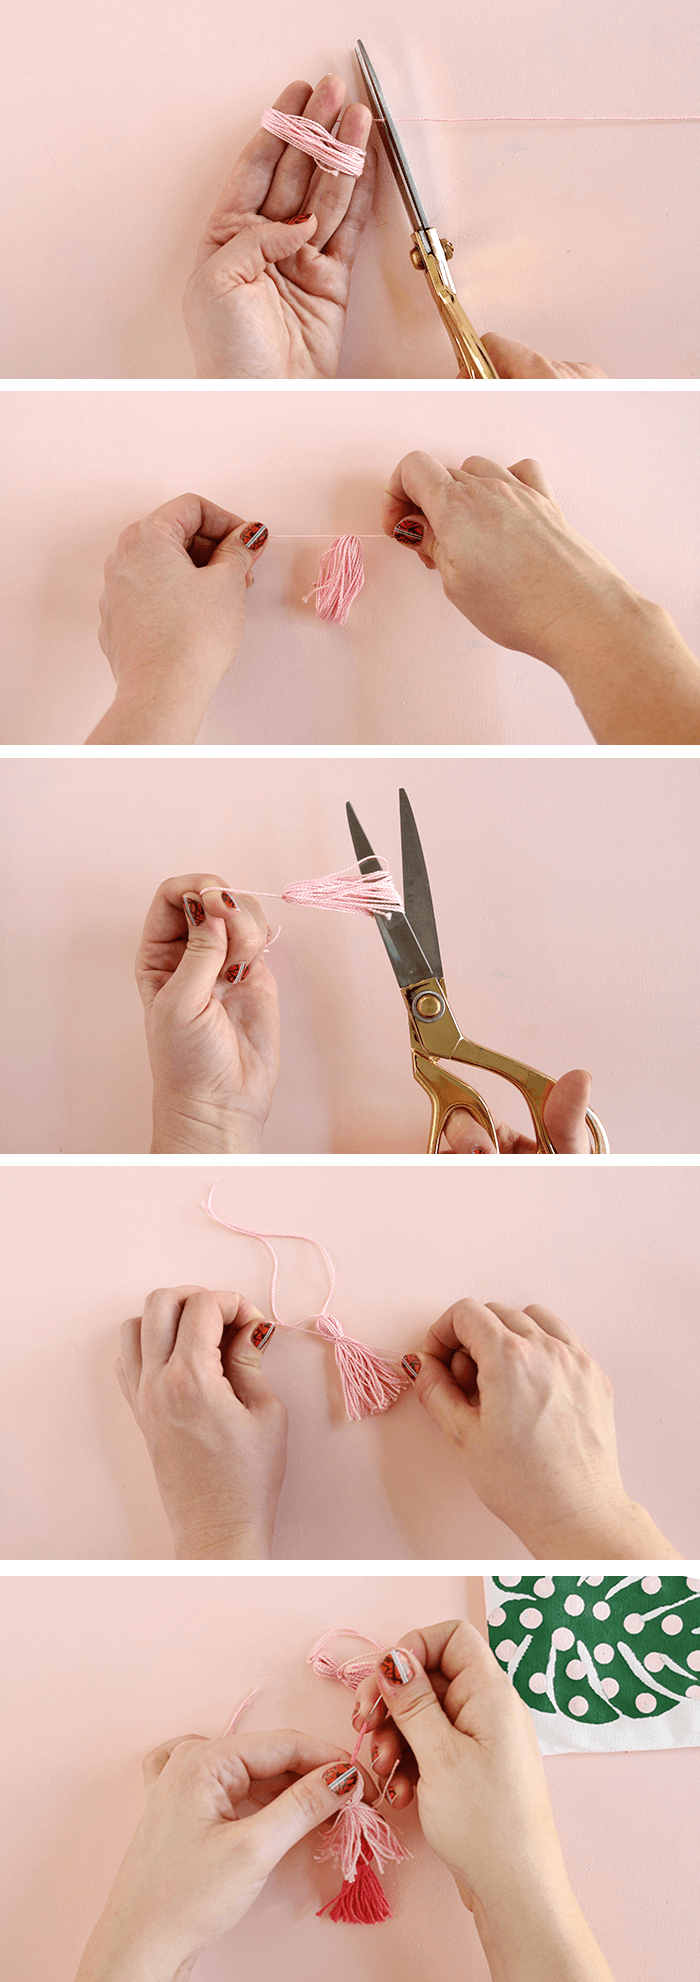
Step Three – Tassel!
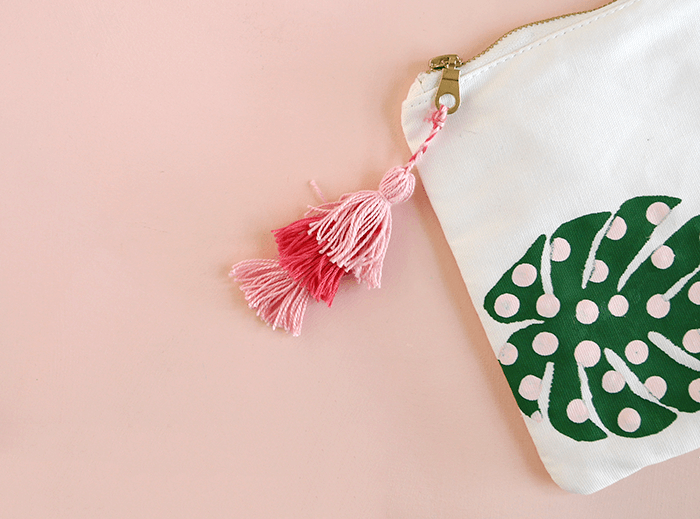
The last step is optional, but highly recommended – add a tassel to the zipper pull! I decided to do a little stacked tassel for this pouch. You will need to make three small tassels and then connect them to each other and tie them to the zipper.
To make a tassel, start by wrapping embroidery floss around three of your fingers several times. When you have the fullness you want, clip off the excess thread. Thread a new piece of embroidery floss through your loop and tie around one end. Cut the other end of the loop open. Tie another new piece of embroidery floss around the tassel about half an inch below the tied end. Trim the tassel to the desired length. Repeat this process twice so you have three small tassels of the same size. Thread the top strings of one tassel onto a needle and pull it up through the center of a second tassel. Repeat this until all through tassels are strung together. Finally, tie the stacked tassel onto the zipper pull.
That’s it! Your little pencil pouch is all ready to be filled with your favorite things.

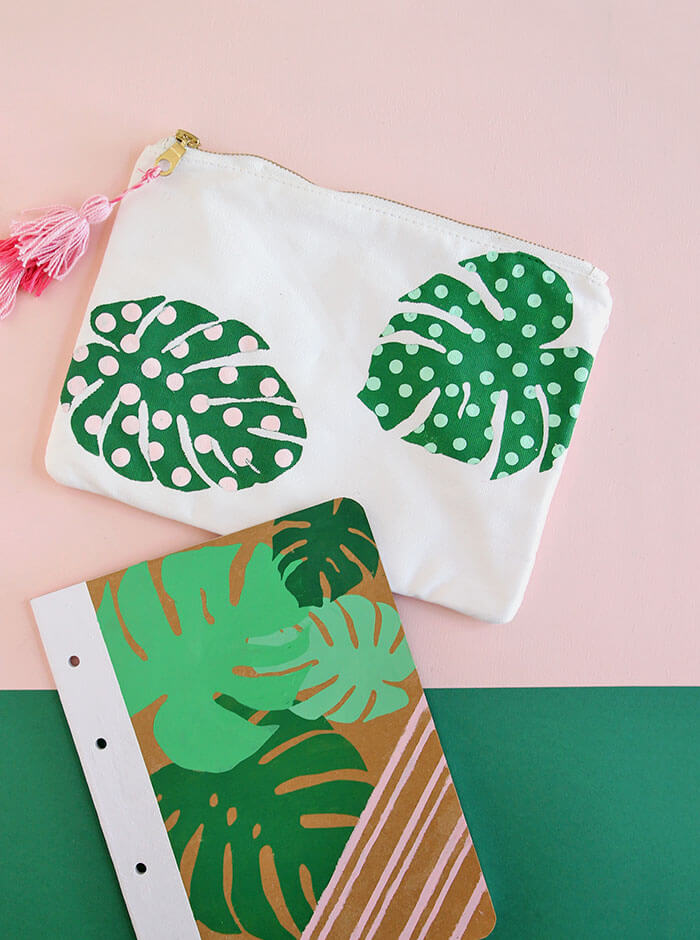
I also made a little notebook using the same template and paints. These leaves make pretty much everything cuter, and since the Americana multi-surface paint works on so many different surfaces, you could add them to pretty much anything!


If you make your own palm leaf pencil pouch, I would love to see it! Share your photos to my facebook page or tag me on instagram or twitter (@persialou), and don’t forget to use the hashtag #persialou for a chance to be featured.
Happy Making!

There’s more craftiness where that came from! Check out these other projects:
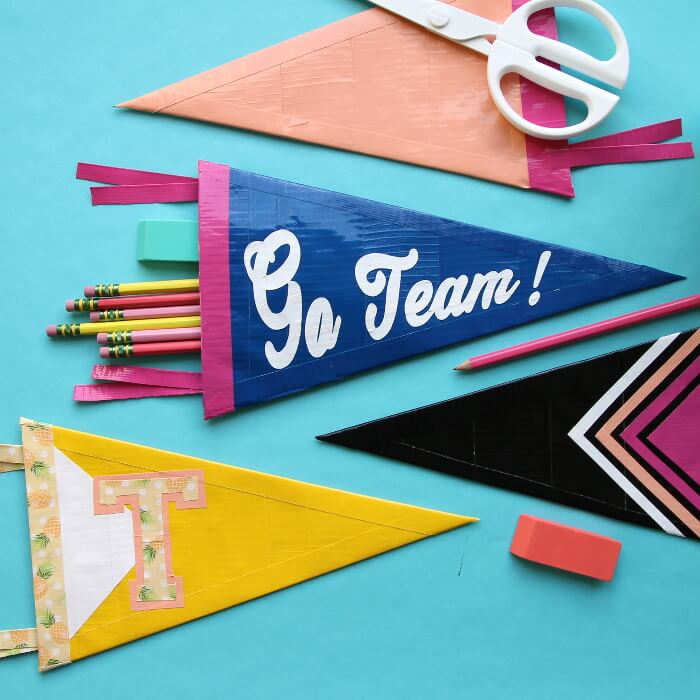
DIY Duck Tape Penant Pencil Pouches
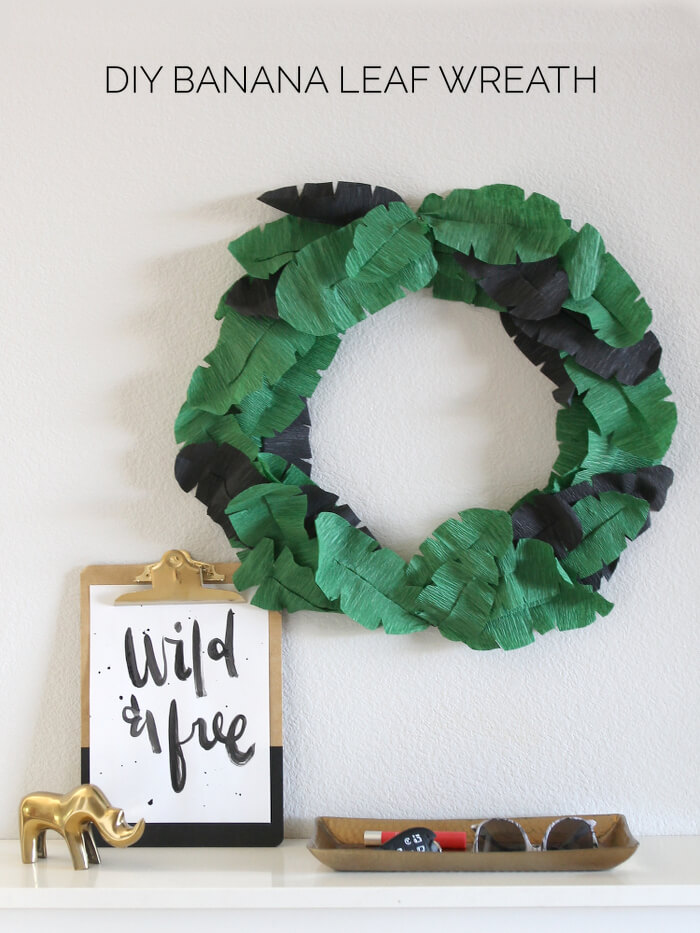
Crepe Paper Banana Leaf Wreath


Comments + Project Love
Heidi @ Happiness is Homemade says
SO super cute!
Alexis says
Thanks so much, Heidi!
Marwa | Enthralling Gumption says
I like the polka dot effect, this is the perfect project to try this summer!!
Alexis says
Thanks so much, Marwa!
Birgit says
This is really cute! And it looks like it comes from a (probably expensive) shop!
Alexis says
Thank you so much! 🙂