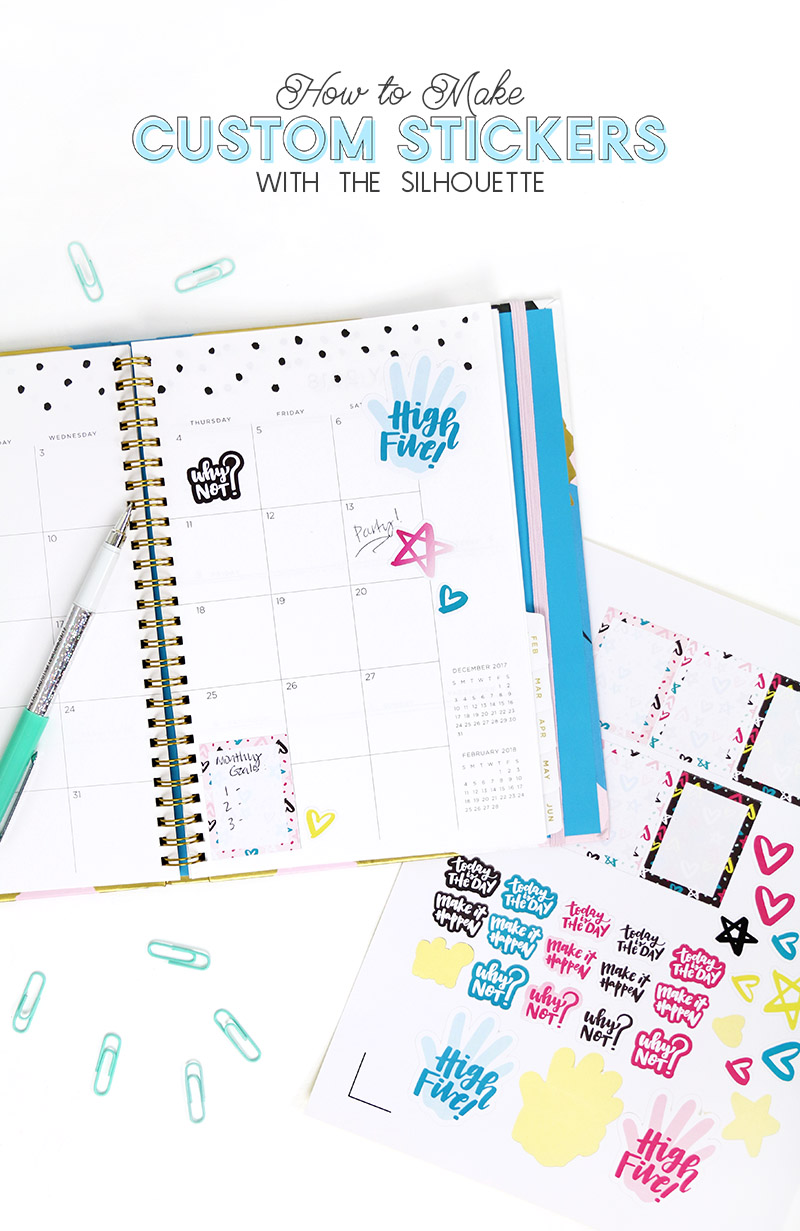
Learn how to make stickers using your Silhouette Cameo! It’s easy to make DIY planner stickers or any other kind of custom stickers, and I will walk you through each step. This post contains affiliate links, which allow me to earn a small commission at no extra cost to you.
We are only a few days into the year, but I have already spent a lot of time planning and dreaming and hoping for the coming year. I’m guessing you are probably doing some of that too, am I right? I mean, tis the season!
In my opinion, cute stickers, motivational quotes, and fun calendaring designs always make that planning and goal setting more fun, and that’s what this post is all about
Today, I’m going to share how to take your SVG cut files and turn them into custom planner stickers using the Silhouette Studio software and your Silhouette machine. It’s so easy, you are going to want to make your own stickers all the time!
DIY Custom Sticker Supplies:
- Printable Sticker Paper (I like the Silhouette brand, but any printable sticker paper will work) OR Printable Adhesive Vinyl for more permanent decals (see my post on working with printable vinyl HERE)
- Silhouette Cameo
- Silhouette Studio Designer Edition Software (You have to upgrade to the Designer Edition or higher to open SVG files.)
- My Make It Happen Mini Cut File Bundle
How to Make Stickers with Your Silhouette
I made a detailed video of the whole process of making stickers from SVG files using the Silhouette Studio software. You can watch the video below, or, if you would prefer to read, I will go over some of the main tips below.
How to Make Stickers Tip #1 – Adjust Colors or Add Gradients
One of the best parts of working with SVG files is that it is super easy to change the colors of your designs and customize your stickers to your heart’s content.
To change the color of a design in the Silhouette Studio software, simply click on the object to select it and then click on the palette icon to open the Fill menu. You can choose one of the preset colors, or click on “Advanced Options” to get even more color options.

You can also easily add gradient fills to your designs. Simply click on the gradient box at the top of the Fill menu and then select the gradient you like. You can change the colors of your gradient under Advance Options.
How to Make Stickers Tip #2 – Make Stickers for Lists and Menus By Adding Patterns
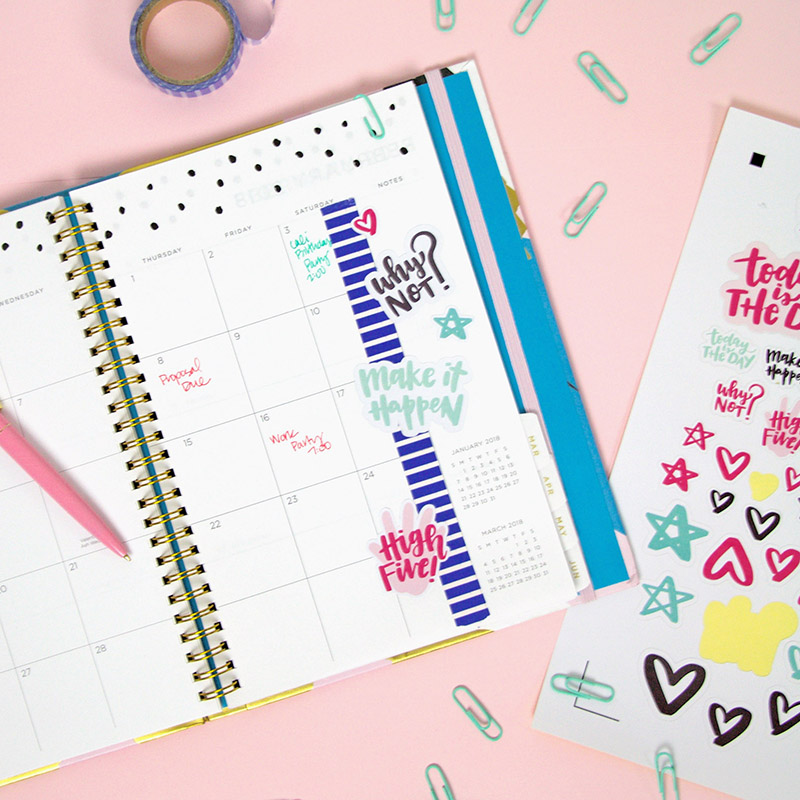
You can make your to do lists extra cute by writing them on pretty patterned stickers. You can create your own stickers in custom sizes to fit your planner easily.
Start by using the shape tool to draw a rectangle the size that you want your sticker to be. Then you can fill that rectangle with a pattern by clicking on the polka dotted icon at the top of the Fill menu.
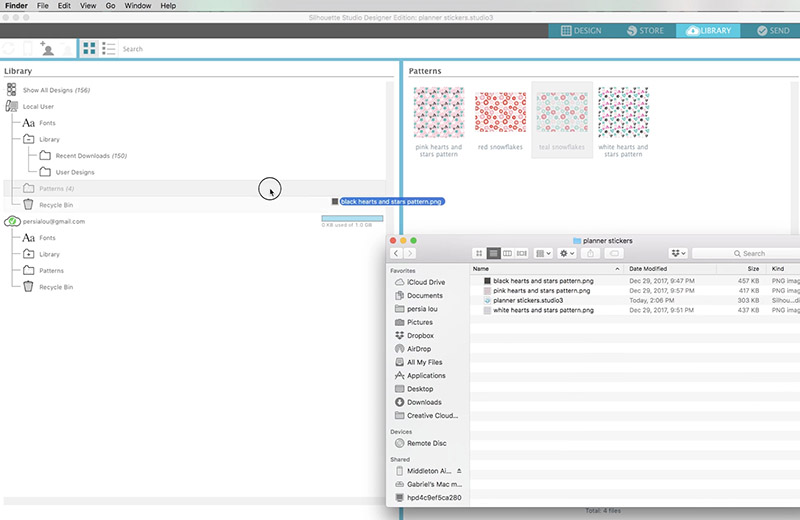
You can select one of the patterns that come in the cut file bundle or upload your own custom patterns. To add new patterns to the Silhouette software, simply open the Library, and then drag the file pattern onto the Patterns folder. That’s it!
Then, go back to the Design window, select your rectangle, and then click on the pattern you uploaded to fill the rectangle with that pattern. You can adjust the scale of the pattern and rotate it to get the look you want.
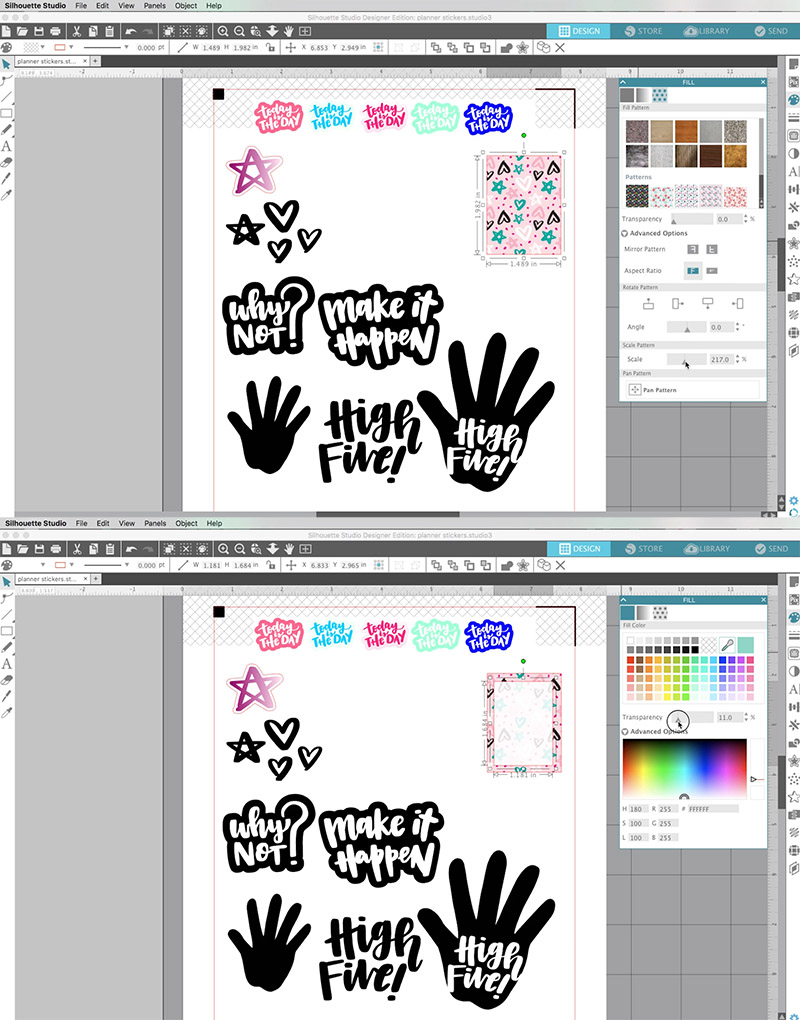
To make the sticker easier to write on, create another smaller rectangle and place it on top of your patterned rectangle. Fill this second rectangle with solid white and then adjust the transparency to create a space for writing notes and making lists.
How to Make Stickers Tip #3 – Adjust Cut Settings
If you are new to making your own stickers with your Silhouette machine, be sure to start by checking out my beginner’s guide to printing and cutting with your Silhouette.
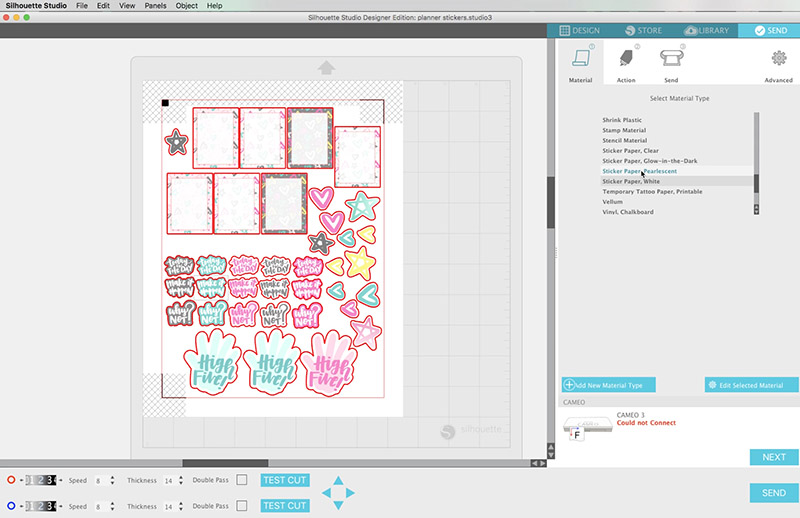
After you have your stickers colored and designed just how you like them, click on the Send tab to make sure everything is ready to cut.
Under the Action tab, you need to make sure that only the outside cut lines are set to cut. Set all the lettering and inside designs to “No Cut” to avoid holes in the middle of your stickers.
Finally, select “Sticker Paper, White” from the material menu, load your printed sticker paper into your machine, and cut!
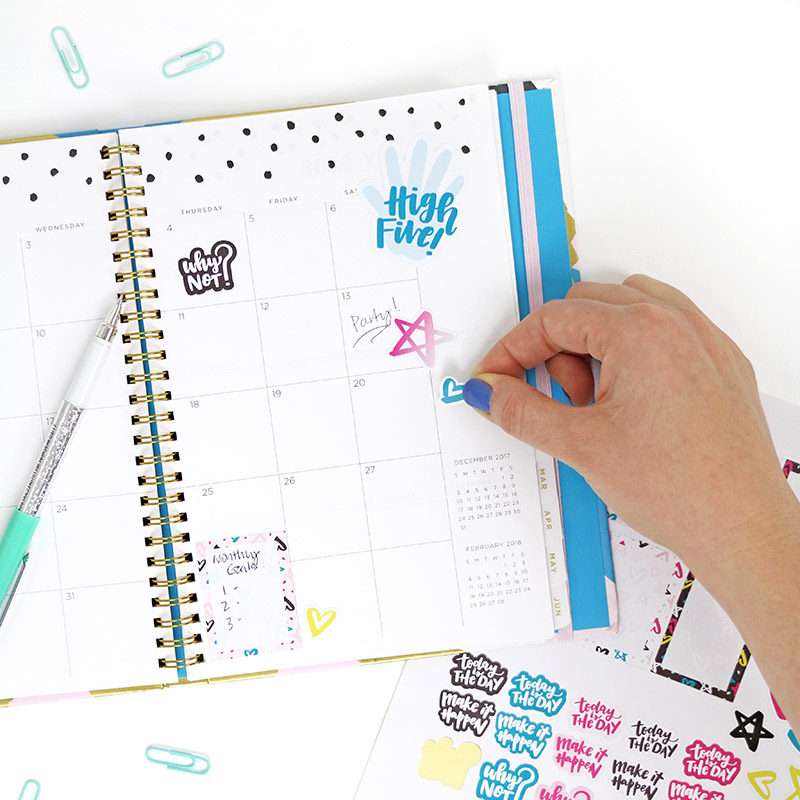
And, that’s it! All that’s left to do is peel, stick, and plan!
I hope this little tutorial was helpful for you! Have you tried making your own stickers with your Silhouette yet?
Until next time, Happy Making!


Comments + Project Love
KaeLeigh says
Such a great tutorial.. but im having a TON of trouble figuring out the “print” step. What happens in between creating the stickers, coloring them, creating cut lines for them.. and actually cutting them!? How to I send them to my printer and make sure the registration marks are lined up etc?
Alexis says
I should do a detailed Silhouette Print and Cut Tutorial. Basically, you print directly from the Silhouette Studio software. Go to File > Print. Then place the printed stickers on your cutting mat with the black square in the upper left corner (just how it looks in the software). Then load the cutting mat into the machine and click “send.” Hope that helps!
Rachel says
I can’t get my stickers to line up, the cut is always off…. so frustrating
Alexis says
I’m sorry! I know how frustrating that can be. I need to do another post on troubleshooting print and cut issues. One thing that can help with cuts that aren’t lines up perfectly is either doing an little internal offset on the cut line so that the cut line moves inside of the printed area or adding a bleed to your prints (the latest version of Silhouette Studio 4.2 has this as a feature although I have not had a chance to try it out yet).