Make your own pretty Snowflake Christmas Card Display using foam shapes and wood from the craft store. A big thanks to Make It Fun Crafts for sponsoring this post! This post contains affiliate links for your convenience. Read my full disclosure policy here.

For this month’s Make It Fun Crafts team challenge, we all received a box full of Christmas-y foam shapes – snowmen, Santa Claus, reindeer, and Christmas trees! The snowflake was my favorite, and I wanted to use one to make something functional, and I came up with the idea of using it as the base for a pretty new Christmas Card Display.
I love seeing the cards we receive from family and friends every year, and usually I just tape them up on the wall or a door with washi tape, but this year I wanted to do something different.

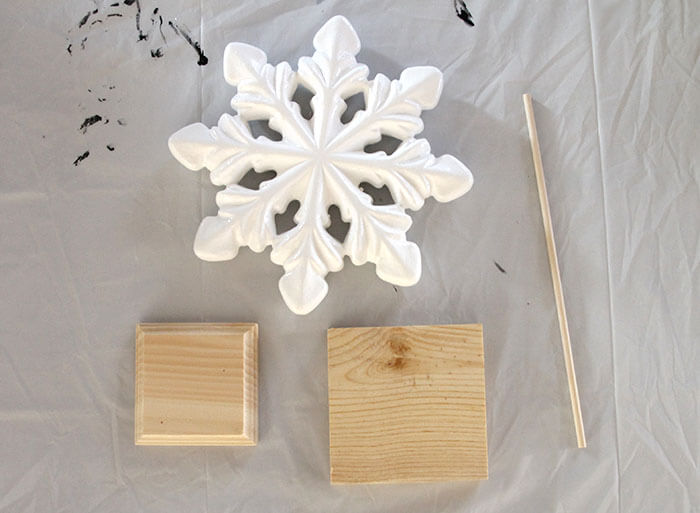
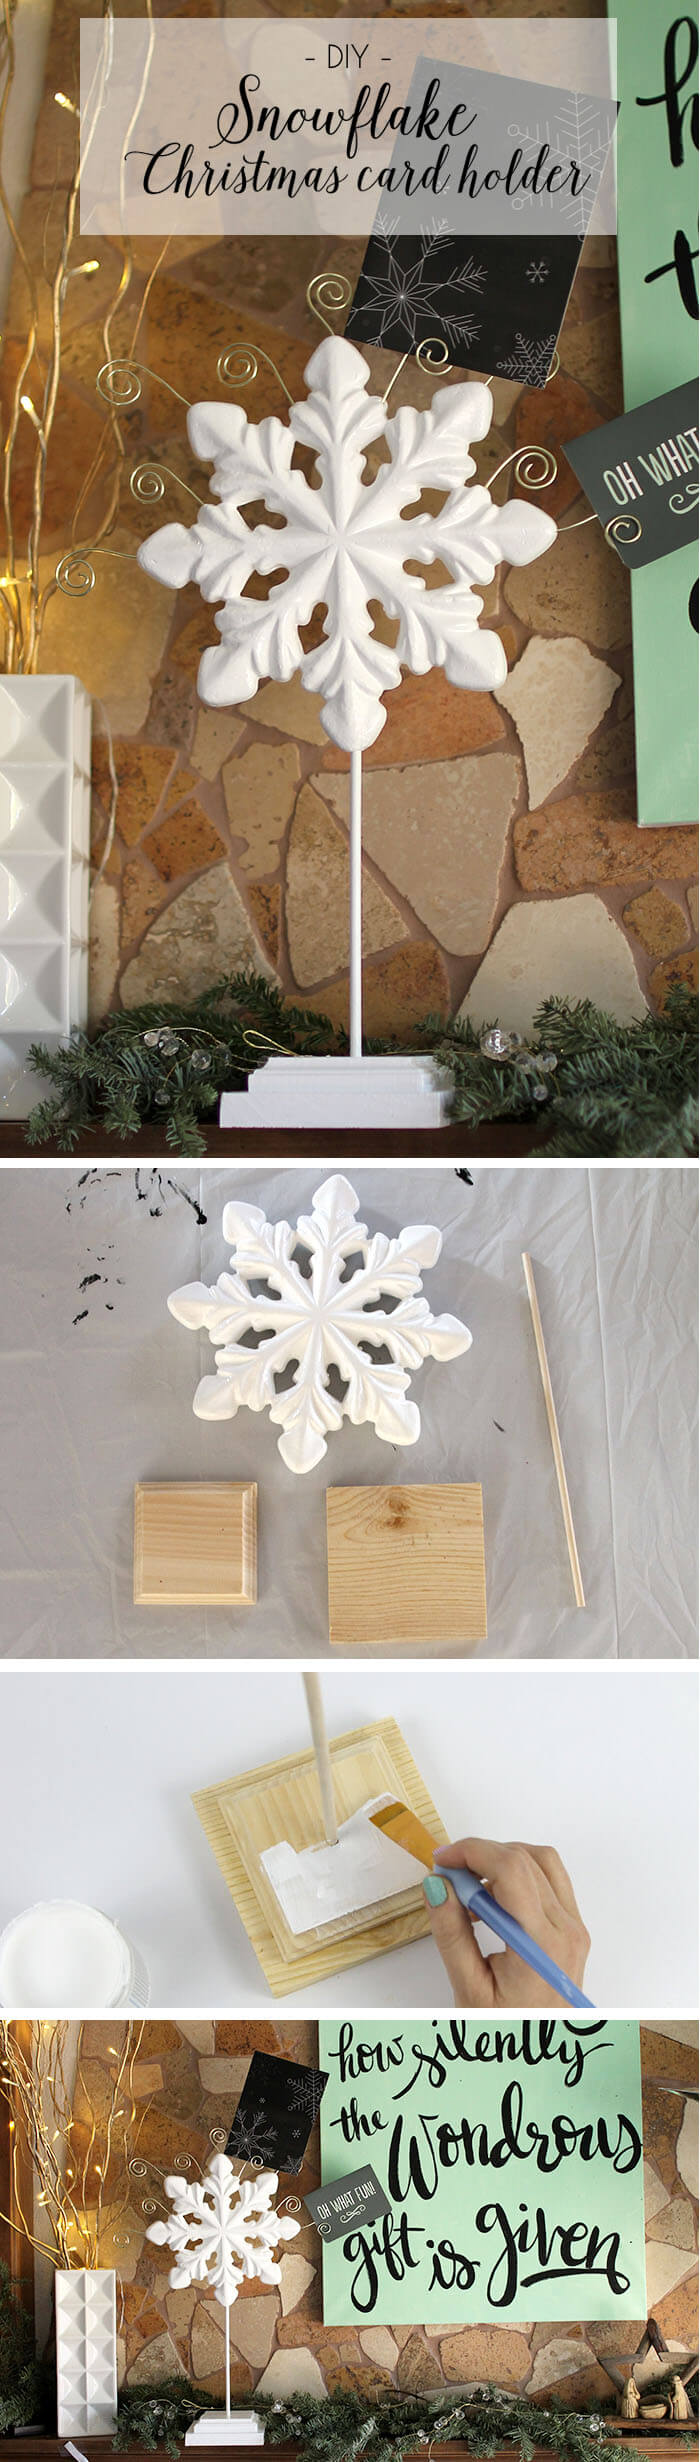
This Snowflake Card Display might look a little complicated, but it was really pretty simple to put together. Here’s everything you will need:
- FloraCraft® Foam Snowflake
- 1/4″ Wooden Dowel
- Square Wooden Plaques (I picked mine up at Michaels)
- Drill fit with 1/4″ bit
- Wood Glue
- Heavy Gauge Gold Floral Wire
- Wire Cutters
- Round Nose Pliers
- High Gloss White Paint (I like DecoArt Maxx Gloss)
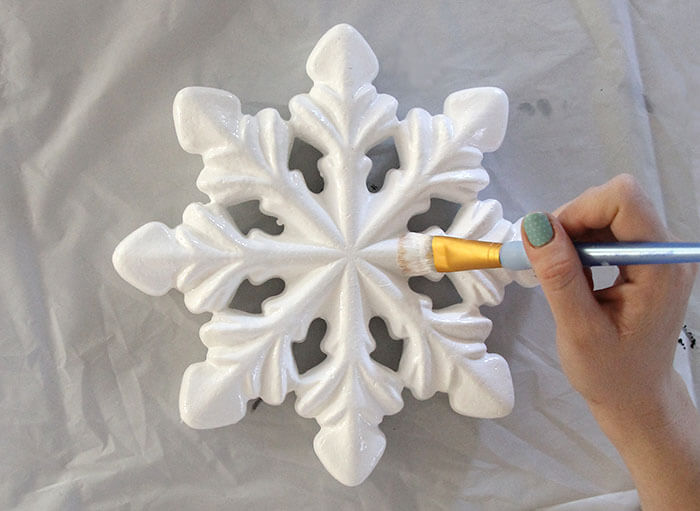
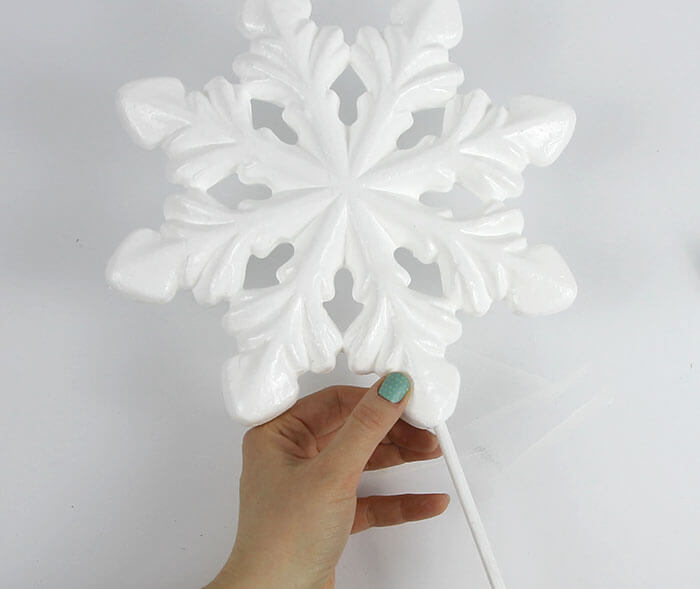
Start off by painting your snowflake with the white gloss paint. It feels a little funny painting a white foam snowflake with white paint, but the gloss paint does make it extra shiny.
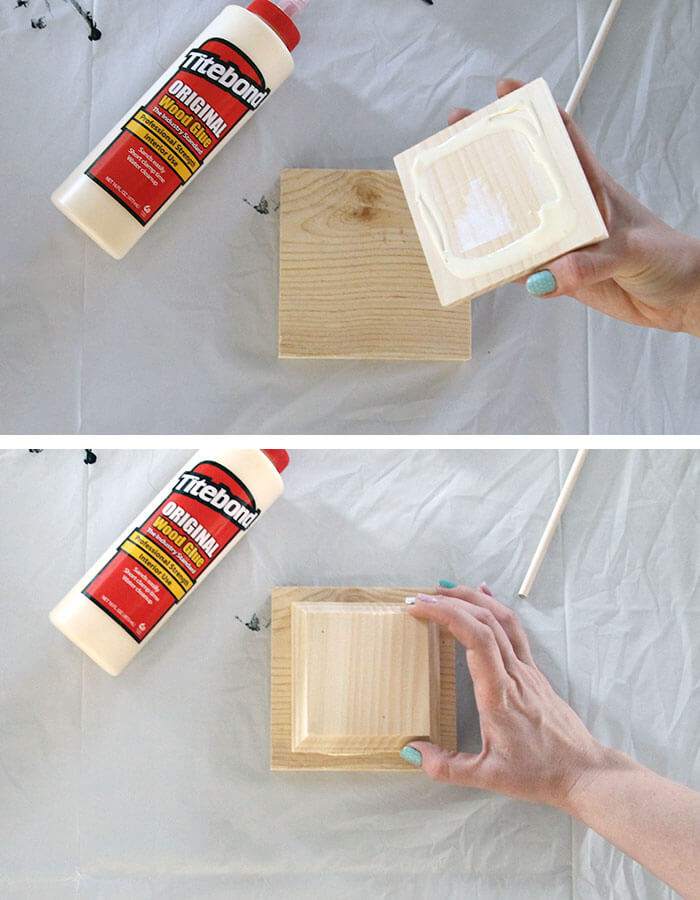
Next glue together the two wooden plaques to form the base. Follow the directions on your wood glue, wipe off any excess glue with a wet cloth, and clamp together to let dry.
Once the glue is dry, use the drill and the 1/4″ drill bit to drill a hole into the center of the base.
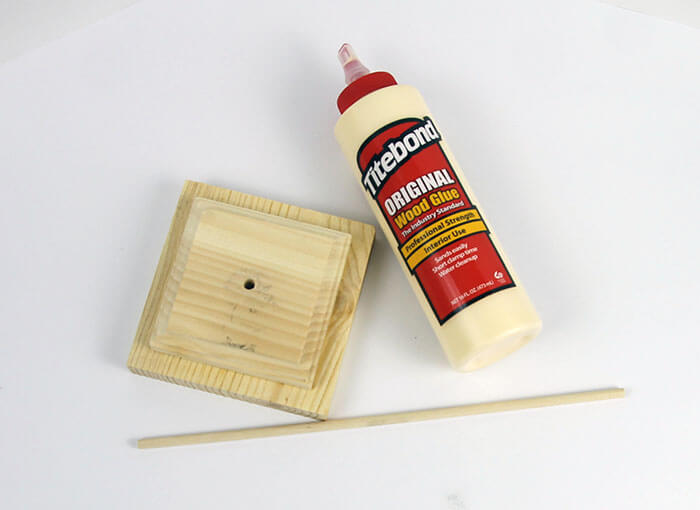
Add some wood glue to the bottom of one end of your dowel and secure the dowel in the hole. When the glue has had time to dry, it’s time to paint that base and dowel!

After the paint has dried, insert the dowel into the snowflake. Be careful not to push the dowel through the side of the snowflake.
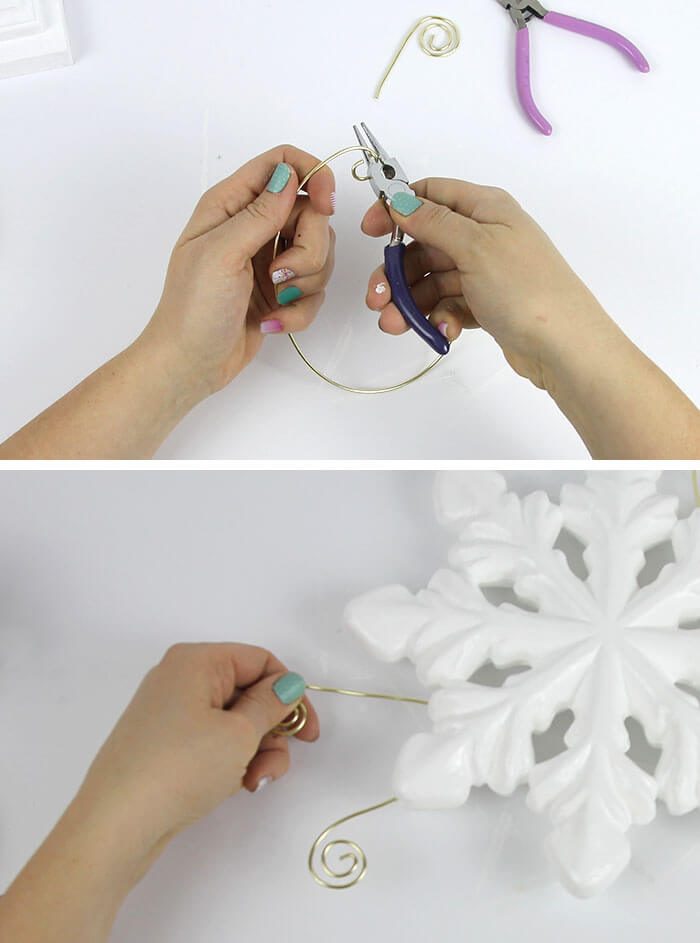
Finally, use your round nose pliers to curl pieces of wire into picture holders. Just grab the wire with your pliers and gently bend the wire around them to form the spiral shape. Then stick the straight end of the wire into your snowflake. Use a little styrofoam glue to secure it if you wish.
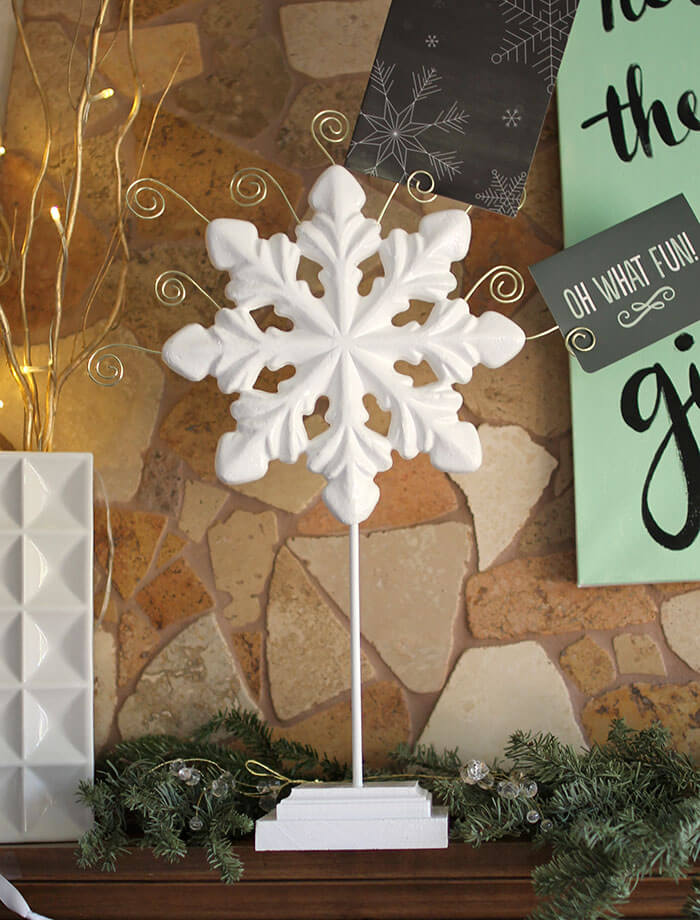
All done! Your Snowflake Christmas Card Display is ready to hold greetings from your friends and family. I stuck mine up on our mantel and it fits right in.
Happy Making!


Comments + Project Love
Amy | Delineate Your Dwelling says
This is too fun!
Shonee says
This is a really cute idea! I love finding new ways to display cute cards and pictures, so this is perfect! And the tutorial is really straightforward and easy to understand. Thanks for sharing 🙂
Shonee
http://www.hawthorneandmain.com
Alexis says
Thanks, Shonee! You are so sweet. 🙂
Krista says
I love this Alexis- I can’t believe you made it. It looks so professional – amazing job! Merry Christmas to you and yours!
Alexis says
Thanks so much, Krista! Merry Christmas!
Linda says
What a great idea. I love anything snow flake, so I really would like to make this, but I can’t find the snowflake anywhere, I googled the flora craft website and nothing, can you help?
Alexis says
Hi Linda – The Christmas shapes were sold at Michaels stores. You may be able to find one on clearance there, or if you aren’t able to find one, let me know, and Floracraft may be able to send you one directly. You can email me at persialou(at)gmail.com too. 🙂