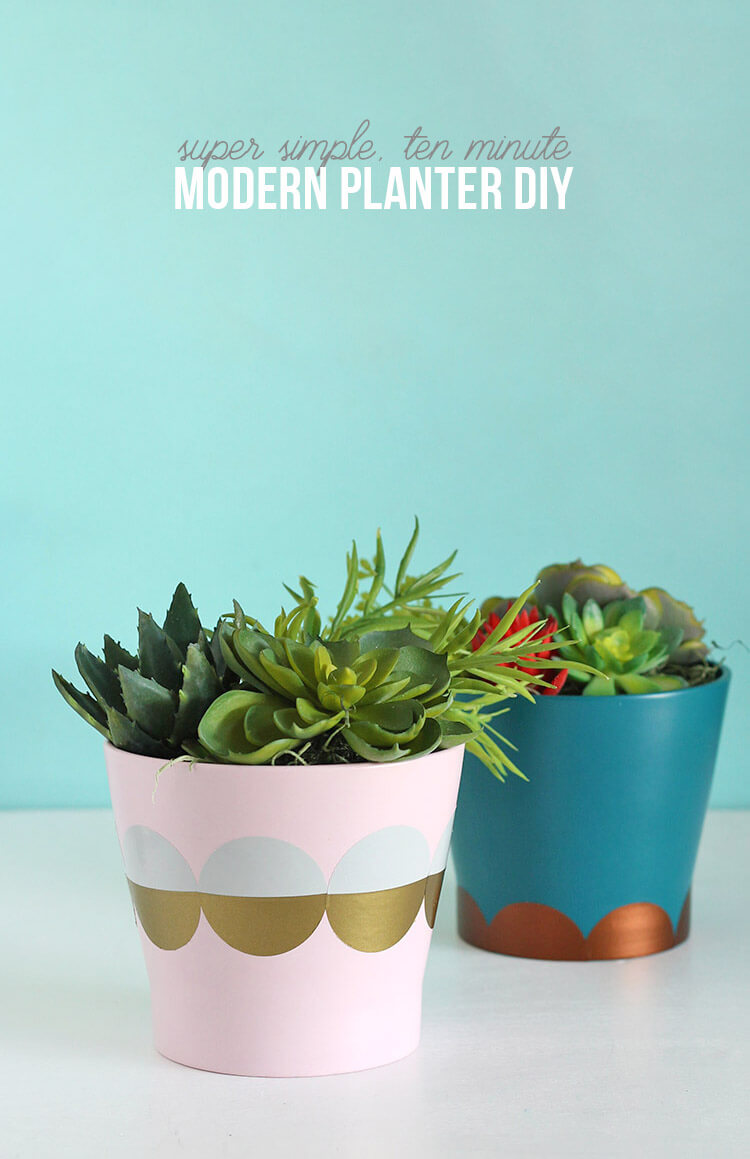
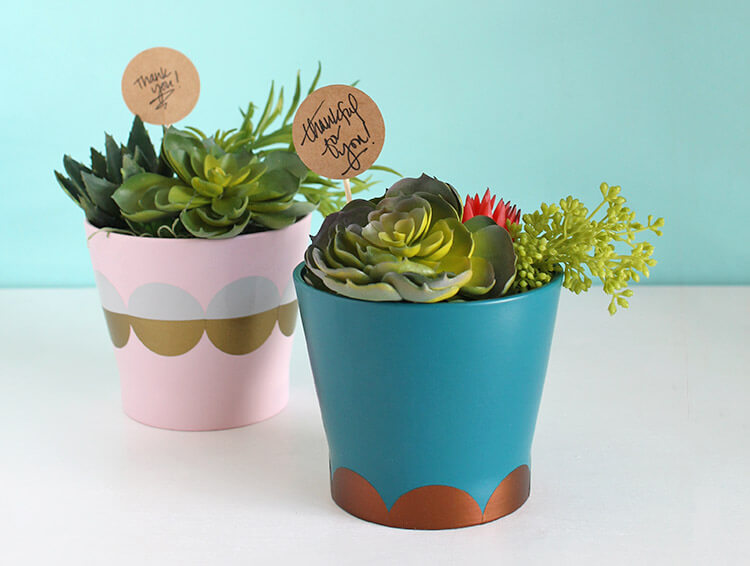
Give a plain planter a fun update in minutes with this super easy DIY Modern Planter – no special tools required! Add in a simple thank you tag for a perfect hostess gift. A big thanks to Expressions Vinyl for supporting this post, which also includes affiliate links that help to support this blog.
Holiday season is up on us, and that means there will be lots of parties and events coming up, and it is always nice to bring a little gift for the person throwing the party, right? I love the idea of giving a little plant as a hostess gift, and I came up with a super quick and simple way to personalize the planter or pot to make it a little extra special.
Wouldn’t this make a great little gift to take with you to Thanksgiving or Friendsgiving dinner?
The best thing about this project is how easy it is! You don’t need a fancy machine or more than ten minutes to complete this whole thing! Plus thanks to the wonder of vinyl (seriously I love this stuff, and there’s such a great selection of colors and finishes at Expressions Vinyl), there’s no messy paint or drying time. Seriously. It’s pretty great.
Let’s decorate some pots!
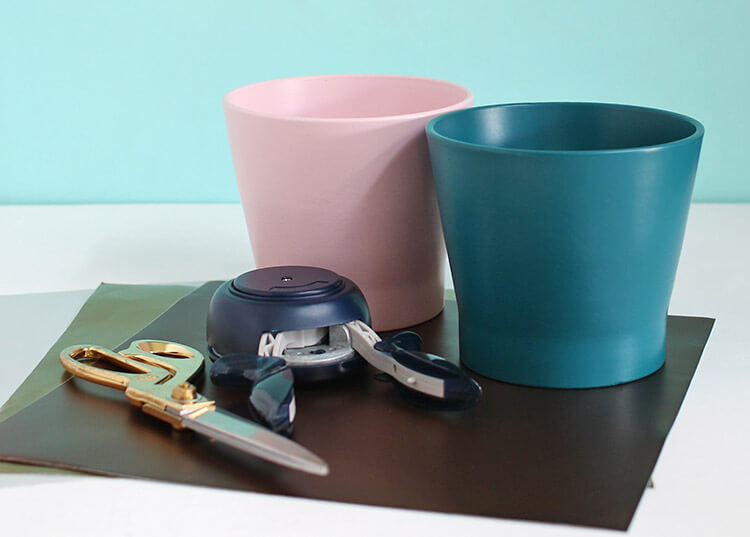
Easy DIY Modern Planter Supplies:
- A plain planter or plant pot (I picked mine up at Ikea)
- Permanent Adhesive Vinyl (I used a light grey, gold, and a copper lustre)
- Circle Punch
- Scissors
- To add little thank you tags, you will just need cardstock, tape, and bamboo skewers
My friend Mandy from Sugar Bee Crafts did a fun little vinyl project recently, and when I saw that she used a paper punch to cut her vinyl, I thought it was just genius! I love working with vinyl, but I know not everyone has access to a Silhouette or other cutting tool. The paper punch is what makes this project so quick, easy and fun.
This project really only takes three simple steps (Anyone else singing Secret Agent Oso now? Just me? Cool.)
Step One – Punch Out your Circles
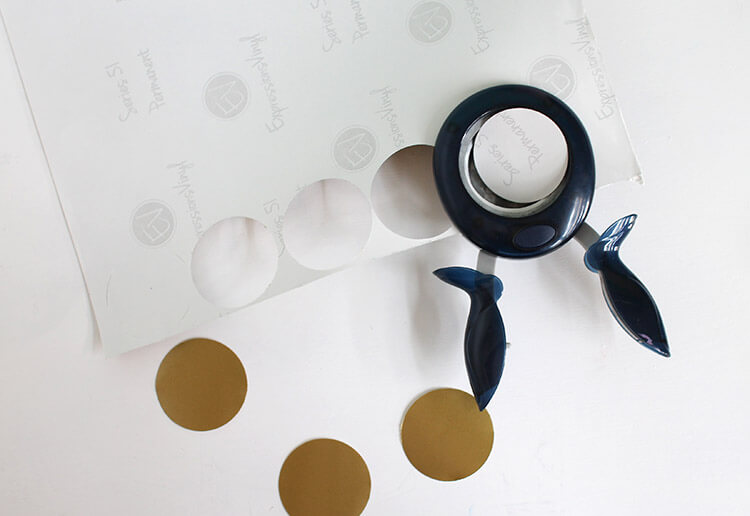
I found it was easiest to punch through the vinyl side first. With my punch, that meant holding the vinyl with the backing facing me as I punched.
Step Two – Cut Circles in Half
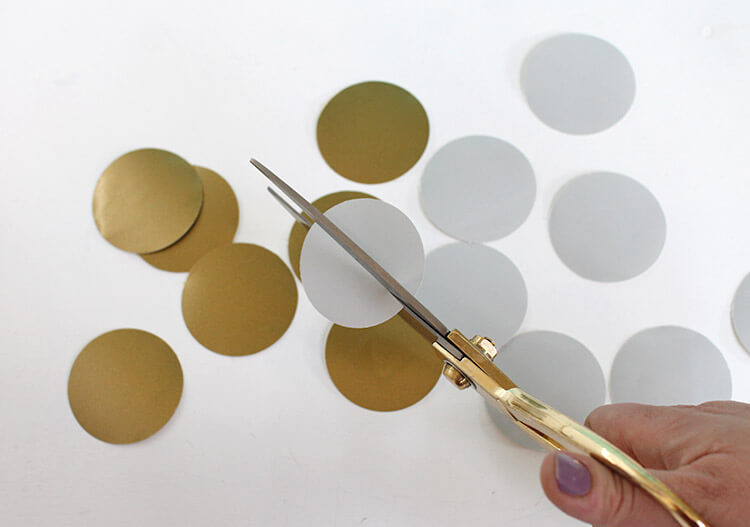
Use a pair of scissors to snip each circle in half. This doesn’t have to be perfect, so don’t stress out too much about it.
Step Three – Apply Semi-Circles to your Planter
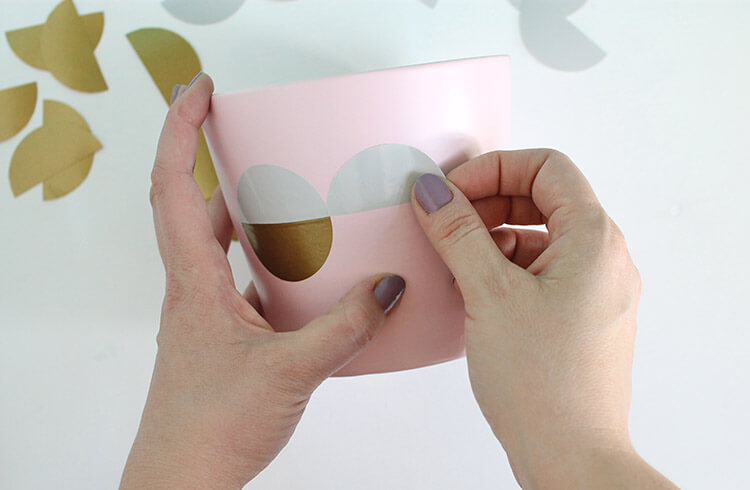
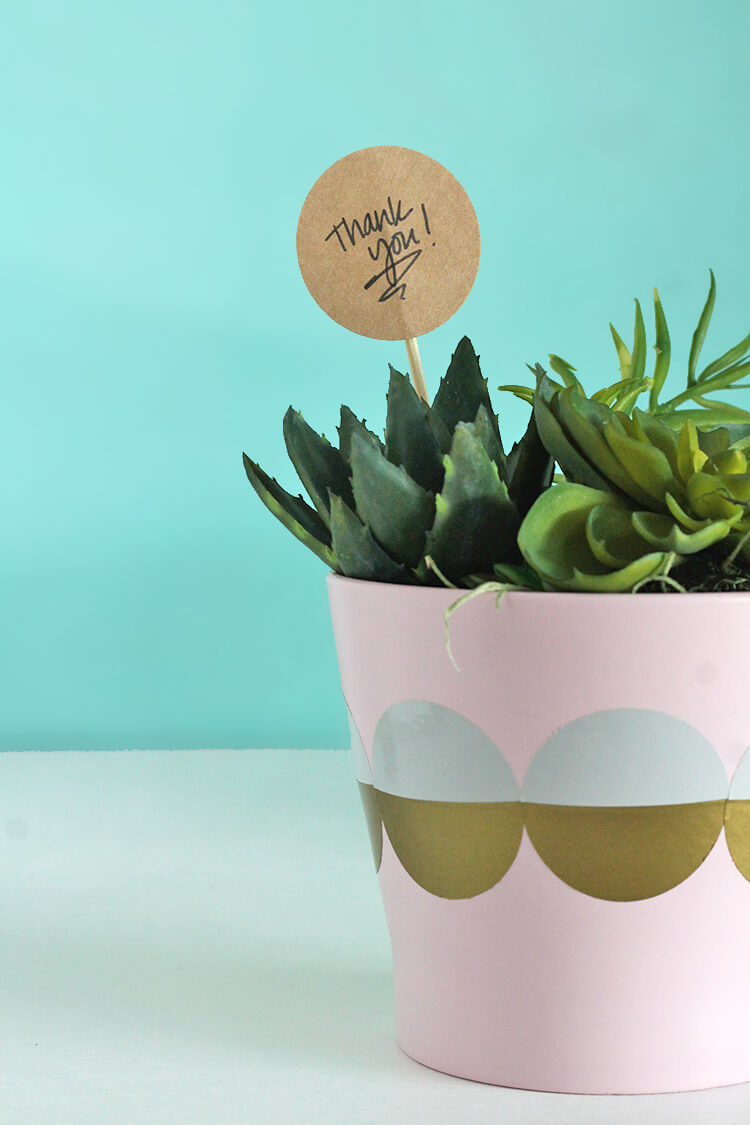
All you need to do is peel off the backing, position it on your planter and rub it onto the surface. Play around with different patterns, and see what you come up with. I love the scalloped look on the teal planter, and I think it would be fun to play with layers of scallops in a fish scale kind of pattern.
And that’s it! All that’s left to do is fill your planters with some soil and plants (or some foam and faux succulents as I did here).
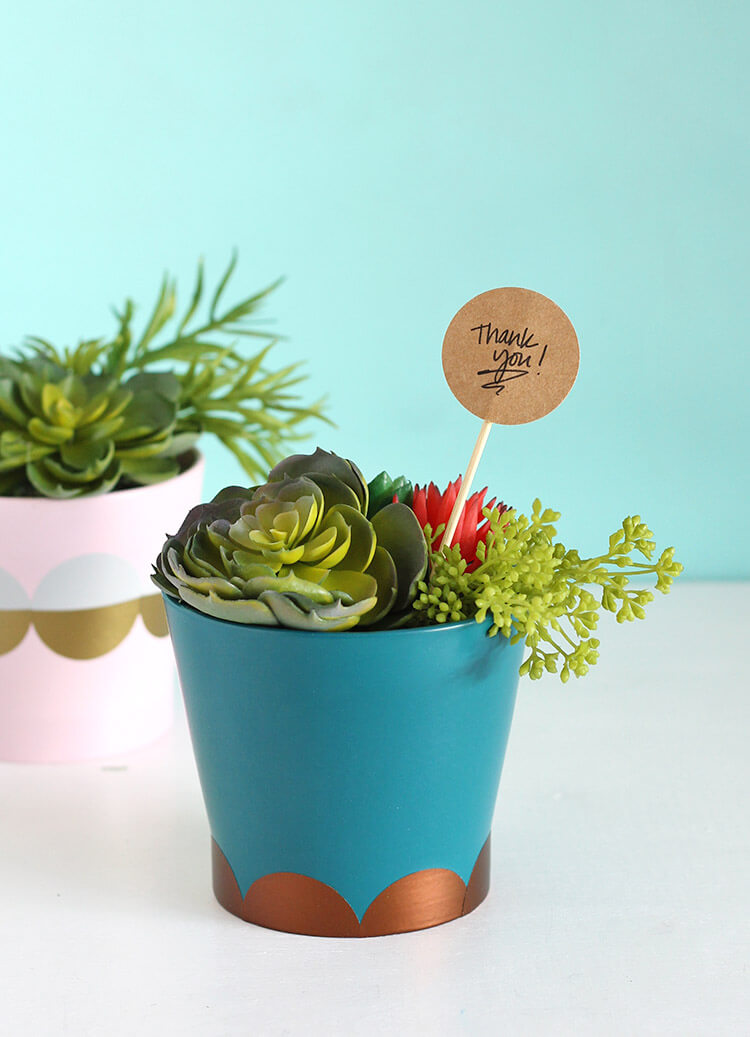
I turned them into a gift by simply adding a handwritten thank you note on a little tag punched out of kraft cardstock, taped onto a bamboo skewer and stuck into the pot. Easy Peasy.
If you are interested in learning more about working with vinyl, then you need to check out my new Craftsy course, Silhouette Saavy: Venture into Vinyl. It’s an online video course that will teach you everything you need to know to make vinyl projects with your Silhouette. We make everything from large wall decals to t-shirts to an etched mirror, and I walk you through each step.

Click here to check out the new class!
If you make your own Easy DIY Modern Planter, I would love to see it! Share your photos to my facebook page or tag me on instagram or twitter (@persialou), and don’t forget to use the hashtag #persialou for a chance to be featured.
That’s it for today! Happy Making!

If you like this post, you might want to check out these:

How to Layer Vinyl – Retro Disneyland Notebook


Comments + Project Love
Momina says
This is so beautiful and something perfect to be gifted… who doesn’t like plants?? especially when they are in such beautiful planters!!
Alexis says
Thank you so much! I agree! And I know I definitely don’t need more sugar or treats around the holidays! 🙂