
If you’ve been following along, you know we have been doing some work in our Master Bathroom, which means I finally decided to put something up on the wall. I had decided to go with botanical prints to bring some nature and color into the space. I chose some free botanical printables from The Graphics Fairy (there are several free online sources you can read more about here), and started thinking about how I wanted to display them in the bathroom.
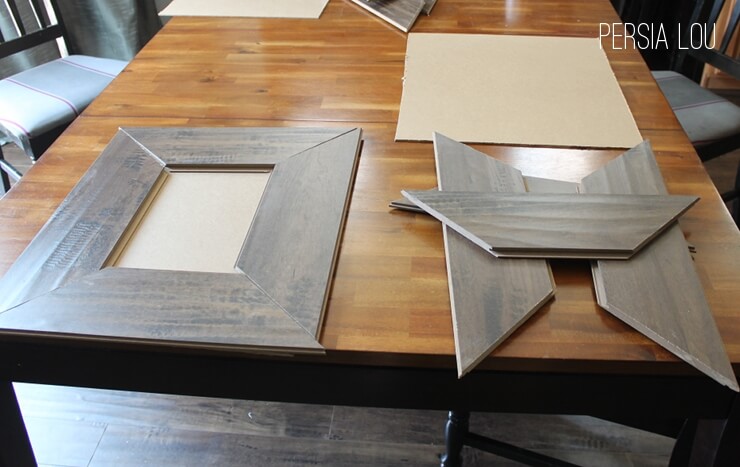
I had already purchased a shelf from Home Goods that had a rustic wood look to it, so I wanted a similar texture and look to frame out my botanicals. I immediately thought of the box of extra laminate flooring we had leftover from redoing the floors downstairs. The color and texture were just about perfect.
First, I measured my prints to determine how big I would need to cut my frames. Then, I used a miter saw to cut the flooring panels to the right length.
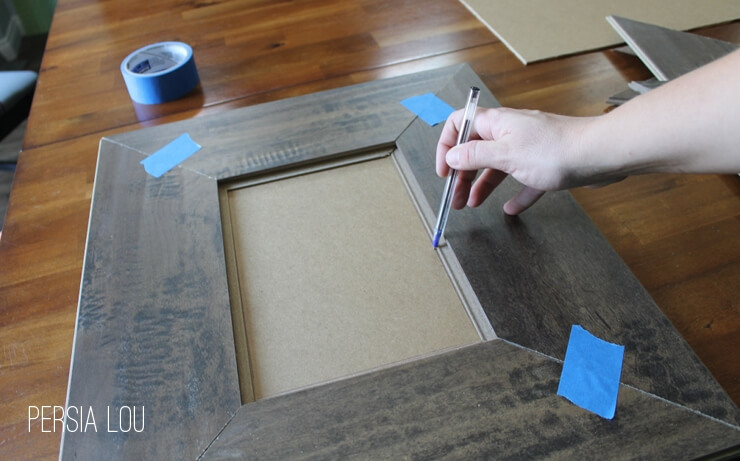
For the backs of my frames, I used a material called drawer liner that was left over from the ramp we made for my son’s Lego birthday party. I traced the inside of my flooring frame onto the backing to made sure that I placed my prints in the right spot.
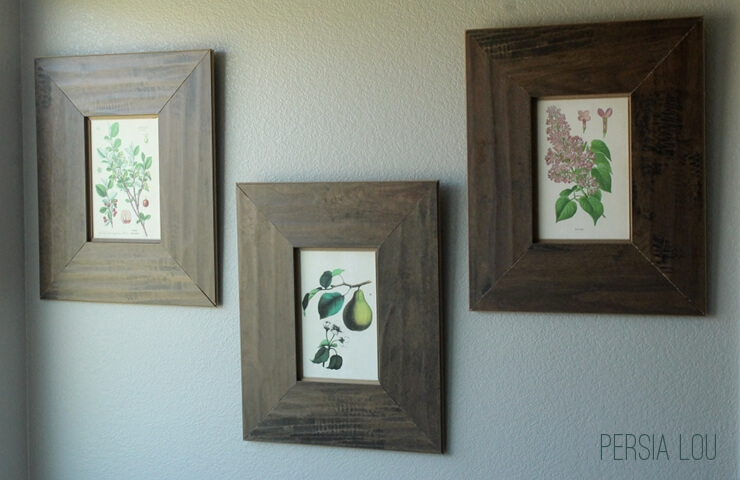
On the edges of the flooring planks, you can see the tongue and groove locking edges. If I was a perfectionist, I probably would have tried to remove these, but I decided I didn’t mind them too much (or maybe I’m just lazy). Can you tell that my frames are made out of flooring? Yeah, probably, but I guess I’m okay with that.
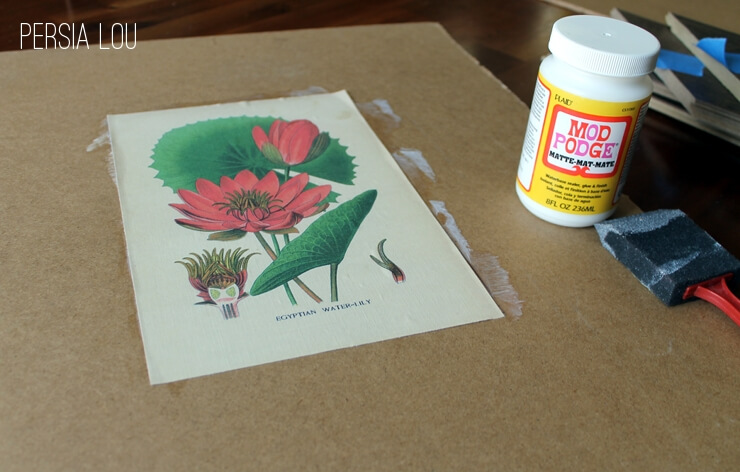
Then I used mod podge to attach the prints to the backing and seal the images. When you are using mod podge on images you have printed with an ink jet printer, you need to be careful to not smear the ink. (Read more about using mod podge with ink jet images here)
Finally, I used liquid nails to attach the laminate frame to the backing. After attaching some hanging hardware to the back of each, they went up on the wall in the bathroom.
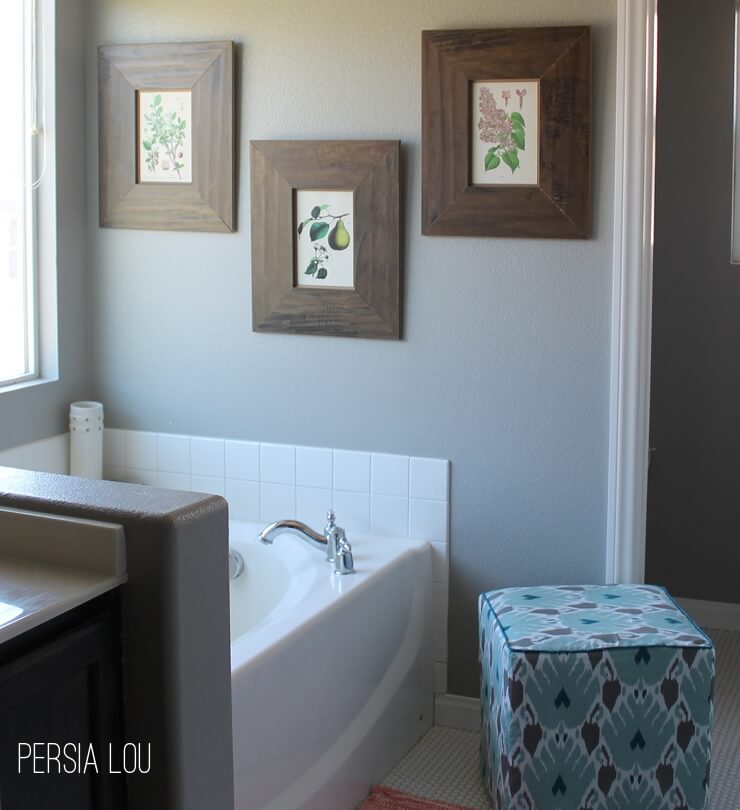
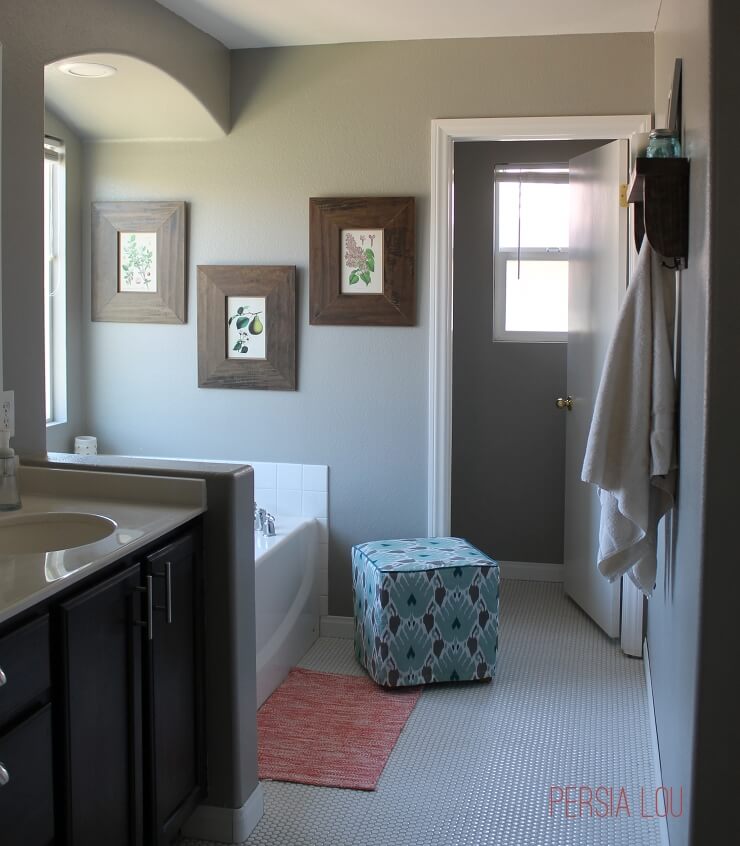
What do you guys think? They may not be perfect frames, but I have to say the price was right. Because we used supplies left over from other projects, free printables, and things we already had on hand, my new bathroom artwork literally cost me NOTHING. It’s really hard to beat that.
Now I just need to get rid of those sad metal mini blinds…
Linking up at some of my favorite parties.


Comments + Project Love
ChristaQuilts says
So clever!
For My Love Of says
These are uh-MAZING! Love how chunky they are, and the prints are beautiful in the space… rather, the space is beautiful and the prints emphasize it 😉
Anna B says
i TOTALLY LOVE THEM! i think they look spectacular–what a perfect size.
Katja @ Shift Ctrl ART says
What a fantastic project. I totally love it! What a smart and inexpensive way to create big, wooden, chunky frames.
Brandi says
Hi Alexis! I love the botanical prints! Thank you so much for stopping by my blog. I really appreciate your kinds words about my son's room. So glad you enjoyed the snow cone post too. I purchased the light bulb lamp at PB Teen. I just checked their site and it doesn't seem to be available any longer. So sorry.
Julie Steed says
These look great and you certainly can't beat the price. The flooring is beautiful too – perfect for a frame!
April Hoff says
So pretty! Love your bathroom too! Thanks for linking up to our "Get Your DIY On" link up party! 🙂