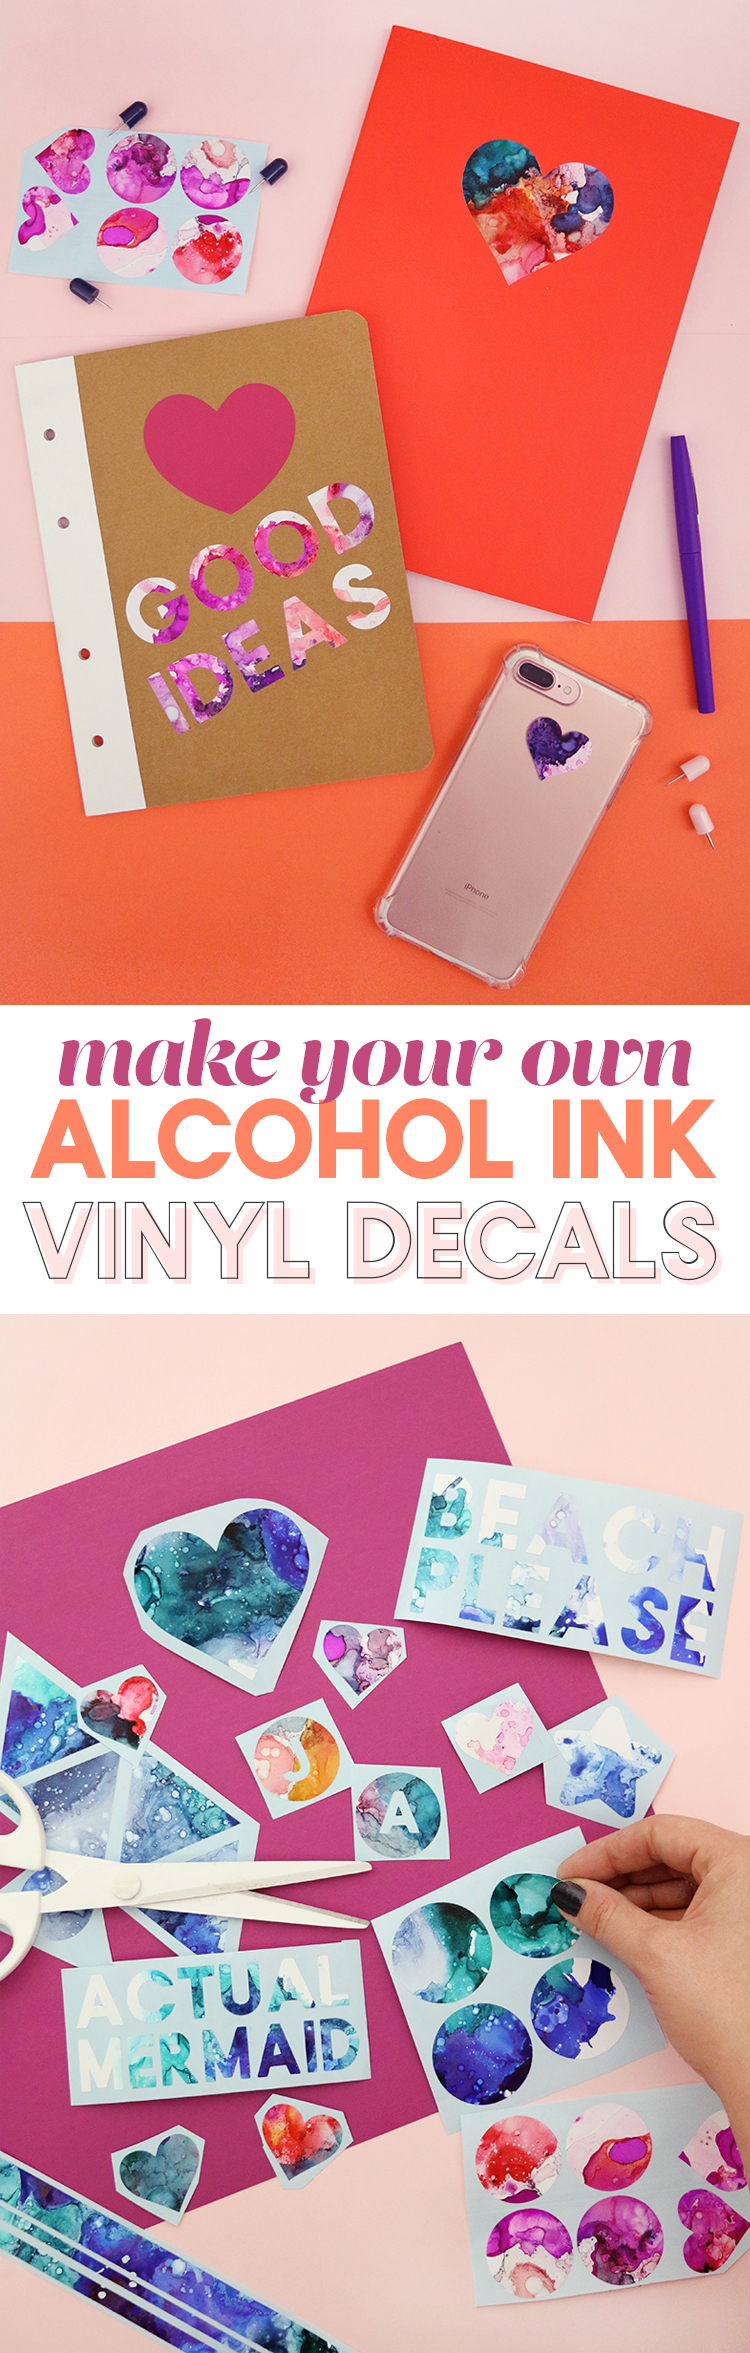
Learn how to make your own DIY Alcohol Ink Art on Vinyl! Creating your awesome abstract art on vinyl allows you to easily turn your art into cool decals! This post contains affiliate links, which help to support this site. Thanks for supporting Persia Lou!

I am so excited to share today’s post with you all! This was just such a fun project and something I have been wanting to try forever. Have you ever played with alcohol inks? If you aren’t familiar with them, alcohol inks are vibrant, transparent inks that dry quickly and can created really cool abstract marbled and organic designs on slick, non-porous surfaces like glass, ceramics, or special yupo paper, which is a plastic paper used with watercolors and inks like these.
I have been wanting to try these fun inks out for a while, but I didn’t have any of the specialty paper and was having limited success with prepared canvases and other surfaces I had tried. One day I had the thought – what about glossy vinyl??? I have a pretty considerable stash of vinyl since I love my vinyl projects, so I grabbed a couple sheets of glossy white vinyl and gave it a go. I was so happy with the way my alcohol ink art on vinyl turned out!

The alcohol inks flowed beautifully on the glossy vinyl, and the best part about working on vinyl is that you can then cut it into awesome marbled decals! So fun, right? Ready to make your own? Here’s everything you will need:

DIY Alcohol Ink Art Vinyl Supplies:
- Glossy Adhesive Vinyl – I like Oracal 651, which you can buy by the roll or sheet
- Alcohol Inks
- Isopropyl Alcohol at least 90% (this is just rubbing alcohol you can get at your local drugstore)
- Plastic Pipettes (optional, but really useful)
- Drinking Straws
- Small Round Brush
- Heat Gun (optional)
- UV-Resistant Clear Gloss Acrylic Spray
- Silhouette Cameo or other electronic cutting machine
DIY Marbled Alcohol Ink Art Vinyl Decals
Start off by setting up your workspace. I used a 12 x 12 sheet of white glossy vinyl, and I taped it to my work space with masking tape to keep it flat. If your vinyl is on a roll, you will need to trim it down to size before starting. You will also want all of your alcohol inks, a cup of rubbing alcohol, and all your tools (pipettes, brush, straw, heat gun) close at hand.
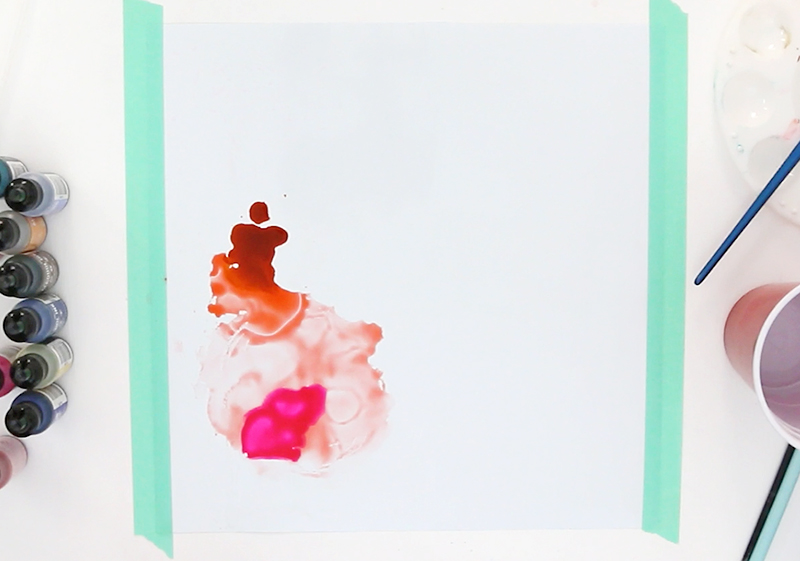
To start your design, simply start dripping inks or alcohol directly onto the vinyl. The alcohol ink bottles have handy little nozzles that make it easy to drip right from the bottle. If you start with more alcohol, the ink will spread more easily out into the alcohol.

Next, gently blow through your drinking straw to push the inks and alcohol spreading them out across the vinyl and mixing the colors together. You can also use the heat gun to move the inks around and also speed up the drying process a bit. Be careful not to overheat the vinyl, which could melt if it gets too hot.

And that’s the basic idea! Just keep adding more ink and alcohol to the piece and move it around with your straw or heat gun.

When the ink has partially dried, you can make fun little bubble designs by dropping plain alcohol onto it. The alcohol pushes the pigment out of the way to create a fun look.

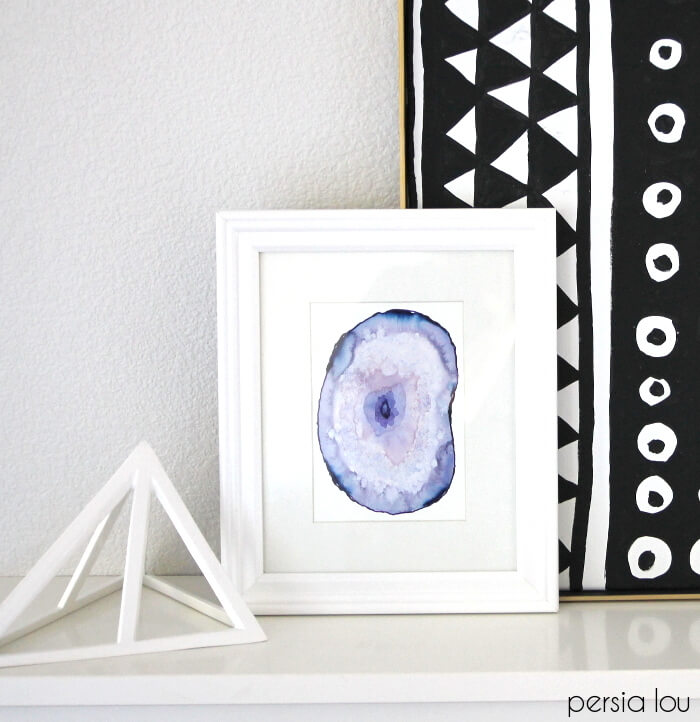
When you are happy with your alcohol ink art, set it aside to dry. When it is dry, you can seal and protect your artwork with a few coats of a UV-Resistant Clear Gloss Spray. When that is dry, you are ready to turn your cool alcohol ink art into awesome vinyl decals! If you want to keep it a piece of artwork to display in your home, I have a post on how to do that over on the Crafts Unleashed blog.
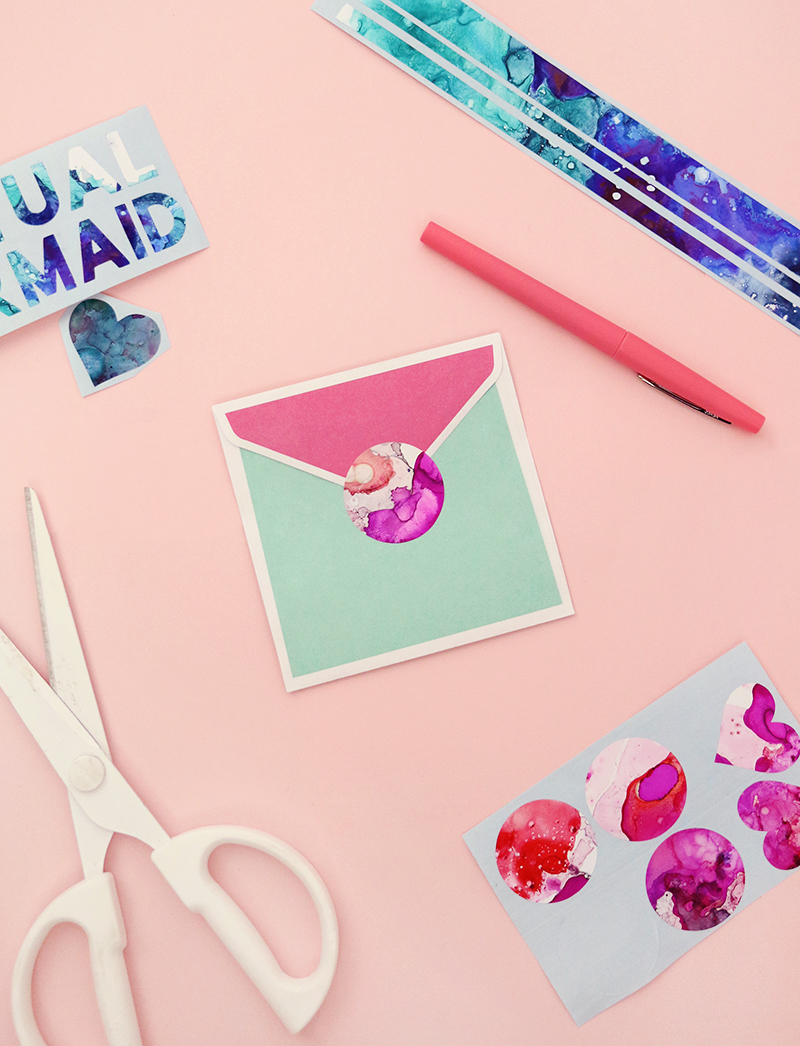
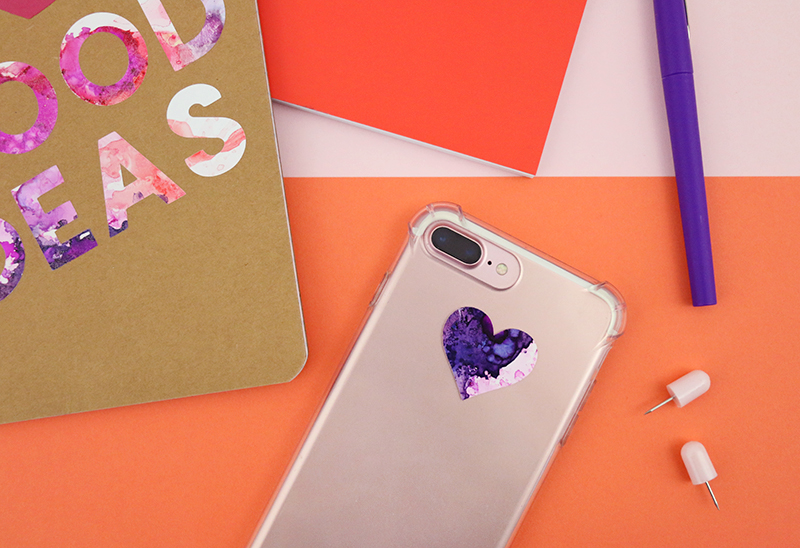
After your art is dried and sealed, it can be cut just like any other vinyl. I used my Silhouette Cameo to cut vinyl, but you could use any cutting machine or even a pair of scissors. I kept my designs pretty simple since I wanted the marbled abstract design of my alcohol ink art to show through. Thick block text looked pretty cool, and I loved the monograms as well. After cutting the designs, remove the excess vinyl from the backing.

For word decals like that “beach please” above you will want some transfer tape to make application easy, but for more simple shapes, you can just peel and stick.

Aren’t they cool?! So fun for decorating home decor items, school supplies, and anything else you can dream up. One little note – with a lot of handling, the ink may eventually rub or scrape off. I put a decal on my phone case and after a few weeks, it had lost some of the color.
I even cut strips of the alcohol ink vinyl and wrapped it around a cement pencil cup I keep on my desk. It’s maybe my favorite.

If you want, you can check out a quick video of the process here:
Are you ready to give some alcohol ink art vinyl a try? Where will you put your awesome new decals? Tell me all about it. And if you make some, please share them with me by tagging me on instagram (@persialou) or posting to my facebook page.
Until next time, Happy Making!

If you like this post, don’t miss these: 


Comments + Project Love
Lindsey says
This is genius! How would you do it on a white ceramic coffee cup so that it’s dishwasher safe or even hand washed? Thanks!
Alexis says
Hi Lindsey! I was thinking that covering it with vinyl laminate overlay (this product – http://shrsl.com/k3mm) might work, but I haven’t had a chance to test it yet. I’m going to give it a try, and I will update the post when I do. Thanks for stopping by! 🙂
Georgia Marshall says
You would have to seal it before using, or it will all scratch off. I use epoxy and a cup turner, but there are other ways.
https://www.youtube.com/watch?v=HjWFlu81Ohg
Pam Gravett says
Hi there,
May I ask , doesn’t the spray varnish move the ink? You don’t have to use the krylon kamar sealer?
Alexis says
Hi, Pam! I didn’t have any issues with the spray varnish moving the ink. I did a couple light coats.
Earl "E" says
So.. Something new… I do painting on glass, where I mix up my own colors from a powder form with water, to start… A new test to do, can I mix with alcohol instead and will this work similar…? The glass is then fired to 1200 for permanence.
Will let you know, thanks for the directions and to see your Art.
Sheri says
Can you use transfer tape on this?
Renae says
This is so genius! Have you tried this with HTV, if so what were the results? I can’t wait to try with vinyl. Thank you!