Welcome to Persia Lou! If you are new here, you may want to check out some of my other free crochet patterns right HERE. Or sign up for my newsletter to keep up to date on new posts.

Crochet Cowl Materials:
- Size H (5.00 mm) hook
- Size I (5.50 mm) hook
- Worsted weight yarn (I used Michael’s Impeccable Acrylic in a color that I don’t think they carry anymore, which is lame because it is a totally perfect gray in my opinion)
- 3 ¾” cover buttons covered in coordinating fabric, or other ¾” buttons
Special Stitches
long double crochet (ldc): Yarn over and draw through a loop (3 loops on hook). Pull up on the yarn so the two bottom loops are lengthened until they are brought up to the height of the last loop. Yarn over and draw a loop through the two long loops. Two loops remain on hook. Yarn over and draw through both loops. (see pictures and more detailed info on how to work this stitch here).
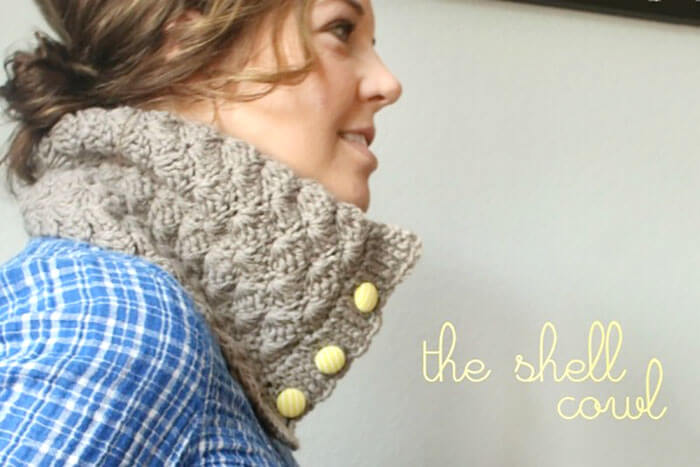
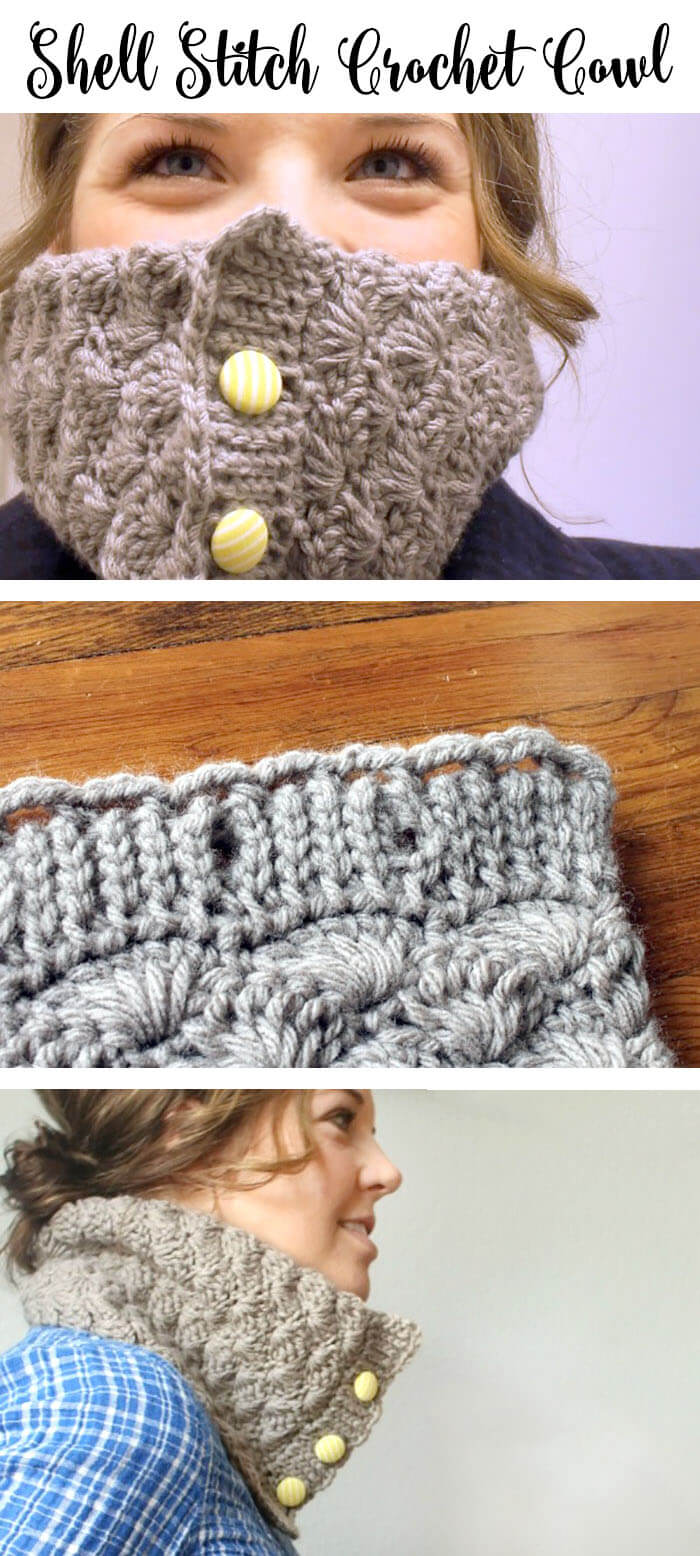
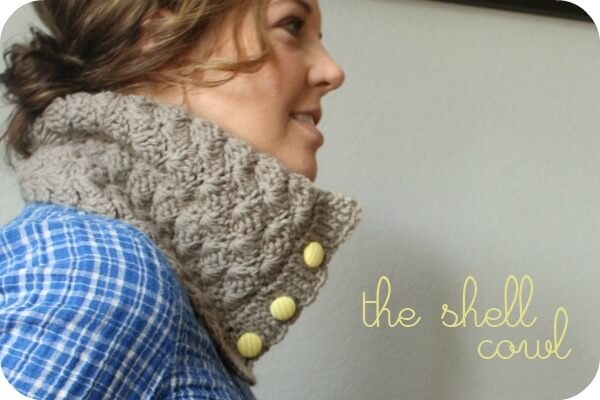
Shell Crochet Cowl Pattern
My Shell Crochet Cowl pattern is free for personal use. You may sell items that you make from the pattern as long as you include a link back to the pattern when possible. Please do not sell or redistribute the pattern in anyway. If you want to share the pattern with a friend, please just send them a link. Pageviews provide me with income that allow me to offer my patterns free of charge. Thank you for your support!
This pattern uses American crochet terms.
Row 1: Ch 25, sc in 2nd ch from hook, sc across, ch 1, turn
Row 2: sc across ch 1 turn
Rows 3-5: repeat row 2
Row 6: *skip 2 sc, 5 ldc in next sc, skip 2 sc, sc in next sc, repeat from *3 times, ch 3, turn
Row 7: 3 ldc in first sc (this is the very first stitch, right at the base of your ch3), *skip 2 ldc, sc in next ldc, skip 2 ldc, 5 ldc in next sc, repeat from 2 times, skip 2 ldc, sc in next sc, skip 2 ldc, 3ldc in last stitch, turn
Row 8: skip 3 ldc, 5 ldc in next sc, skip 2 ldc, sc in next ldc, *skip 2 ldc, 5 ldc in next sc, skip 2 ldc, sc in next ldc, repeat from *two times, ch 3, turn
Rows 9-45: repeat rows 7 and 8, ending with row 7 (add more rows for a longer cowl)
Row 46: skip 3 ldc, 5 ldc in next sc, skip 2 ldc, sc in next ldc, *skip 2 ldc, 5 ldc in next sc, skip 2 ldc, sc in next ldc, repeat from *two times, turn
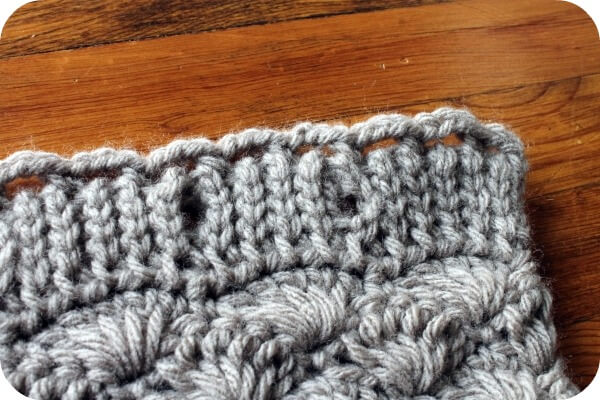
Ribbed Edge with Button Holes
This portion of the cowl is made up of short rows worked perpendicular to the previous rows.
Switch to I hook.
Row 1: ch 6, turn
Row 2: skip one ch, sl st into back loops only of 5 chs, sl st through sc in cowl edge, ch 1, turn.
Row 3: sl st into back loops only of 5 sl sts, ch 1, turn.
Row 4: skip one ch, sl st into back loops only of 5 sl sts, sl st through next st in cowl edge, ch 1, turn.
Rows 5-13 : repeat rows 3 and 4, ending with a row 3
Row 14: sl st into back loop only of one sl st, ch 3, skip 3 sl st, sl st into back loop only of next sl st. Sl st through next st in cowl edge, ch 1, turn.
Row 15: sl st into back loop only of one sl st, 3 sl st into ch3 loop, sl st into back loop only of next sl st, ch 1, turn. (buttonhole formed)
Row 16: skip one ch, sl st into back loops only of 5 sl sts, sl st through next st in cowl edge, ch 1, turn.
Row 17: sl st into back loops only of 5 sl sts, ch 1, turn.
Rows 18-25: repeat rows 16 and 17, ending with a row 17
Row 26: sl st into back loop only of one sl st, ch 3, skip 3 sl st, sl st into back loop only of next sl st. Sl st through next st in cowl edge, ch 1, turn.
Row 27: sl st into back loop only of one sl st, 3 sl st into ch3 loop, sl st into back loop only of next sl st, ch 1, turn. (buttonhole formed)

Fasten off yarn and weave in ends.
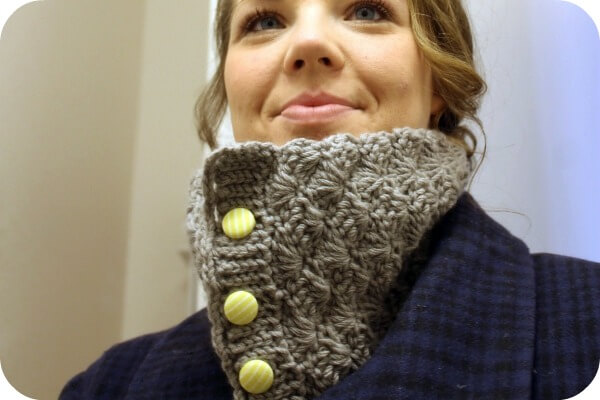
Fold your cowl in half an line up the ends. Securely sew your three buttons to line up with the buttonholes.

All done! Wear your cute new cowl with pride. 🙂
If you make your own Shell Crochet Cowl, I would love to see it! Share your photos to my facebook page or tag me on instagram or twitter (@persialou), and don’t forget to use the hashtag #persialou for a chance to be featured.
Happy Making!

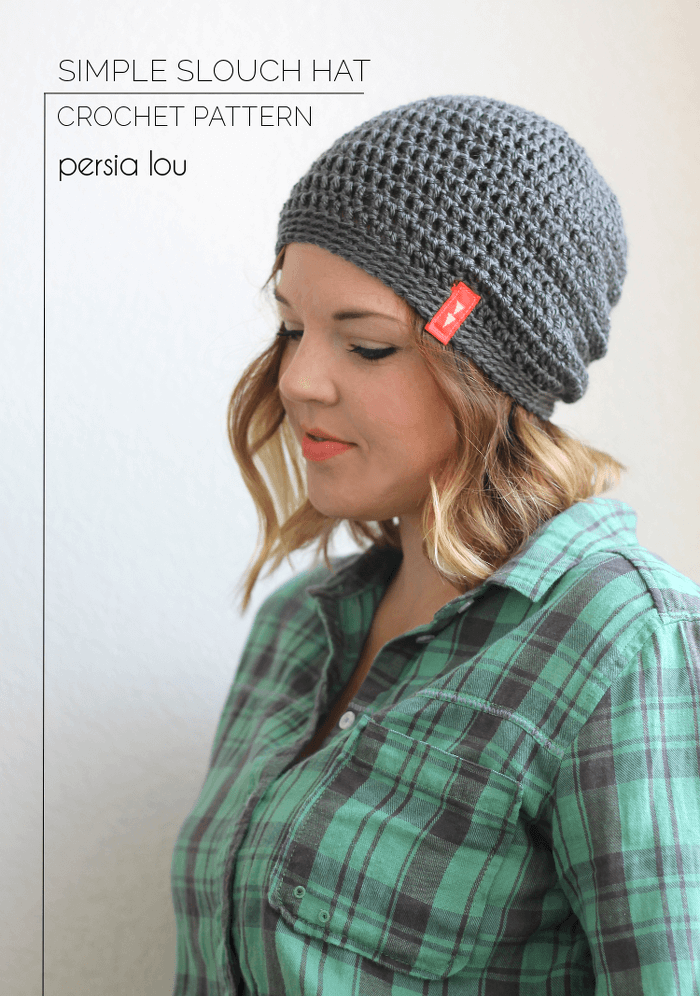
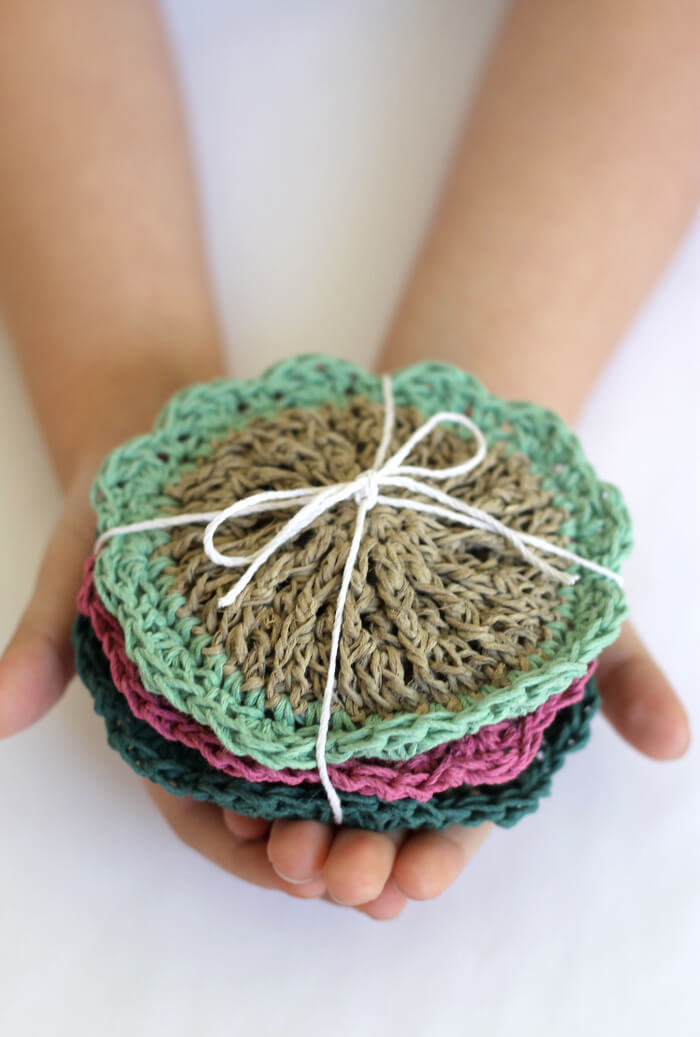
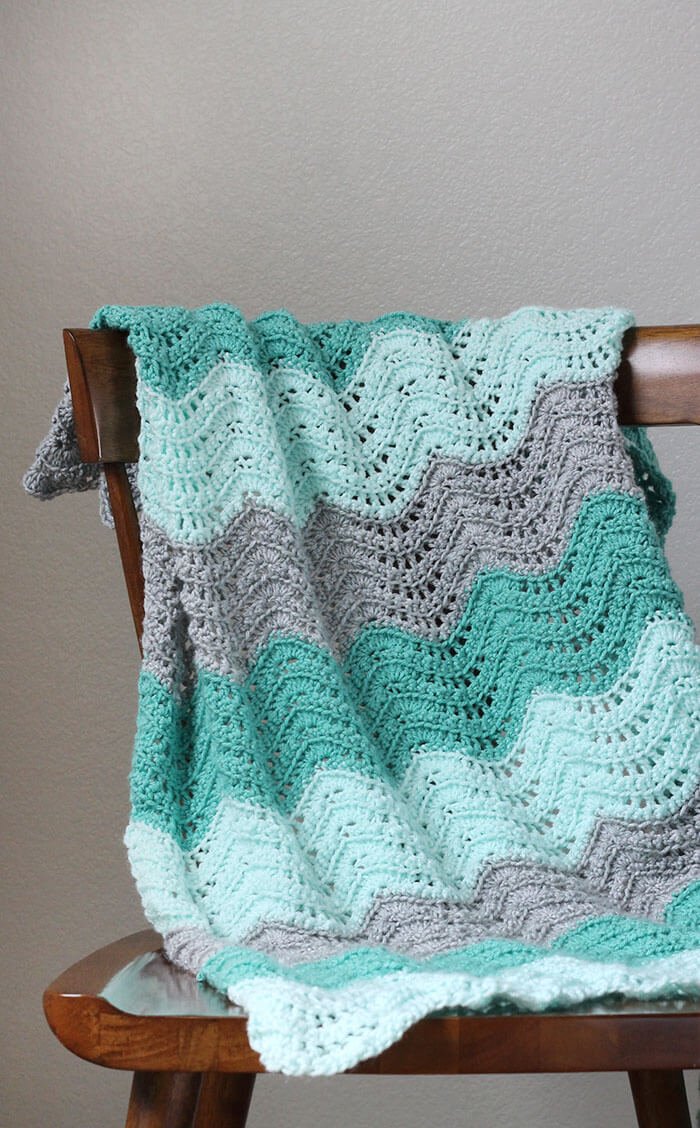
Here are a few more free crochet patterns you might want to check out:


Comments + Project Love
Shannon@sillygeesedesigns says
What a pretty cowl, looks like it would go with anything and keep you nice and warm
Sarah @ Sarahndipities says
So pretty!!!! i love this!!! Thanks for sharing the pattern!! I can't wait to try it out!
Heather says
Thanks for the pattern it's fabulous!!!
lisa says
Someday I would like to learn this language. Also, you're very pretty. I mean, really.
ElisabethAndrée says
Ooh, I like your cowl a lot!!
Kelli @ The Turquoise Piano says
Seriously, thanks for the tut! I pinned it.<br /><br />New follower.
JAMIE says
i definitely don't know how to crochet or knit, but thanks so much for the pattern! the cowl is precious! and YES to cover buttons!! <br />ps- your lashes are killer!!
Mafe says
It's looks so pretty and it's so simple *not in a bad way!*… I personally LOVE these types of patterns.<br />It's so chic and elegant… wow!!<br />Just one question: How much yarn did you use?? A friend gave me some which would go great with your design, but I don't know if it'll be enough… and, of course, she didn't keep the label so I can't buy any more.<br />
Alexis @ persia lou says
@<a href="#c5778758287146498953" rel="nofollow">Mafe</a><br /><br />Thanks so much for the question. I probably should have mentioned that! I used about one and a half skeins of the Loops and Thread Impeccable yarn, which has 277 yards per skein. So. I would guess about 400 yards? If you have two good-sized skeins it should be enough. Hope that helps!
Mafe says
@<a href="#c8905831103442549418" rel="nofollow">Alexis @ persia lou</a><br /><br />Thanks! It does help, now I know I might need to but some yarn EXCLUSIVELY for your design… haha!<br />Just one final question: what are the dimensions or the cowl??
photography4thecreator says
Hey I just came across your blog and I am so hooked 🙂 I love this DIY especially because I was looking for a new pattern to start on! Thanks, I am a new follower!<br /><br />Janelle<br />P.S I would love if you checked out my blog!
Sandra says
Such a pretty cowl! I am trying out the pattern and am coming across an issue in row 7. After I repeat twice and do my SC, I am out of stitches so there's no room for the last 3ldc in that row. Help?!
Beth Hartley says
Did you ever figure out this problem? Same thing is happening to me. 🙁
J A C Q U E L I N E says
You are awesome! This looks great!
Anonymous says
I'm trying to follow the pattern for the Cowl, but am having a hard time understanding what the asterisks means and what it means by "repeat from *3 times" in Pattern Row 6 instructions. The cowl looks beautiful and I hope I can't make it! I would love any help if possible.
Anonymous says
Hey anonymous,<br /><br />I don't know if you ever received a reply for your question…so I will try to help you understand. <br /><br />The asteriks mean that whatever is between them should be repeated across that row how many ever times the pattern specifies to do so. <br /><br />Take the example of: *skip 2 sc, 5 ldc in next sc, skip 2 sc, sc in next sc, repeat from *3 times, ch 3, turn.
Beth Hartley says
I'm having issues in row 7 also. Can someone help me out?? I've repeated from * twice and skipped 2 ldc, then sc in next, but then I only had 2 stitches left and not a 3rd for my remaining 3 ldc's. I've counted the stitches and its not matching up.
Loralee says
I'm in the same boat as Beth. I have just kept going but one side of the cowl ends up scalloped, and the other straight. Is it a misprint or is that how it is supposed to look?<br />
Loralee says
@ Beth Hartley- I had to do the last 3 ldc stitches into a stitch that is down the side of the work further than the last 2 sc stitches. I don't know if it's right.<br />
alex says
I had the same problem
Emily says
I am trying to finish row 8 and it looks like I am going to have a hole in the project. The last 3 stitches are the 3 ch from row 6. I am confused on how to finish row 8. Can anyone help?
Emily says
I figured it out!!
Eidilia Thomas says
How did you figure it out? Where it says on row 7 to “3 ldc in first sc”, am I supposed to skip over the cluster on row 6 below and place the 3ldc’s in the sc between the clusters? When I do that, I’m left with a chain 3 that pulls on the row, as well as confusion over what to do with the ch 3 on row 8.
Alexis Middleton says
Hi Eidilia Sorry it took me a few days to get back to you. I think that part of the pattern is probably a little unclear and I am going to update the pattern to hopefully make it less confusing. After you chain three at the beginning of row 7, you should work the 3 ldc into the very first stitch of that row – the sc that was the last stitch of the previous row (right at
Kamila Janas says
Thank you for this pretty pattern. I've been trough it and made my cowl. But doing the ribbed edge is killing me :/ looks like it'll take more time than the cowl itself. I may not get it finished…
Kamila Janas says
I did get it done, but changed the edge to a straight sc. It still look very nice I think 🙂 thank you so much for the pattern
Alexis Middleton says
Sounds perfect! 🙂 I like the ribbed look but it is definitely tricky to crochet!
Eidilia Thomas says
Where it says on row 7 to”3 ldc in first sc”, am I supposed to skip over the cluster on row 6 below and place the 3ldc’s in the sc between the clusters? When I do that, I’m left with a chain 3 that pulls on the row, as well as confusion over what to do with the ch 3 on row 8.
Alexis says
Hi Eidilia! Sorry it took me a few days to get back to you. I think that part of the pattern is probably a little unclear and I am going to update the pattern to hopefully make it less confusing. After you chain three at the beginning of row 7, you should work the 3 ldc into the very first stitch of that row – the sc that was the last stitch of the previous row (right at
Eidilia Thomas says
Thank you very much for clearing that up! I will restart working on the cowl tonight. Cheers!
Dadzinz says
I love this! I have made 3 in 3 different colors! It's a brilliant pattern and looks so intricate.