There are some problems that come with being a dedicated DIYer. One that I’ve discovered recently is that my son thinks we can make anything. ANYTHING. For instance:
“Mom, can we get a swimming pool for the back yard?”
“No, honey, not today.”
“Well, can we make one?”
That’s a real conversation, folks. And, actually, he did come up with a DIY solution that involved a large cardboard box and a hose.
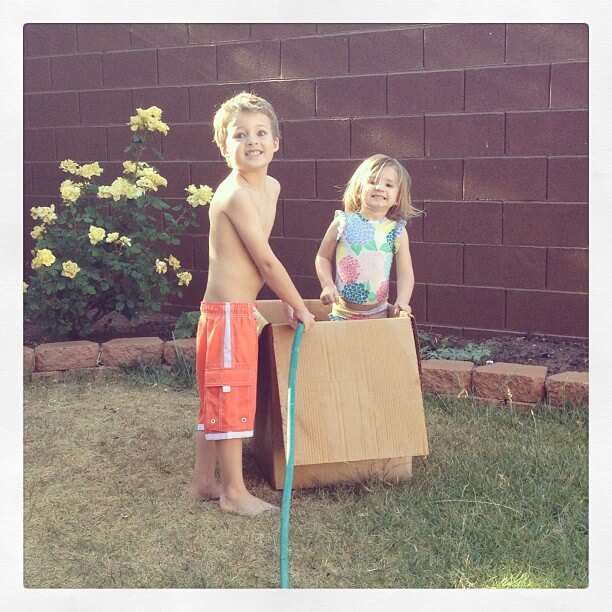 |
| (Don’t mind the crazy eyes) |
It didn’t last long, but they had a good time. I’d call it a success, overall.
Anyway – the point is, my son enjoys making things (a chip off the old block), and often is begging asking me to tackle a new project with him. (Yesterday, it was a roller coaster. Help!) So, last Sunday at church, when my son saw the boys in front of him playing quietly with a little play mat for their cars, he knew we needed to make one. Right away.
I knew it wouldn’t be too hard to make our own version of the play mat, but I wanted him to be involved in the design and construction of the mat rather than just making one for him.
Step 1: I had my son draw his vision for the play mat. This way, I would have a good understanding of what he wanted, and it gave him a chance to creatively contribute to our project.
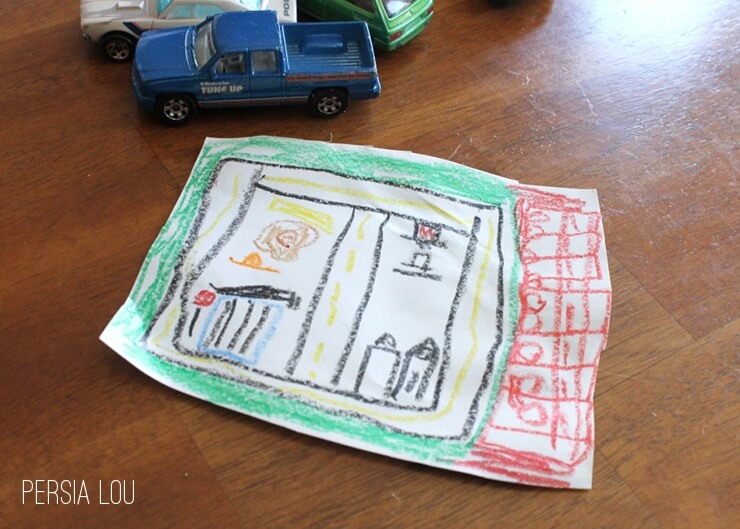
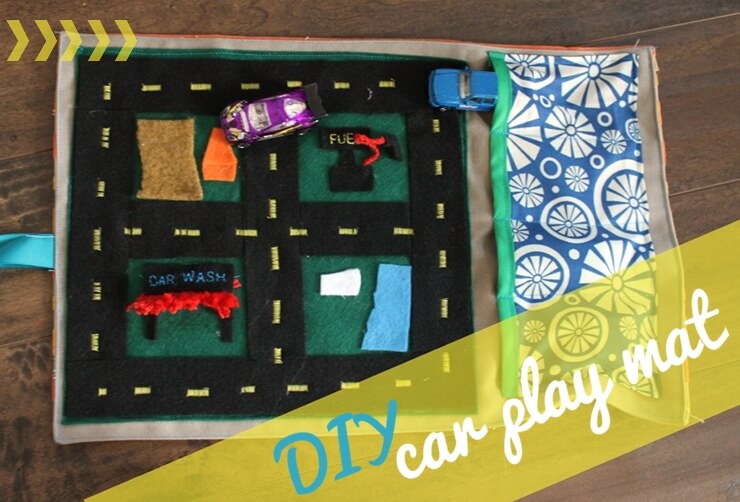
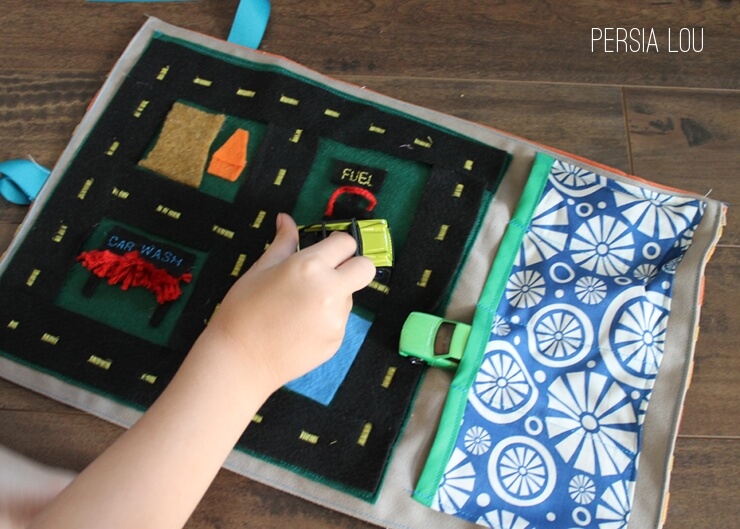
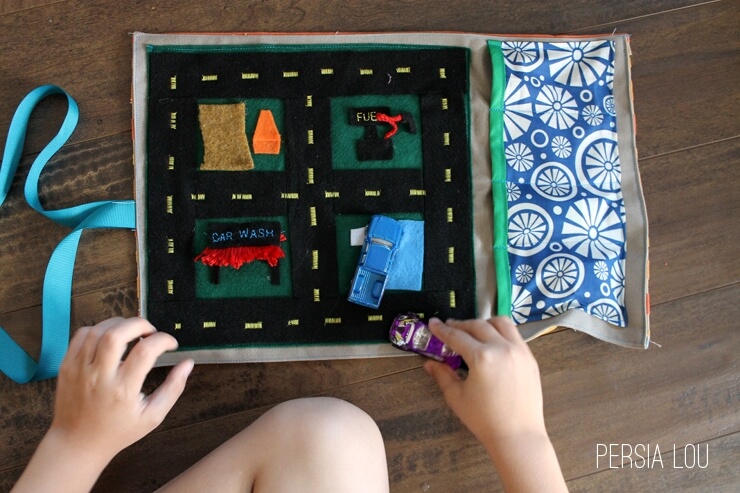
Basically, we have pockets for cars, a square grid of roads with spaces in between (a construction site, car wash, gas station, and house, which was later changed for a pool), and grass around the roads (this was very important for some reason).
I started out by cutting two pieces of sturdy fabric for the base of the mat. I cut my pieces to 12″x18″ rectangles. I used a sturdy, solid color, bottom-weight fabric (for the play mat side) and a more decorative upholstery fabric (for the backside).
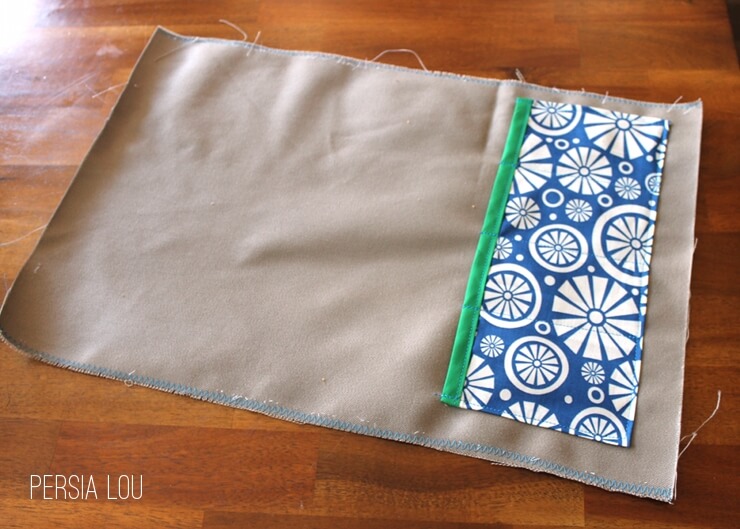
Next, I cut the fabric for the car pocket. This piece was about 11″x4″. I let my son pick the fabric, and he chose this fun blue pattern:
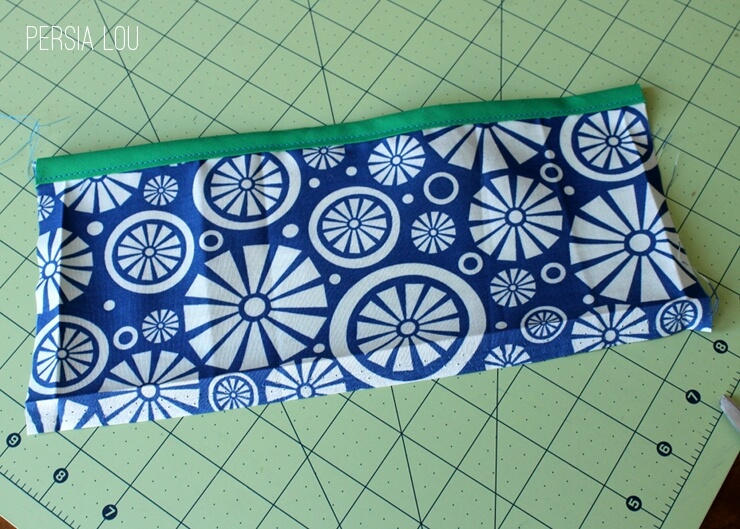
I finished the edge of the pocket with some green bias tape I had in my stash. Iron the three sides of the pocket (not the side with the bias tape) under and sew it to your base fabric. Then add three lines of stitching to create four car slots in the pocket.
Next, we added a square of green felt to fit the remaining space, and added strips of black felt an inch and a half wide to create our roads.
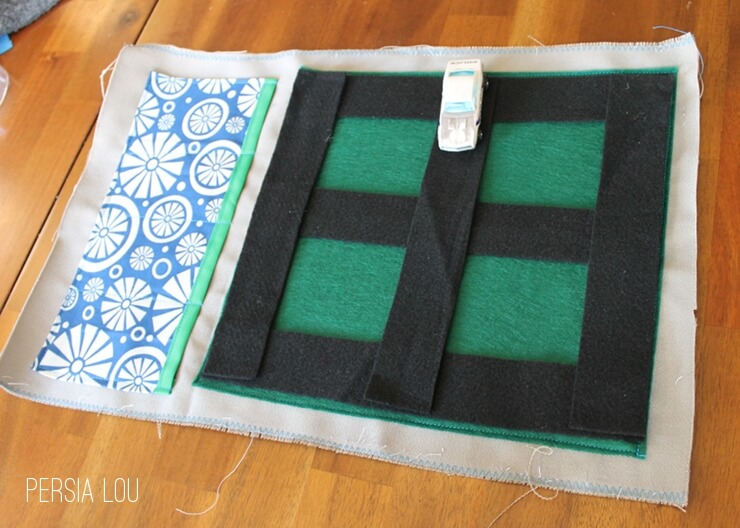
I cut the overlapping pieces of black felt out to reduce bulk, and then glued the roads down with hot glue. Next, I created yellow lines on the roads using a wide zig zag stitch and yellow thread.
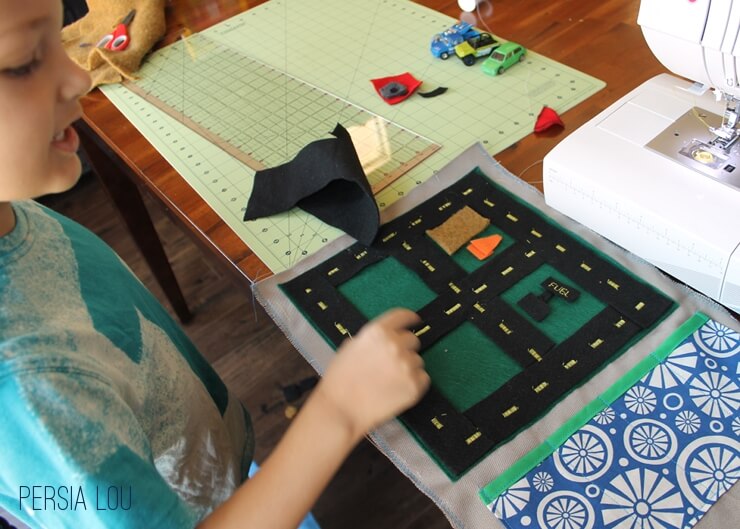
I wanted my son to be very involved in the creation of the four spaces within the road grid. I gave him the assignment of cutting shapes out of felt to recreate his drawing.
 |
| Planning it out. |
I added a few embroidered words with my sewing machine and a few yarn accents (a brush for the car wash and a hose for the gas station). These elements were all added to the mat with hot glue.
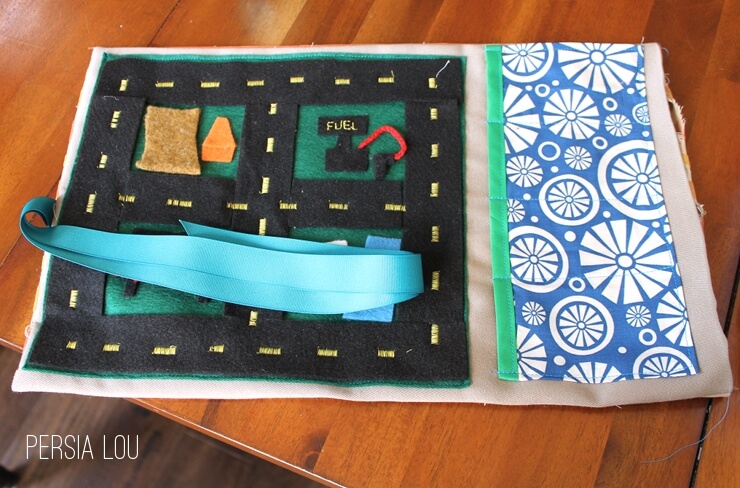
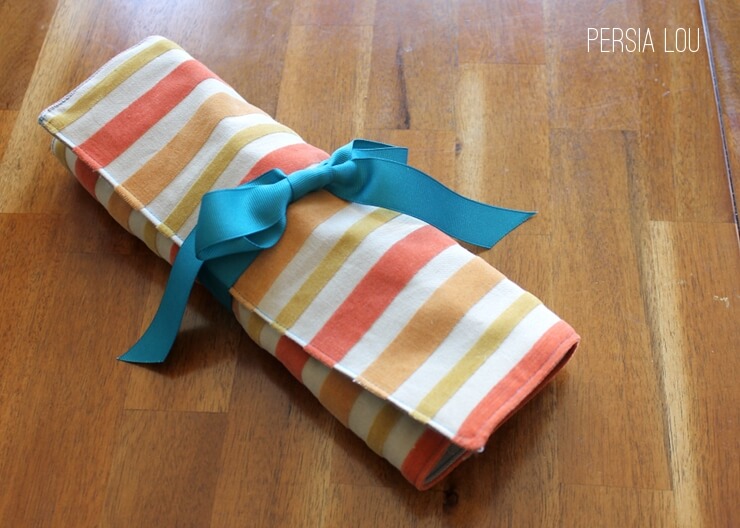
Finally, I needed to attach the mat base to the backing fabric. I started by pressing one edge of both the base and the backside fabric about a half inch to the wrong side. Then, I sewed the three other sides together, right sides facing. I added a long ribbon to the edge opposite of the pocket to tie the whole thing shut when the mat is rolled up (see the image below). To do this, pin or place the ribbon between the front and back sides of the mat when you sew them together. The long end of the ribbon should be inside the sandwich, between the right sides.
After you have stitched the three sides together, flip the mat inside out, and you will have something that looks like this:

At this point, all that was left to do was press the whole thing flat and topstitch about an eighth of an inch from the edge of the mat. And we were ready to go cruisin!

Here’s what the mat looks like all rolled up:
And then, when it’s play time, just untie, unroll, and hit the road.
This play mat may not be anything too spectacular, but I think my son enjoys it so much because it is something he envisioned and actually helped to create. Do you enjoy creating with your children? What projects have you tackled together?
Linking up at some of my favorite parties.


Comments + Project Love
Kelsey Poofy Cheeks says
I love this!! My younger son is constantly playing with hot wheels and he would go crazy over this! Thanks for sharing.<br />-Kelsey
Megan says
This is so fun. Great for restaurants. I have a little boy and a little girl who would love this! Thanks for sharing. I'm happy to be featuring your awesome idea today.
Alexis Middleton says
I love the idea of using it in a restaurant. It would fit in my big ol purse pretty easily. 🙂 Thanks so much again for the feature!
Life With The Crust Cut Off says
This looks awesome!!! We would love it if you would link up at our linky party:<br />http://www.lifewiththecrustcutoff.com/two-girls-and-a-party-link-up-31/<br />Live every Wednesday to Sunday.<br />Hosted by:<br />http://www.lifewiththecrustcutoff.com/ Parrish @ Life with the Crust Cut Off<br />http://thissillygirlslife.com/ Dana @ This Silly Girl’s Life<br />We hope to see you there!<br />
Alexis Middleton says
Thanks for the invite. I will be sure to come by!
Heidi Amber says
Such a great idea! I love Megan's idea for restaurants and also doctor's offices, waiting rooms etc. I will have to make one for my kiddos!
Theresa says
Such a cute idea! I have some little ones who'd love one. I think I need to make a must do check list. Pinning for later. Come share this at my party if you like 😉 Theresa @DearCreatives