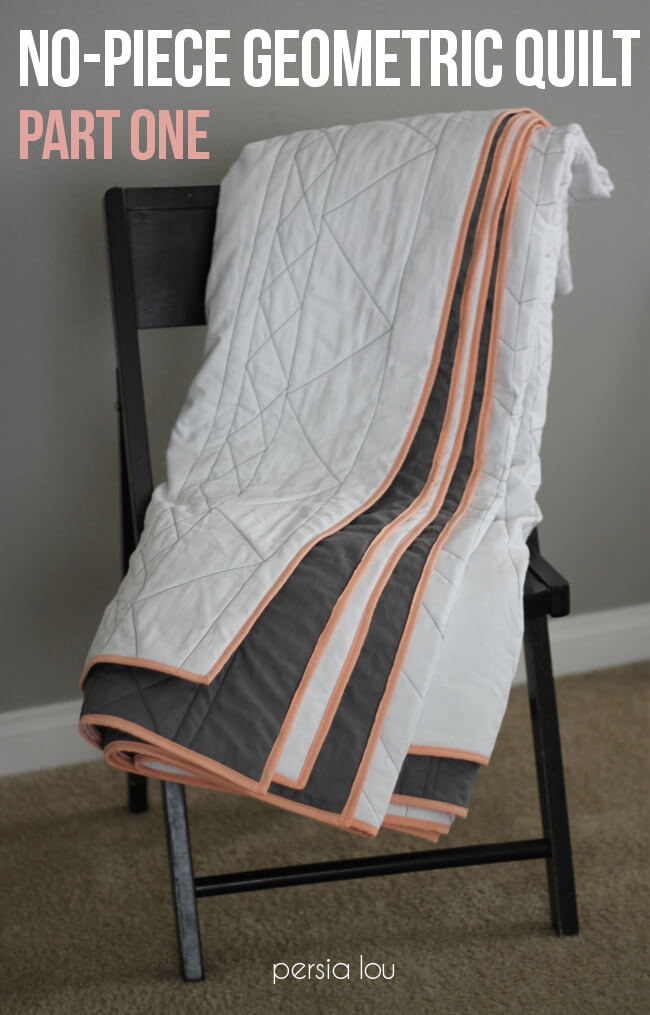
No-Piece Geometric Quilt Tutorial Part One
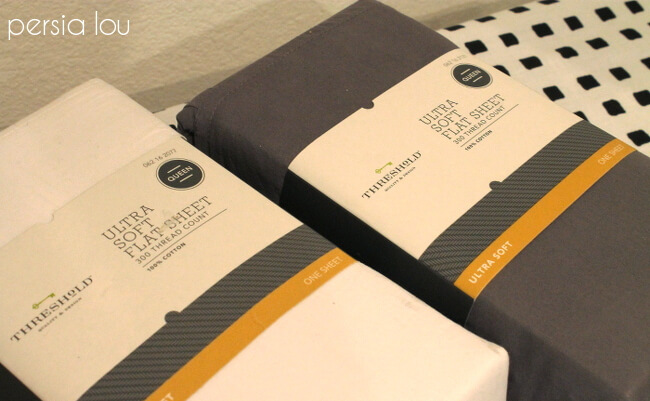
- two flat sheets (for a king-size quilt, I used queen-size sheets)
- cotton batting
- 1 yard cotton fabric for binding
- thread (2 spools for quilting, 1 spool for binding)
- safety pins
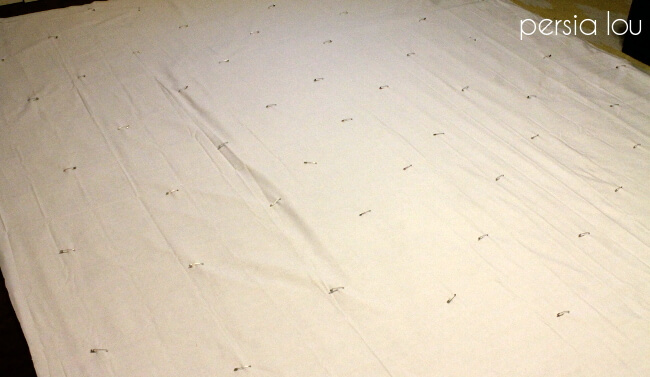
After the quilt sandwich is basted, it’s time to get quilting! To make the large quilt easier to work with, I recommend rolling both sides of the quilt up.
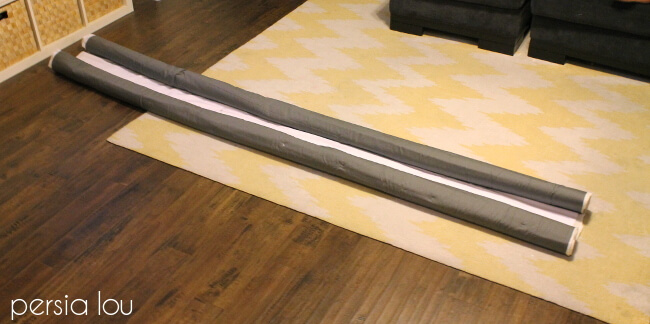
Doing so will make it much easier to get to the middle of the quilt with your sewing machine. (And, yes, you can absolutely quilt a king-size quilt on a regular ol’ sewing machine! It can get a bit cramped, but it is completely doable. Rolling up the quilt’s sides makes it much easier.)

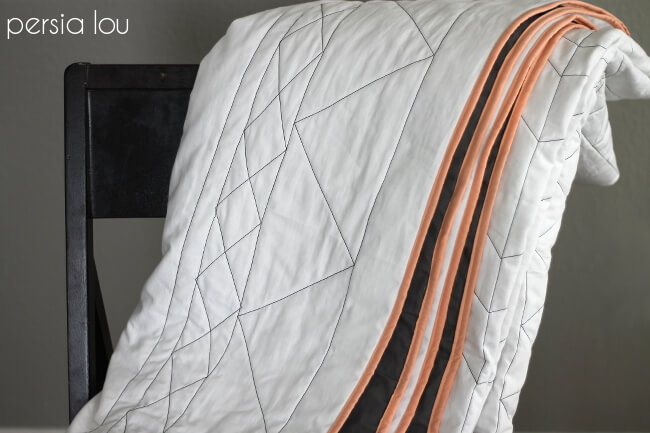
Since I wanted the quilting to be the main design element of my quilt, I chose black thread to contrast with my white top. If you want your stitching to be more textural, try a matching thread.
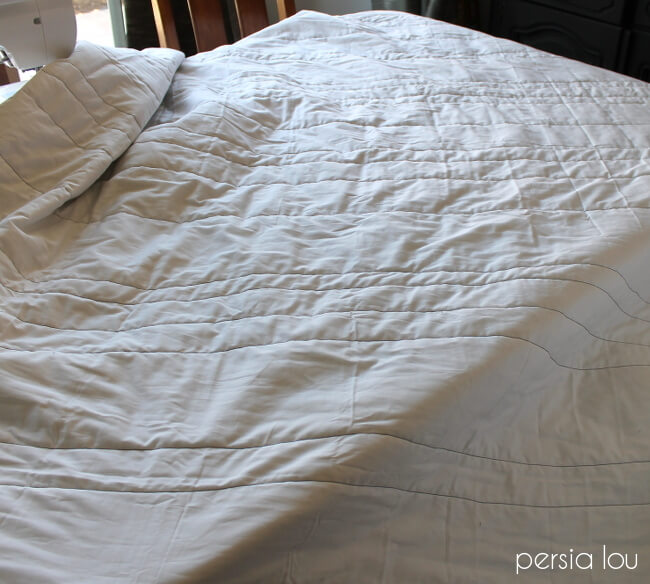
To create a geometric quilting pattern like the one I created, start off by quilting horizontal lines across the quilt at various intervals starting in the middle of the quilt. I tried to keep the line as straight as possible, but since I don’t mind imperfections, I didn’t stress about it. If you are more of a perfectionist, you can use a ruler and chalk or an erasable fabric marker to mark the line first.
After stitching the first line, stitch the rest of the lines working out towards the edges of the quilt and keeping all the lines parallel. The lines in my quilt are spaced from one to six inches apart. I just varied the width as I went, and then went back and filled in any particularly empty-looking spots. Remove the safety pins as you come to them. Pretty soon the entire quilt will be filled up with parallel lines of stitching.
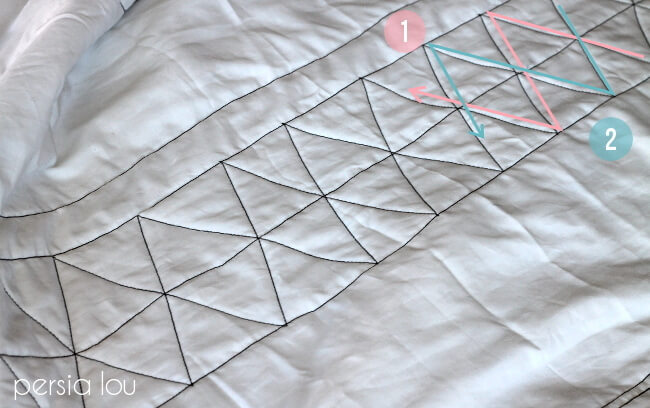
Next, it’s time to go back and fill in all those lines with triangles, crosses, diamonds, and other geometric shapes. This gives the quilt a lot of texture and interest.
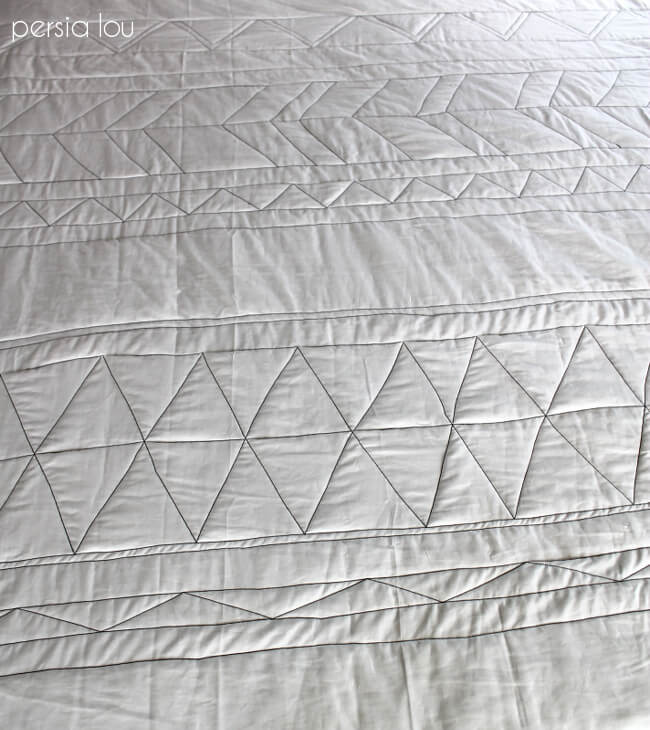
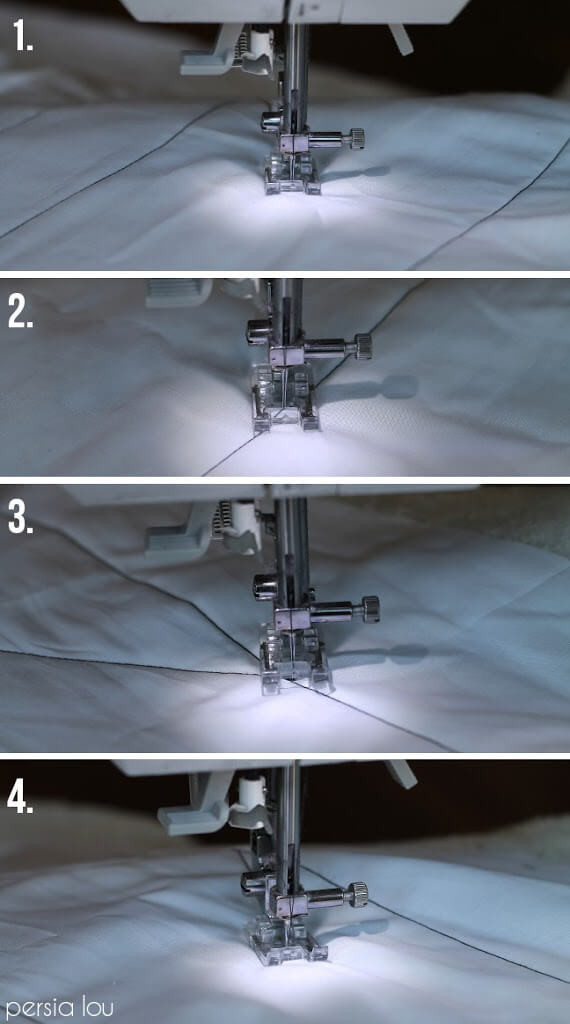
All of these varieties of shapes and patterns are made using the same basic technique of a zig-zag stitch between the horizontal quilting.
- Starting at one of the lines of horizontal stitching, stitch at an angle to the next line of stitching.
- When you come to the next line of stitching, stop with the needle down in the quilt.
- With the needle still down, lift up the foot and turn the quilt so the foot is facing back in the direction you came from.
- Continue on to the other line of stitching and repeat.
If you like this post, you may want to check out these:


Comments + Project Love
Amy W says
Love all those fun zigzags and triangles. Looks great and you have patience of a saint to do a king size quilt!
Chelsea @ Making Home Base says
Oh I love this Alexis! I have "quilt more" on my deployment bucket list. This one is so perfect!
Colleen says
This is amazing! The patch/piecing together is what intimidates me about quilting… I think I could attempt this one. Plus, geometric… who wouldn't love it?
Auntiepatch says
Genius! Why didn't I think of that???
got2havefaith says
Love, love, love this! It's so simple and clean.
Toni Barsi says
This is totally my kinda quilt! I tried the piecing thing once, but we just couldn't play nicely together. Maybe if I tried a toddler sized one of these I'd have more success. Awesome job Alexis!