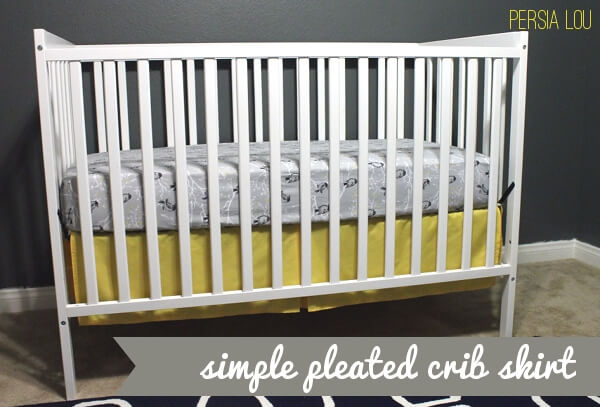
Work on baby boy’s nursery is progressing! Last week I sewed up some simple crib bedding. Have you made a crib sheet before? It is SO SO easy. You can whip one up in 30 minutes easy and make them in whatever fun fabrics or patterns your little heart desires. Check out Made’s tutorial here. If you want a simple crib skirt to go with your simple crib sheet, lemme show you how to throw one together.
Basically, you need five panels to make a crib skirt: the rectangular base of the crib skirt and one panel to drape off of each side. Start off by determining the dimensions of the five rectangles you need to cut.
First, you will need to cut a piece of fabric for the base. This fabric will not be visible, so feel free to use some piece of fabric that has been sitting in your stash for years. The base will be the size of your mattress plus seam allowances. My base piece was 28×53 inches.
Next, determine the dimensions of the panels–two long sides and two short sides. The side panels will be the length of the crib mattress + pleat + hem allowances. I allowed three inches for the pleat and one inch for hems on each side, which gave me a 56 inch length for the long panels and 31 inches for the short panels
I wanted my crib skirt to have an 11 inch drape (When the crib mattress is lowered, the skirt will be the exact distance from the floor. I decided to go with a shorter drape since the mattress will be in the lowered position longer.), so the other dimension of my side panels was 12 inches (11 inches plus 1 inch for hem/seam allowances).
Once you have done all your maths, cut out your five rectangles.
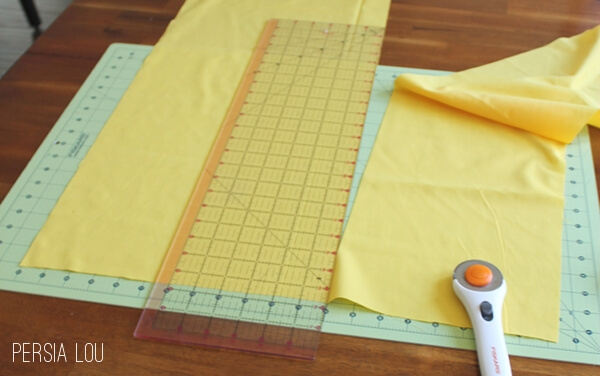
For my skirt, I cut:
1 base (28×53)
2 long side panels (12×56)
2 short side panels (12×31)
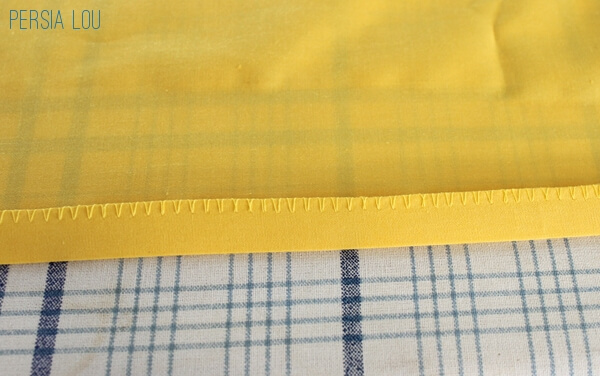
Next, I zig zag stitched around the edges of my panels to finish and prevent fraying (use a serger if you have it or a rolled hem if you prefer). Then hemmed up three sides of each panel a half inch.
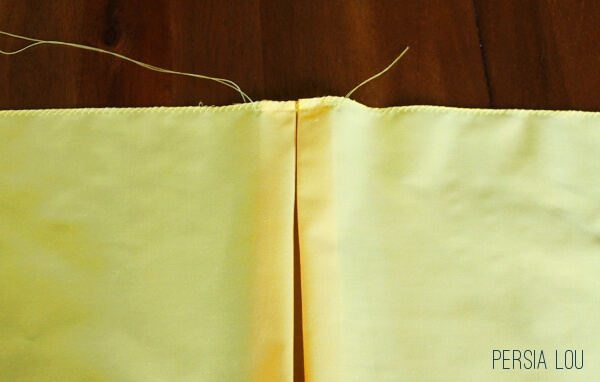
Once all the panels are hemmed on three sides (don’t hem the top where the panel will be attached to the base fabric), its time to make your pleat. I folded my panels in half and pressed the seam to mark the center of each panel. Then I measured an inch and a half on either side of that center mark (because I had allowed three inches for the pleat. If you wanted a bigger pleat, you could allow four inches and then mark two inches on either side of the center, for example).

Bring your marks (I just used pins) to the center mark and press. Pin your pleat in place.
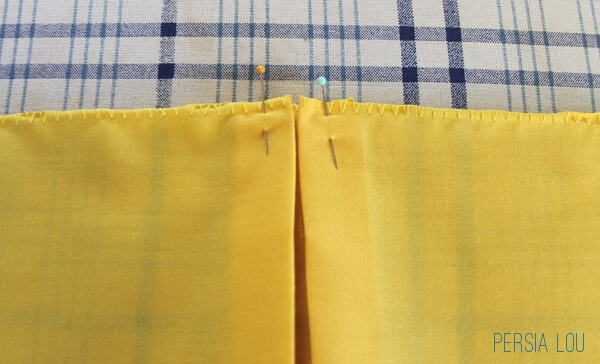
Stitch your pleat in place with a basting stitch a quarter inch from the edge of your fabric. This stitching will keep the pleat in place when you attach it to the base, but it will not show when the crib skirt is complete.
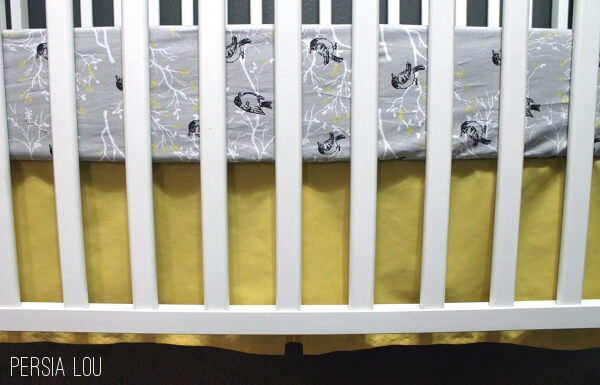
Finally, sew the panels to the base fabric! Center the panels on each side of the base fabric (right sides together!) and pin in place. Sew each panel leaving a half inch seam allowance. If you want, you can finish your seam allowance with a zig zag stitch or serger.

Viola! Crib skirt!
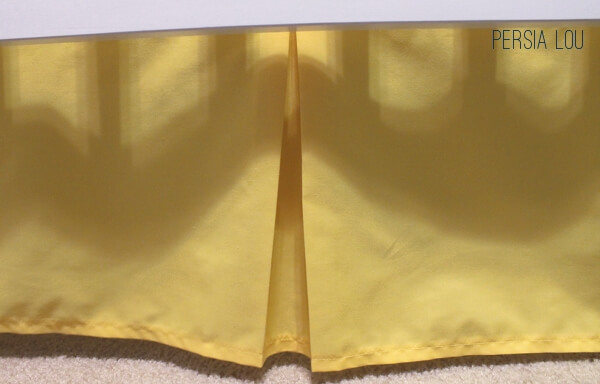
When baby is bigger and the mattress is lowered, the pleat will drape below the crib and look like this:
Maybe the best thing about this crib skirt is that it cost me about six dollars. SIX. Woot!
Linking up at Ready, Set, Pin Party; Craft-O-Maniac Monday; Made by You Monday; Monday Funday; Sundae Scoop; Nifty Thrifty Sunday; Tatertots and Jello; Whipperberry; Liz Marie Blog; Flamingo Toes; A Night Owl Blog; 30 Handmade Days; and That DIY Party.


Comments + Project Love
Emily says
This looks awesome, and I think our crib may need a new one! Pinned!<br /><br />~Emily<br /><a href="http://tossedsaladlife.com" rel="nofollow">A Tossed Salad Life </a>
ChristaQuilts says
Wow – it's so fun to see it all coming together!