
Hello there, my name is Alicia and I blog over at Arty and Crafty Little Things.
I love everything handmade, and I got very excited when Alexis invited me to be part of the Handmade Holiday series.
Today I’ll show you how to make your own wrapping paper this Christmas. This is an easy project for everybody to make, we all like presents but I think the wrapping is very important and if you make your own it will be unique! I’ll show you two techniques: one using acrylic paint and the other carving your own stamps.
- Parcel wrapping brown paper.
- Pencil.
- Scissors
- PVA glue.
- Acrylic paint
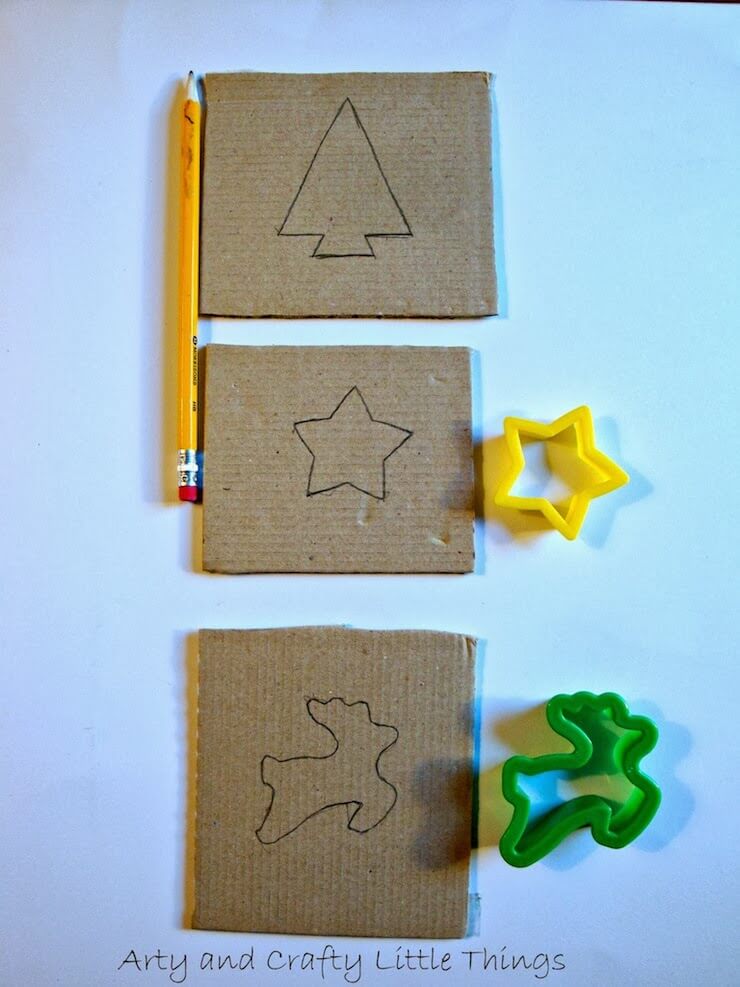
- Biscuit cutters (optional)
- Cardboard (from an old box)
This is very easy to make and a lot of fun if you want to get your kids involved too. Plus it’s very cheap and you probably already have all you need at home.
We start drawing a Christmas tree shape freehand in a piece of cardboard, doesn’t need to be perfect, but you can help yourself using a biscuit cutter to trace the shape.
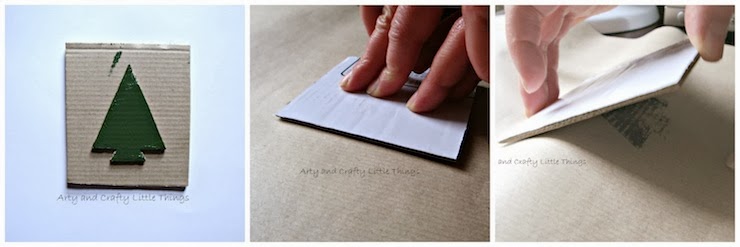
Then we cut it and glue it in another piece of cardboard. While it’s drying you can make some more stamps.
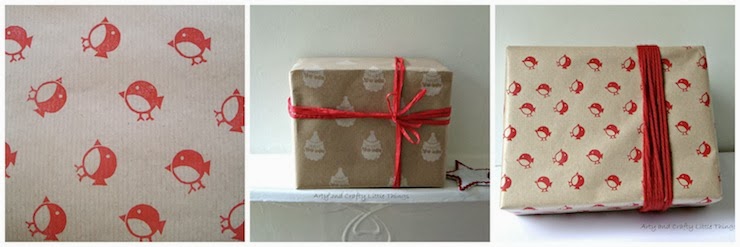
When they are dry, you just need to spread the parcel paper on a flat surface, put some paint on the cut stamp and carefully turn it over the paper, press with your hand for a few seconds and lift it very slowly.
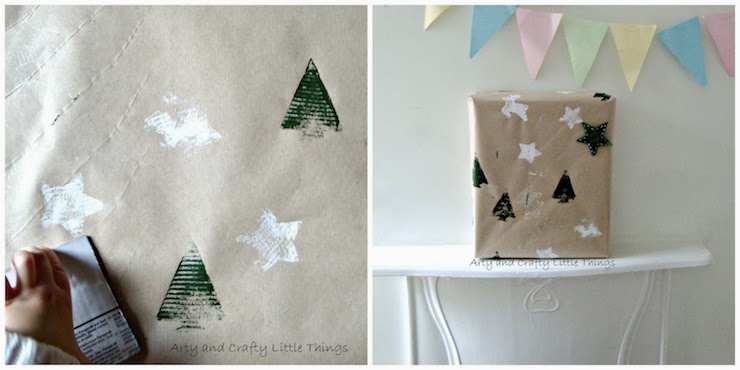
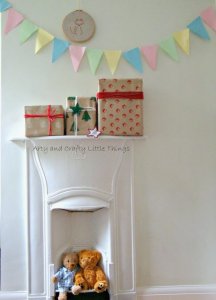
Hey! You are printing! Now repeat the same process (putting paint on the stamp) as many times as you like. Once you have finished leave it to dry and it’s ready for wrapping. I’ve made this one with my little one.
We had lots of fun.
If you decide to carve your own stamps:
This technique is for those wanting to give it a more professional look. Here is how it goes:
Copy the image you’ve drawn or one you like using the tracing paper and transfer it to the carving block. Be very careful with the cutter and carve your stamp. See Printing flowers or addicted to carving for more details.
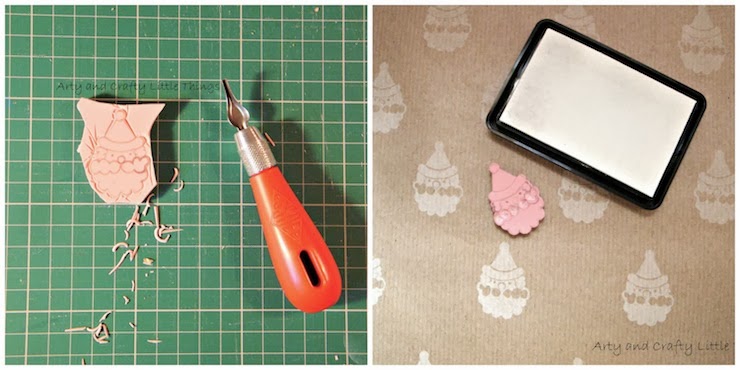
Now the only thing left is to add ink to your stamp with the ink pad and ready to print!
Thanks so much, Alicia! Please go visit Alicia over at Arty and Crafty Little Things, and don’t miss the cute things she has for sale in her etsy shop (like this adorable embroidered fox brooch).


Comments + Project Love
Toni Barsi says
Those little red birds are adorable! Love the idea of making stamps from cardboard too!
Amy @ Homey Oh My! says
AH! I love the little birds! Using cardboard to make a stamp is pretty clever, as well as tracing cookie cutters for designs. Never would have thought of that!
the other Sampsons says
This comment has been removed by the author.
Naomi Sampson says
So fun! I've made this with potatoes before, love the cardboard! I think I'm going to use it with making christmas cards in 2 weeks with my YW.<br /><br />Thank you, I LOVE YOUR BLOG!<br />Naomi 🙂
Deonna Wade says
Hey Alexis! It's Deonna from the Child at Heart blog! I love this post and would love for you to link up to the Merriest Blog Hop each Friday until Christmas and share your creations! The first I was married I stenciled snowflakes all over my packages wrapped in brown kraft paper. I think that is my favorite way I have ever wrapped gifts. Your's are so cute! I love the little trees.