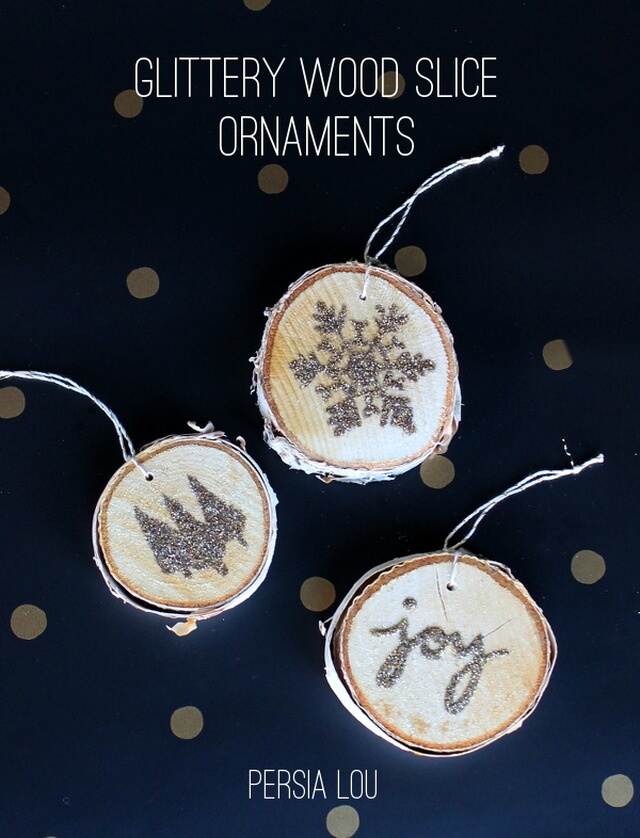
In case you missed it, here are the ornaments I shared last week as part of Lines Across‘ ornament series. These guys were easy to throw together and added more rustic glam-y goodness to my tree this year. You can see my tree and whole Christmas home here.
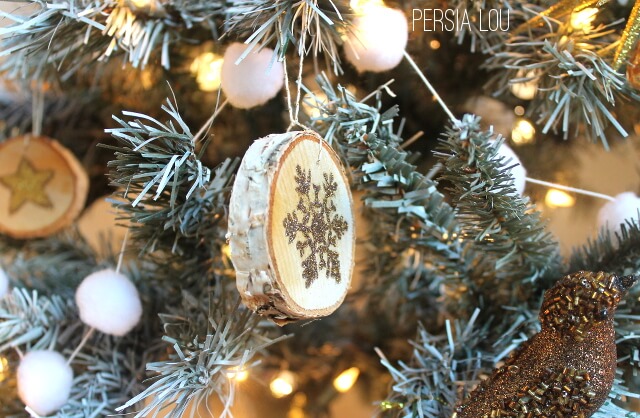
When I saw these birch slices at my local craft store, I knew they would make perfect ornaments for this year’s tree.
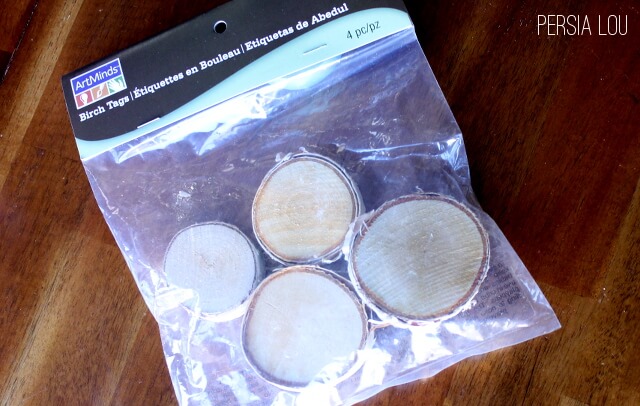
Pre-sliced worked great for me because I have a slight fear of power tools, especially saws. I did have to work up my courage to drill some holes in the tags, but drills aren’t as scary because they seem less likely to take off a finger (I’m sure it’s possible – no horror stories please!). Anyway, It was simple enough to drill a little hole in the top of each little slice.
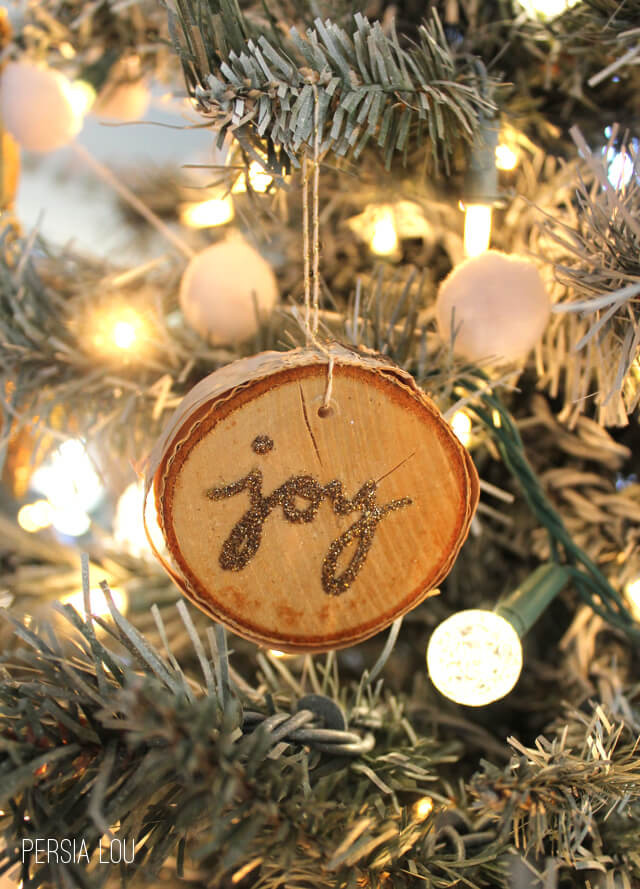
Then it was time to add a little sparkle! All you need to glam up your wood slices is mod podge, extra fine glitter, and a small brush.

Start by painting on your design with mod podge. You can free-hand it or draw it on with pencil first. For more complex designs, I found it worked better to pain a little bit, cover in glitter, paint the next section, cover that in glitter, and so on. This way, your glue doesn’t dry before you have time to add the glitter.
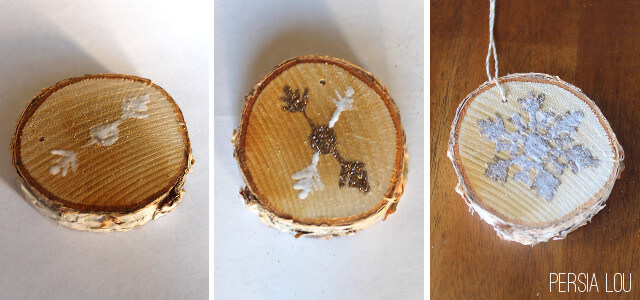
After the mod podge has had time to dry completely (not long, maybe 20-30 minutes), you can add a coat of mod podge over the top of your glitter to keep it from coming off all over you and your house.
When everything is dry, tie a piece of string through the hole, and you are done!
Aren’t they fun? I love the look of the birch bark on the sides.

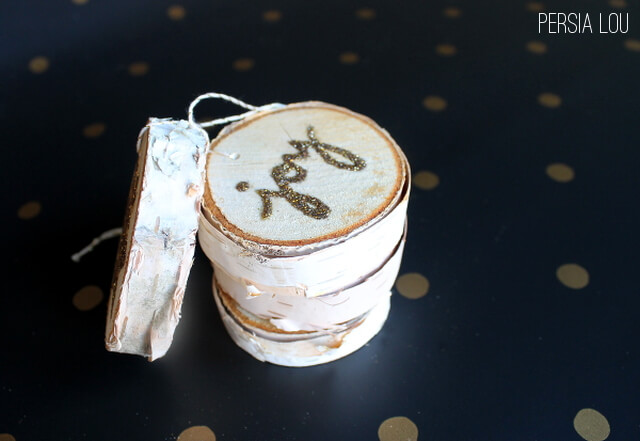
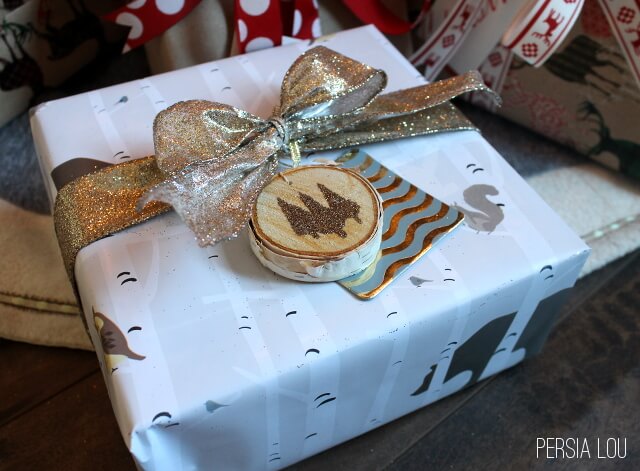
They also make cute little gift toppers.
![]()
Linking up at some of my favorite parties.


Comments + Project Love
Krista thehappyhousie says
These are so pretty Alexis! Hope you bad a wonderful Christmas Day!
Krista thehappyhousie says
Of course that should say had!