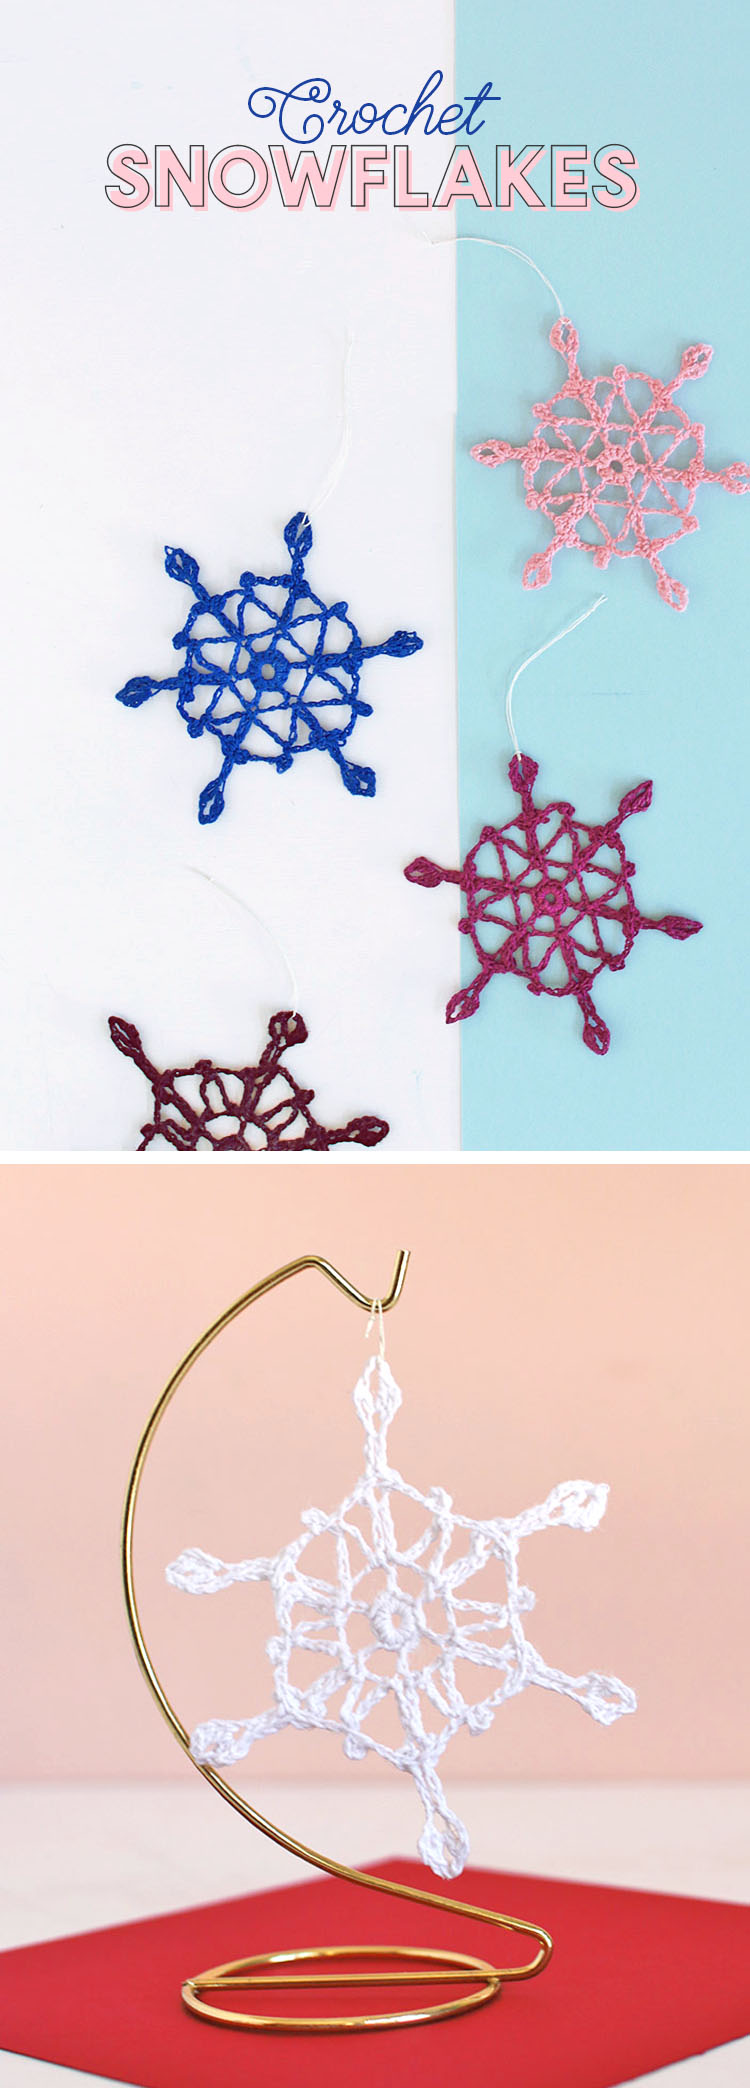
Learn how to crochet snowflake ornaments with this free crochet pattern! You can make your own pretty snowflakes in whatever colors you like. Use them to as ornaments for your tree, string them onto a garland, or tie them onto gifts! I originally shared this post at Crafts Unleashed, and it contains affiliate links, which help to support this site. Thank you!
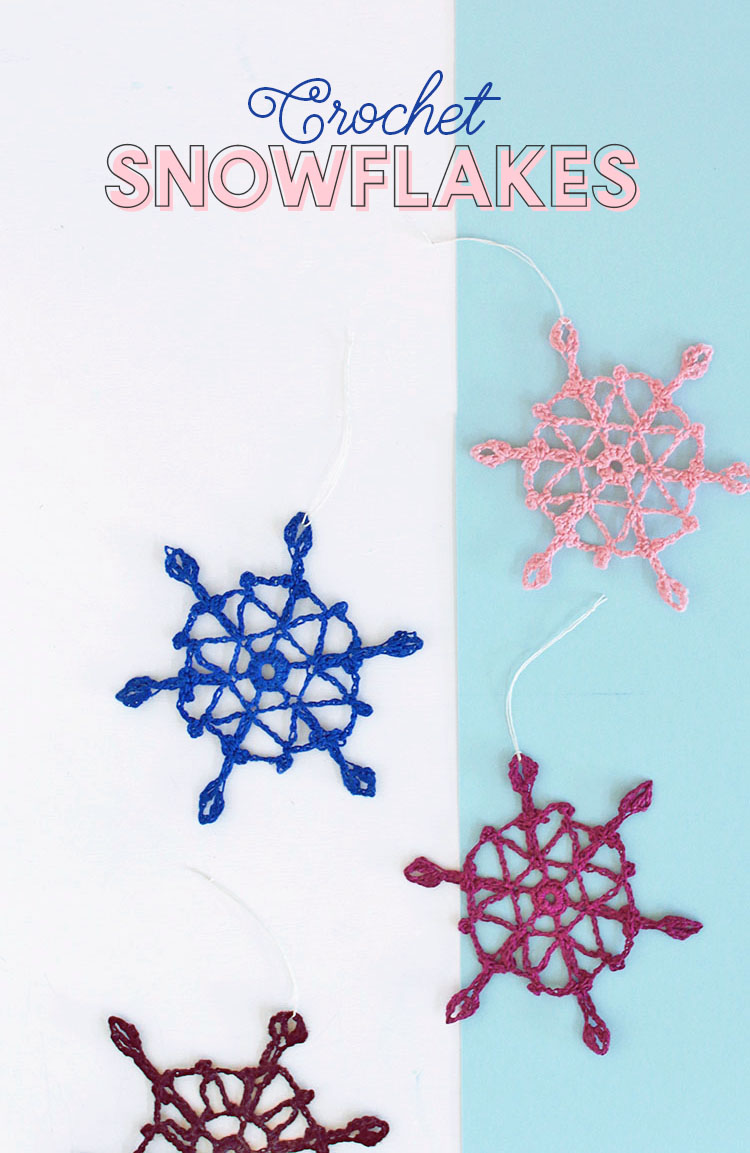
Are you decking your halls yet? Looking for some new holiday craft and crochet projects? I have a simple little wintery crochet project to share today. These cute crochet snowflakes can be made in any colors you like to fit your holiday color scheme and make perfect Christmas tree ornaments. They are similar to the popular crochet star ornaments I shared in the past, just a bit more lacy and delicate.
Crochet Snowflake Ornament Supplies:
- Embroidery Thread or Size 3 Crochet Thread will work too
- 3.50 mm Crochet Hook
- Scissors
- Fabric Stiffener
- Straight Pins
- Cardboard and Plastic Wrap
Crochet Snowflake Ornament Pattern
This pattern is free for personal use. Please do not redistribute or sell the pattern in any way. If you would like to share the pattern, please share the link.
This pattern uses American crochet terms.
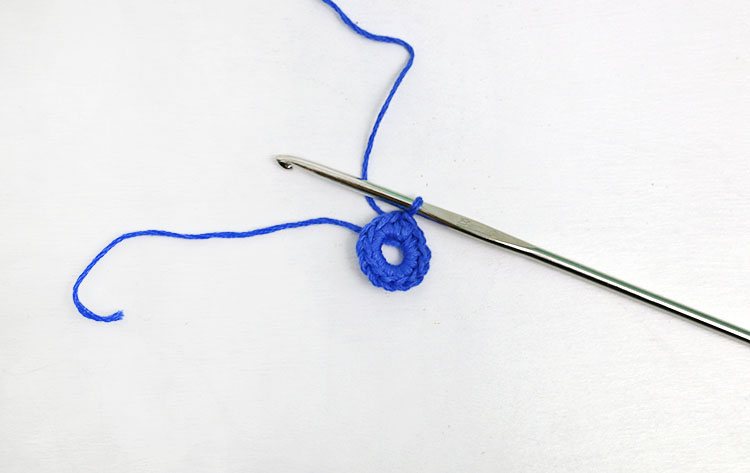
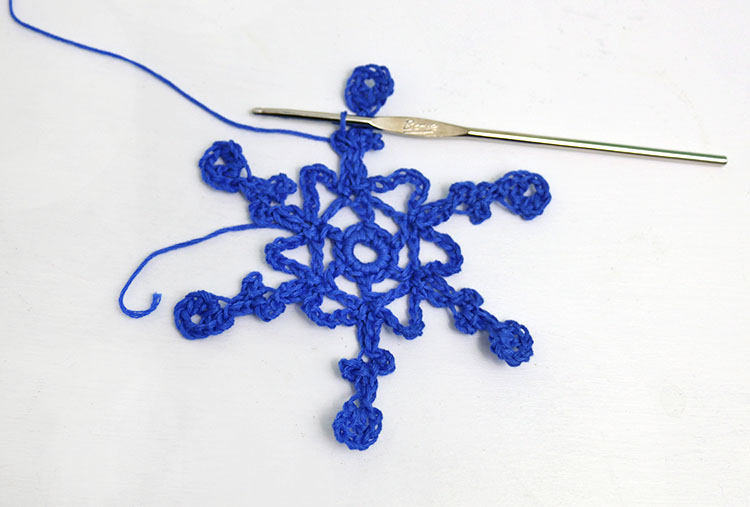
Round 1: Ch 6, sl st to join. Ch 1, work 12 sc in loop, sl st to join (12 sc).
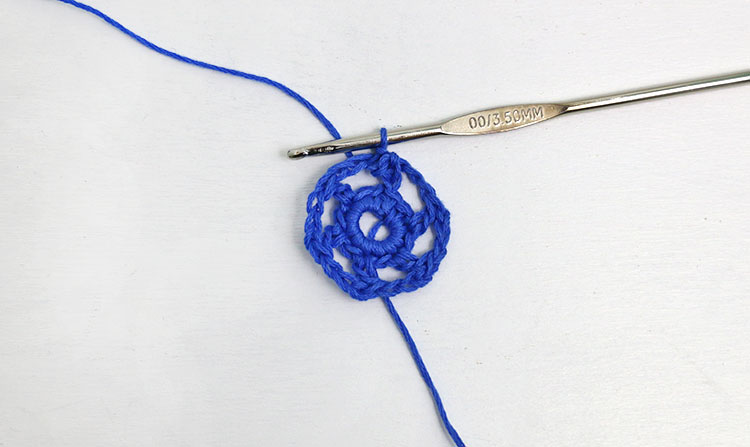
Round 2: Ch 6 (counts as dc and ch 3), skip one st, dc in next st, *ch 3, skip one st, dc in next st, repeat from * three times, skip one st, slip st to 3rd ch of starting ch 6 (6 dc, 6 ch 3 spaces).
Round 3: *Ch 4, pinch last ch, ch 3, sl st to pinched ch (picot formed), ch 3, pinch last ch, ch 2, dc in pinched ch, ch 2, dc in same pinched ch, ch2, sl st to same pinched ch, ch 2, sl st to first pinched ch (picot formed), ch 3, sl st to beginning sp, ch 8, sl st to top of next dc, repeat from * 5 times (6 “spokes,” 6 ch 8 spaces).
Round 4: Use a few sl sts to move your thread up to the picot on the left of your first “spoke,” *ch 3, sc in ch 8 sp, ch 3, sl st in sc (picot formed), ch 3, sl st to right picot of next spokes, sl st to center sp between picots, sl st to left picot, repeat from * around. Finish off, weave in ends.
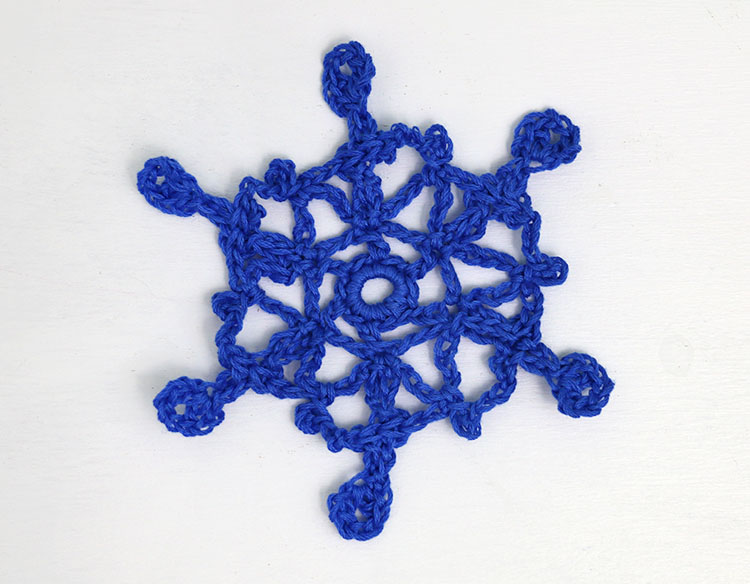
That’s it! Your crochet snowflakes are all crocheted, and just need a little shaping and stiffening. To get your crochet snowflake to hold its shape, cover the piece with fabric stiffener (you may want to dilute it with a bit of water) and then squeeze out the excess. Next, shape your snowflake on a piece of cardboard covered in plastic wrap, and use pins to pull the snowflake into shape and hold it there as it dries. Once it is dry, it will be stiff and retain its shape.

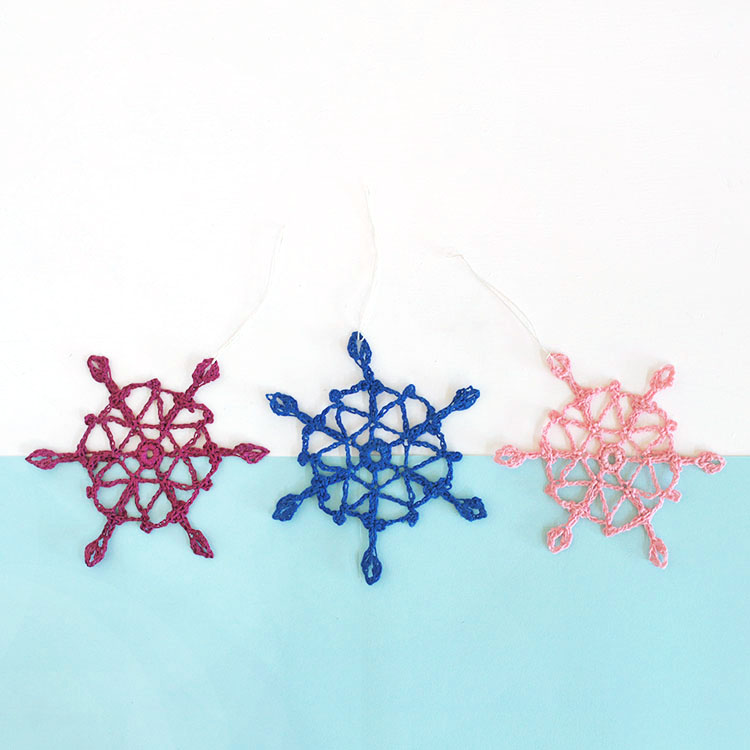
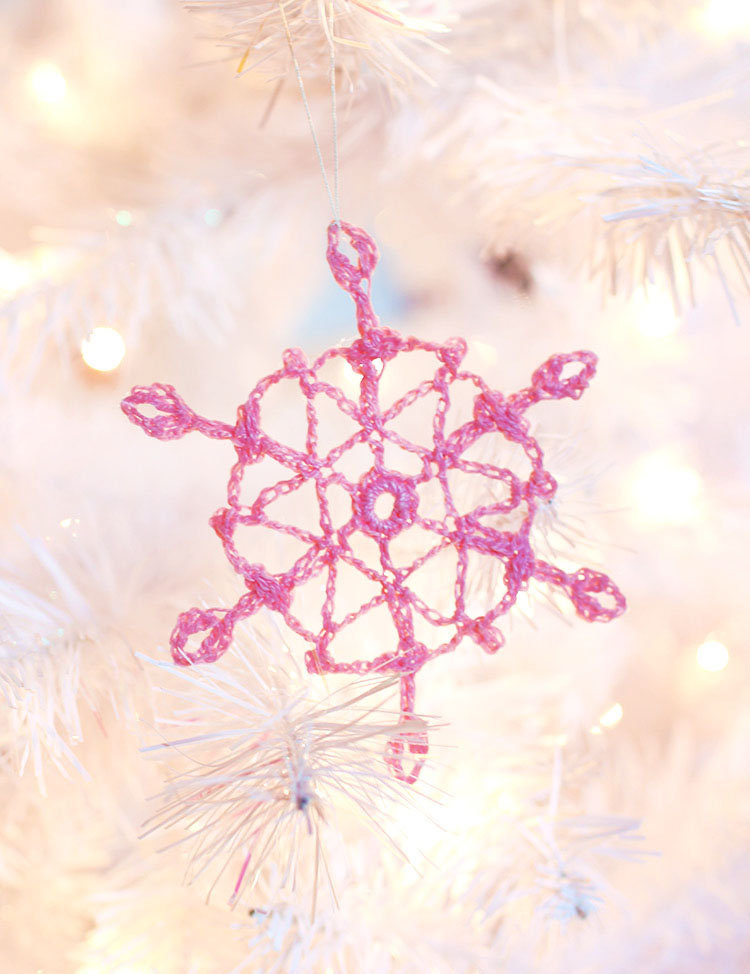
All that’s left to do is tie a piece of thread or string through one of the ends of your snowflake, and then it’s all ready to hang.
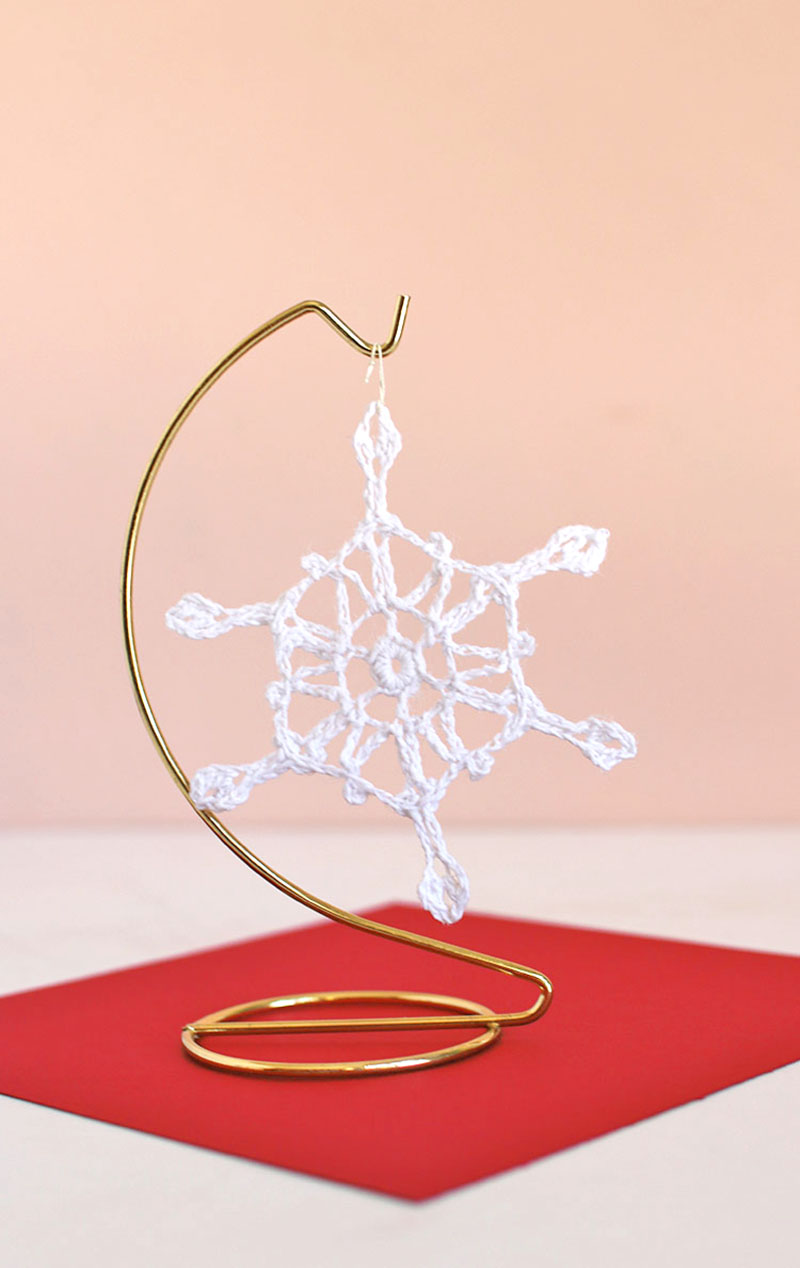
Or tie onto a gift. Or string onto a garland. Or whatever you want to do with it!
Happy Making!

More Free Crochet Patterns:
[the_grid name=”Crochet Patterns Footer”]


Comments + Project Love
Lisa // Cucicucicoo: Eco Sewing and Crafting says
These are so pretty, and I LOVE your simple idea for stiffening them with glue! I was thinking of using starch, but glue sounds so much more simple! Sharing! 🙂 Lisa
Angeles Antolin says
So pretty!!!!